Make Your Own Curtains – DIY Rod Pocket Curtains Tutorial
It doesn’t have to be hard to make your own curtains – here is an easy DIY curtains tutorial (this is specifically for rod curtains). It can be an affordable option for updating the look of any room!
We moved into our home back in June, but it’s always felt like something was missing.
Granted, we still have boxes in our garage, but for the most part, our house is unpacked and put together.
But I couldn’t shake the feeling that we needed something to really tie it all together.
Then I realized, duh, we needed curtains in our living room! We have a gorgeous bay window that lets in a lot of natural light…but for some reason, I just felt like we needed something to tie it together.
So I bought some fabric awhile ago, and I just finally was able to finish it. Let me tell you…as soon as Forrest put the curtains up, I thought to myself, “THAT is what was missing. The curtains!”
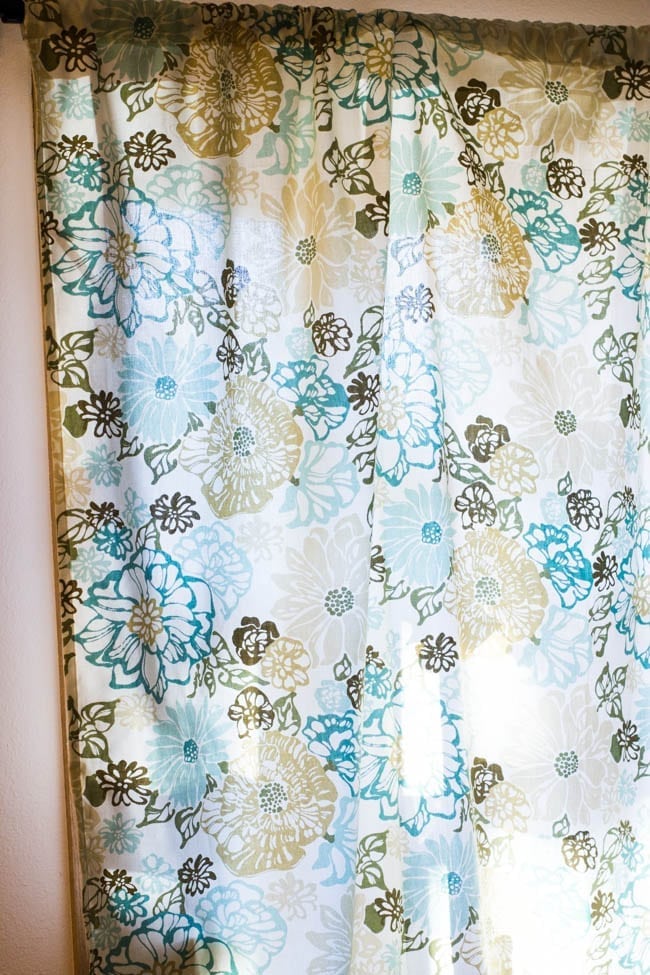
I had the fabric for months, and I finally got around to making them. You guys – easiest project ever! It took me a little over an hour (if you aren’t making three-panel curtains, it should take even shorter). I loved being able to pick out my own fabric and make them myself – it saved me money in the end, and it matches the decor and color of the room perfectly.
So if you are looking to make your own curtains – look no further. This DIY Curtains tutorial will have your rooms looking more complete in no time.
Oh, and this is specifically for making rod pocket curtains. We purchased ours at Home Depot, but Amazon has an excellent selection!
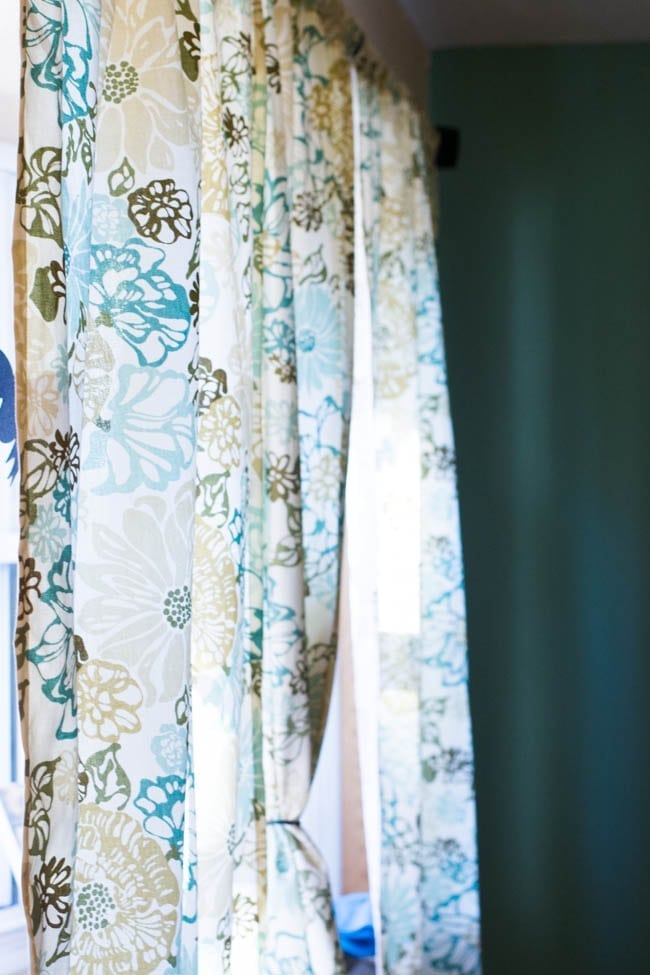
Best fabric to make curtains
I recommend getting a nice, sturdy fabric for your curtains. I used upholstery fabric that we got from Jo-Ann’s fabric. It was a bit more expensive that some fabric, but it has worked very well for us.
I used some coupons to get the price down, so it ended up being around $30 total to make our three-panel curtains. Be sure to read this post about at the secrets to shopping at Jo-Ann’s.
Fabric.com also has a very large and beautiful selection of fabric for making curtains. They often have coupons, so check them out as well.
Material to Make Curtains:
Upholstery Fabric (we got eight yards of 48-inch fabric)
Coordinating Thread
Pins
Be aware that these are NOT blackout curtains. If you want those, I would sew some blackout lining fabric to the fabric before you start the steps below.
Easy DIY Curtains Instructions:
Step One:
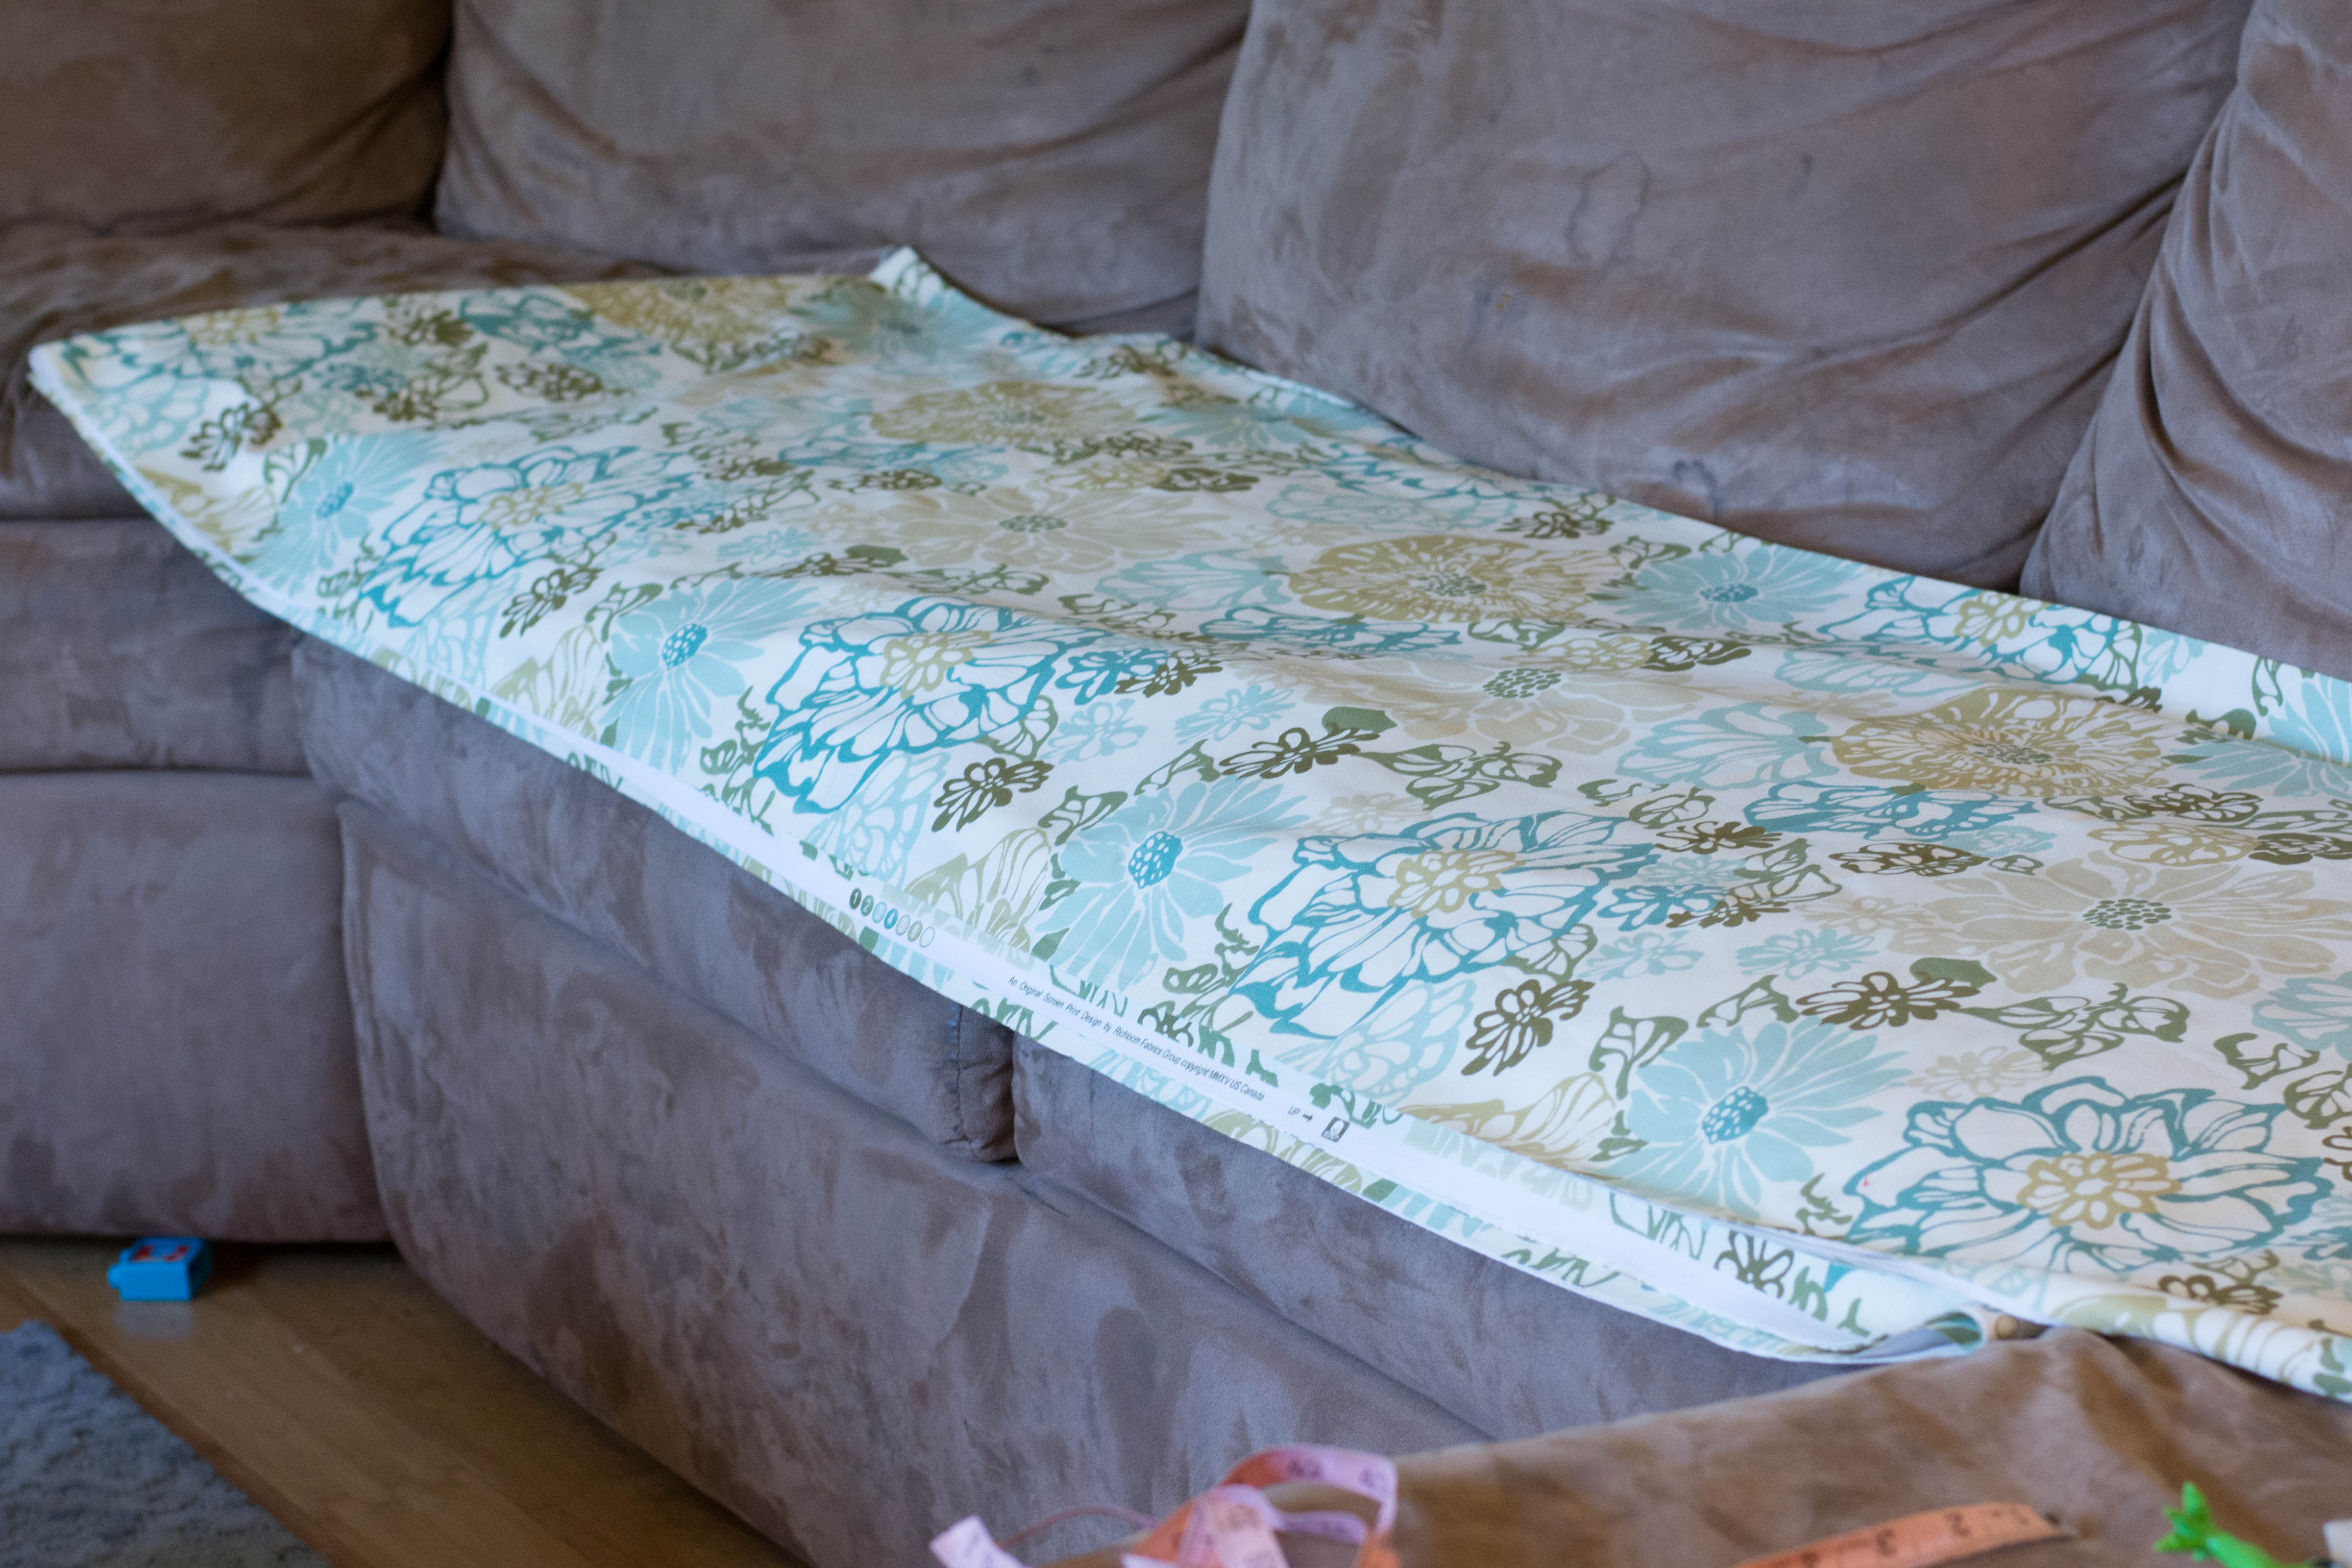
Cut your fabric to the length you want. For mine, I was making three panels, and I had purchased seven yards of it. In hindsight, I probably could have had them cut it at the store…but I wasn’t totally sure of the length. I folded my fabric into thirds and then cut it that way.
Step Two:
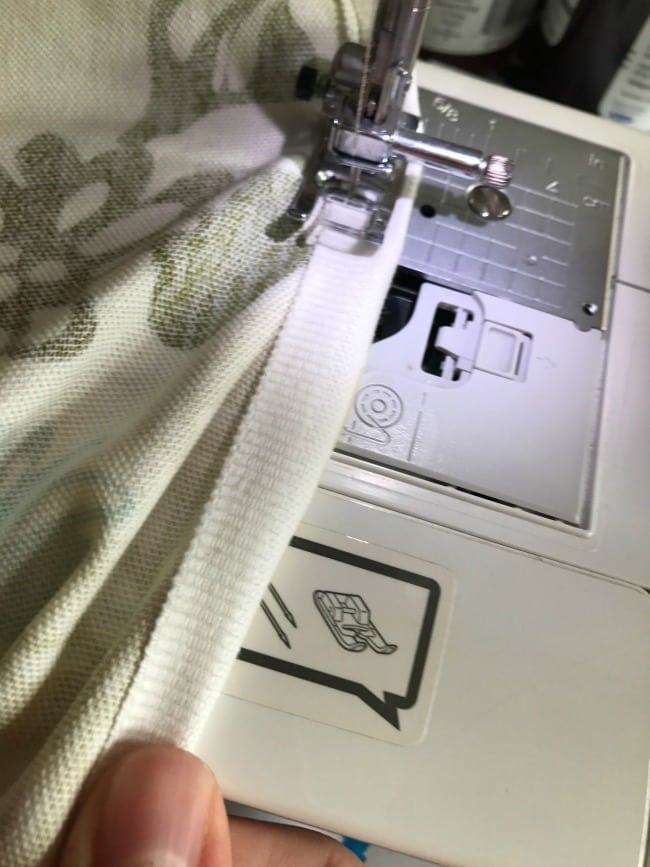
After your fabric is cut to the appropriate length, fold the edges in about 1/2″. Stitch all the way around. I did one full edge, and then I overlapped the stitches.
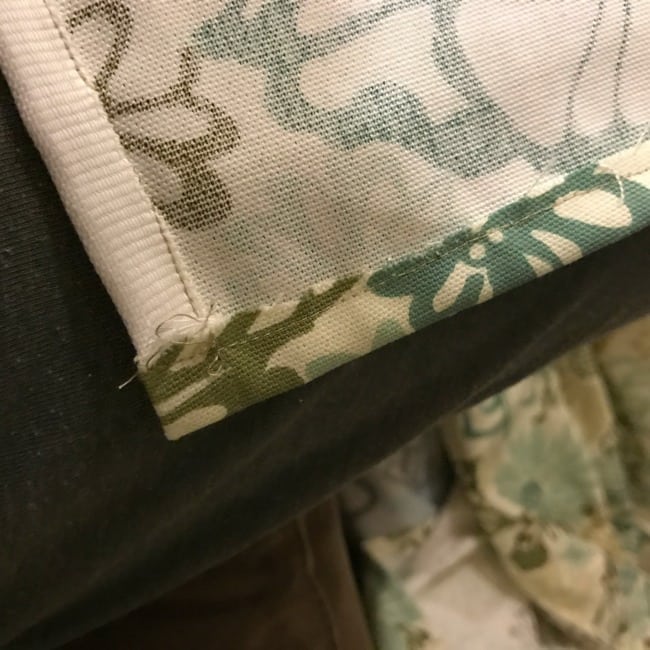
You can pin it if you want (I just eyed it).
Step Three:
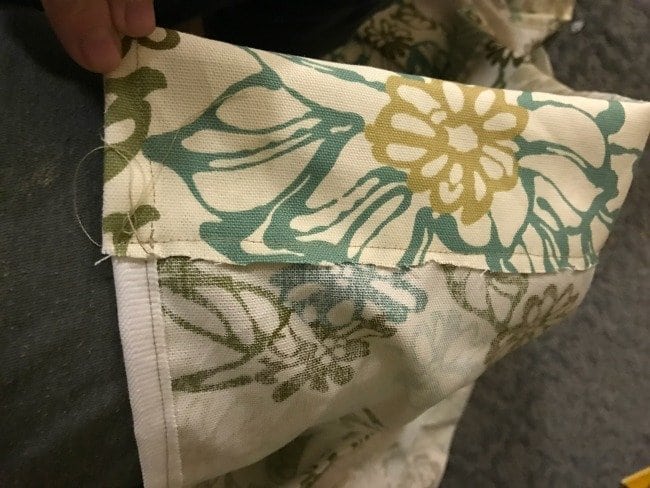
Pick the edge that you want to be at the top of the curtains. Fold it down (wrong sides facing each other) to be slightly larger than the rod you are using to hang it up. Sew across the bottom edge.
Step Six:
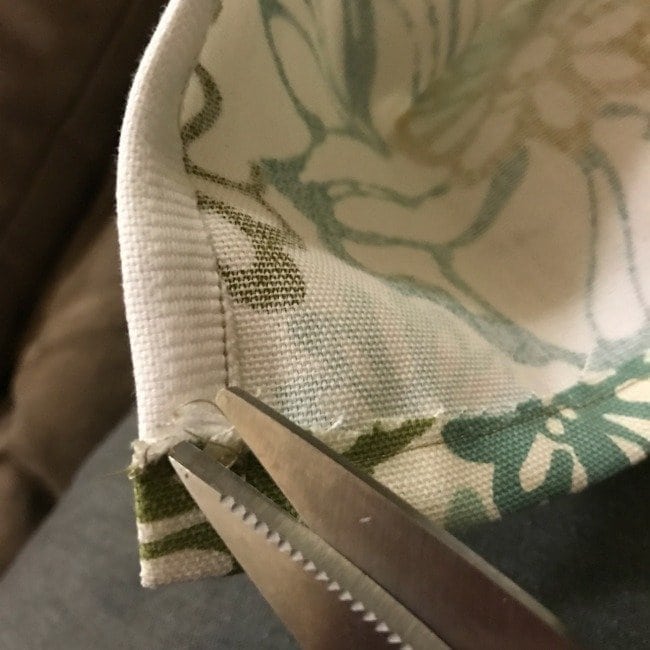
Trim up the loose strings and rough edges.
Step Five:
Hang your curtains and admire your work! Repeat with as many panels as you need.
[thrive_2step id=’27024′]
[/thrive_2step]
