Learn how to make these easy Spiderweb Sugar Cookies for your next Halloween party. Super easy and kid-friendly.
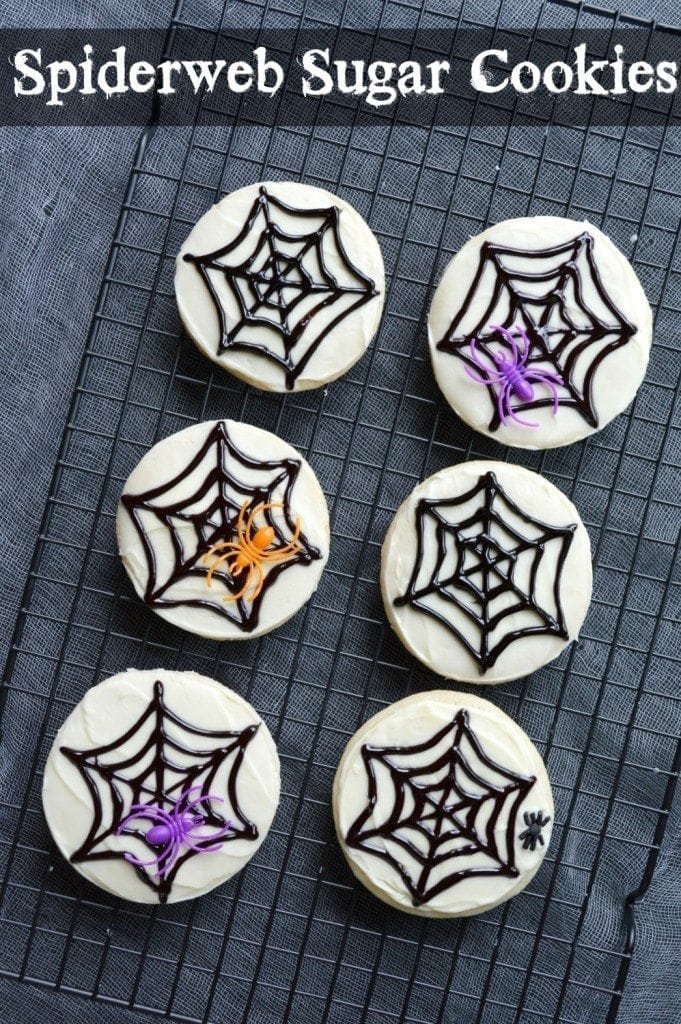
How to Make Spiderweb Cookies
Hi there, Clarks Condensed readers! I’m Alli from Taking Care of Monkey Business, and I’m SO excited to sneak on over here and share these cookies with you. They are so fun, and really easy to put together.
I’m not sure what it is about spiders… 99% of the time, they are the worst. Everything about them creeps me out, and I want them all dead. But once Halloween rolls around, I become a little spider-obsessed.
I love spiderweb decorations, and anything arachnid just seems adorable. I never said it made sense, but that’s how it is!
So naturally, I like to make as many spider decorations and treats that I can. These cookies come together really quickly, and are perfect for the kiddos – they love them!
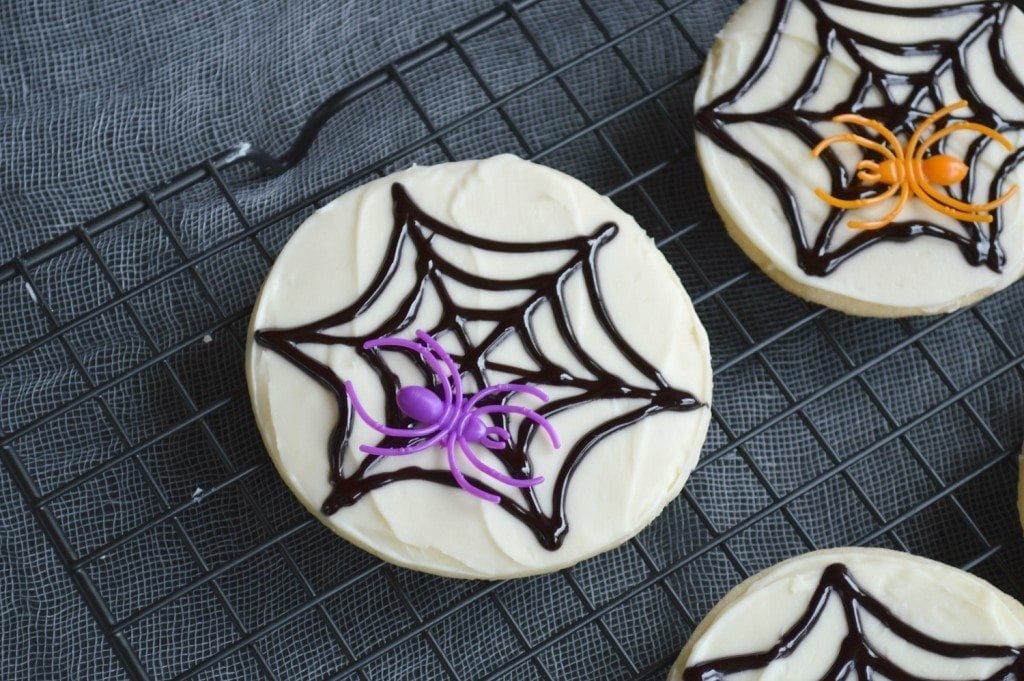
You can use any type of sugar cookie, even store-bought!
Whatever floats your boat.
Start off by spreading a layer of white frosting across the top, trying to make it as smooth as possible.
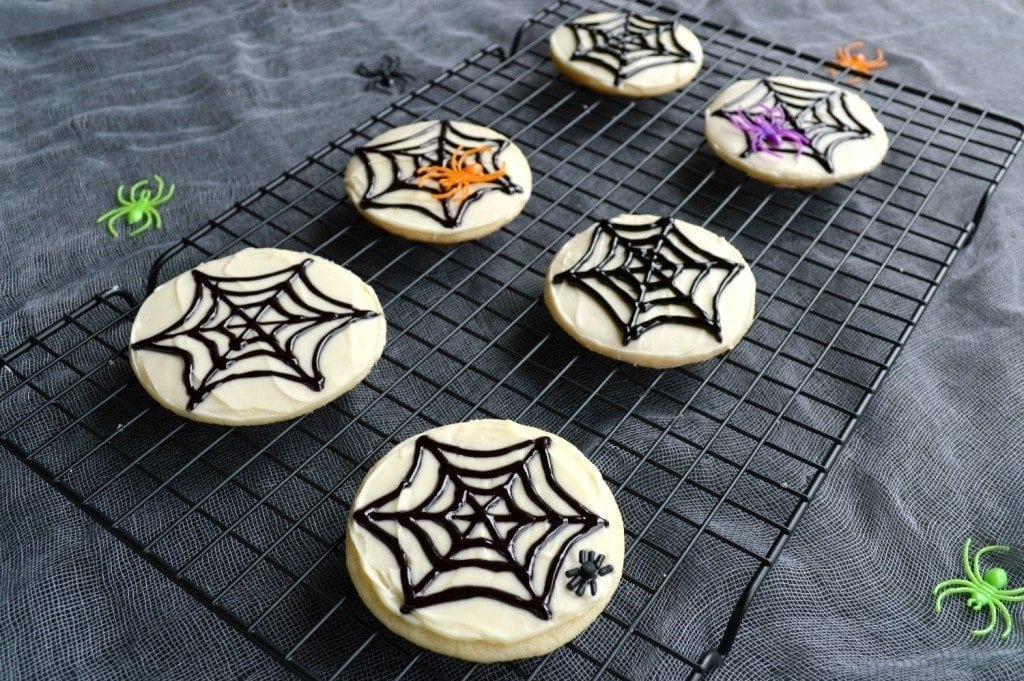
Then start piping on the spiderweb with black frosting. You can do this a few different ways.
There are premade bags of black frosting you can buy, or you could dye your own and put it in a piping bag. I ended up using a tube of black writing gel, which you can find at almost any grocery store, in the cake aisle.
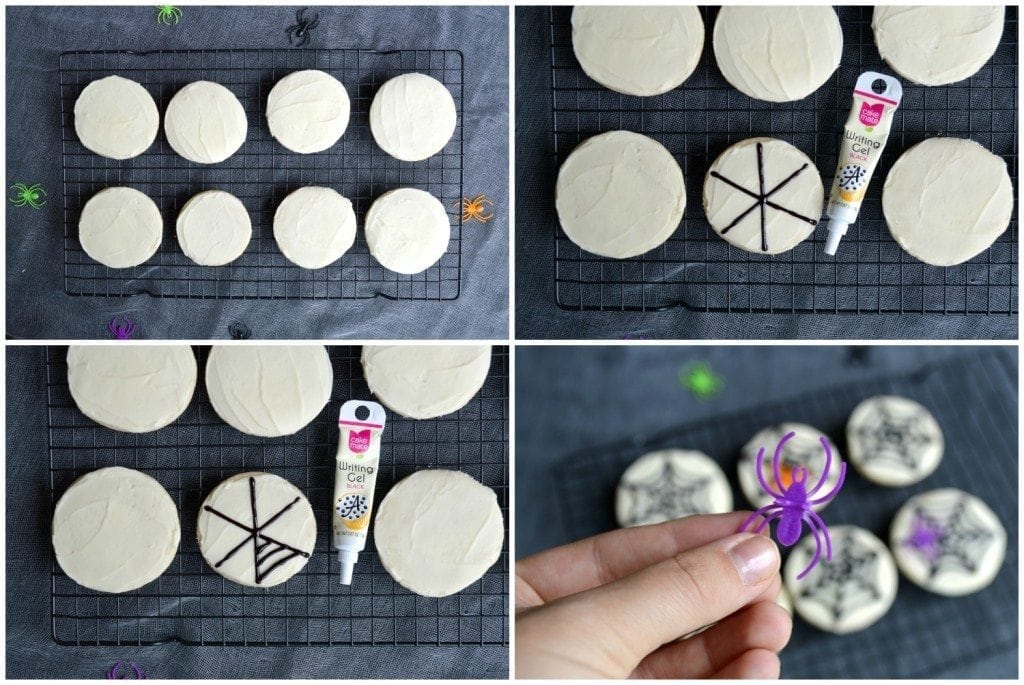
Make 3 lines across the cookie, crossing in the middle.
Pipe on the webbing by making curved lines that connect across the main lines. Sound complicated? Don’t worry, it’s not!
Top off the cookies with a spider, for good measure 🙂
I added a spider made of sprinkles (one round sprinkle, and 8 Jimmie sprinkles) on one of the cookies, and wasn’t quite happy with how it turned out.
I ended up liking the plastic spiders better, which was great because they were easier! Just cut off the ring part of a spider ring, and stick it on top.
Just like that, you’re done! You’ve got the perfect Halloween treat your kids are sure to love!
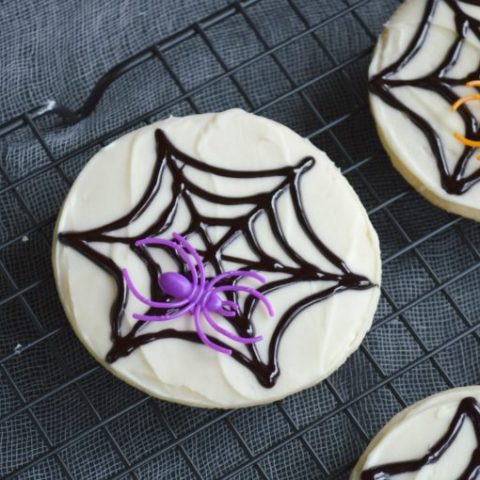
Easy Spiderweb Cookies
Ingredients
- 1 Batch sugar cookies
- 1 Can frosting (white)
- 1 Tube black writing gel
- Plastic spider rings
Instructions
Spread a layer of white frosting across the top of the cookies, making it as smooth as possible.
Use the black writing gel to pipe a spiderweb design on the cookie.
Start by making 3 lines across the cookie, dividing it into 6 equal triangles.
Pipe curved lines across the triangles, connecting all of the straight lines.
Cut the ring part off of the spider rings, and gently press the spiders into the tops of the cookies.
Enjoy!
Originally posted on 2015; Updated in 2019.
Be sure to check out these other great posts!



Chelsea @ Life With My Littles says
Oh my goodness, these are so cute! I love how simple they are! Thanks for making such an easy-to-follow tutorial!