
A Cricut Christmas Gallery – Free Design Space File
I love decorating for Christmas! I don’t love how busy this time of year can be. If you’re looking to update your Christmas decor, but find yourself short on time, this quick Christmas Gallery might be exactly what you’re looking for.
A Little DIY Christmas Decor
Like I already mentioned, I love decorating for Christmas. I have boxes and boxes full of things to bring the spirit of the season into my home. Much of my collection has been around for a while, some from my childhood, and some from my Grandma’s childhood.
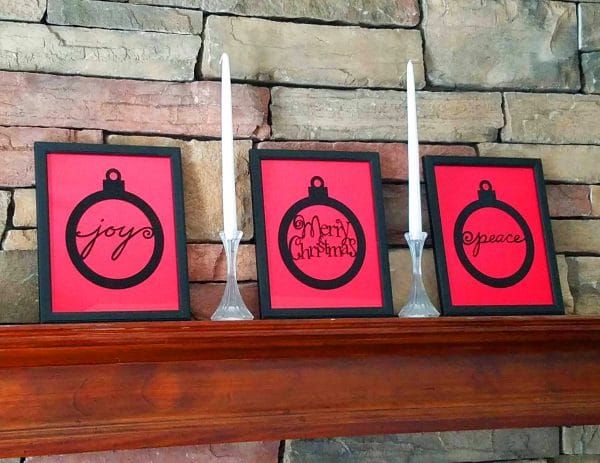
As much as I love all of my “old” things, it’s always fun to add something new to the mix. This year, I put together this Christmas Gallery with just a few picture frames and some glitter vinyl.
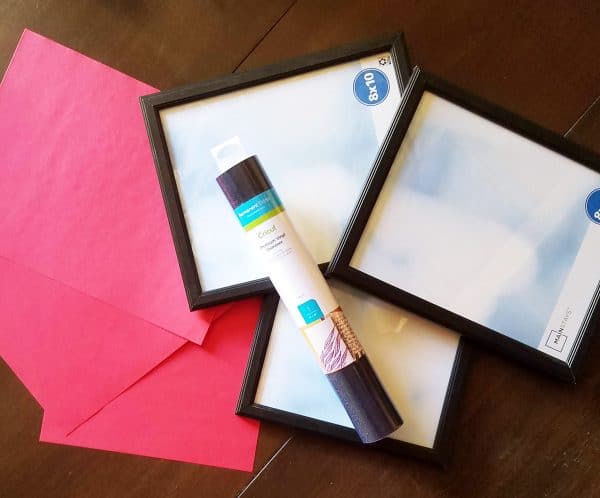
Cricut Christmas Gallery Suggested Supplies:
- Three picture frames. I used 8×10 frames, but the beauty of using the Cricut for this project, is that you can resize the design to whatever dimensions you need.
- Red paper – 3 sheets.
- Black, Glitter Vinyl – because Christmas decor should be extra shimmery, right?
You’ll also want to follow this link over to Design Space, to access this file.
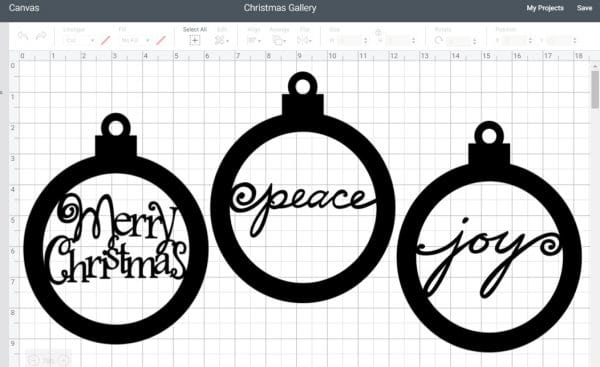
The images for this project come from the “Joys of the Season” cartridge that I purchased back when you couldn’t cut anything without them. I love that Design Space allows you to connect all your old cartridges, giving you the ability to manipulate all those fun cut files in Design Space!
With all your supplies gathered, and the Design Space file pulled up, you’re ready to get to work. The first thing you need to do is make sure the image dimensions will work for the picture frames you will be using for this project. I have them set for an 8×10 frame, but if you’re using something other than that, you’ll want to adjust them.
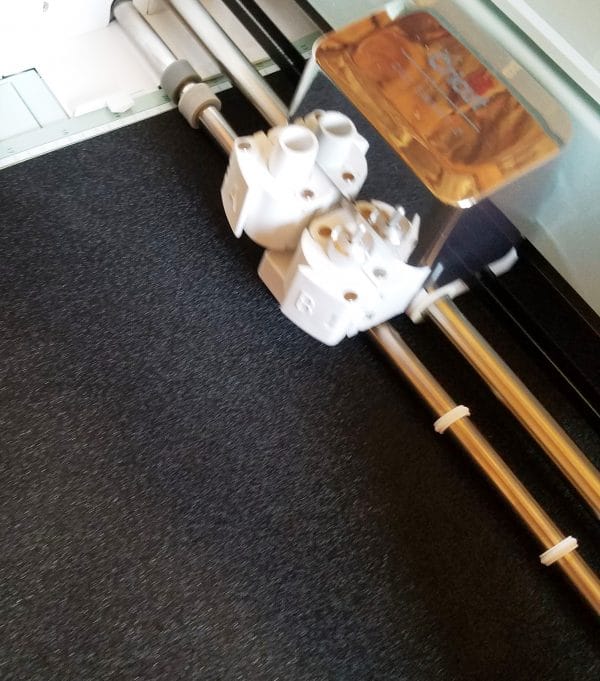
Is it weird that I took a picture of my Cricut in the process of cutting? It still mesmerizes me to watch my machine work. Seriously, it’s a little bit magical!
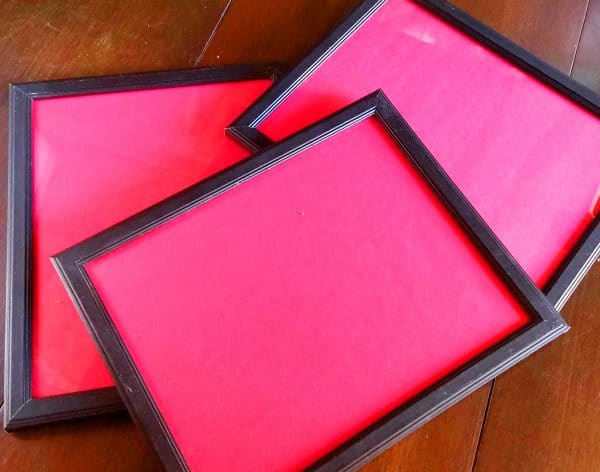
While your Cricut is cutting, it’s a good idea to get the red paper into your frames. That way, when your images are cut and ready to transfer, you’ll have a surface ready for them. Once you have your frames ready, set them aside and get back to your vinyl. Everything should be cut by now, so you can sit down and do a little weeding.
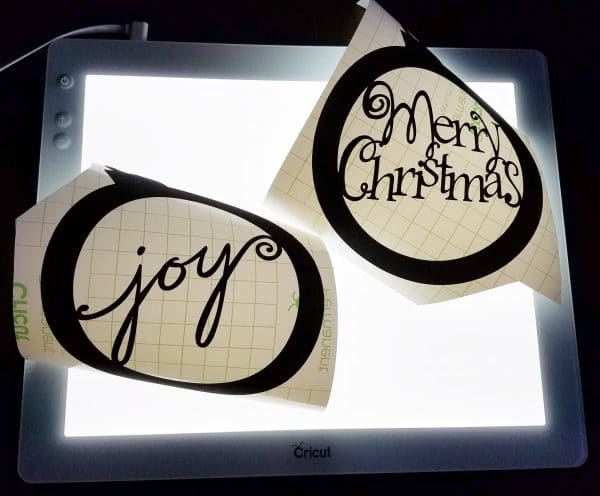
I found the Cricut Bright Pad to be a must have tool for this project. There are a lot of intricate cuts in these ornaments, and I would not have wanted to trust myself to catch all of them without a little light shining through. Seriously, other than my Explore Air 2, my Bright Pad is probably my favorite little Cricut gadget. Besides, who couldn’t use a little extra light in their lives these days?
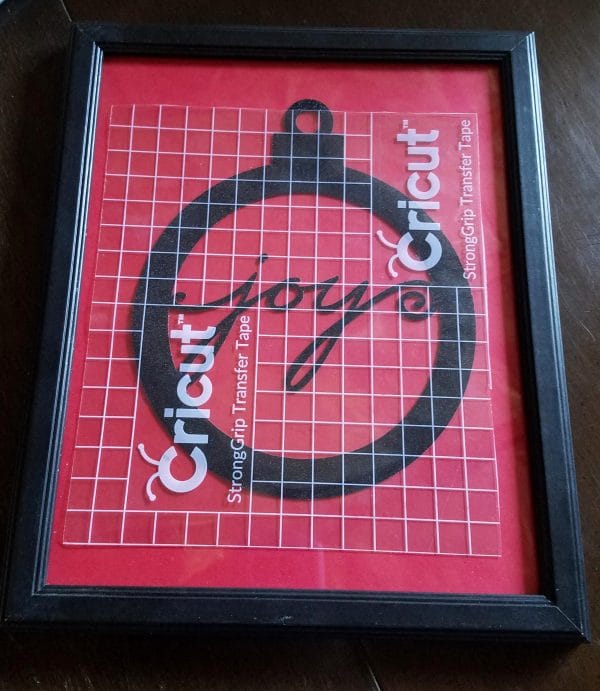
The roll of vinyl I used for this project came with a 12×12 sheet of StrongGrip Transfer Tape. With glitter vinyl, you really do need that little bit of extra stickiness. I love that Cricut prints a grid on their transfer tape. Use that to your advantage to make sure your ornament ends up on your picture frame straight!
Yes, I put the vinyl right on the glass, and I love the look that gives. Plus, it allows you to adjust the background at will as your decor color scheme changes.
There you have it, a quick project to add a little something new to your home for the holidays. I hope you enjoy it!


This is a cute project but the Cricut Design Space link does not open in DS.
We are so sorry it isn’t working! If you could email us at katie@clarkscondensed.com we would love to help fix that.
Cant access says project saved as private.
So sorry, this link should work – https://design.cricut.com/#/design/185294259
Can’t access the project because it is saved as private.
So sorry – the link should be working now!
Can’t access the project because it is saved as private.
So sorry, this link should work – https://design.cricut.com/#/design/185294259