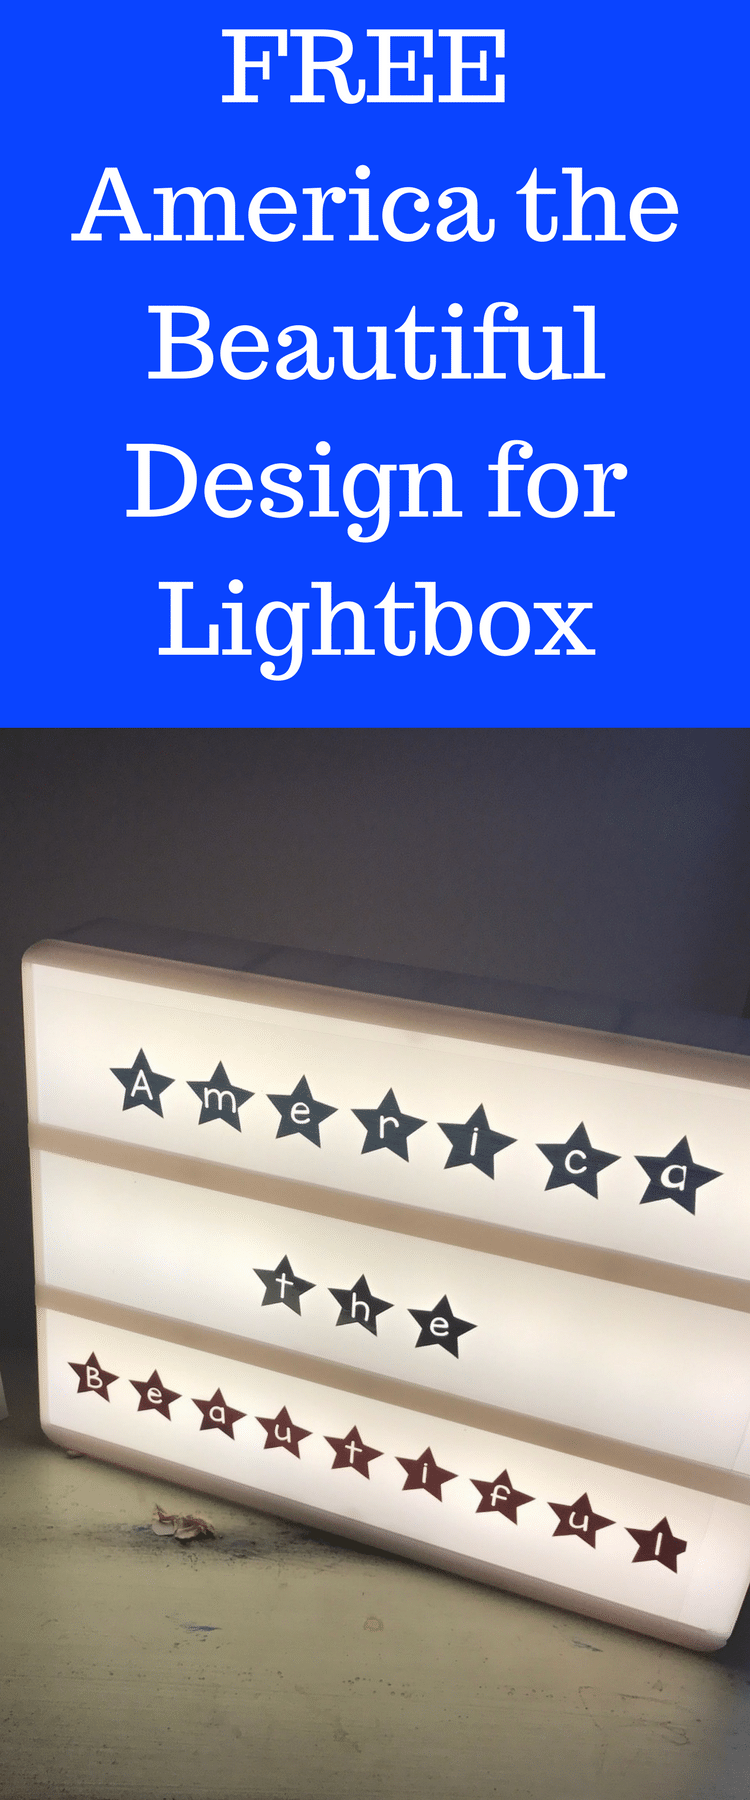
America the Beautiful Lightbox Sign with Cricut Design Space {{FREE}}
Several months ago, I purchased some craft plastic with the intention of making lightbox signs.
I had won one of Heidi Swapp’s large lightboxes at SNAP (a creative bloggers conference) last year, and I was excited to make some custom signs for it.
Well, life got the best of me, and it wasn’t until today that I made my first one.
My friend, Sydney (who helps me run this facebook Cricut Support Group) wrote this great post about how to make your own Lightbox insert, and it made me hop over to Cricut Design Space to try it out myself.
Sydney’s tutorial is awesome, so make sure you go and read it. I love the sign that she made, but I decided to make mine say “America the Beautiful.”

Here are a few of my changes/differences from what she did:
The design she made was for a smaller sized lightbox than mine, so the length and width of mine was 2.75″ wide and 12″ tall.
Because mine were longer, I had to make the rectangles go vertical so I could cut them all at the same time.
I had a lot of trouble figuring out the best setting for the craft plastic. It seemed like nothing worked! In the end, I ended up cutting out the rectangles on the lines that the Cricut made – they were so close to being cut, I just had to snip them. Let me know if you find the perfect setting!
If you like how my design looks and you have the larger Lightbox, you can click here to get the design. I also used the All the Stars font, so you will need to download that before opening it. Sydney’s tutorial can give you more details on exactly how to do everything 🙂
I loved how mine turned out, though.
As a recap, here are the materials I used for this project:
Craft Plastic (one sheet was perfect for my lightbox)
Red Adhesive Backed Foil
Blue Adhesive Backed Foil
Silver Adhesive Backed Foil
(buy foil on Amazon or Cricut.com. I think Cricut.com has more options)




This is so cute and makes me want to get a lightbox!!