Back To School Wreath
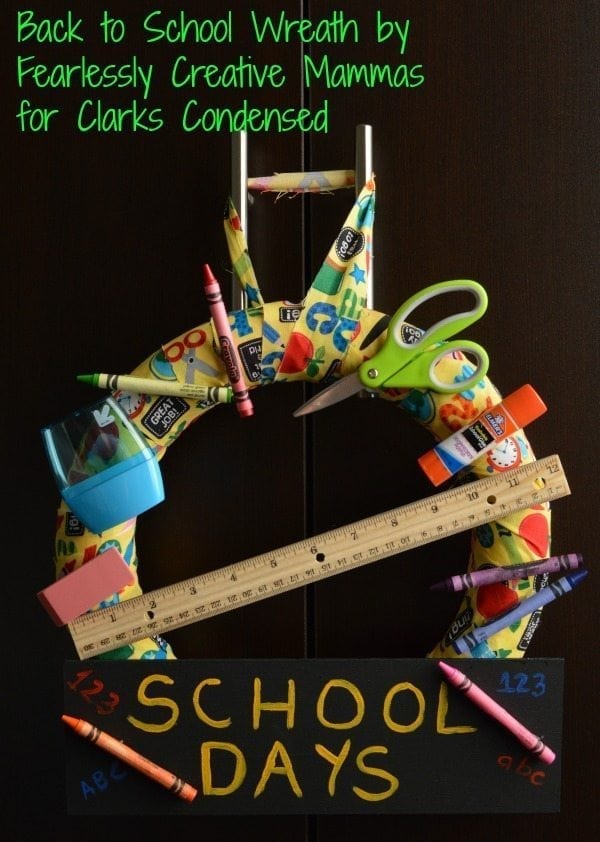
Hi. It’s Kathleen from Fearlessly Creative Mammas sharing with you again today. I’m happy to be here.
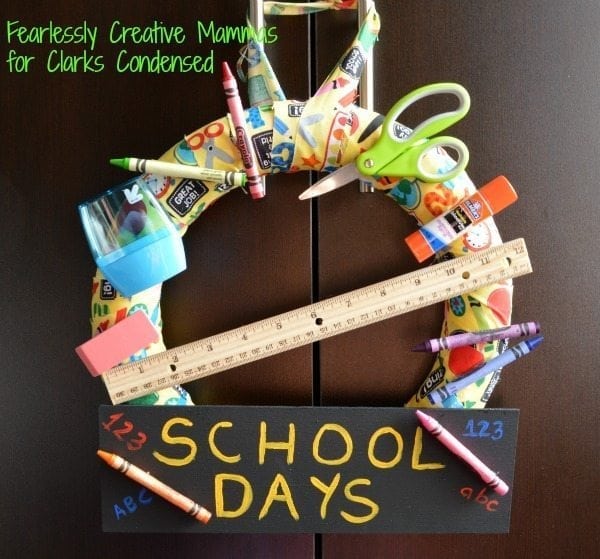
Back to school time is upon us, with school shopping for clothes and supplies. I’ve seen a lot of people talking about teacher gifts for the beginning of the year. I’m not sure I get that, but I did have an idea for one that anyone can make. It is super easy. You can even make it with the child who will be presenting it to the teacher. OR, if you’re like me and don’t have any little kids going to school, you could make it for your own door. My grand kids would enjoy seeing this when they come to visit me, but I’m traveling and it would never make it home, so I will give it away.
Today I’m going to give you some step by step instructions for making this wreath. I bought the supplies at Target and Joann Fabric and Craft Store. If you plan it just right, you won’t have to pay too much for the school supplies because it seems like stores have some great supplies this time of year.

You can get any kind of school supplies you want, but I picked scissors, pencils, erasers, glue sticks, crayons, a ruler and a small pencil sharpener. Those were all picked up at Target. The craft supplies I picked were a 12 inch styrofoam wreath, a piece of balsa wood that is 12 inches by 3 inches, paints and 1/4 yard of fabric. I also used a glue gun and glue sticks, a foam paint brush and a detail brush.
Unfortunately, I had to purchase everything because, as I said, I’m traveling with my husband for a little bit and I didn’t have any of those things with me. However, I do need to do something crafty pretty often, so this is what I picked. I used my Joann app and some coupons to get a discount on the pieces and paid about $18 for everything needed for the wreath. I think in the future I will travel with a glue gun, brushes and scissors. The airport security people will wonder what kind of person travels with those types of things.
The first thing I did was cut the fabric into some wide strips, about 3 inches wide in fact. Next I used the glue gun and wound the fabric around the wreath. Please excuse the photo below. I was trying to wrap the fabric and take a picture at the same time. It came out blurry, but I still wanted to show you.
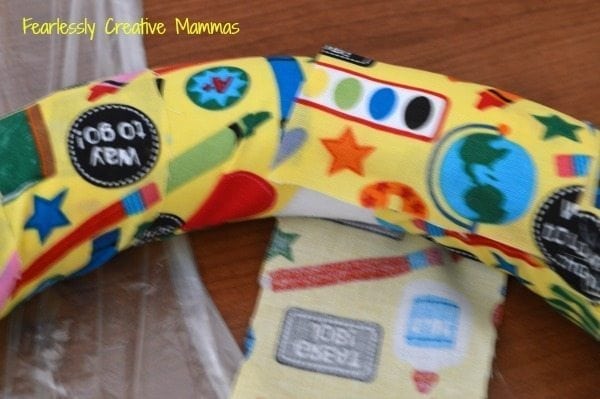
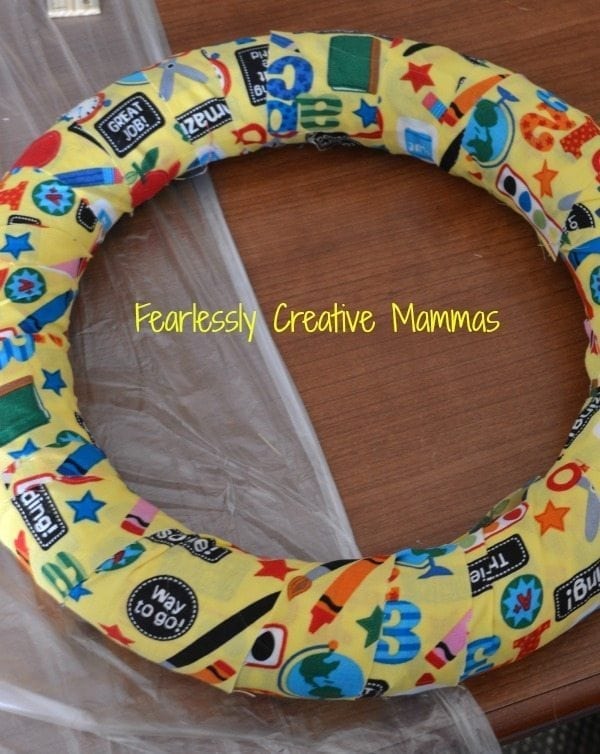
This is what the wreath will look like when it is totally covered with fabric. Be sure to save a piece of fabric to keep as a hanger.
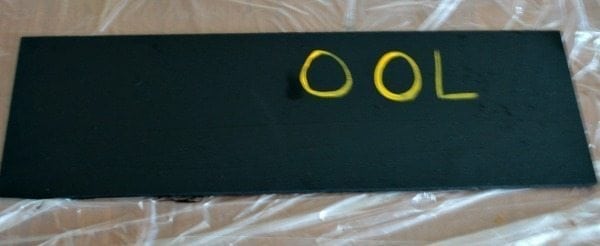
Next I painted the board black, to look like a chalk board. I used three coats of paint because the balsa wood soaks it in really well. If you can’t get balsa wood, you really just want something really light so it can be glued to the wreath. When I painted the words on the wood, I put the second half of the word on first, so I could center it well. I decided on ‘School Days’ so that it can be used all year long. I also painted some numbers and letters on the board with other paint colors.
Finally, I used the hot glue and glued the supplies on the board and wreath. I used a lot of glue because I want everything to stay in place well. See, super simple. Something anyone can make.
If you’d like to try your hand at other wreaths, here are two other wreaths that I have found!
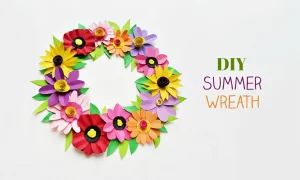
Flower Wreath by The Craftaholic Witch
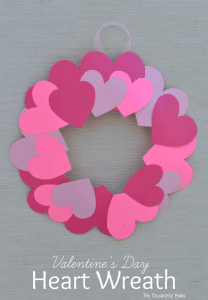
Valentine Wreath by The Resourceful Mama
Are you ready for Back to School yet? When do your kids go back to school? Leave us a comment below and let me know. Also, if you like the posts I write here, follow us at one or more of the links below. We’d love to have you.

Blog / Facebook / Twitter / Pinterest / Bloglovin / Instagram / Google+


Hi Kathleen, as I travel around blogs, I came upon this cute BTS wreath, so I am featuring your post on my Weekend Party, hope you can make your way over to check out the feature!!! I was excited to share on Oh My Heartsie Girl!! Have a great weekend!!!
Have a great weekend,
Karren
Thanks so much! I’ll be sure to let Kathleen now 🙂 Thanks for letting us know!