The Best Cricut Machine for Making Shirts
Do you love making custom shirts? If so, you need to invest in a quality Cricut machine. In this blog post, we will explore the best Cricut machines for making shirts. We will also share tips on how to use these machines to create the perfect shirt every time. Let’s get started!
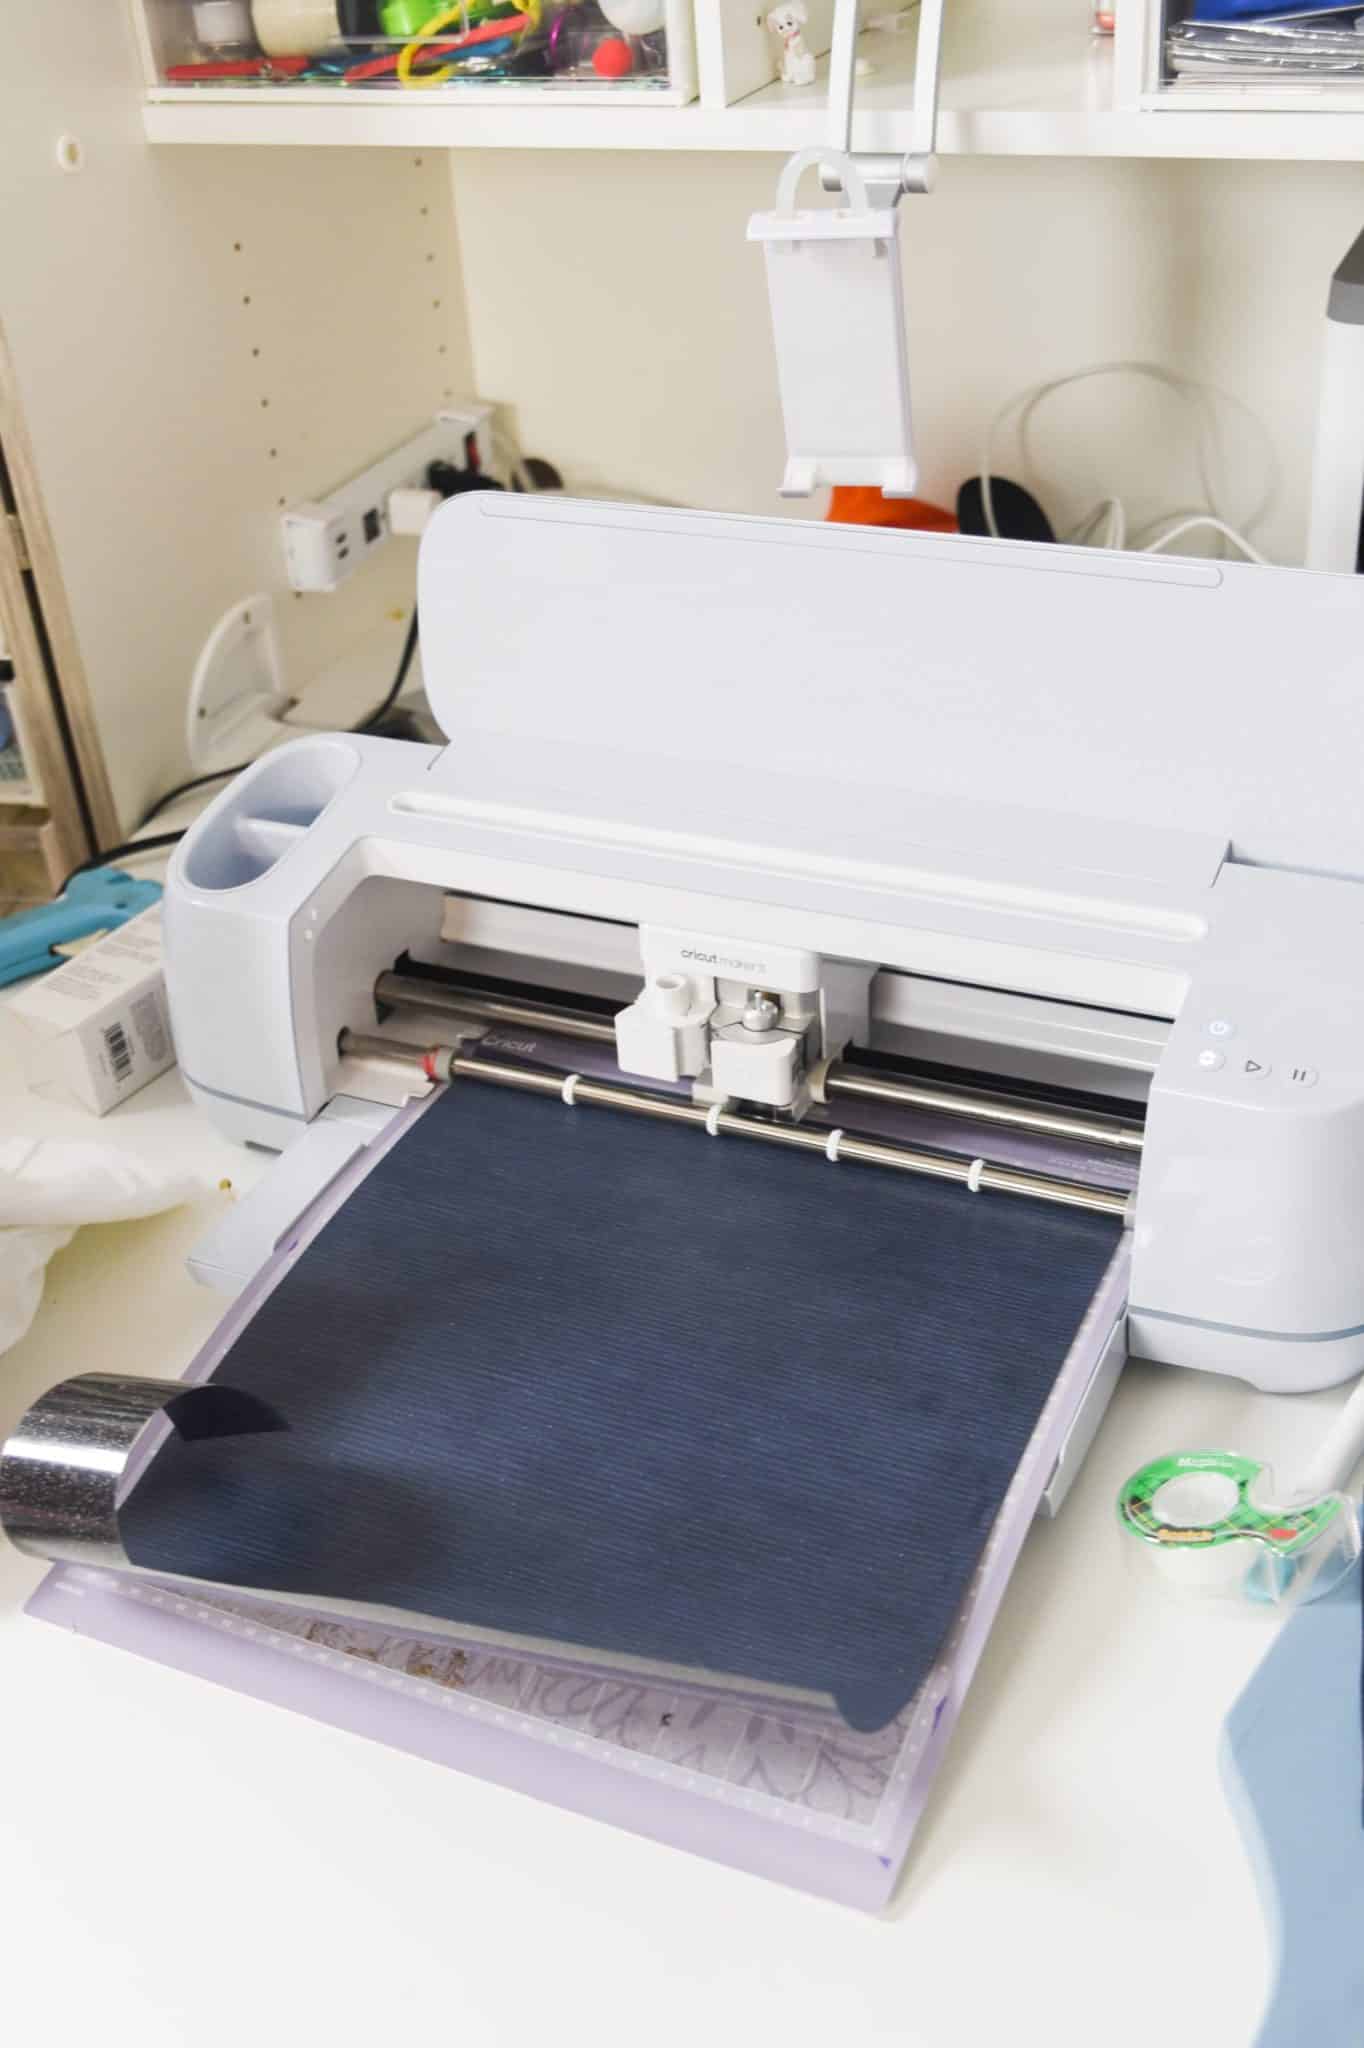
If you know me, you know how much I love my Cricut machines. I use a few different models for different things, but I truly love them all the same but for different reasons!
The Cricut Joy, the Cricut Explore, the Cricut Maker Machine… they’re all just so good. It’s hard to choose a favorite, but I will admit some are better for certain things than others. Today, I want to talk about the right Cricut machine for making shirts.
Making custom shirts with my own designs is so much fun. My kids love having unique clothes to wear to their playdates and activities, and they love giving them to their friends as gifts!
It’s also fun to make shirts for concerts, family reunions, bachelorette parties, holidays, team sports, and more. You could even sell your shirts with custom designs to make a little extra money!
There are countless options, and getting to be your own clothing designer is the best! This is a fair warning though – it can get addicting when you have a million ideas going through your head.
My Top Choice – Cricut Maker 3
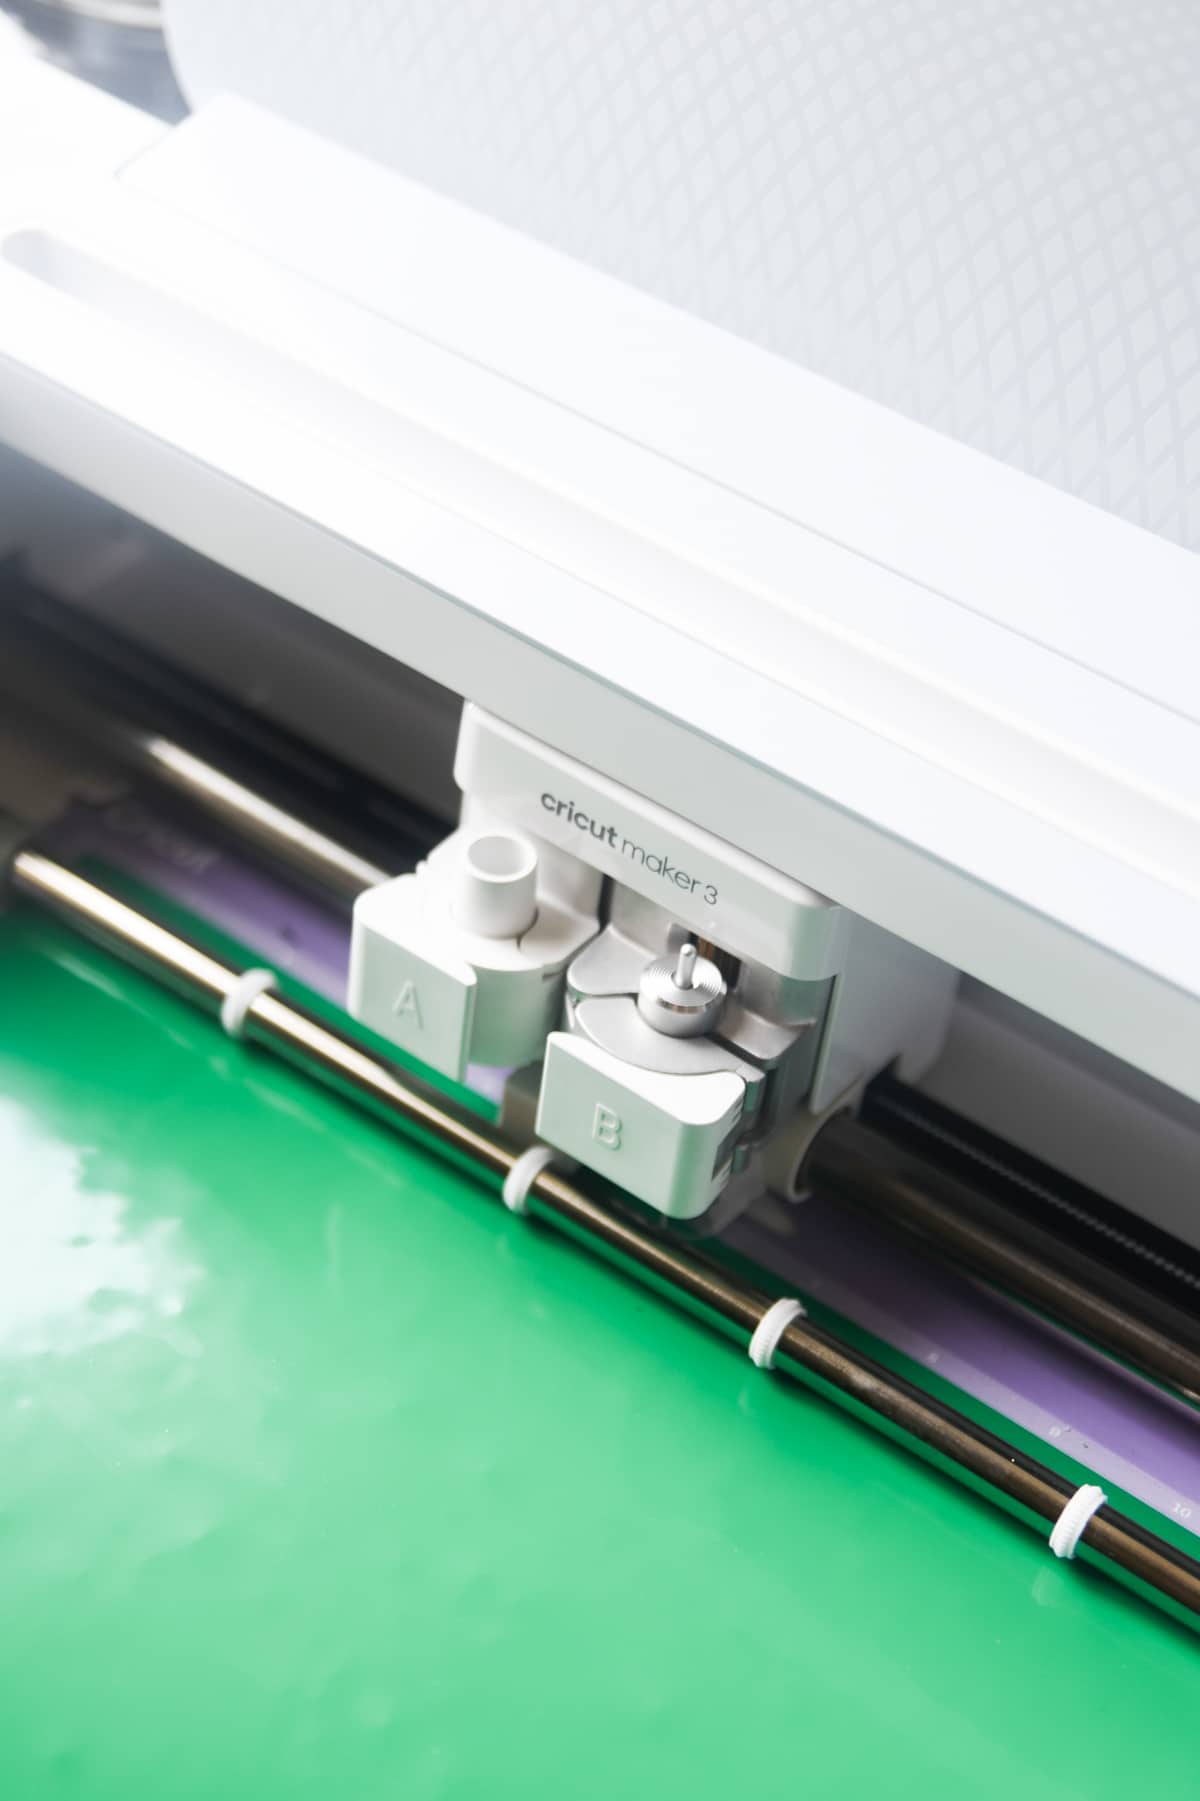
Out of all the Cricut machines, I’ve tried, I have found that the Cricut Maker 3 is best for making shirts, especially if you are cutting iron-on vinyl for a large volume of shirts. I wasn’t sure if Cricut could make a machine better than the Cricut Maker, but somehow they did it!
- This new machine is compatible with over 300 materials and includes the most precise cutting mechanisms out of any other Cricut machine available, making it a great choice for shirt making.
- It cuts faster than the other machines, and it also has the ability to cut matless, which is AMAZING. This makes it so there is no limit on the length – so if you are cutting multiple designs, you don’t have to keep putting in more material. That’s pretty impressive when you think about it!
The main difference between the original Maker and 3 is that the new Cricut machine is faster than the other machine and cuts matless. If you have an older Cricut model and you don’t want to buy a new one, you can totally use what you have to make custom t-shirts and also create cake toppers
The Cricut Maker can cut through materials like cotton, denim, flannel, and even leather. So if you are literally trying to make a shirt that you are cutting to sew together, you can do that with the right pattern. You can click here for a list of other compatible materials!
And with the rotary blade, you can get a perfectly clean cut on curved lines – which is key if you are cutting out materials to make a shirt or even to adhere to a shirt (such as patches).
It’s also perfect for cutting heat transfer vinyl so your designs are extremely clean and precise. It also works well with Cricut Smart Materials! These can be loaded directly into the Cricut, and you don’t even need a cutting mat. Plus, you can make the shirts in bulk if needed.
Cricut Design Space makes the process simple, so matter what different materials you’re using.
Can all Cricut machines make shirts?
With all this said, the good news is that all of the Cricut machines can make shirts! It’s more the machine’s ability to cut iron-on vinyl than the shirt pressing process – and all of the machines can beautifully cut iron-on.
There would be some limitations with the Cricut Joy, just because it cuts such a small width. For that reason, I don’t think I would purchase the Cricut Joy with the intent of using it for making shirts. You would be very limited in your ability to make designs!
The Cricut Maker and Cricut Explore series can all be great options for cutting shirts. The Maker 3 just offers a few additional options that can make the process easier.
What Heat Press Should You Use?
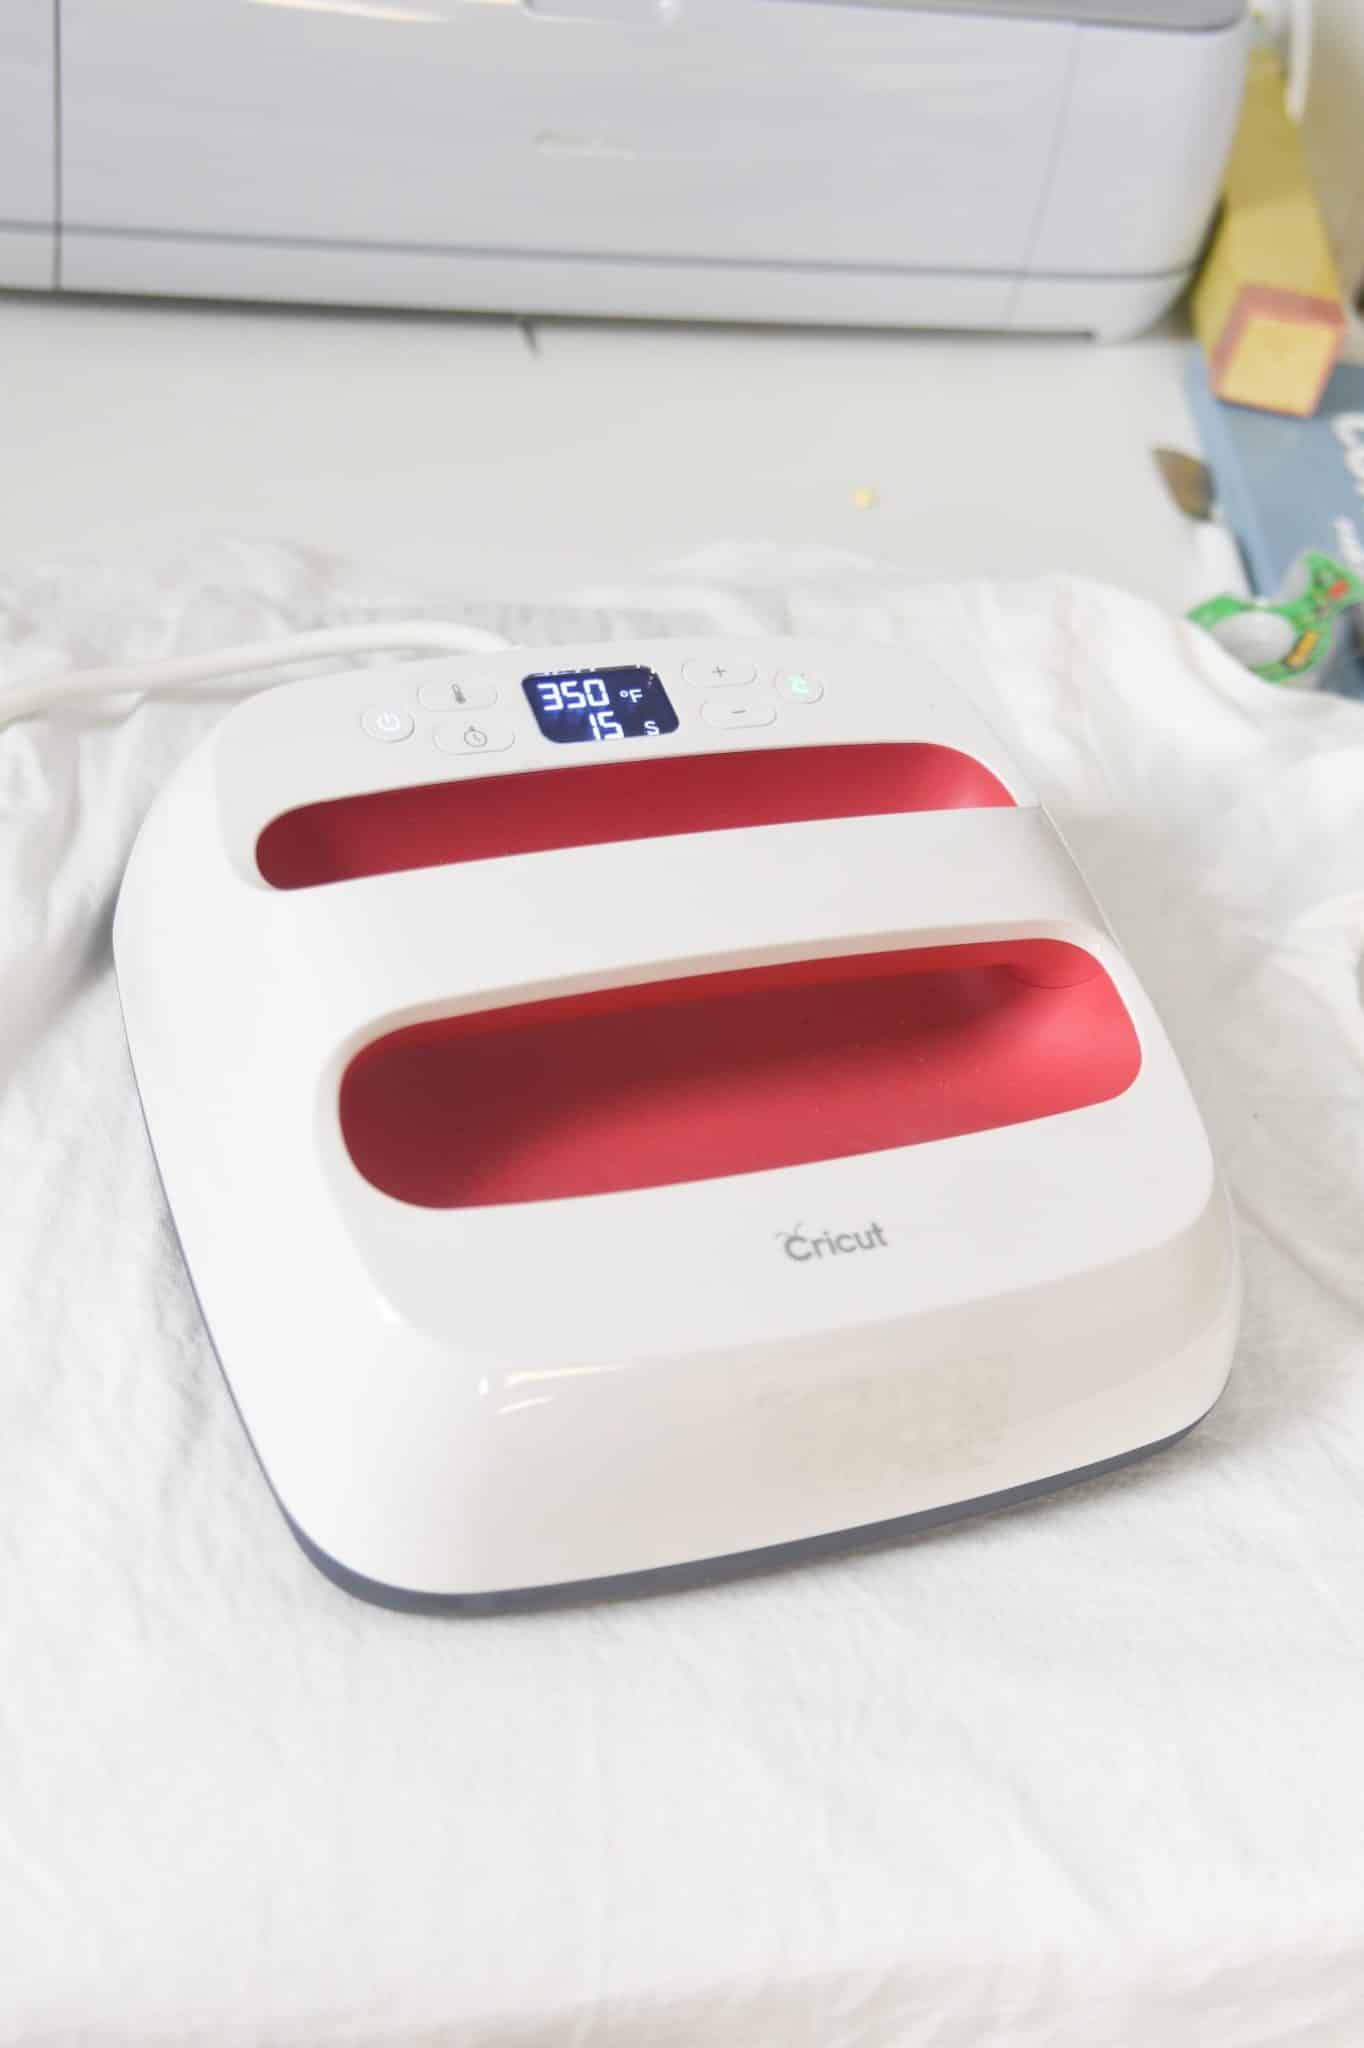
Now that you have the right Cricut for making shirts, you’ll need a heat press to go with it. My personal favorite is the Cricut EasyPress 2. There is a newer one, but honestly, I think the EasyPress 2 gets the job done (and you can find them for great prices).
It’s perfect for transferring vinyl onto fabric, and I’ve found a lot of success with the durability of the designs as well. I’ve washed and dried my shirts and haven’t had a problem with cracking or peeling!
For me, this easy press is the best choice for making t-shirts. It might take a little practice, but before you know it you’ll be an expert. The Cricut EasyPress Mini is a great option for small projects like tote bags and small iron-on designs.
Another thing I love about EasyPress is that you can use an app on your phone to control the time and temperature of the electronic cutting machine. It’s so convenient and user-friendly! Plus, its design creates even heat distribution and pressure for the best results.
you might also enjoy – Cricut Iron Press, Easy Press, and Heat Press Shirt Comparison
Cricut Shirt-Making Tips
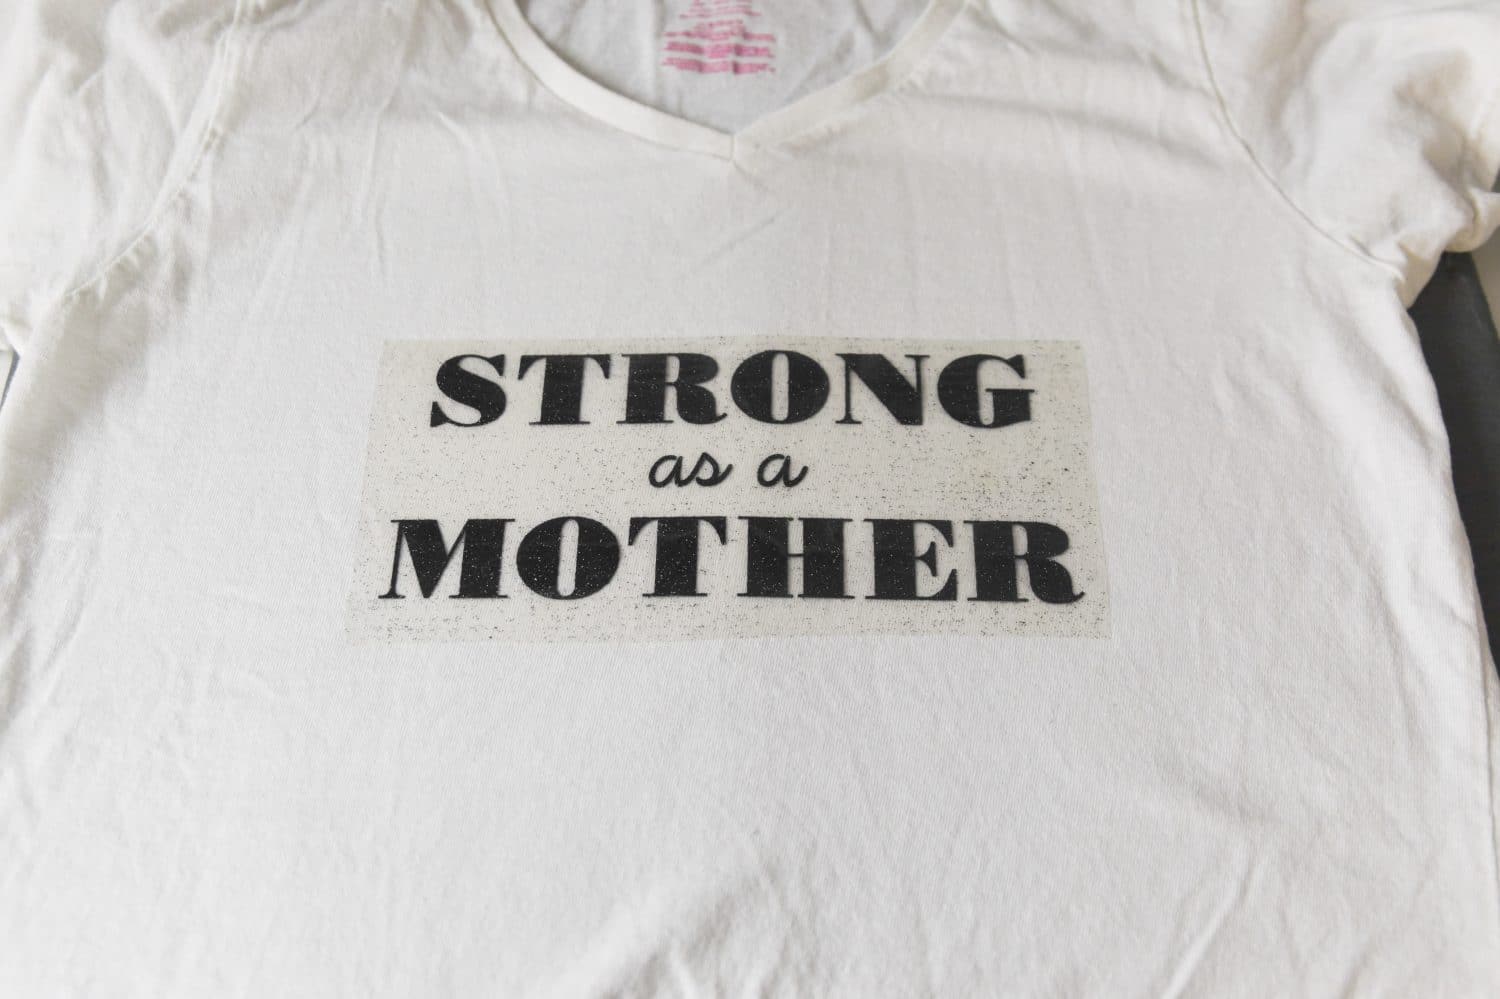
Over the years, I’ve experienced a lot of trial and error when it comes to making shirts with my Cricut. Here are a few of my favorite tips and tricks that will set you up for success!
For all my best tips, be sure to read this article – How to Make a T-Shirt with Cricut: The Ultimate Guide
Pick the Right Colors
There’s nothing worse than spending a ton of time and energy creating a design, only for it to look strange because you chose the wrong colors. When in doubt, go with classic colors that will look good on everyone – black, white, grey, navy, etc. You can also use patterned iron-on vinyl to add some fun and interest to your design! As you start to get more comfortable with your Cricut, you can start to branch out more.
Get a Good Fit
This is probably the most important tip I can give you – make sure you measure your shirt before cutting out your design. You don’t want it to be too small or too big – you want it to fit just right.
If you’re not sure what size to make it, err on the side of caution and make it a little larger. It’s always the best option to have a shirt that’s too big than one that doesn’t fit at all!
Take Your Time
Making shirts with your Cricut is supposed to be fun, so make sure you take your time and enjoy the process. It’s not a race, and there’s no need to rush. If you’re feeling stressed out or frustrated, take a break! You can always come back later when you’re feeling more relaxed.
Pay Attention to Positioning
The positioning of your design is one of the most important parts of the process, so really take your time to make sure you get it right. If your design is off-center or in the wrong place, it can ruin the entire project! Trust me – I’ve been there.
Make Sure the Design Size is Right
This is another really important one! If your design is too small, it will be really hard to transfer onto the shirt. If it’s too big, it might not fit on the shirt at all. So take your time and make sure you get the sizing just right.
Have Patience
Making shirts with your Cricut is supposed to be fun! Don’t put too much pressure on yourself to get it perfect. If you make a mistake, that’s okay! You can always try again. The more you practice, the better you’ll get. The first time (or first few times if we’re being honest) are a little rough, but don’t give up! You’ll be making intricate designs and precise cuts before you know it.
I hope these tips have been helpful and that you feel more confident about making shirts with your Cricut machine! Just remember to take your time, have patience, and pay attention to the details. If you do all of those things, I’m sure you’ll be successful. Thanks for reading!
Do you have any tips for making shirts with a Cricut machine? Share them in the comments below! I’d love to hear from you.

