DIY Cricut Paper Ornaments and Gift Card Holders
Giving Tree Ornaments
Every year since I was a child, I remember participating in some kind of giving tree at Christmas.
Our church usually has one set up in the foyer, and my elementary school had one at the front of the school.
I would always love when my parents would let me select an ornament from the tree for us to buy a gift for.
Typically, I would try and find someone who was the same gender and age as me – it just felt more meaningful to me!
Now that I have children, I like to participate in giving trees as well. It’s so easy to get caught up in the “me, me, me” aspect of the holiday season – and it’s important to me that my children enjoy giving and helping others.
This year, I was asked to create the ornaments for our church congregations giving tree, and I was excited to be able to help.
I had been trying to think of a project to do with Stampin’ Up for the month of November, and this seemed like the perfect idea.
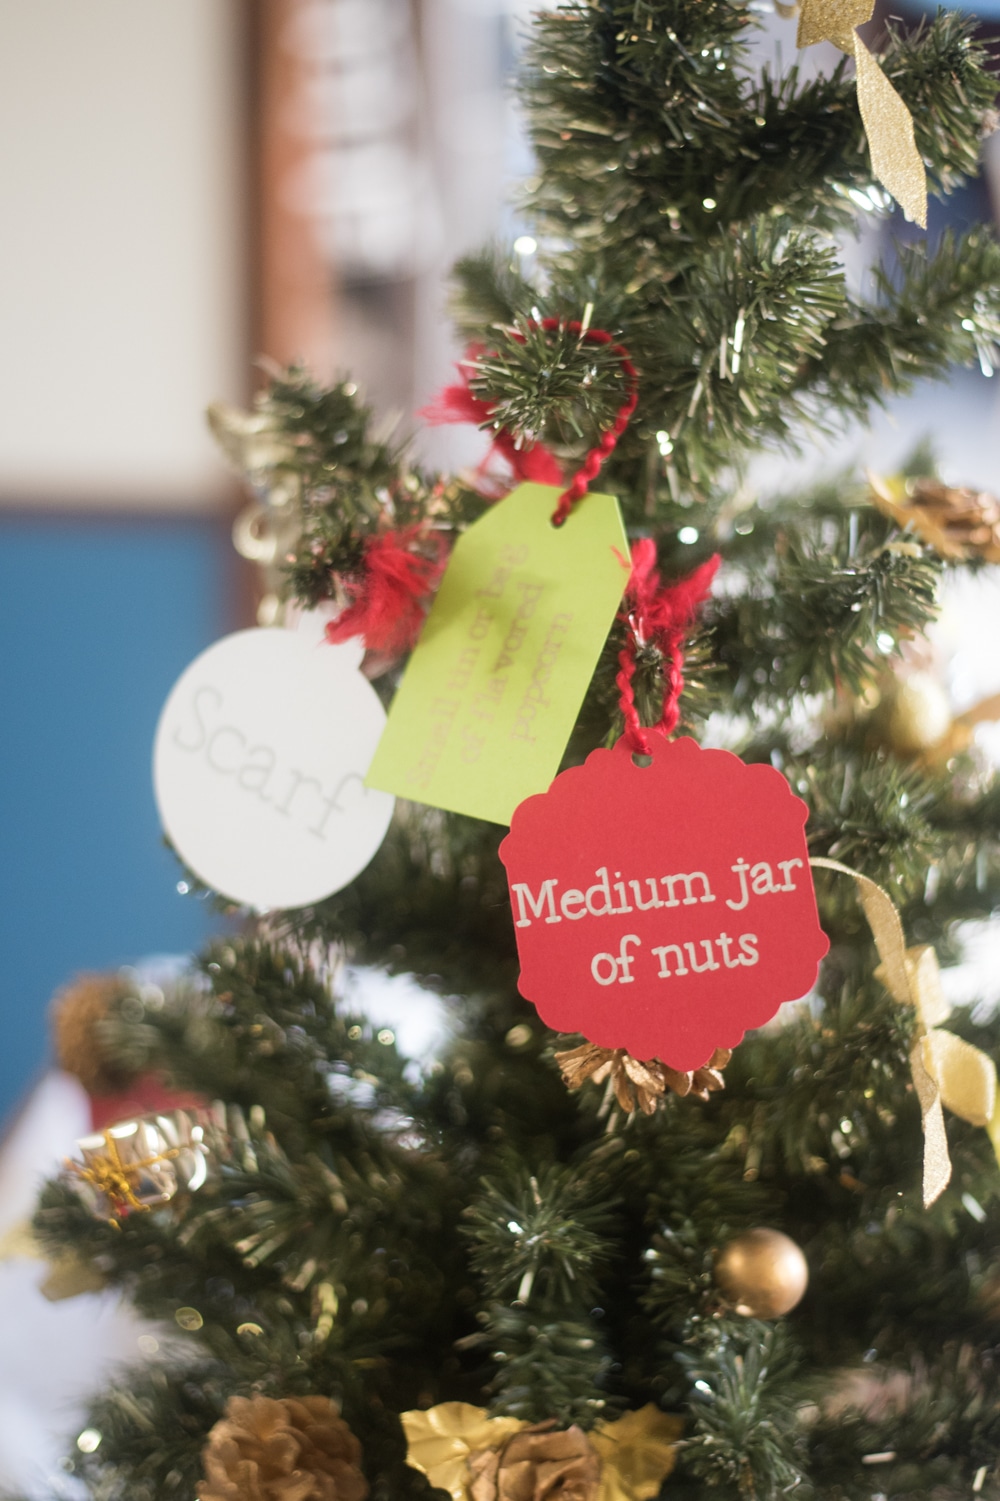
For the physical giving tree that stands in the foyer of our building, each ornament needed to say “Scarf”, “Small Tin of Nuts”, or “Small bag or tin of flavored popcorn.”
Because my handwriting is atrocious, I opted to use my Cricut to write all of these out on the ornaments, which ended up being a great idea.
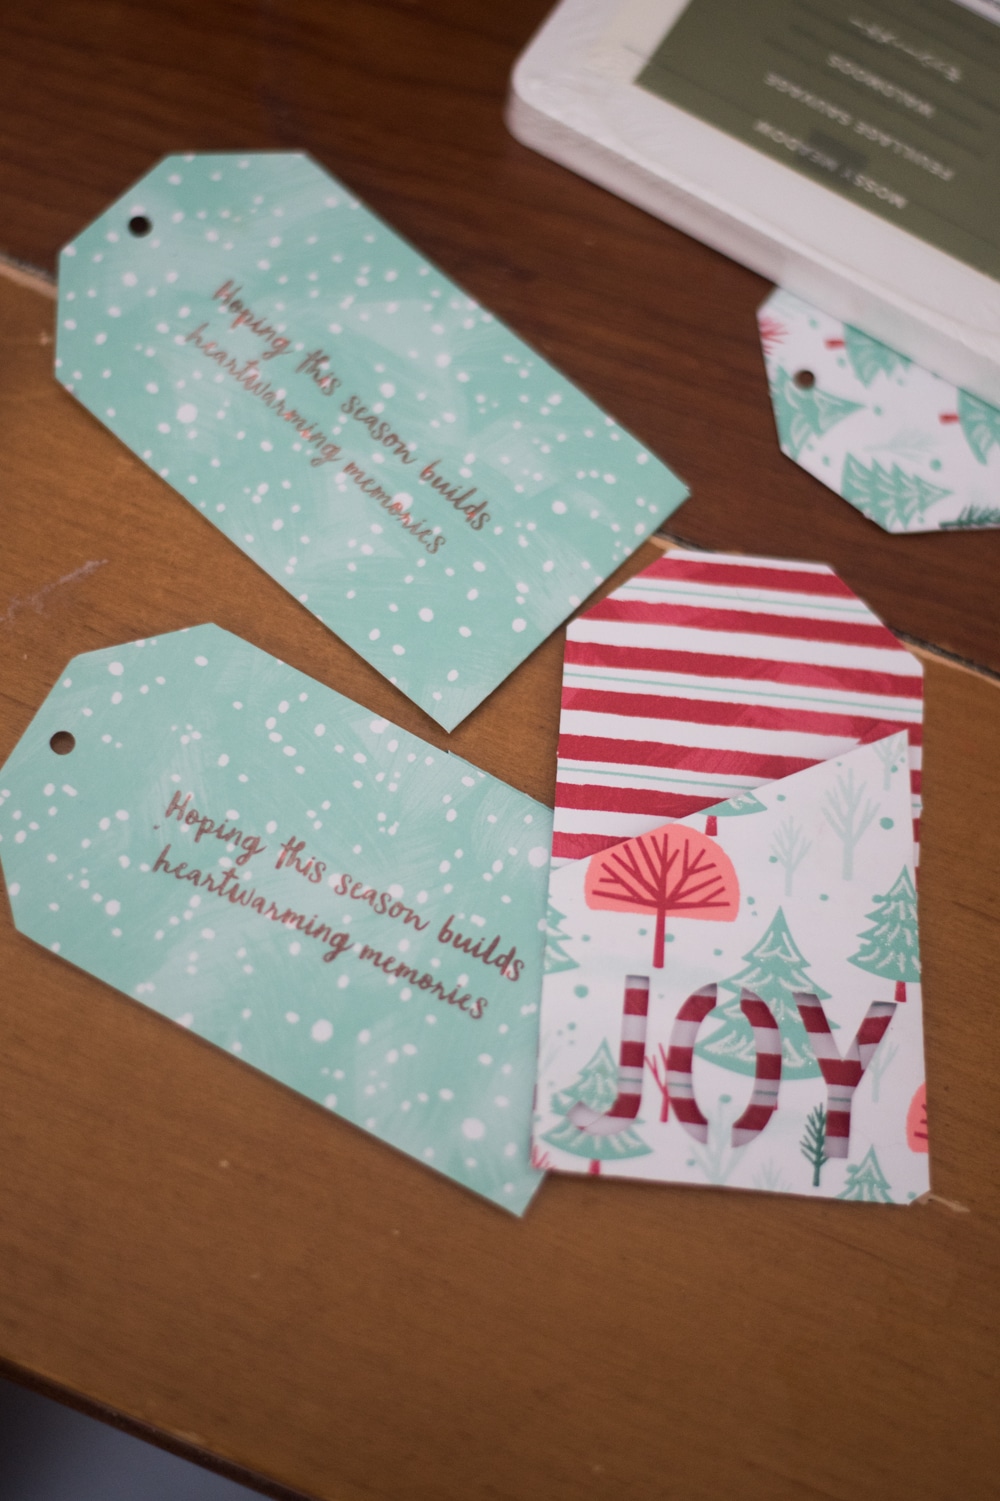
Our Bishop also sent out a Signup Genius where we could signup for gift cars to a grocery store or fast-food restaurant. Since a lot of giving trees include gift cards, I thought it would be fun to create a gift card holder as well.
This month, Stampin’ Up sent me the following items to play with. This might have been my favorite box!
- Snowman Season Stamp Set
- Snowman Builder Punch
- Tiny Keepsakes Stamp Set
- Let it snow Specialty Designer Series Paper
- Real Red Glimmer Paper
- Real Red Curly Ribbon
- Puff Paint
- Let it Snow Embellishment kit
For this project, I used the Snowman Season Stamp Set, Let it snow Specialty Designer Series Paper, Real Red Curly Ribbon, as well as some seasonal cardstock they sent us.
I thought that the additional items would be fun to set up for a card-making station if you had a day where you gathered to put together the baskets to give the recipients of the giving tree.
The ornaments turned out perfectly. It was so nice just to press go on my Cricut Explore Air 2 and have them cut and written on in less than 30 minutes.
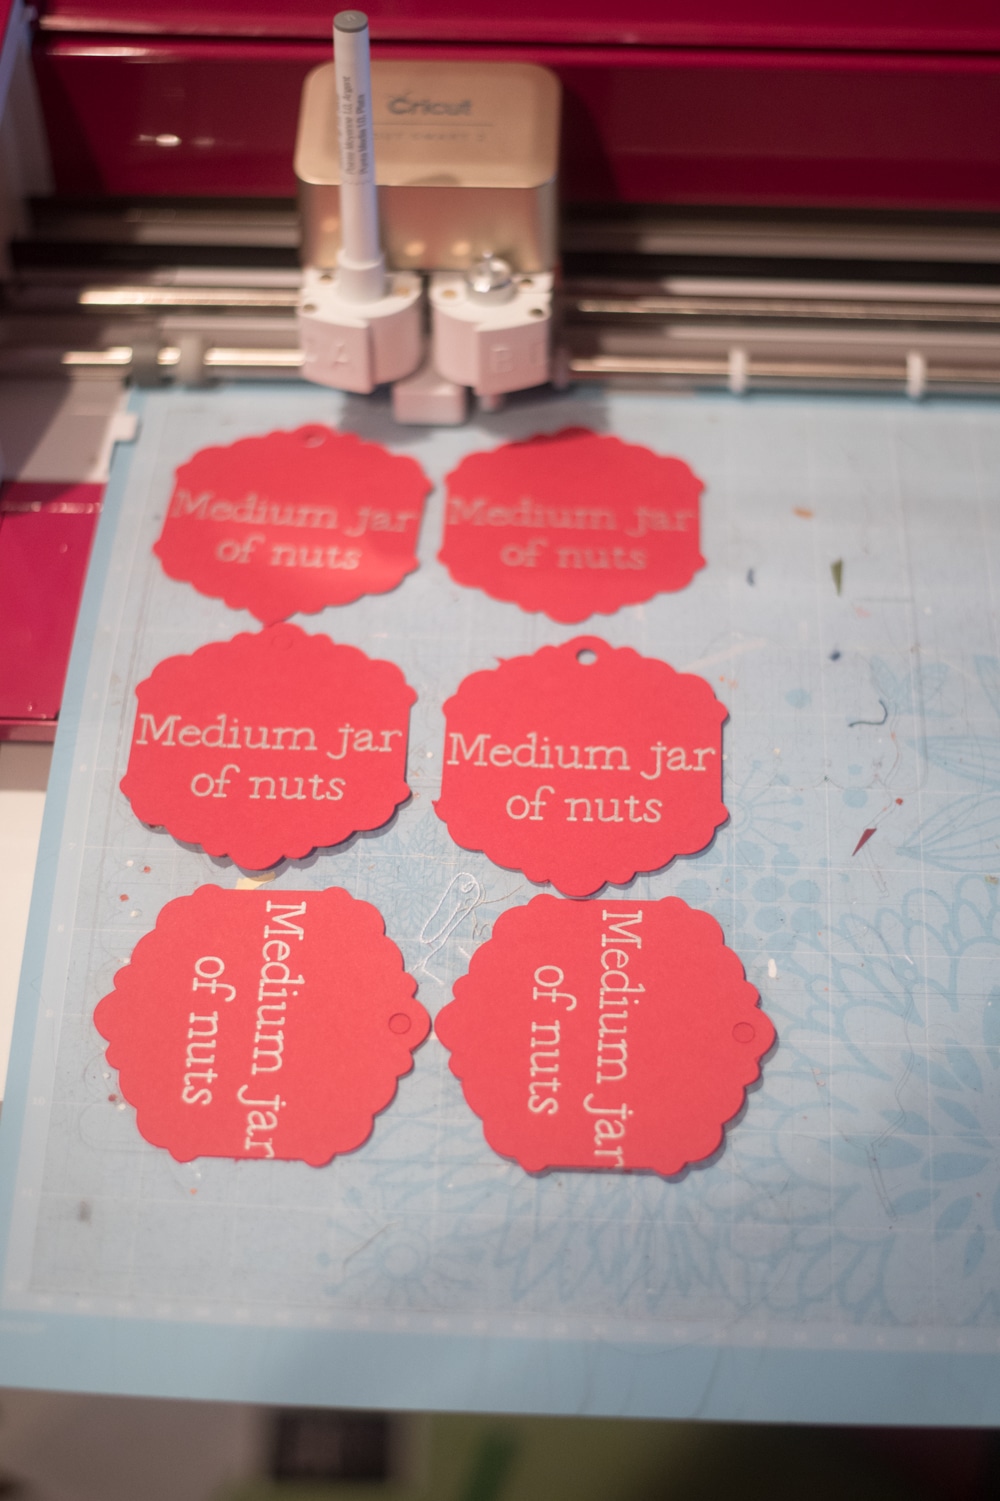
I used the Real Red Curly Ribbon to hang the ribbons, and I just love how it turned out.
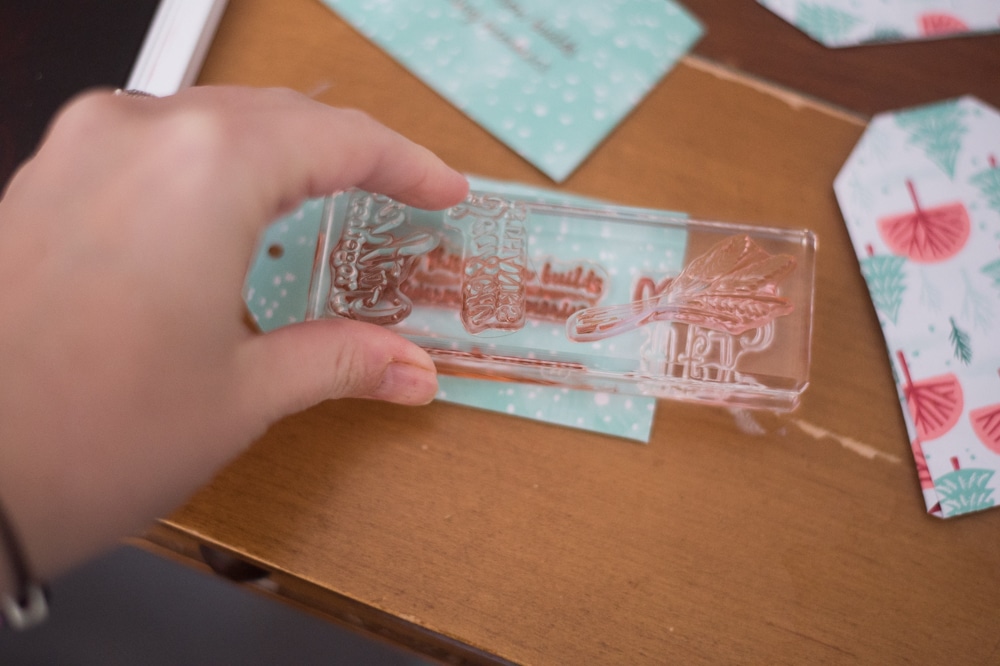
The gift card holders were a lot of fun, too. So easy to make and put together – and I loved using a stamp on the back to make it a little more personal.
Here are the Design Space files for each of these projects:
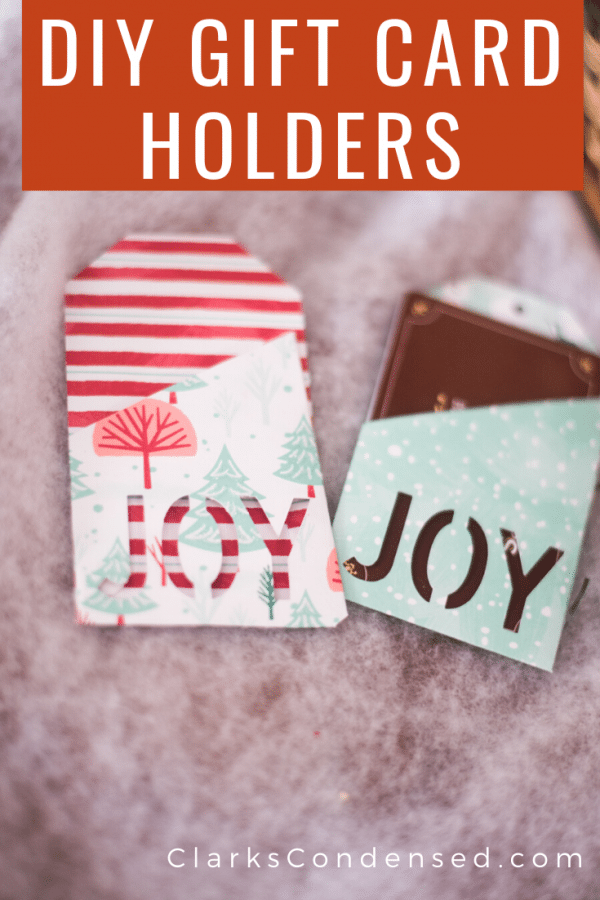
I found the Joy Gift Card holder as a project in Design Space – however, it was originally intended to be a leather gift card holder. I deleted the branch that was supposed to be on it, and I just print it out on some of the Let it snow Specialty Designer Series Paper.
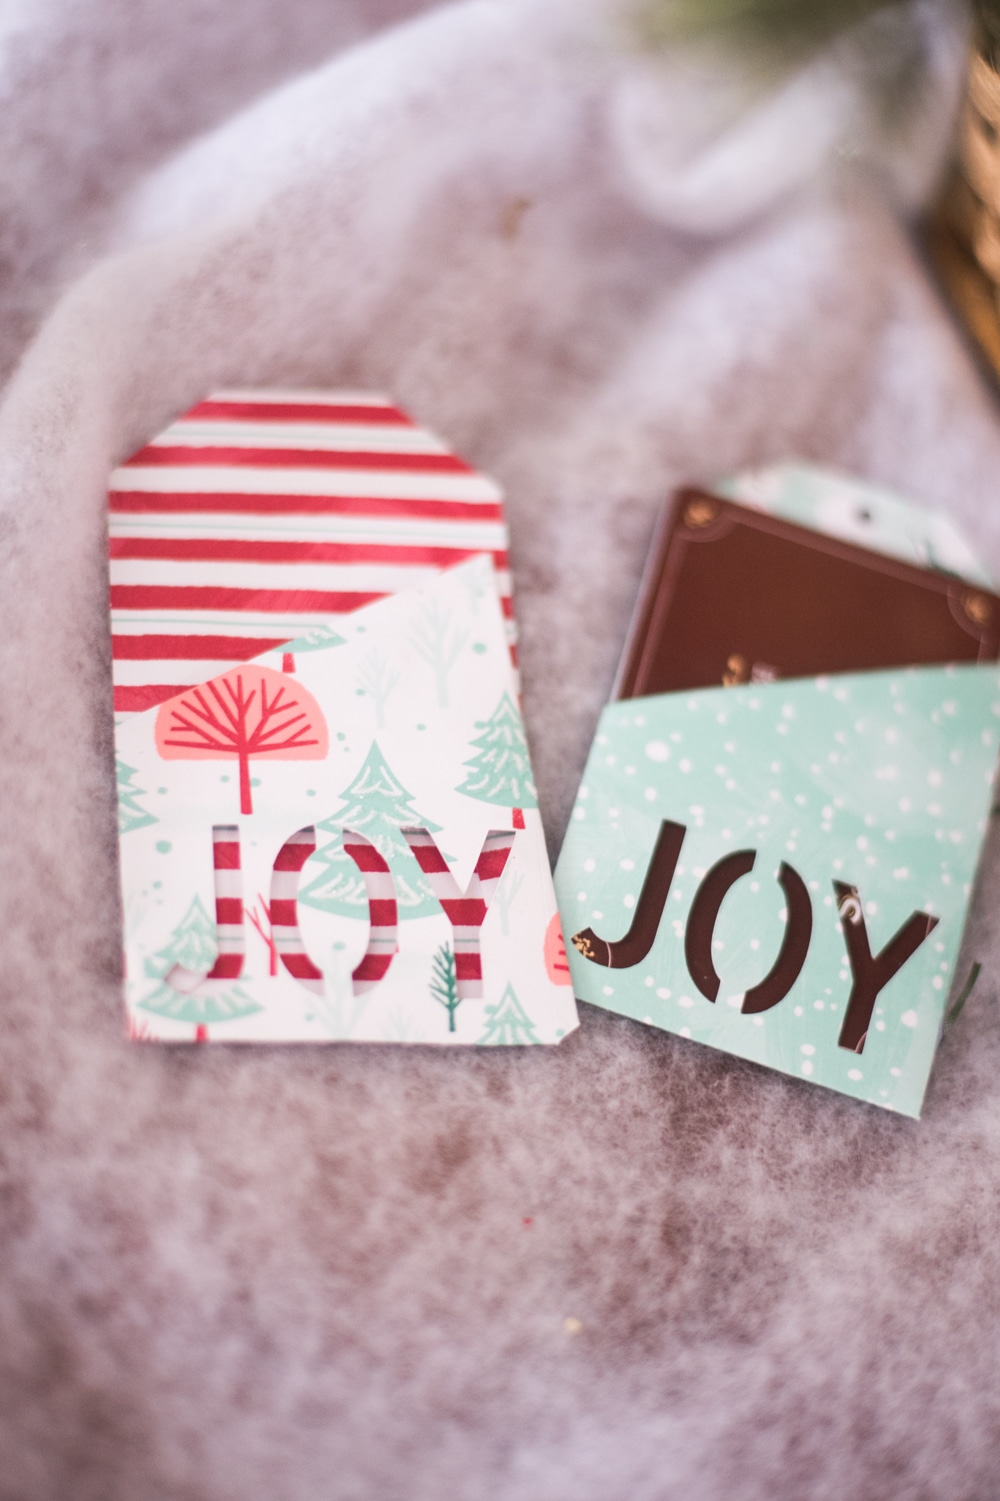
It was really easy to put together, and once it was done, I stamped this cute little message on the backside!
For the paper ornaments, I created three ornaments in Design Space. I added text to each one, and I attached so it would write.

When I got to the canvas page, I changed the copies to 24, and it quickly and easily duplicated all the ornaments I needed.
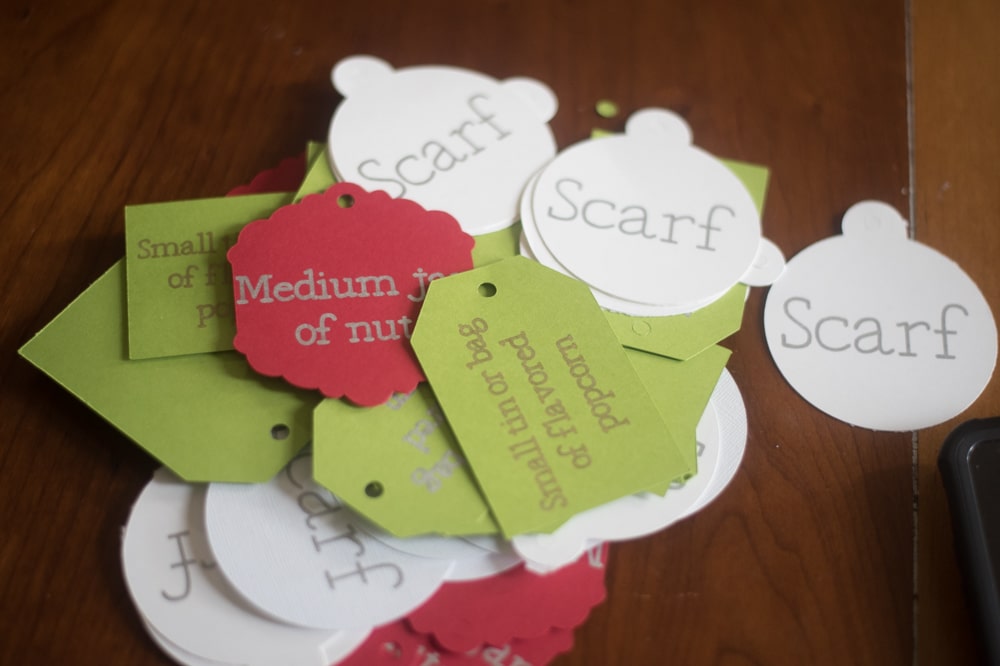
Then I put a string through each hole, and they were perfect for the giving tree!
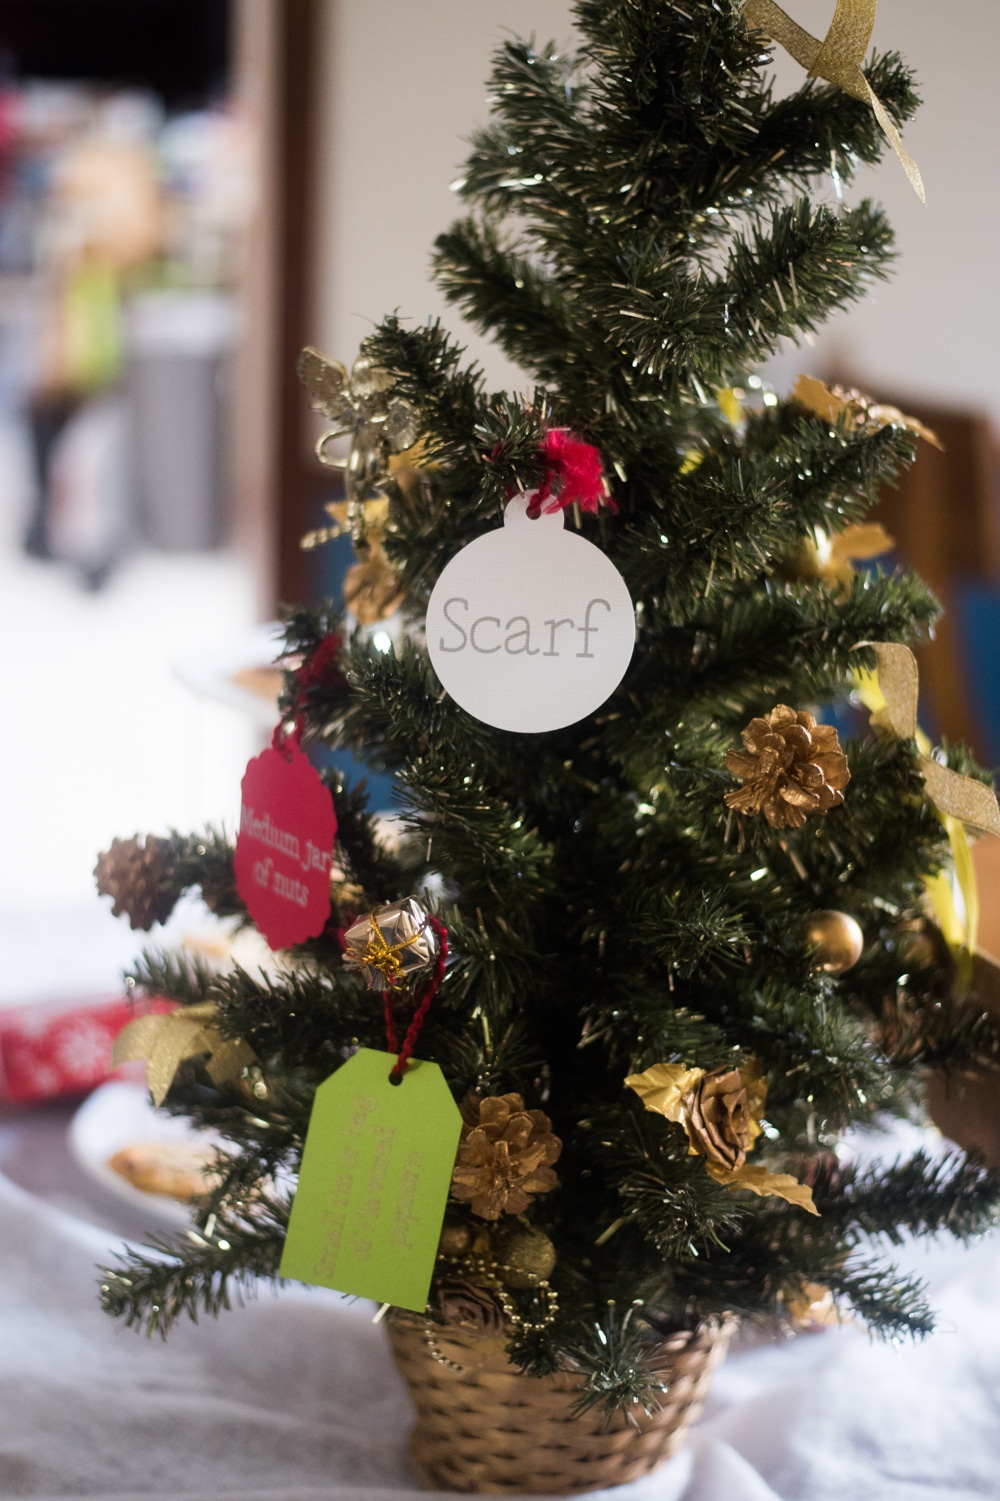
They were so easy to make, and they turned out great!

