Three Fun Cricut Christmas Village Projects – And Tips for Success!
These DIY Cricut Christmas Villages are going to be the perfect addition to your holiday decor! Three different options, three different levels – endless fun!

I love Christmas decorations, and I’ve been looking forward to making some all year with my Cricut Maker.
Every time I look at Design Space, there are just SO many fun ideas. So many ideas, so little time.
Last year, I made a Cricut Christmas Village, and it has easily become my favorite decoration. My mom loved it, too, so this year, I am making her one.
As I was perusing through Design Space, I found that there were three Christmas villages…and being an overachiever to a fault, I decided that I would make all three of them for this post.
There is one for every level – and every machine! One of them is specifically for the Cricut Maker because it uses the scoring blade – however, the other two can be made with either the Cricut Maker or the Cricut Explore Air 1/2.
Let me just say, this post has been a labor of love.
Along the way, I discovered some of the instructions were a bit confusing, and I spent pretty much all day trying to work out the kinks so you have the greatest chance for success. These are some really fun projects – and they aren’t really hard. They just take time, patience, and attention to detail (three things I don’t really have!)
It was definitely one of those days where if something could go wrong, it did, and I had to send Forrest to the store THREE times to get more materials (either that I was missing, or I had messed up on). And every time I felt like the end was in sight, something else would happen.
Moral of the story – I don’t recommend attempting these all in one day 🙂 Unless you have a buddy to help. I wish I had gotten out my Cricut Explore Air to help with the cutting. Hindsight is 50/50 right?
Here is a picture of my kitchen table as I was working on these – I had even thrown away a bunch of scrap paper at this point!
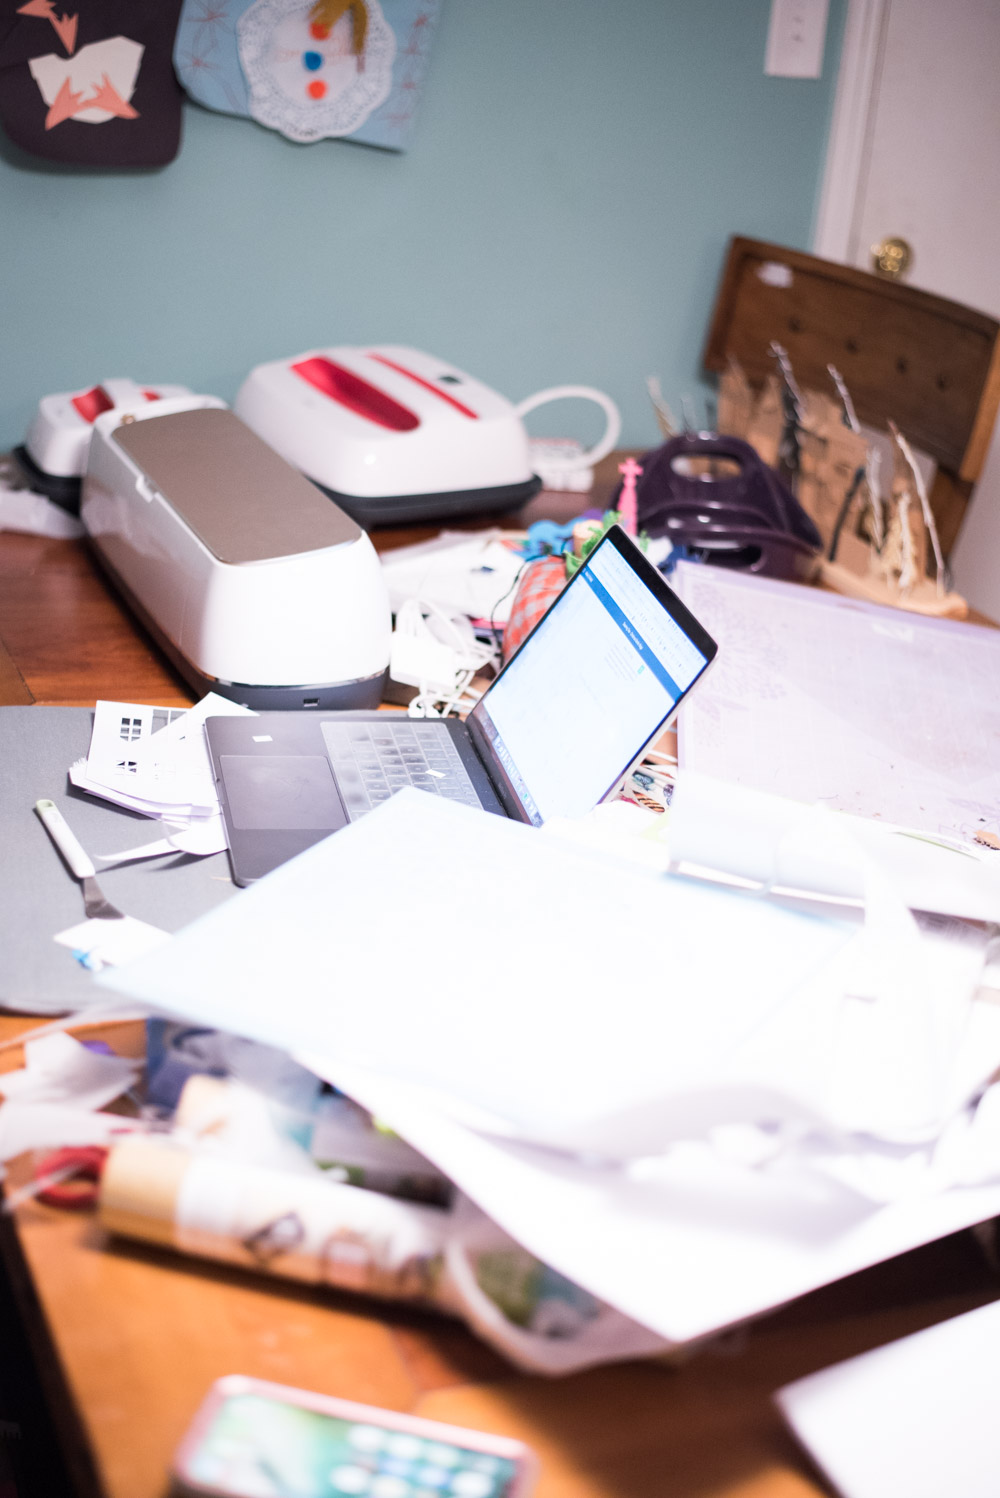
But, it was worth it. I’m really happy with how all of these have turned out. And I hope that the extra time and effort I put into recreating these projects will benefit you.
So, without further adieu, here are three beautiful Christmas Villages that you can make with your Cricut – in order of difficulty (at least in my opinion).
Christmas Ideas – Christmas Village
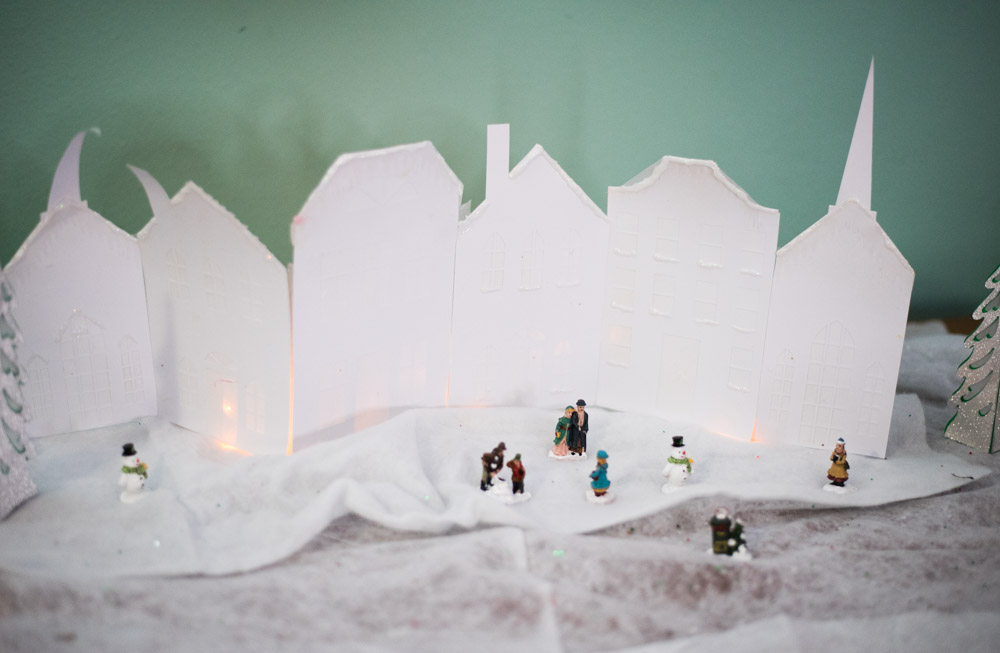
This is definitely the simplest of all the projects. It wasn’t my favorite, but it does end up looking pretty.
Materials:
Cricut Maker or Cricut Explore Air 1/2
Vellum (I found 12×12 sheets at both Michaels and Joann’s in the area with the cardstock) (optional) Glitter (optional)Glitter Puffy Paint (optional)
Tips:
–For this one, vellum is listed under a separate location than the rest of the materials that have to be cut, so I missed it. I ended up just cutting out plain cardstock in place of the vellum to glue from behind.
–I used a spray adhesive to put together the front and back, and it worked pretty well (be careful, though – it gets sticky!)
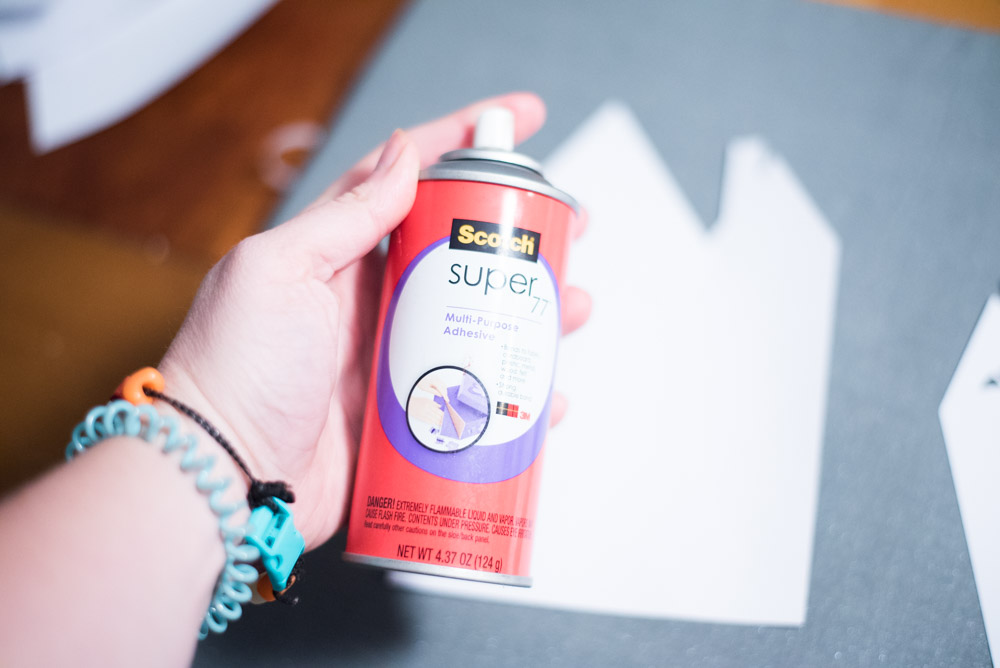
–I found that the vellum snow that you cut on the last mat was kind of confusing. I couldn’t find a good way to have them fit on each of the houses, so I ended up skipping those and using some white glitter puffy paint. I wish I had done a cold or silver, though, because there isn’t a ton of color.
–If you do go with the vellum snow, they recommend you spray it with spray adhesive and glitter.
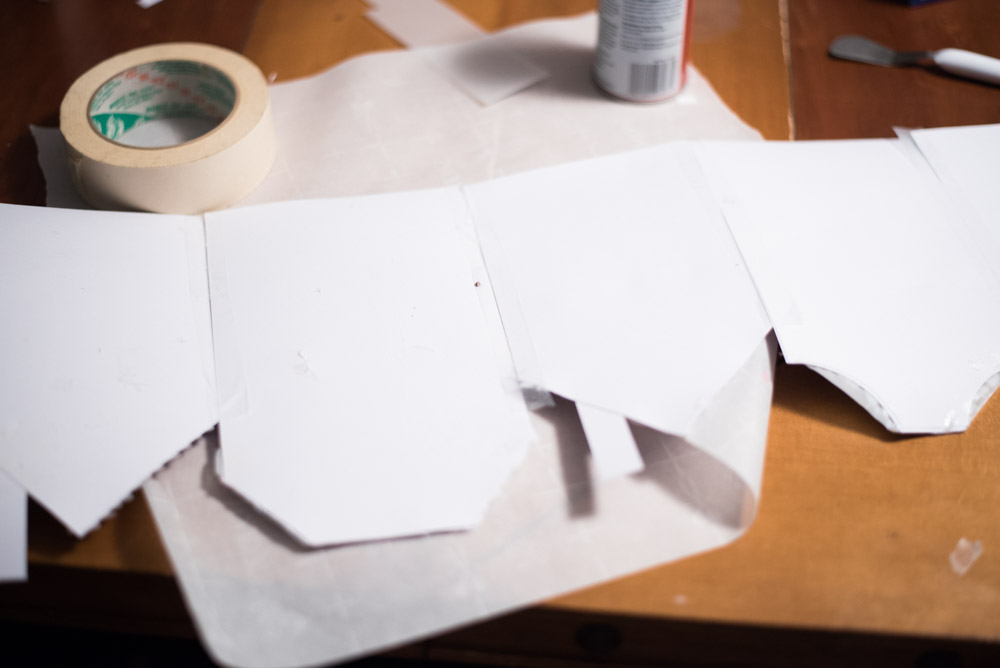
–Tape the houses together with them face down at the same time
Dreaming Tree – Christmas Mantle Village
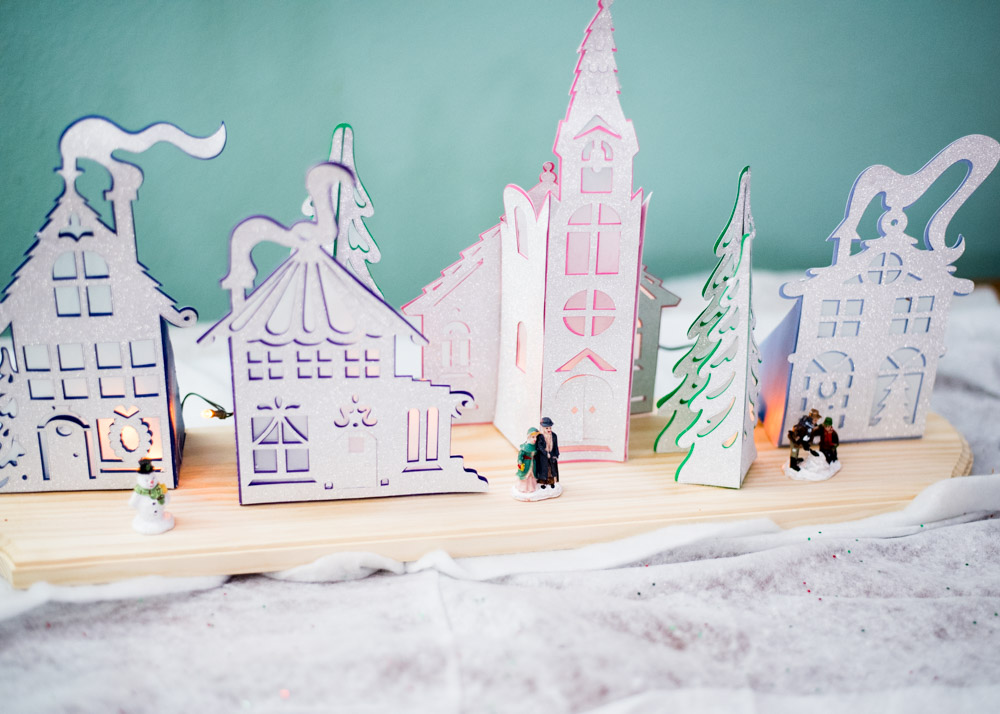
This Christmas Village is rather whimsical and fun. The little peaks of color behind the silver really make this is a cute project. It took me a little bit to figure out exactly what colors and types of paper to cut, but once I got that squared away, it wasn’t really hard to put together. I love it!
As of 2020, this is no longer available in Design Space. However, you can get the SVG files here.
Materials:
Cricut Maker or Cricut Explore Air 1/2
Vellum (I found 12×12 sheets at both Michaels and Joann’s in the area with the cardstock)
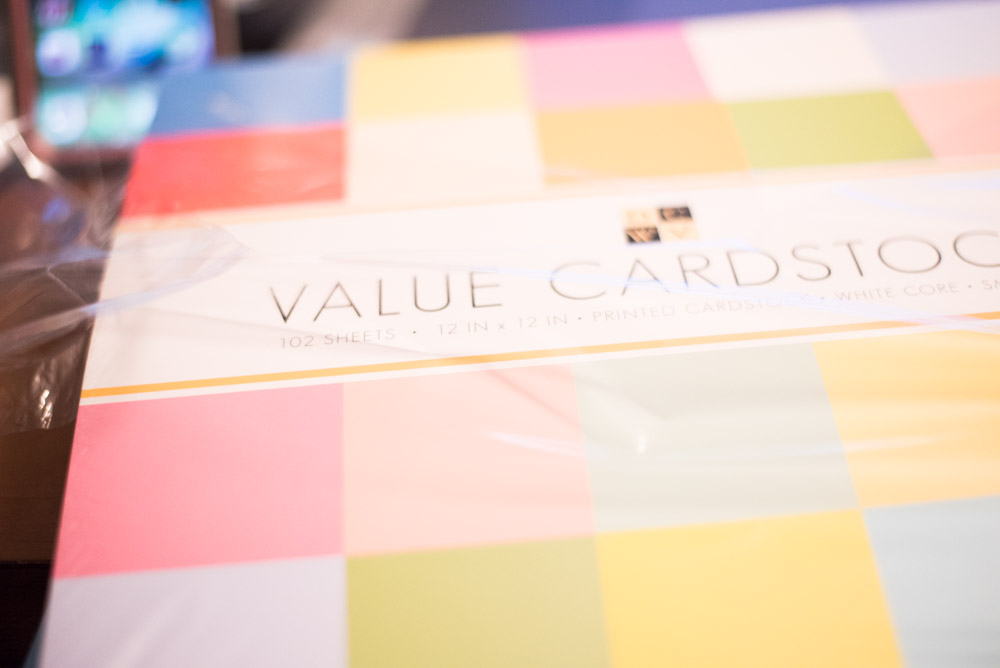
Silver or White Glitter Paper/Cardstock Cardstock in various colors– The suggested colors are green (1), light blue (1), dark blue (1), purple (1) and pink (2). I bought a huge value pack of cardstock at the store that had all the colors I needed, including white
Tips: -Get the SVG Here
–I really love this one, but it doesn’t come with any written instructions. There is a video that you can watch – it is over 30 minutes long, but it does explain assembly. I only watched bits and pieces of it to figure out the gifts of assembly. Here is the video:
–Be careful with the vellum – it can be very finicky. It’s best on a blue mat that is pretty new and sticky. I tried on a less-than-sticky blue mat, and it just ended up tearing.
–Here are the materials associated with each mat number in this project. I ended up getting confused because of the colors. I would love to see Design Space make it possible:
- Mats 1-4 are vellum
- Mat 5 is green
- Mats 6-8 are glitter paper. This is where I messed up. I thought it was supposed to blue, so I ended up with a bunch of random blue pieces that confused me! Then I watched the video and realized it was supposed to be glitter
- Mat 9 – blue
- Mat 10 – another shade of blue
- Mat 11 – purple
- Mat 12 and 13 – pink
–I had trouble with getting the houses and trees to stand up on their own, so I ended up gluing them to a wood board. I like how that looked more anyways.
Christmas Village
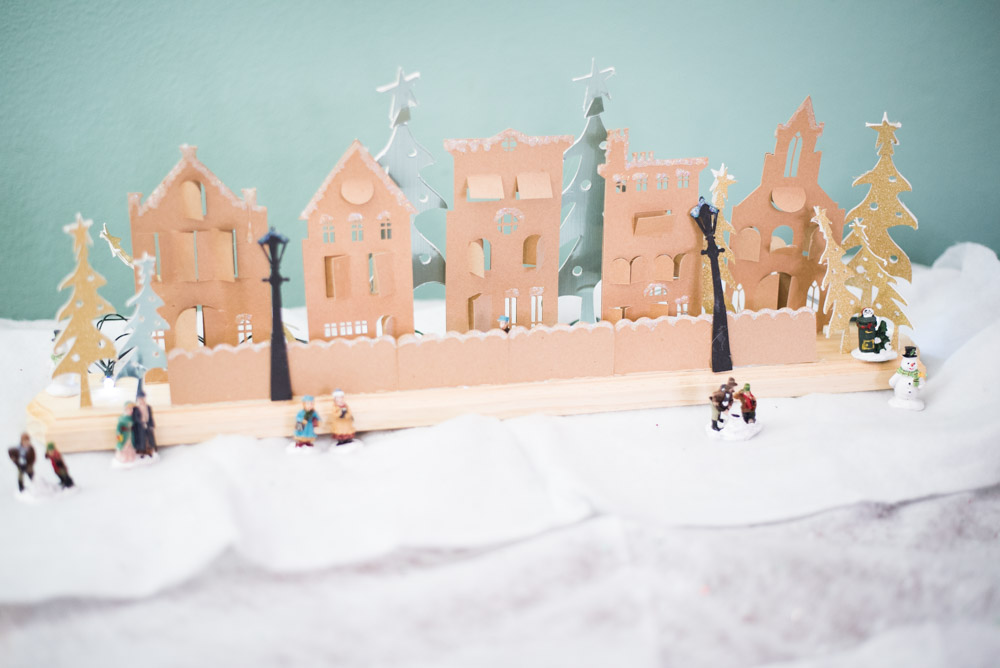
This is the first Christmas Village I made – and in full disclosure, the one pictured is from last year. I had the best of intentions of making it again (and I will at some point), but with how everything went today, it wasn’t going to happen.
As you can tell, some of the pieces were a little bent from being in storage all year, but I still love it. And will fix those 🙂
When I made this, I didn’t have enough gold vinyl or foil, so I went with a blueish color. I think the gold will look really nice though.
You can do whatever you want!
Materials
Cricut Maker or Cricut Explore Air 1/2
Wooden board
Hot glue and hot glue gun
–Be very careful with applying vinyl – it can be a little tricky to put on. I found the foil bubbled a lot more than regular vinyl
–Hot glue is really helpful for gluing everything in this. I found it kept everything standing up – even after a year.
—Use extra pressure – This is a good idea for the kraft board. I found that this made sure the blade cut all the way through.
Tips for all these posts:
Lights from Dollar Tree: All of these look beautiful with lights added into the mix. I personally like the Dollar Tree battery powered light backs, though I only usually see them during the holiday season. They work really well, and I just love how everything looks with them. Plus, they are only a dollar, and when you pair those with some dollar batteries from the Dollar Tree, it’s a very budget-friendly project.
Have Mats Pre-loaded – If there is one thing about all of these projects, it’s that there are A LOT of mats that you’ll be loading in and out of the machine. It’s good to have several mats prepped and ready to go, so you don’t have to waste valuable time removing the paper from the mat for the next cut.
Be careful – A lot of these materials are pretty sensitive. I ripped vellum and cardstock more times than not – they definitely stick really easily to the mats, especially if they are new.
More Christmas Projects:
- EASY DIY Christmas Stocking
- Traditional Flannel Advent Calendar
- A Cricut Christmas Gallery – Free Design Space File
- DIY Glitter Ornaments
- DIY Cactus Christmas Ornament + Free SVG
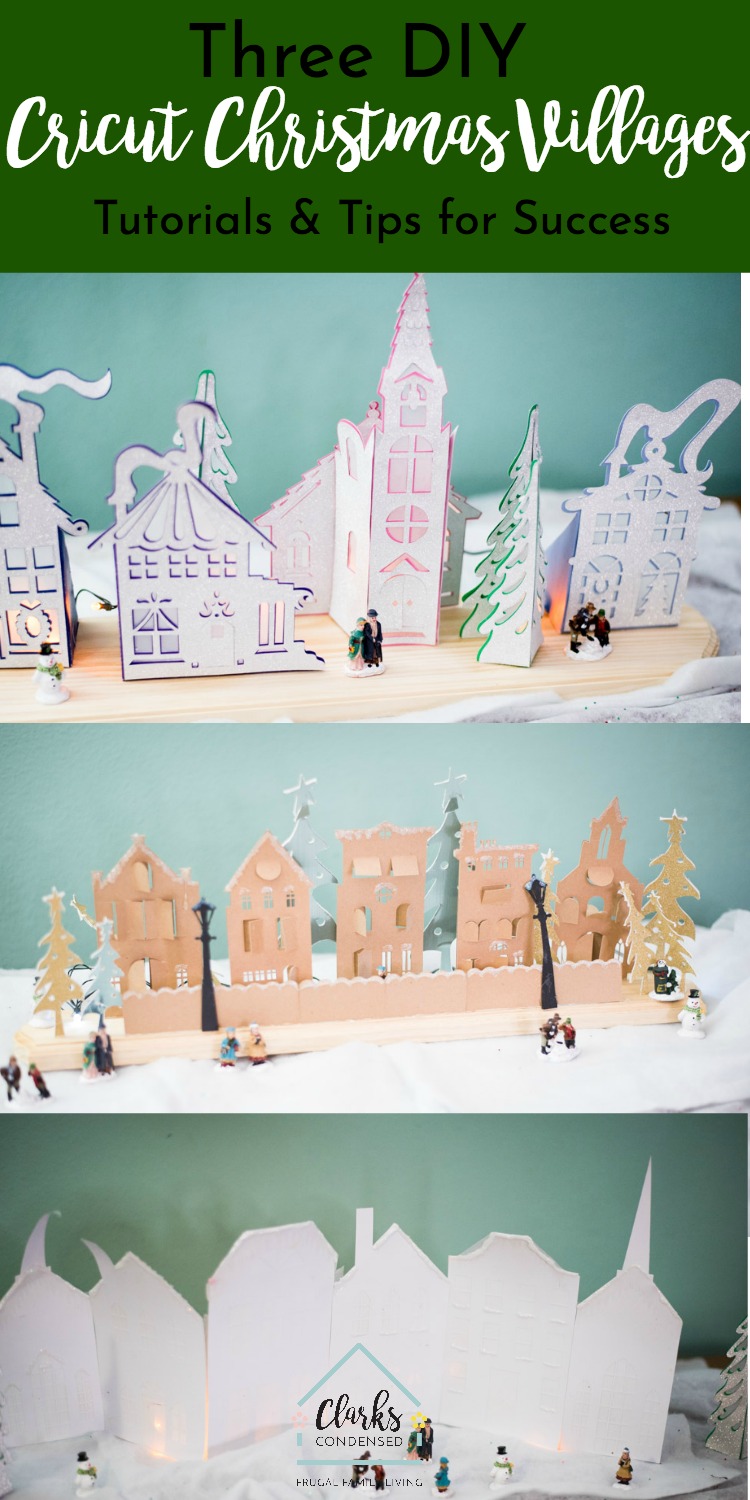



Love the top design, can you tell us how you achieved the peek of color?
Hello! The top design in the photo is actually the second project I talked about – if you use that Christmas Village (it’s called Dreaming Tree – Christmas Mantle Village in Design Space), it will cut out all the pieces you need. I describe all the steps in this post as well 🙂
I want to thank you for posting this! I have been trying to figure out the Cricut Christmas Village for half a day!
Oh! I’m so glad that you found this helpful – I always say, it was worth writing the post if it just helps one person. So I appreciate you commenting. I hope yours turned out well!
I love the second one with the pops of color peeking out! Great job, Katie!