Cricut Infusible Ink Pens: Tips and Tricks for Getting Started
Infusible Ink has taken the crafting world by storm. The Infusible Ink pens are especially popular and fun to use. This article teaches you everything you need to know about using them and tips and tricks for success!
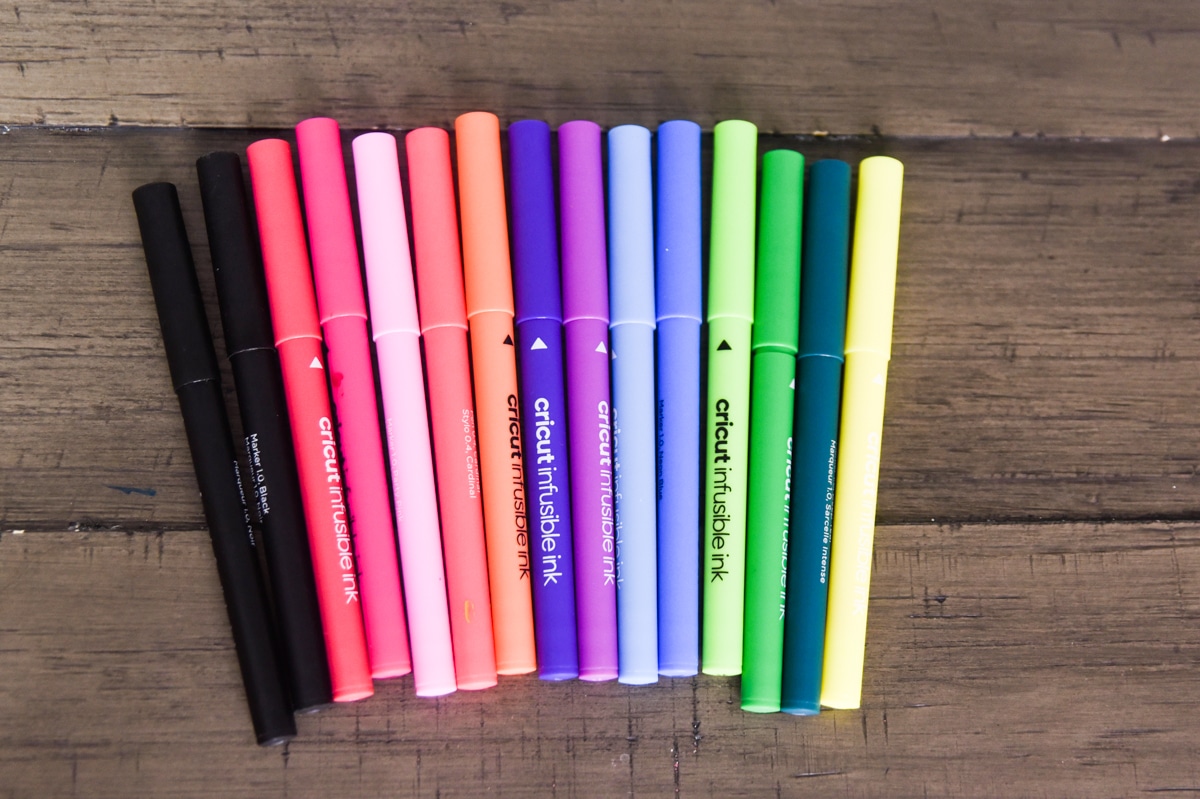
If you’re ready to take your Cricut crafting up a notch, why not try making a project with Cricut infusible ink pens?
These awesome tools are a great way to create professional-level projects right at home.
But if you’ve never worked with Infusible Ink before, you probably have some questions. We’ve shared a lot about this type of crafting in the past – but today we will be talking specifically about Infusible Ink Pens. If you want to know everything there is to know about Infusible Inks, make sure you check out this post first – Cricut Infusible Ink: Everything You Need to Know
Here is everything you need to know about Cricut infusible ink pens so you can get started making something awesome today.
Table of contents
[the_ad id=”93378″]
What is Infusible Ink?
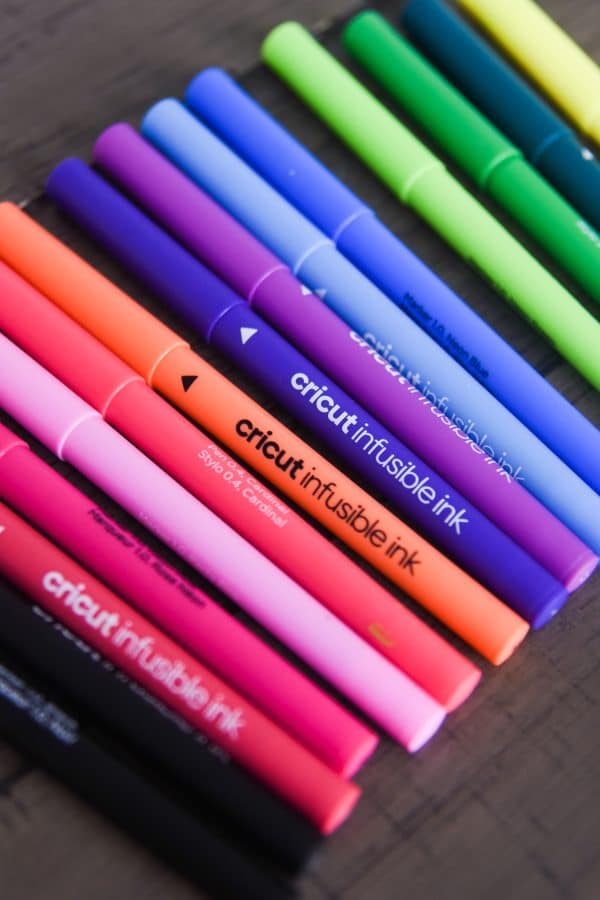
Before we start talking about all about the pens, let’s first talk about what Infusible Ink even is!
Infusible ink is a newer type of heat transfer product that comes in two different materials: infusible ink pens and infusible ink transfers. When using infusible ink, you are essentially transferring your design from the transfer to the base material. So, instead of transferring your vinyl to the top of your t-shirt, you’ll be infusing ink into your t-shirt. How cool is that?
Infusible ink transfers come in both solid colors and patterns and look similar to traditional rolls of heat transfer vinyl. You can cut them like vinyl and iron on your design the same way you would transfer traditional HTV.
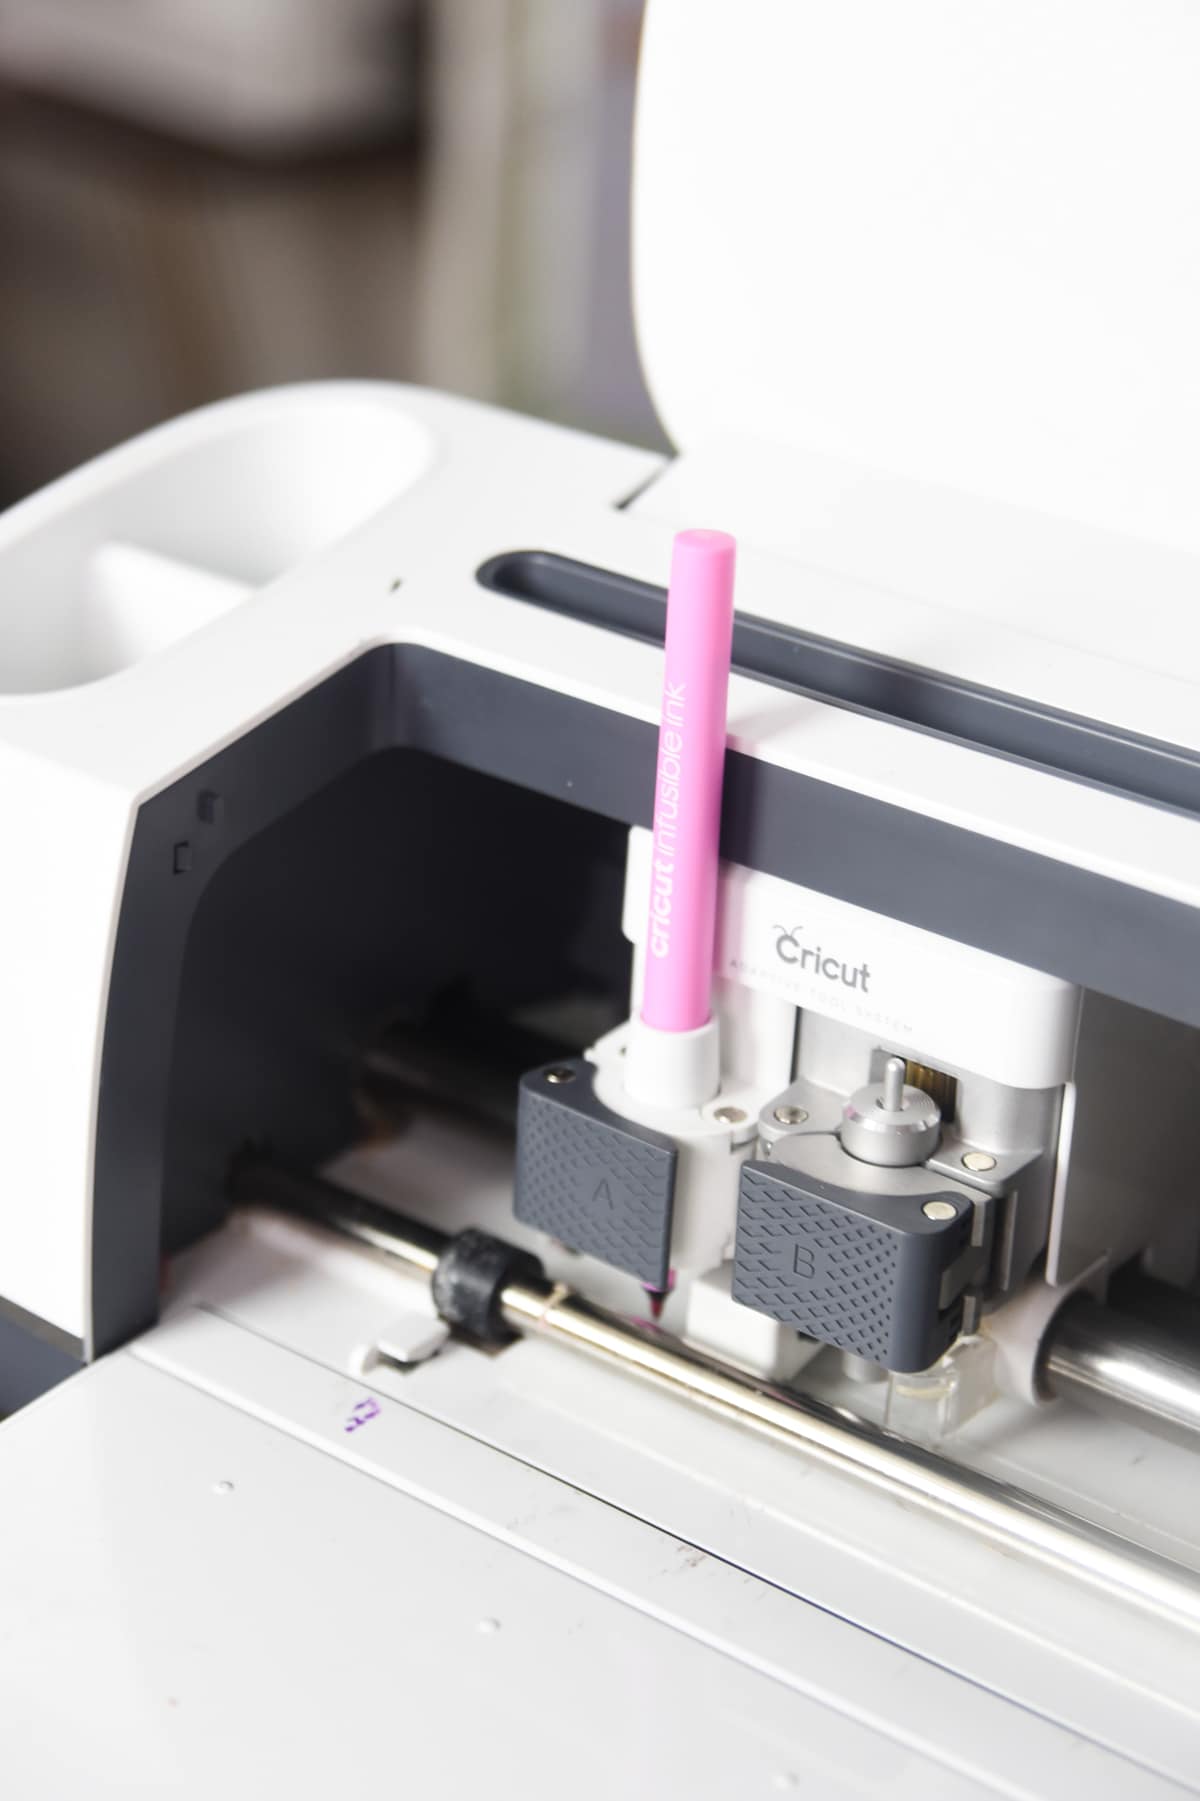
Infusible ink pens can be attached in the auxiliary clamp of your Cricut cutting machine and used to draw images on paper and transfer the ink directly on your base material. I LOVE using these, which is why we need a post totally dedicated to it 🙂
What are Cricut Infusible Ink Pens?
These pens are specifically designed to be able to infused directly into the blank you are working with.
While many people like to use the Infusible Ink transfer sheets, the pens are great for those who want to get a little more creative and make their own designs.
You create the project in Design Space, and then the pens/markers draw onto a piece of laser copy paper that you will in turn transfer to your blank using a heat source.
Supplies for Creating an Infusible Ink Pen Project
To make your own project using infusible ink pens, you’ll need:
- Infusible ink markers or pens compatible with Cricut cutting machines
- Cricut Explore Air or Maker
- Light grip cutting mat
- Base material compatible with infusible ink
- Heat press or Cricut EasyPress
- EasyPress mat
- Laser printer paper
- Scissors (I LOVE this brand of scissors)
- Cardstock
- Butcher paper
How to Use Cricut Infusible Ink Markers
You can make a project using Cricut Infusible Ink markers in just a few simple steps:
- Create your design in Design Space. Create a file using Design Space and size it to fit on your blank.
- Set linetype to draw – Make sure the fonts and/or images you are using have all been selected in Design Space and you’ve changed the linetype to “draw”
- Send to Cut – Press “make it” and preview your mat to make sure everything looks like how you want it to be drawn
- Mirror the image – While in the mat preview, make sure you select “mirror image” to ensure it transfers correctly in Design Space.
- Attach your infusible ink pen: Place the infusible ink pen in the auxiliary clamp of your Cricut.
- Press go – Attach a piece of laser paper to your LightGrip cutting mat and the machine will draw your design on the paper.
- Remove from mat – Do this carefully. You don’t want to smear your new design, which can happen if the ink is still wet.
- Fill in the blanks – Often when you use the drawing feature with Infusible Ink pens, you need to fill in the colors. Use the matching colors to the outline for your fonts/images to fill in different areas.
- Transfer the image: Flip the design over and place it on your blank. Place a piece of cardstock under the shirt to keep the ink from bleeding, then place a piece of butcher paper on top of the design to keep from melting your base material with your press. Use your Easy Press to heat the design and transfer it to your blank.
- Let it cool: Let your design cool completely before removing the copy paper.
Tips for Using Infusible Ink Pens
Infusible ink is a great way to create some amazing new designs using your Cricut. But along with that awesome new material comes a new learning curve. These simple tips will help make designing with infusible ink a little bit easier:
- Don’t use an iron to transfer the image. A household iron does not provide even heating, which may result in an uneven transfer. Instead, use a heat press or Easy press to transfer your design when using infusible ink.
- Create your design with Drawing linetype turned on – This will prevent you from creating a beautiful design, only to realize when you turned it to drawing linetype, it looks nothing like what you want it to.
- Use laser copy paper – It might be temping to use something else that you have on hand, but the laser copy paper will insure a great transfer and crisp final project!
- Use a Lint Roller – This may seem dumb, but it really helps to make sure you don’t have any microscopic dust that messes up your design.
- Use a BrightPad – If you are filling in a design after it has been drawn, a BrightPad is a great way to make sure you don’t miss any spots!
- When transferring the image to your blank, be sure not to move the EasyPress. Moving the press around as you heat the design my cause the image to blur.
- Make the design smaller than the size of your press for best results. Since you won’t be able to pick up your press and move it to a new section of your design, it’s best to create a smaller design that fits within the width and height of your press to avoid issues when transferring your infusible ink.
- Tape your laser copy paper down – This makes life so much easier so it doesn’t shift as much when you are trying to transfer the design!
- Use thin for outlines – In general, I would recommend using the thin tip pens for outlines. If you have to fill in areas, markers can be a little bit easier to do that with (unless the area is pretty thin that you want to fill in – then the pens will be a better option)
- Check your Easy Press heat guide for the correct settings. To be sure your infusible ink transfers correctly, always check the heat guide so you know exactly which settings to use for your materials.
FAQs about Infusible Ink Pens
If you’re interested in using infusible ink pens in your Cricut, you’re in luck. Almost all models of Cricut cutting machines can be used with infusible ink. The Cricut Maker, Cricut Explore Air, and Cricut Explore Air 2 can all use infusible ink transfer sheets and infusible ink pens. No adapter needed!
If you want to use Infusible Ink pens with the Cricut Joy, you will need to buy the pens specifically designed for it. They don’t have as many options, but hopefully they will have more soon.
I think they are ideal for projects that have finer details that might be a little harder to cut out with the transfer sheets. For instance, I made this Mandrake Root onesie for my son last year. I tried cutting it out with a black transfer sheet at first, but the letters were just too tiny.
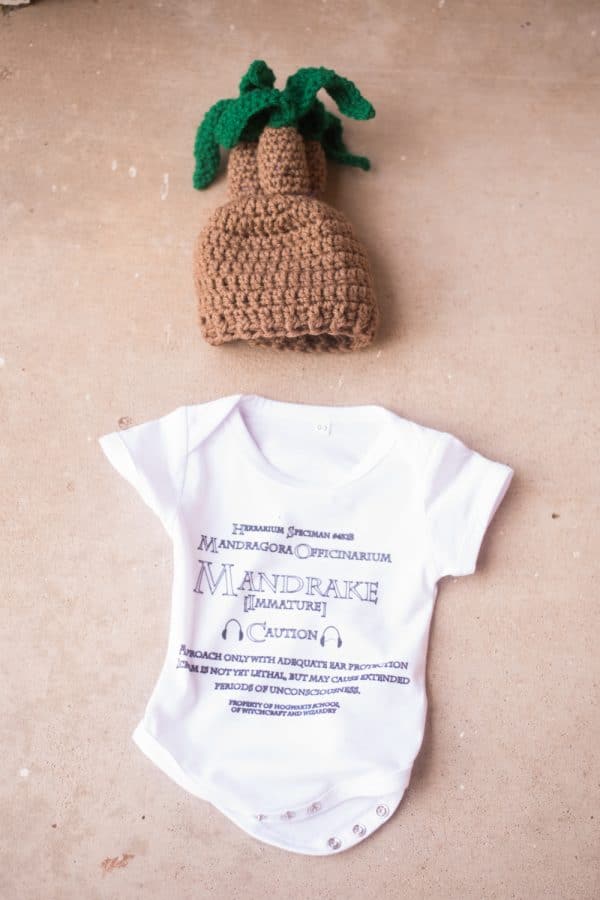
With the Infusible Ink pens, it made it a lot easier to make this cute onesie. I used a fine tip Infusible Ink Pens, and they worked beautifully for the smaller text and fine details.
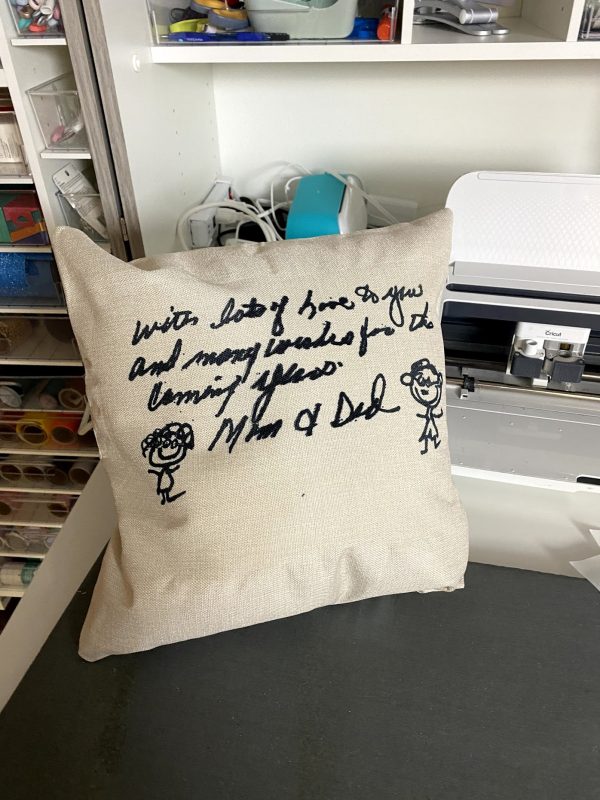
I also made this customized pillow for my mom that I created by uploading a card from her parents to Design Space. It worked out really well to have the pens draw it onto a piece of laser copy paper. It definitely wouldn’t have worked very well with the transfer sheets. I wanted the project to last a long time, which is why I went with Infusible Ink.
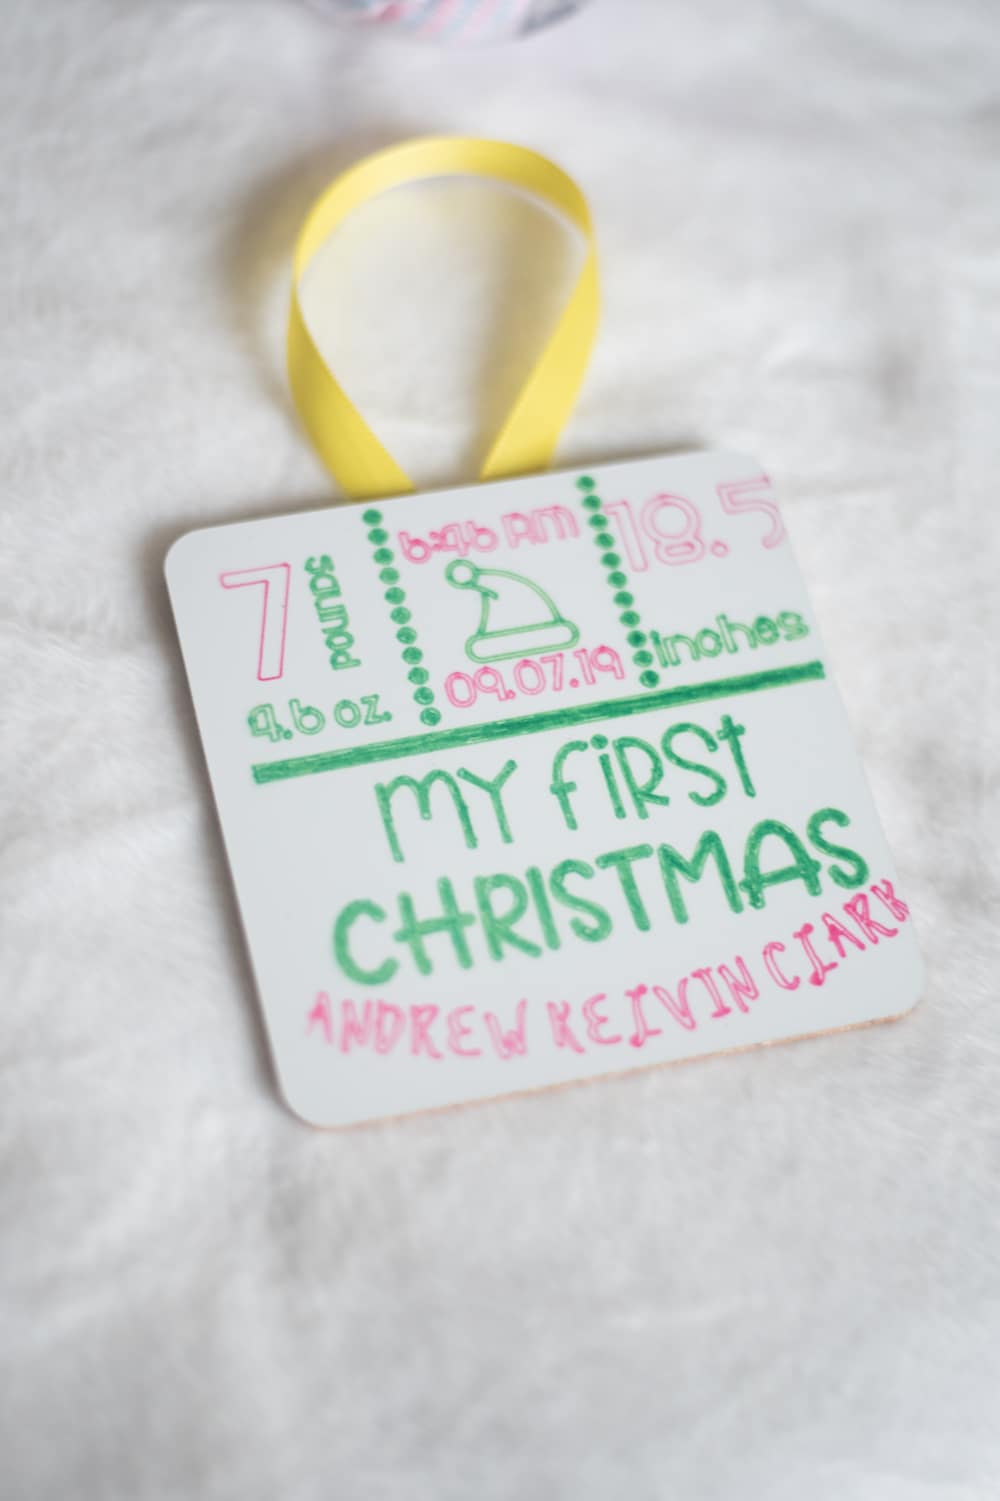
I also made this fun “Baby’s First Christmas” ornament with birth states using a coaster and Infusible Ink pens. There are just so many possibilities.
Can I use Infusible Ink Pens with other Machines?
Infusible Ink pens are designed specifically to fit into the Cricut machine’s pen holder. However, if you have another cutting machine that the pens will fit into, you should be able to use them still.
What Base Materials Can I Use with Infusible Ink?
One of the drawbacks of using infusible ink is that you’ll need base materials made from a certain type of material to be successful. Unlike traditional HTV, you can’t use infusible ink on cotton, wood, or most other fabrics. Infusible ink must be used on polyester or poly-coated items.
The good news is that Cricut has a variety of options when it comes to base materials that are compatible with infusible ink. Their Infusible Ink line includes:
- T-shirts for men, women, and kids
- Onesies for babies
- Tote bags
- Coasters
In addition to paying attention to the type of base material you’re using, it’s also good idea to pick base materials that are white or light in color. Since the ink infuses itself into the material, you’ll have the best results when starting with a white canvas.
If you are looking for more compatible blanks, 45+ Infusible Ink Blanks to Try – Cricut & Non-Cricut is a great place to start.
This post compares some different shirt types and how the Infusible Ink held up on them.
Can I use Infusible Ink Pens Without a Cricut Machine?
If you want to freehand draw onto a piece of laser copy paper to transfer to your blank, then I don’t see why not! The freehand markers might be a good idea (though, honestly, you could free and with just about any of the pens.)
What types of Infusible Ink Pens and Markers are there?
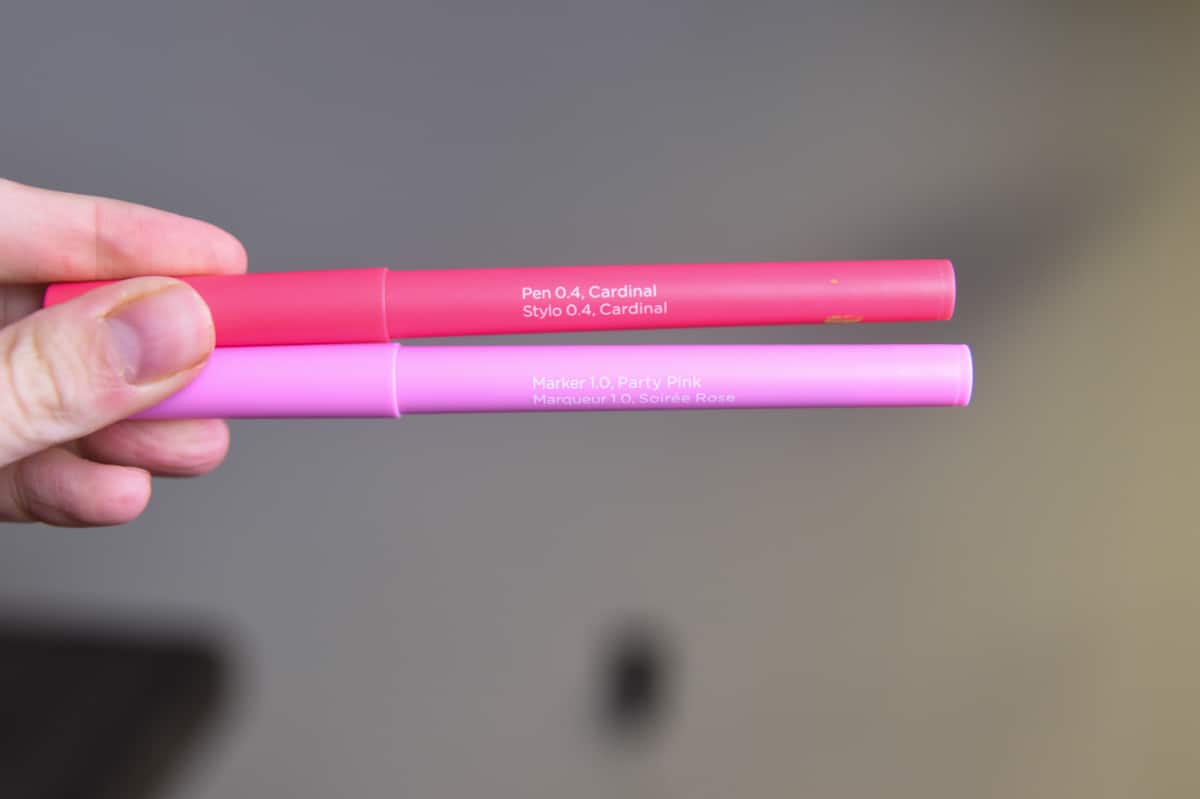
They come in a variety of different colors and tip types. You will find that Cricut has markers and pens. The markers have a thicker, 1.0mm tip while the pens have a .4mm tip.
They also have freehand markers, which are best for drawing your designs directly on a sheet of laser copy paper.
The pens are better for outlines and thin fonts while the markers are better for filling in spots. Infusible Ink pens don’t fill in areas by coloring, so that’s something you have to do on your own.
Cricut has Infusible Ink pens that are designed for the Explore and Maker lines, but they also have released some of the Cricut Joy. Make sure you buy the ones that are ideal for your machine.
You can check out all the pens on Cricut.com here.
How Much do Infusible Ink Pens cost?
They cost anywhere from $8.99 to $49.99, depending on the color, how many are in the package, and if they are for the Cricut Maker/Explore or for the Joy.
However, most typical packages are around $14.99. You can occasionally find them on sale at stores like Michael’s, and you can use our discount code listed above as well on Cricut.com
Where Can I Buy Infusible Ink Pens?
They should be available anywhere that Cricut products are sold – though the varieties and styles may vary from place to place. You are going to get your best variety on Cricut.com!
What Heat Source Should I Use for Infusible Ink Pens?
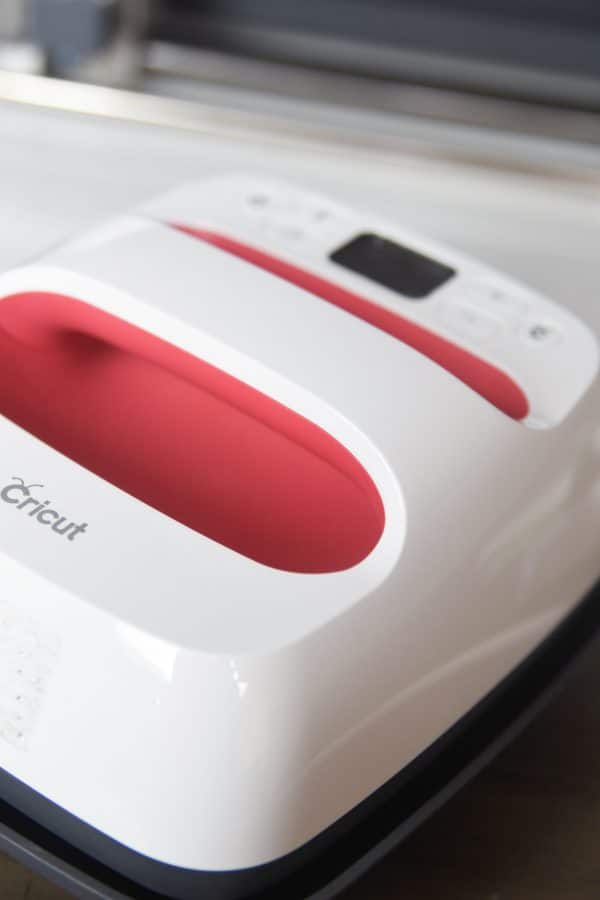
I use my EasyPress 2. Cricut recommends using something that can go up to 400 degrees. You will need to set it anywhere from 385-400 degrees, but I find more success with going a little bit higher.
Unfortunately, the original EasyPress only heats up to 350 degrees. While it may transfer the ink a little bit, I don’t believe the results will be as crisp as using it with the EasyPress 2.
Can I use an Iron with Infusible Ink pens?
I think this is the last heat source I would attempt to use with Infusible Ink pens. Not only will your iron likely not get hot enough, but when you are transferring the ink, it’s pretty sensitive to being moved around. With an iron, you have to move it around quite a bit, and that would make it much more likely that you’ll mess up your design.
My Design Didn’t Transfer All The Way!
This is SO frustrating when this happens! If you pull your paper back, and it didn’t transfer all the way, you can carefully put it back on your blank and try again. Unfortunately, it can be pretty tricky to line it up completely, but it can be done. I find this to be more of an issue with working with the transfer sheets over the pens, though.
Let me know if you have any other questions in the comments!
Other Cricut Tutorials You May Enjoy:
- How to Use Cricut SportFlex Iron-On™ + Project Ideas
- How to Use the Cricut Explore 2: The Beginner’s Guide
- Vinyl Iron on for Cricut FAQs: Answering Your Most Burning Questions
- How to Apply Iron-on Vinyl to a Stuffed Animal
- Top Tips for Using Vinyl on Wood with Iron-on Vinyl
- How to Use Different Types of Iron On Materials
- How to Use Cricut Foil Iron On – And a Few Things NOT to do!
Check out all of our Cricut Tutorials and Projects here!



You are incorrect!!! Infusible markers, pens and sheets CAN BE USED ON WOOD!!! I do it all the time! Polycrylic coat, then laser paper design (or transfer sheet) and follow heat guide. Properly sealed wood is key. Try before you say it can’t be done
Thanks for sharing! When this was originally written, I was following the information I was given by Cricut. There are usually “off brand” uses. Glad you have used them successfully.