The Ultimate Cricut Joy Card Making Guide: FAQs Answered!
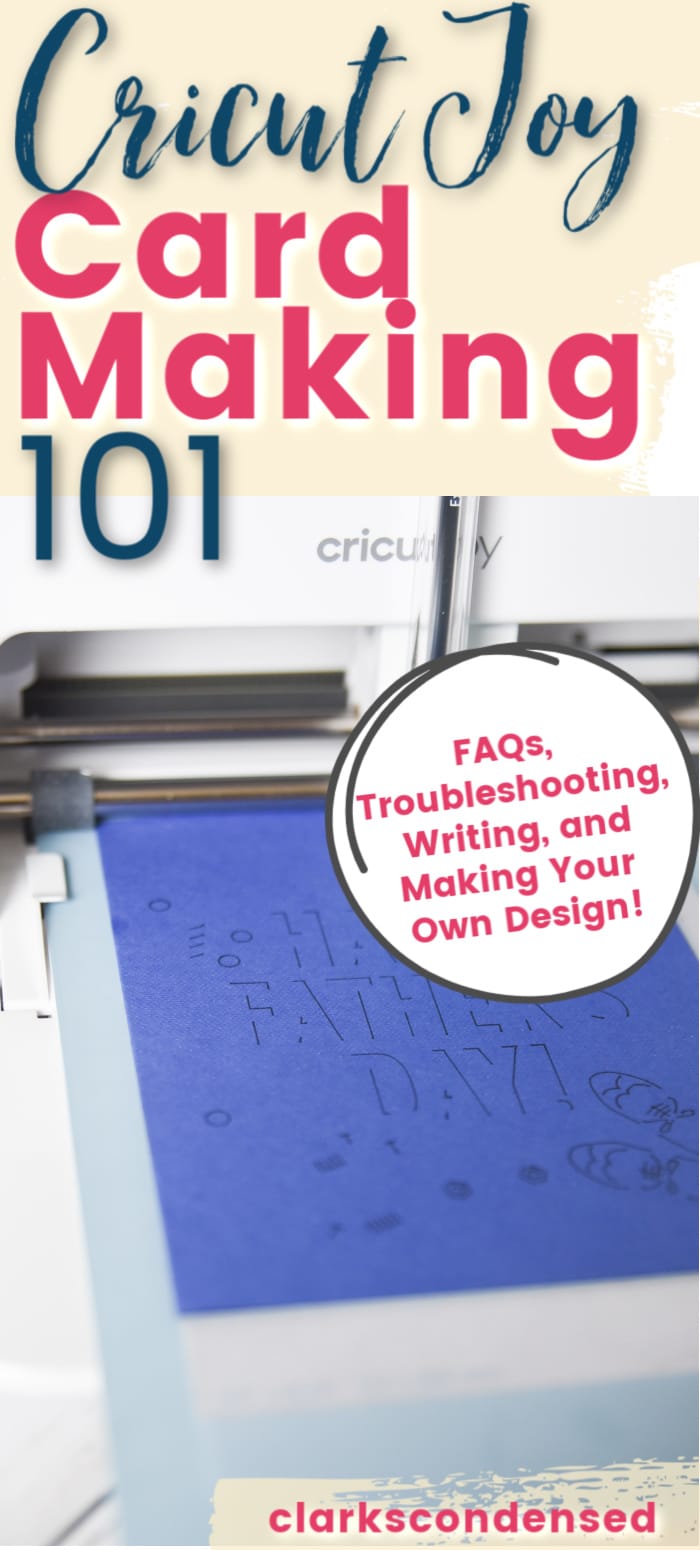
Making cards with the Cricut Joy is one of its best features – and it requires very little time and ability! Here are all the best tips and tricks for Cricut Joy card making, including tips for making your own designs!
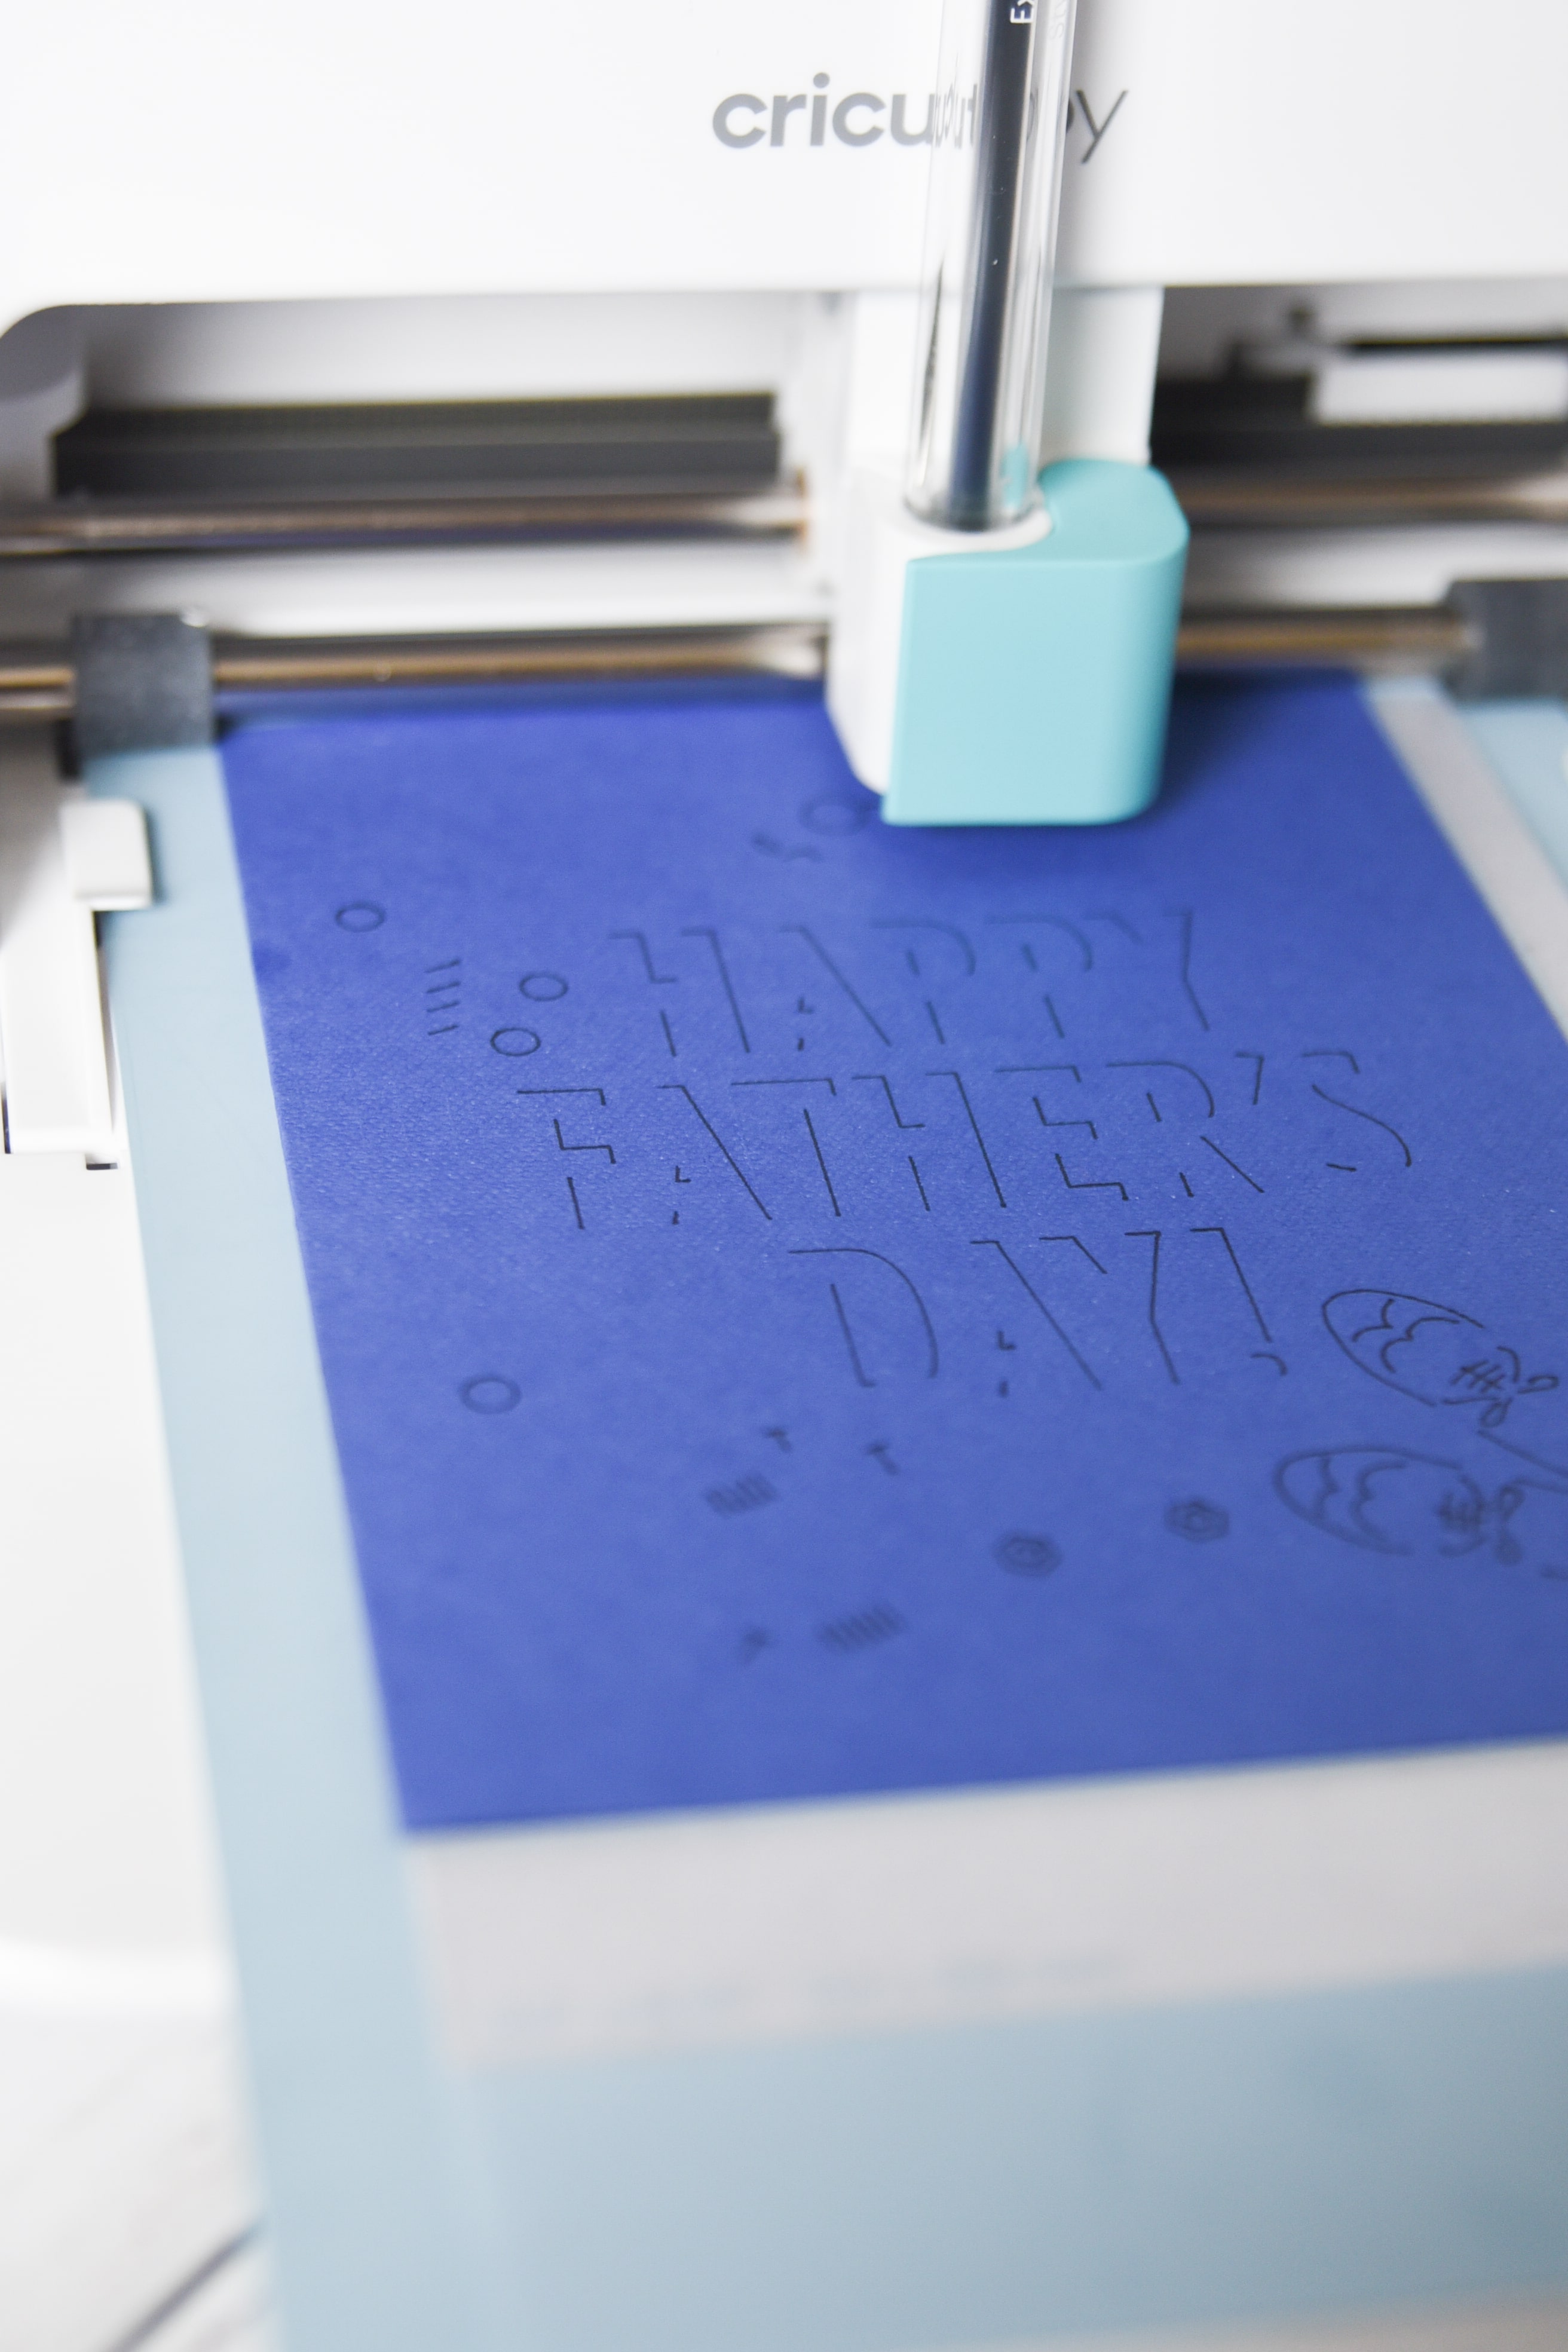
Of all the features on the Cricut Joy, card making has been BY FAR my favorite.
Before I got my Cricut Joy, I probably have made about five cards since I got my first Cricut machine.
Now I make them on a regular basis. I’ve long said that my Cricut machines have made me feel a lot more confident in my crafting ability – and that’s become even more of the case with the Cricut Joy.
Cards are expensive! I bought a card for our anniversary in December, and I was floored that it was $7 – and it wasn’t even that fancy.
Not to mention the fact that I almost always forget to even get a card until just a short while before I need to give it.
Making a card with the Cricut Joy is so simple. All you have to do is pick a design, load the card on a card mat, press go, and viola! In less than 10 minutes, you have a beautiful and awesome card all ready to go.
It’s a fairly simple process, but I thought I would walk you through it and share some FAQs I have gotten thus far.
[the_ad id=”93378″]
Table of contents
Cricut Joy Card Video
Throughout this post, I have mini videos for different techniques. However, this video will go over the Cricut Joy and card making in detail:

Cricut Joy Card Accessories
First of all, let’s talk about the different accessories that Cricut has created to make card making easier with the Cricut Joy.
Cricut Joy Card Kits
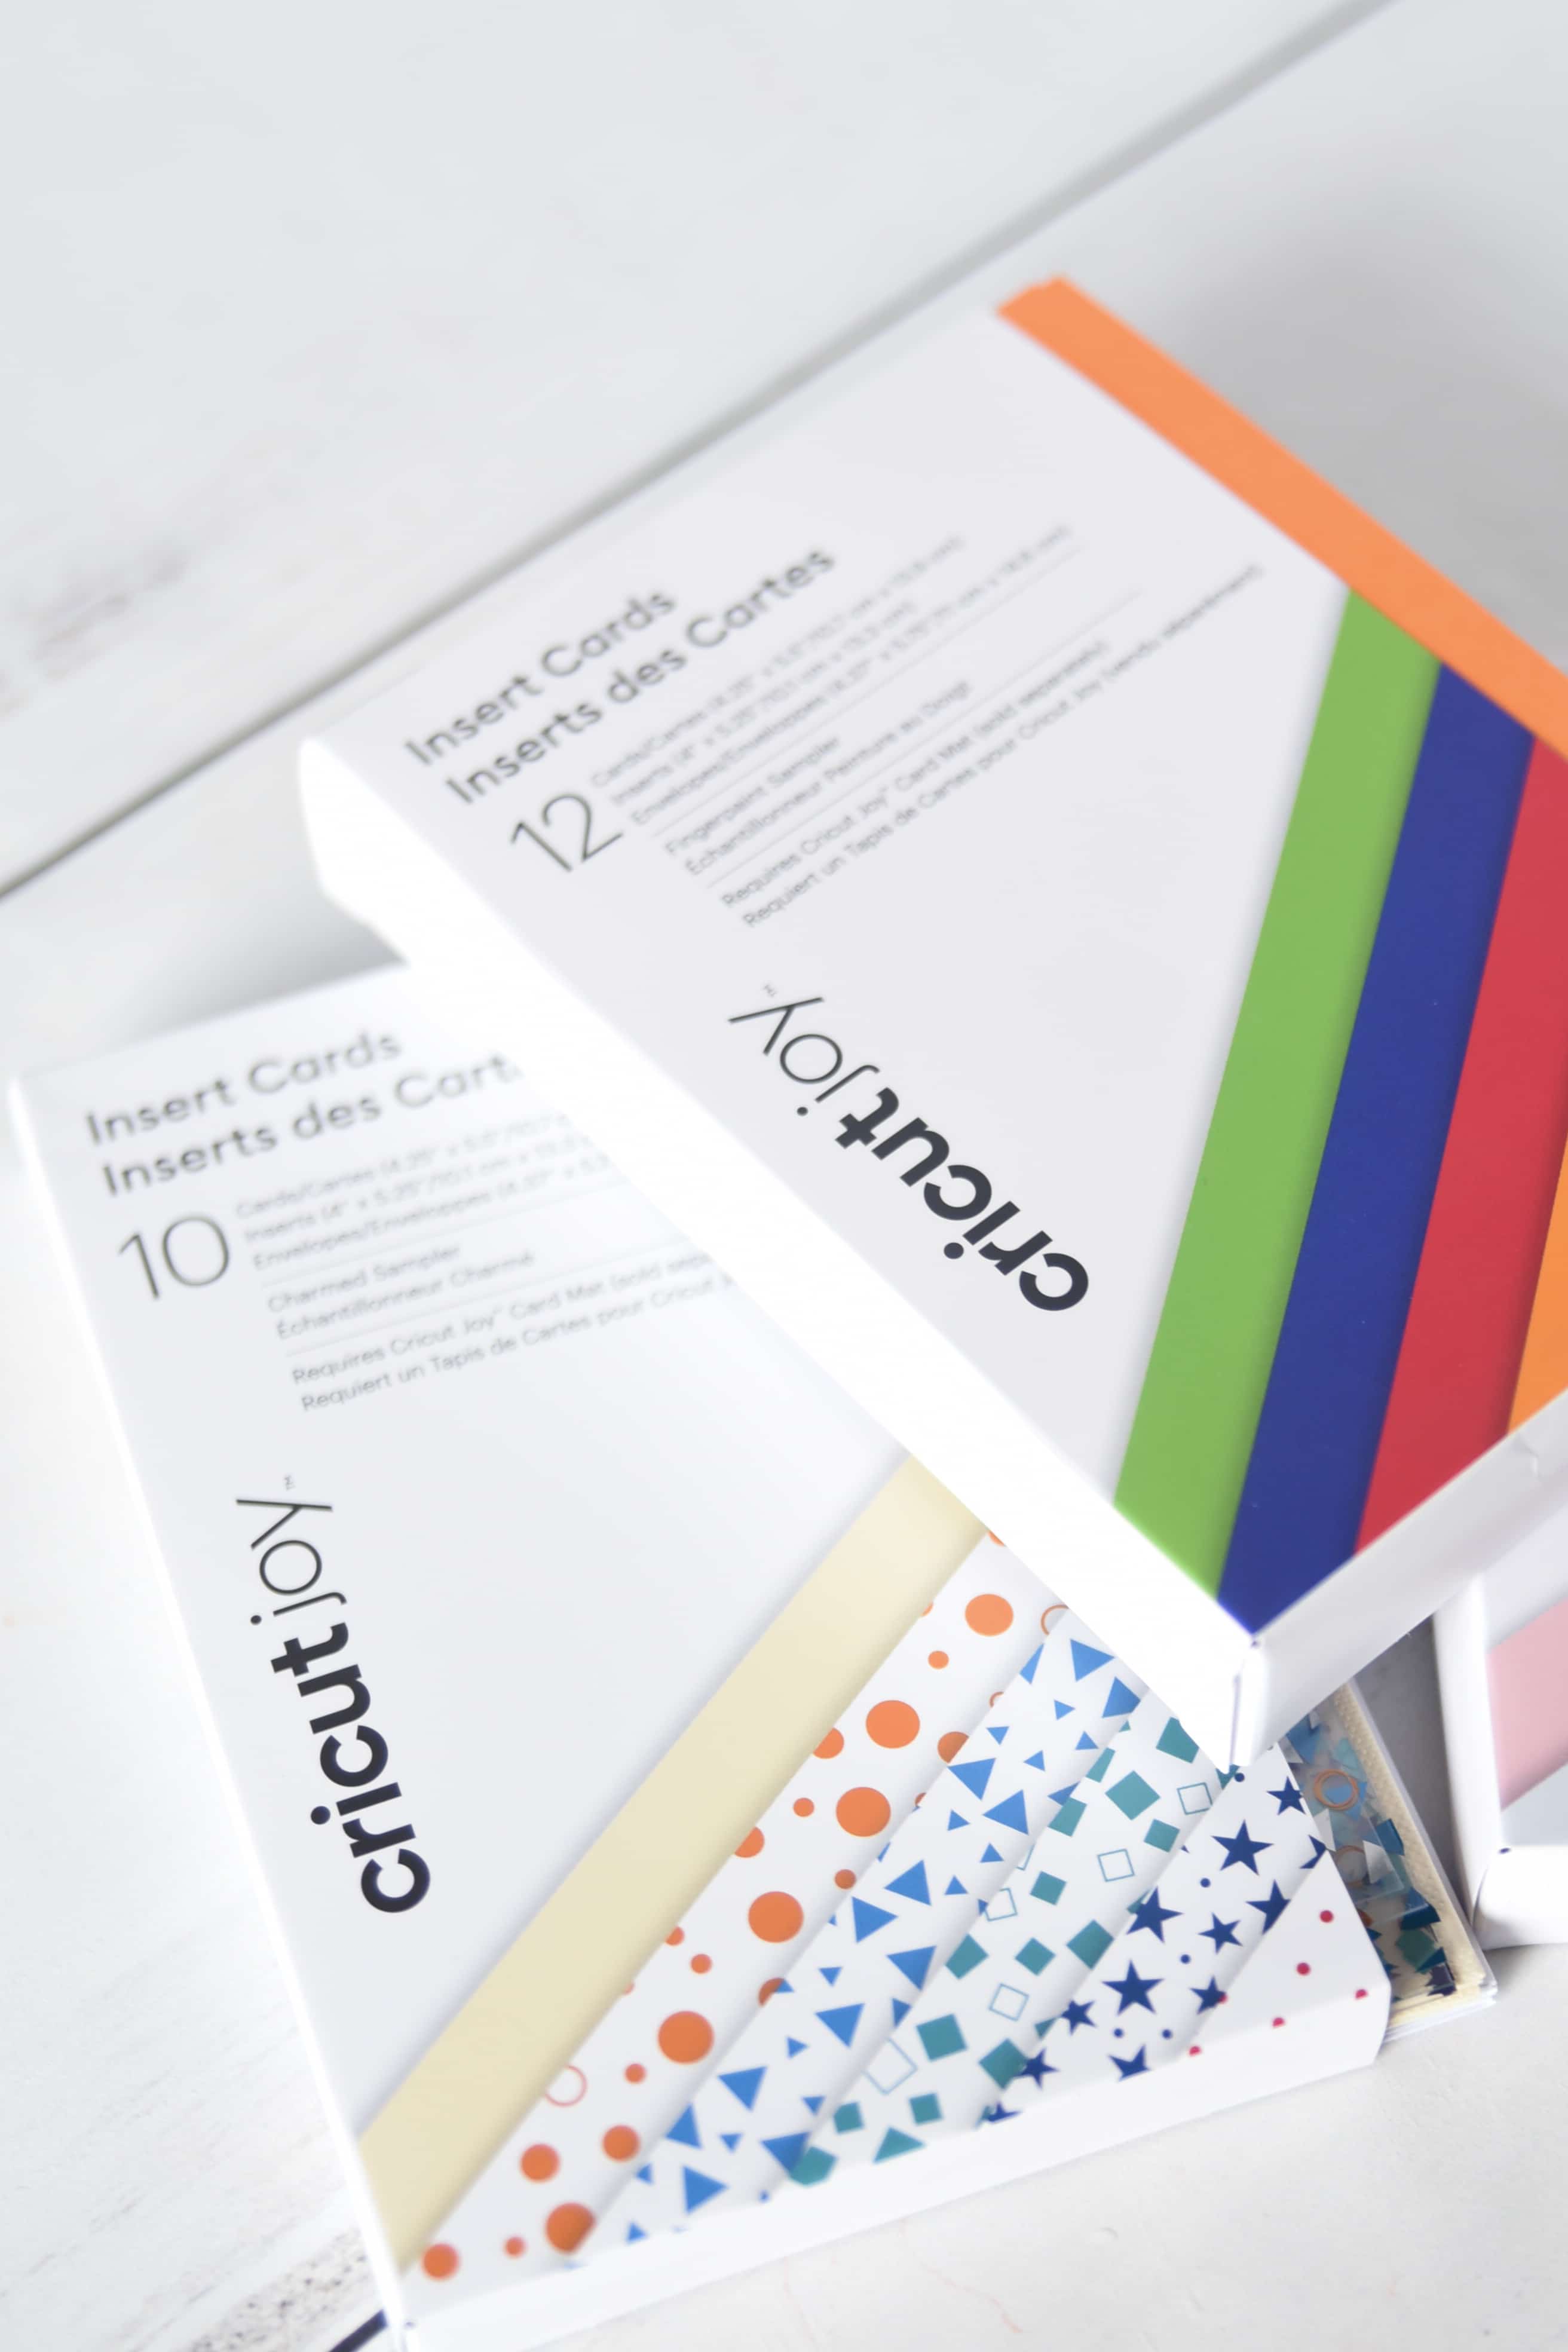
Cricut has a variety of card kits in different colors and styles available.
The card kits include the card, an insert, and an envelope. This is all you need to get started!
They are perfectly sized to work with any Joy card design and with the card mat.
Cricut Joy Card Mat
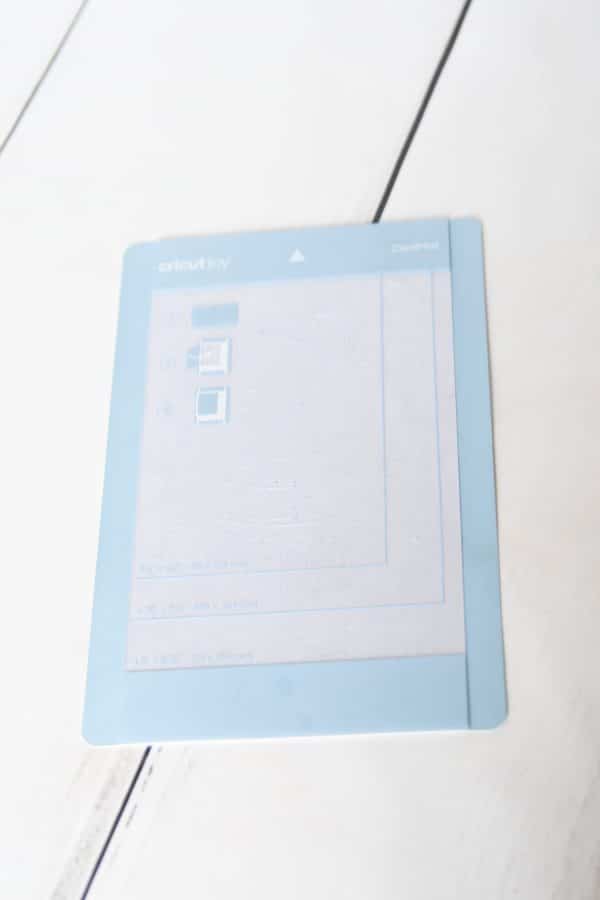
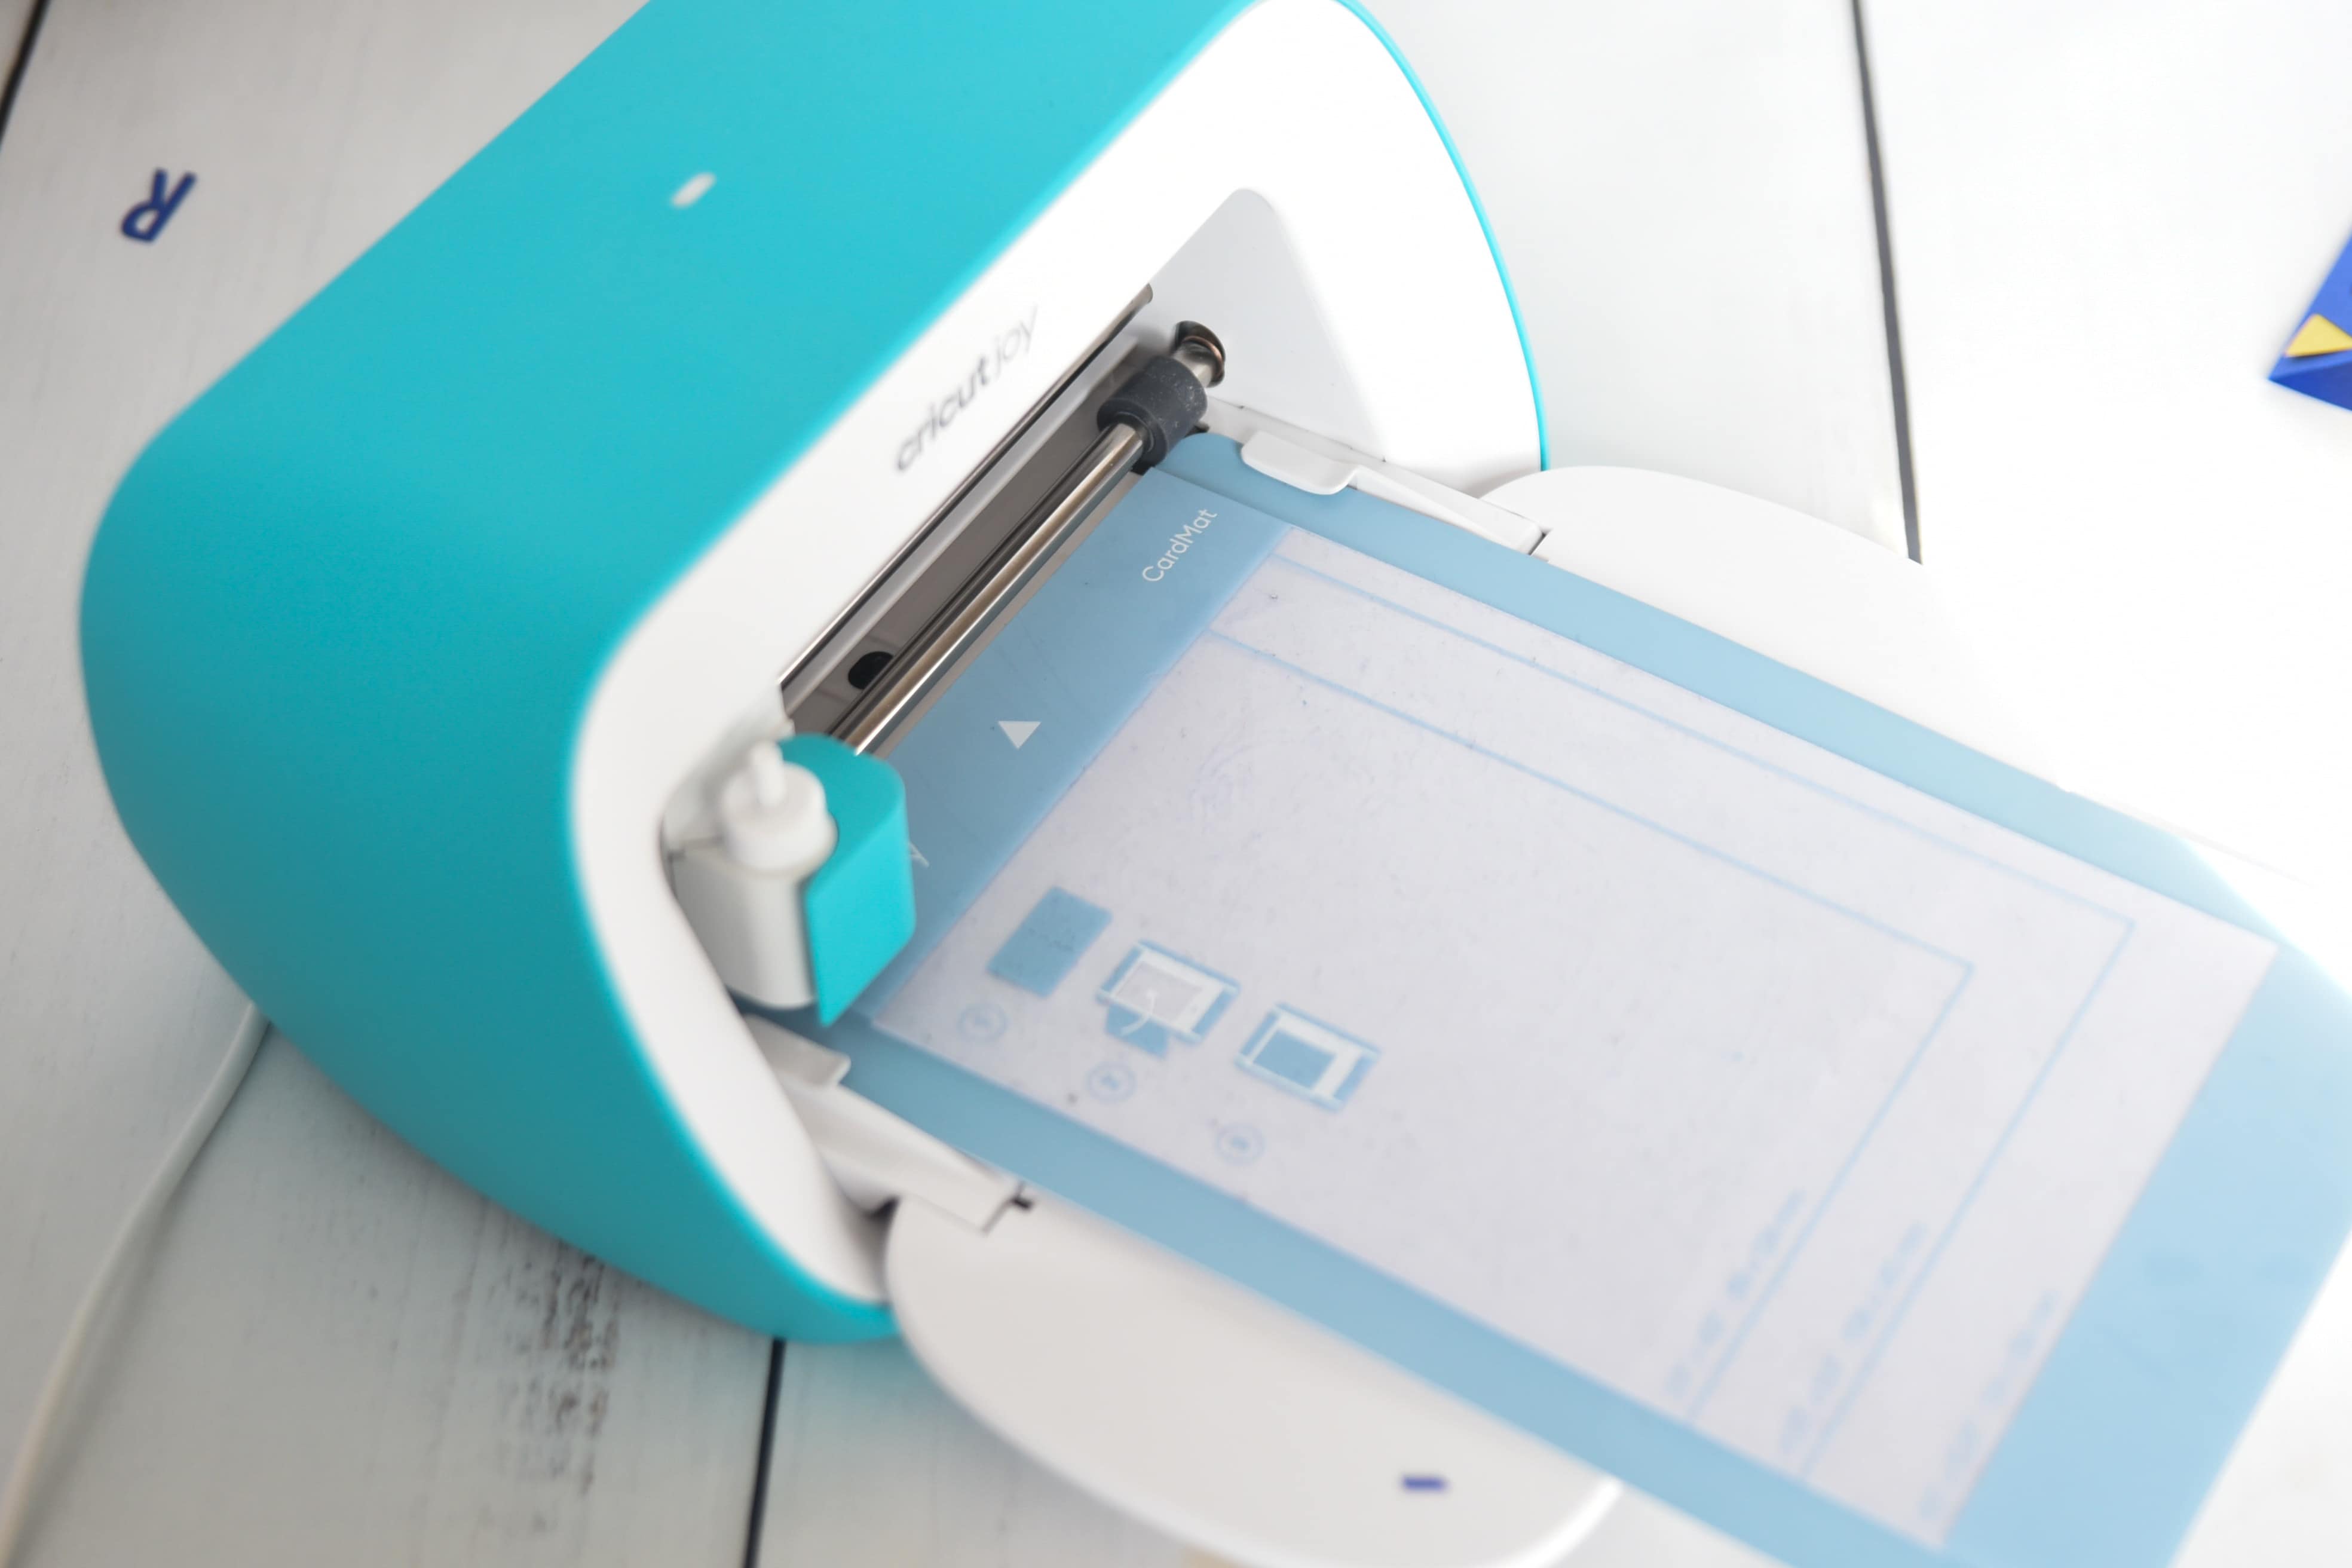
In order to make cards, you will need the card mat. This is a mat only available for the Joy, but it is designed to make it easy to cut the card and leave behind all the excess.
I recommend storing it with the plastic on it to increase its longevity.
Cricut Joy Pens
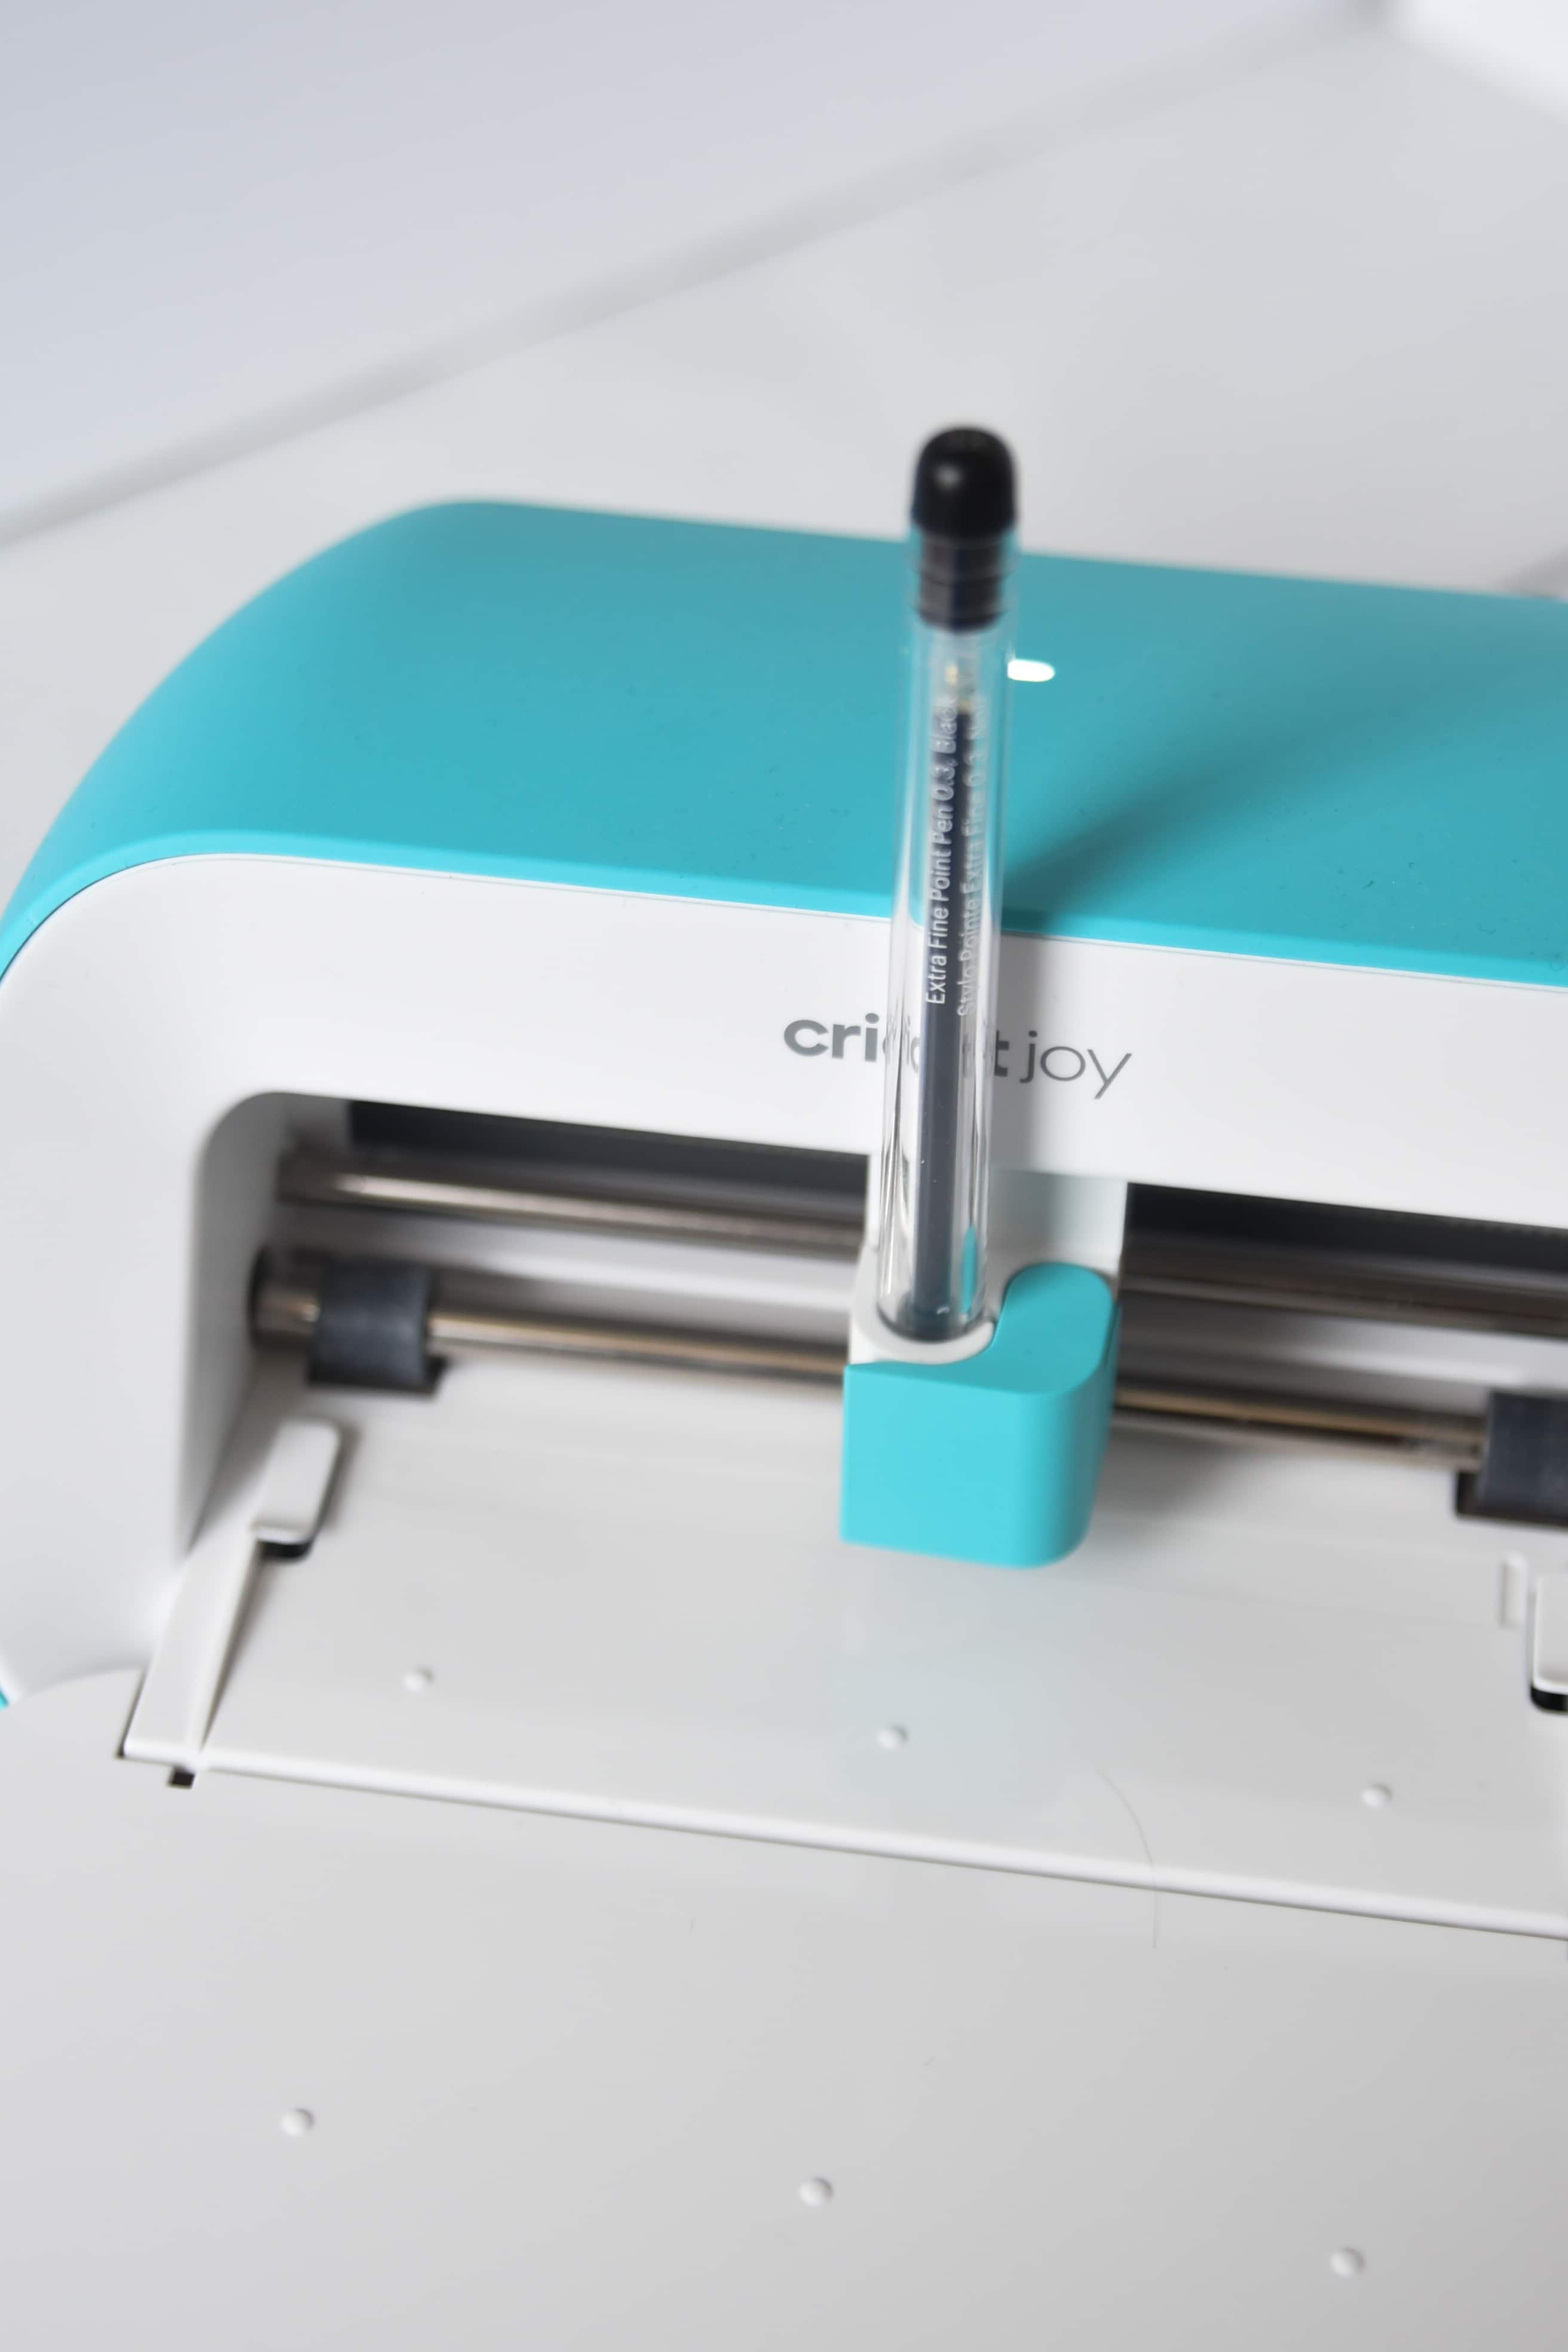
You can write on cards, and to do so, you’ll need to use Cricut Joy pens. They have a large variety!
- Fine Point Pens, .4mm – Red, Green, and Violet
- Fine Point Pens, .4mm – Black, Brown, and Gray
- Extra Fine Point Pens, .3mm – Black, Red, and Green
- Gel Pens, 1.0mm – Teal, Purple, and Pink
- Extra Fine Point Pens, .3mm – Black
- Glitter Gel Pens, .8mm – Black, Gold, and Silver
- Glitter Gel Pens, .8mm – Pink, Blue, and Green
- Gel Pens, 1.0mm – Black, Gray, and Blue
How to Make a Card with the Cricut Joy
First, I’ll show you how to make a basic card with your Cricut Joy using one of the templates in Design Space.
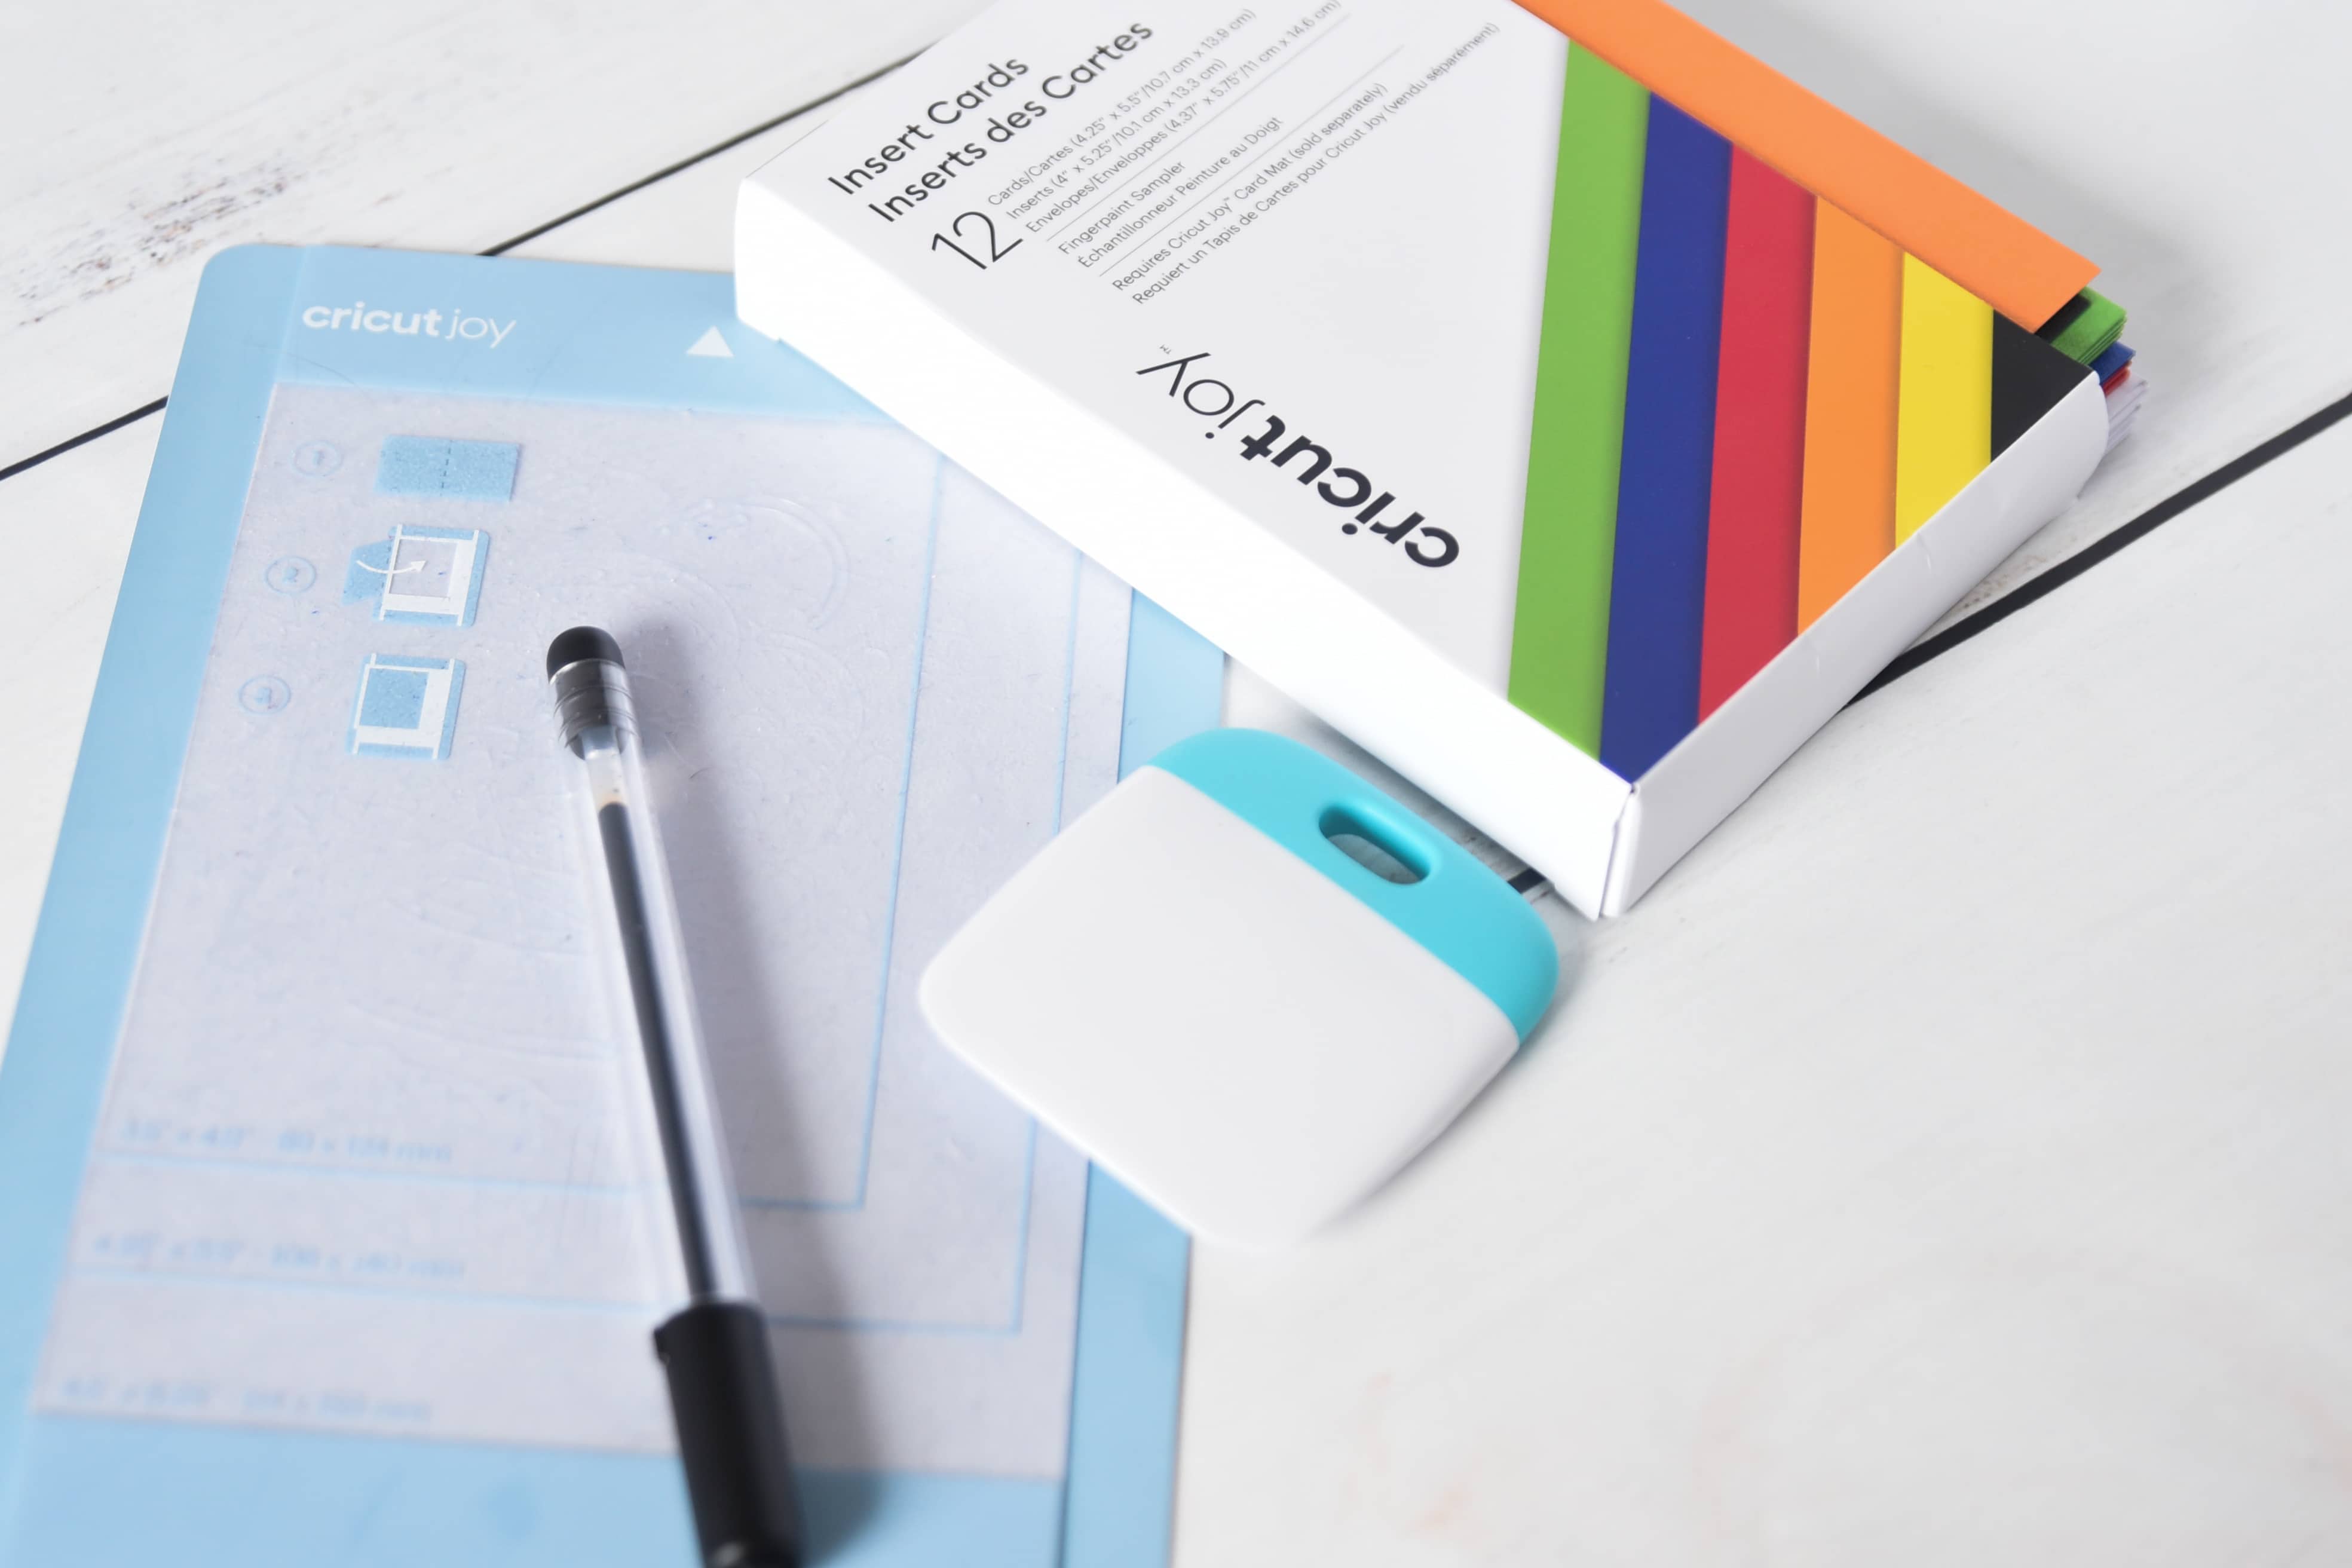
You will need:
- Cricut Joy
- Cricut Joy Card Set (Cricut.com / Amazon)
- Cricut Joy Mat (Cricut.com / Amazon)
- Cricut Joy Blade (Cricut.com / Amazon)
- Scraper Tool (Cricut.com / Amazon)
- Cricut Joy Pen (if your project needs it)
For a brief video tutorial, watch the slideshow below:
[jumprope code=auoPpvIN]
First, you will find a card design that you like. If you select the category “Free for Cricut Joy” it has a wide variety of cards. Otherwise, you can browse through the “Card” category, just search card, or search for a particular occasion. There are lots of options, so you can browse around to find just what you want.
Once you’ve selected your card, go through the normal prompts for cutting your material. When you select a material to cut, you will pick “Cricut Joy Insert Card.”
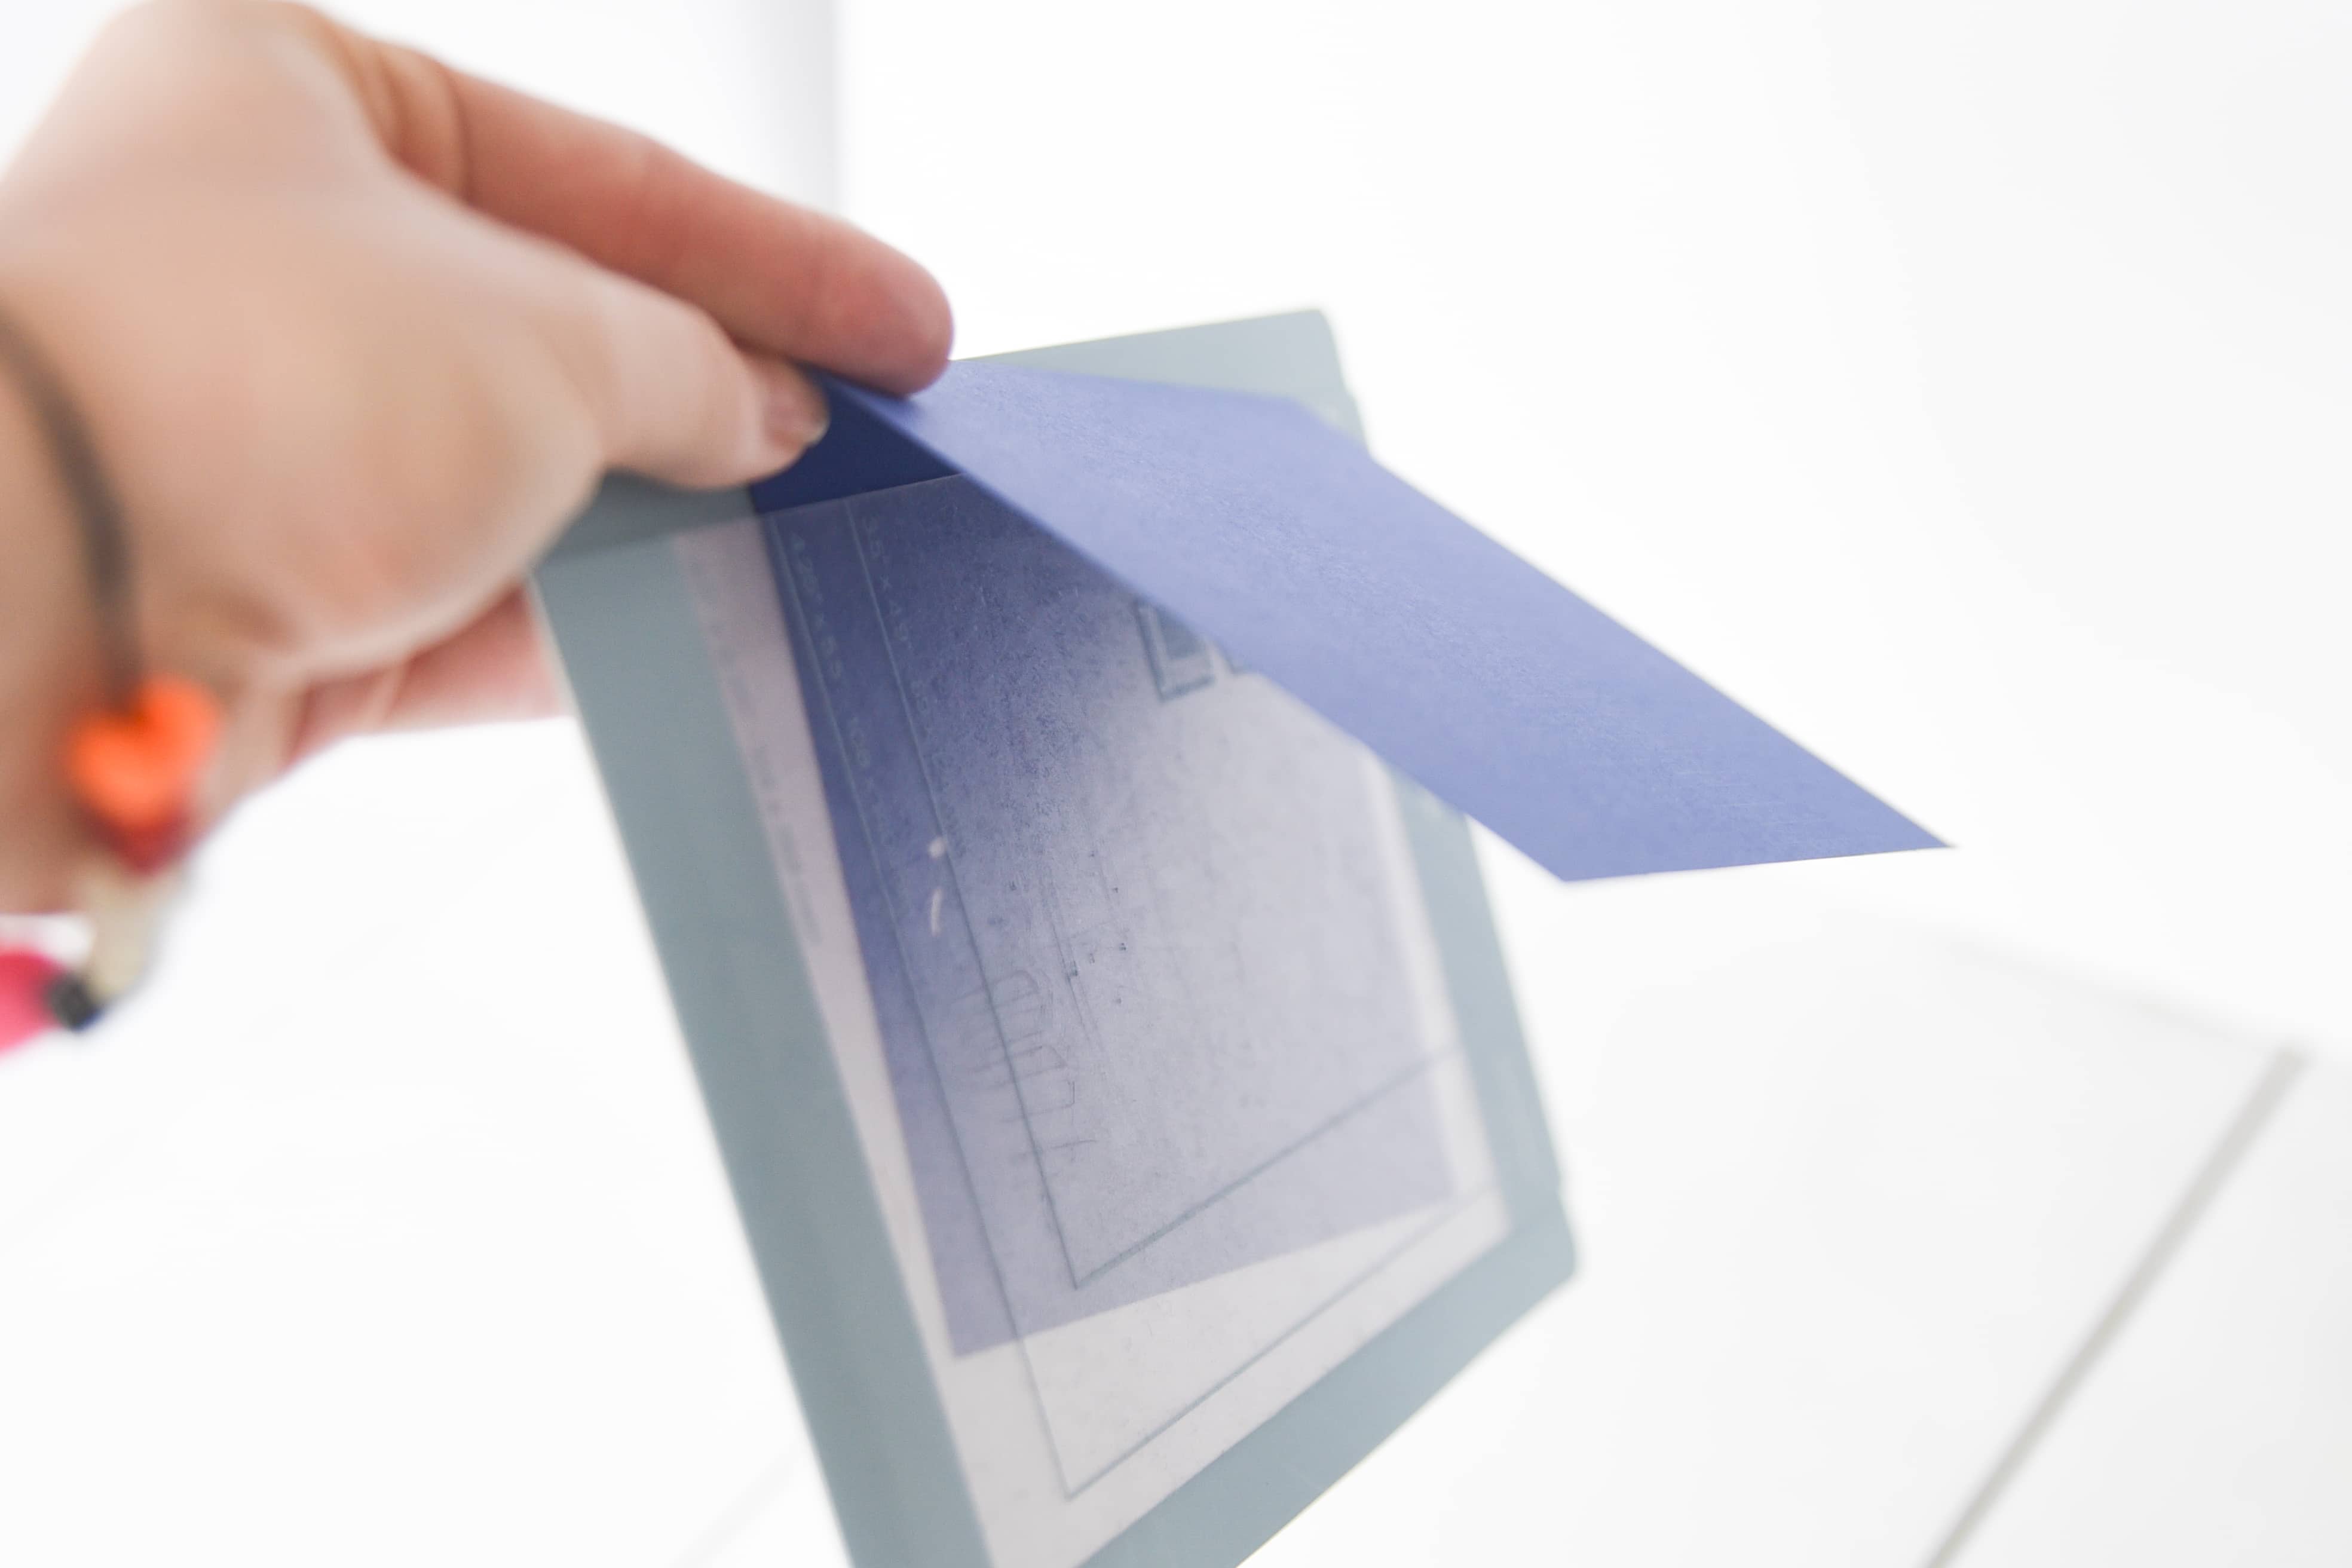
Once you have your machine connected and ready to go, you will add your card to the Cricut Joy card mat.
The mat has a little divider on it – the front of your card will go on top, and the back of the card will go underneath it. Make sure you press it in nice and securely.
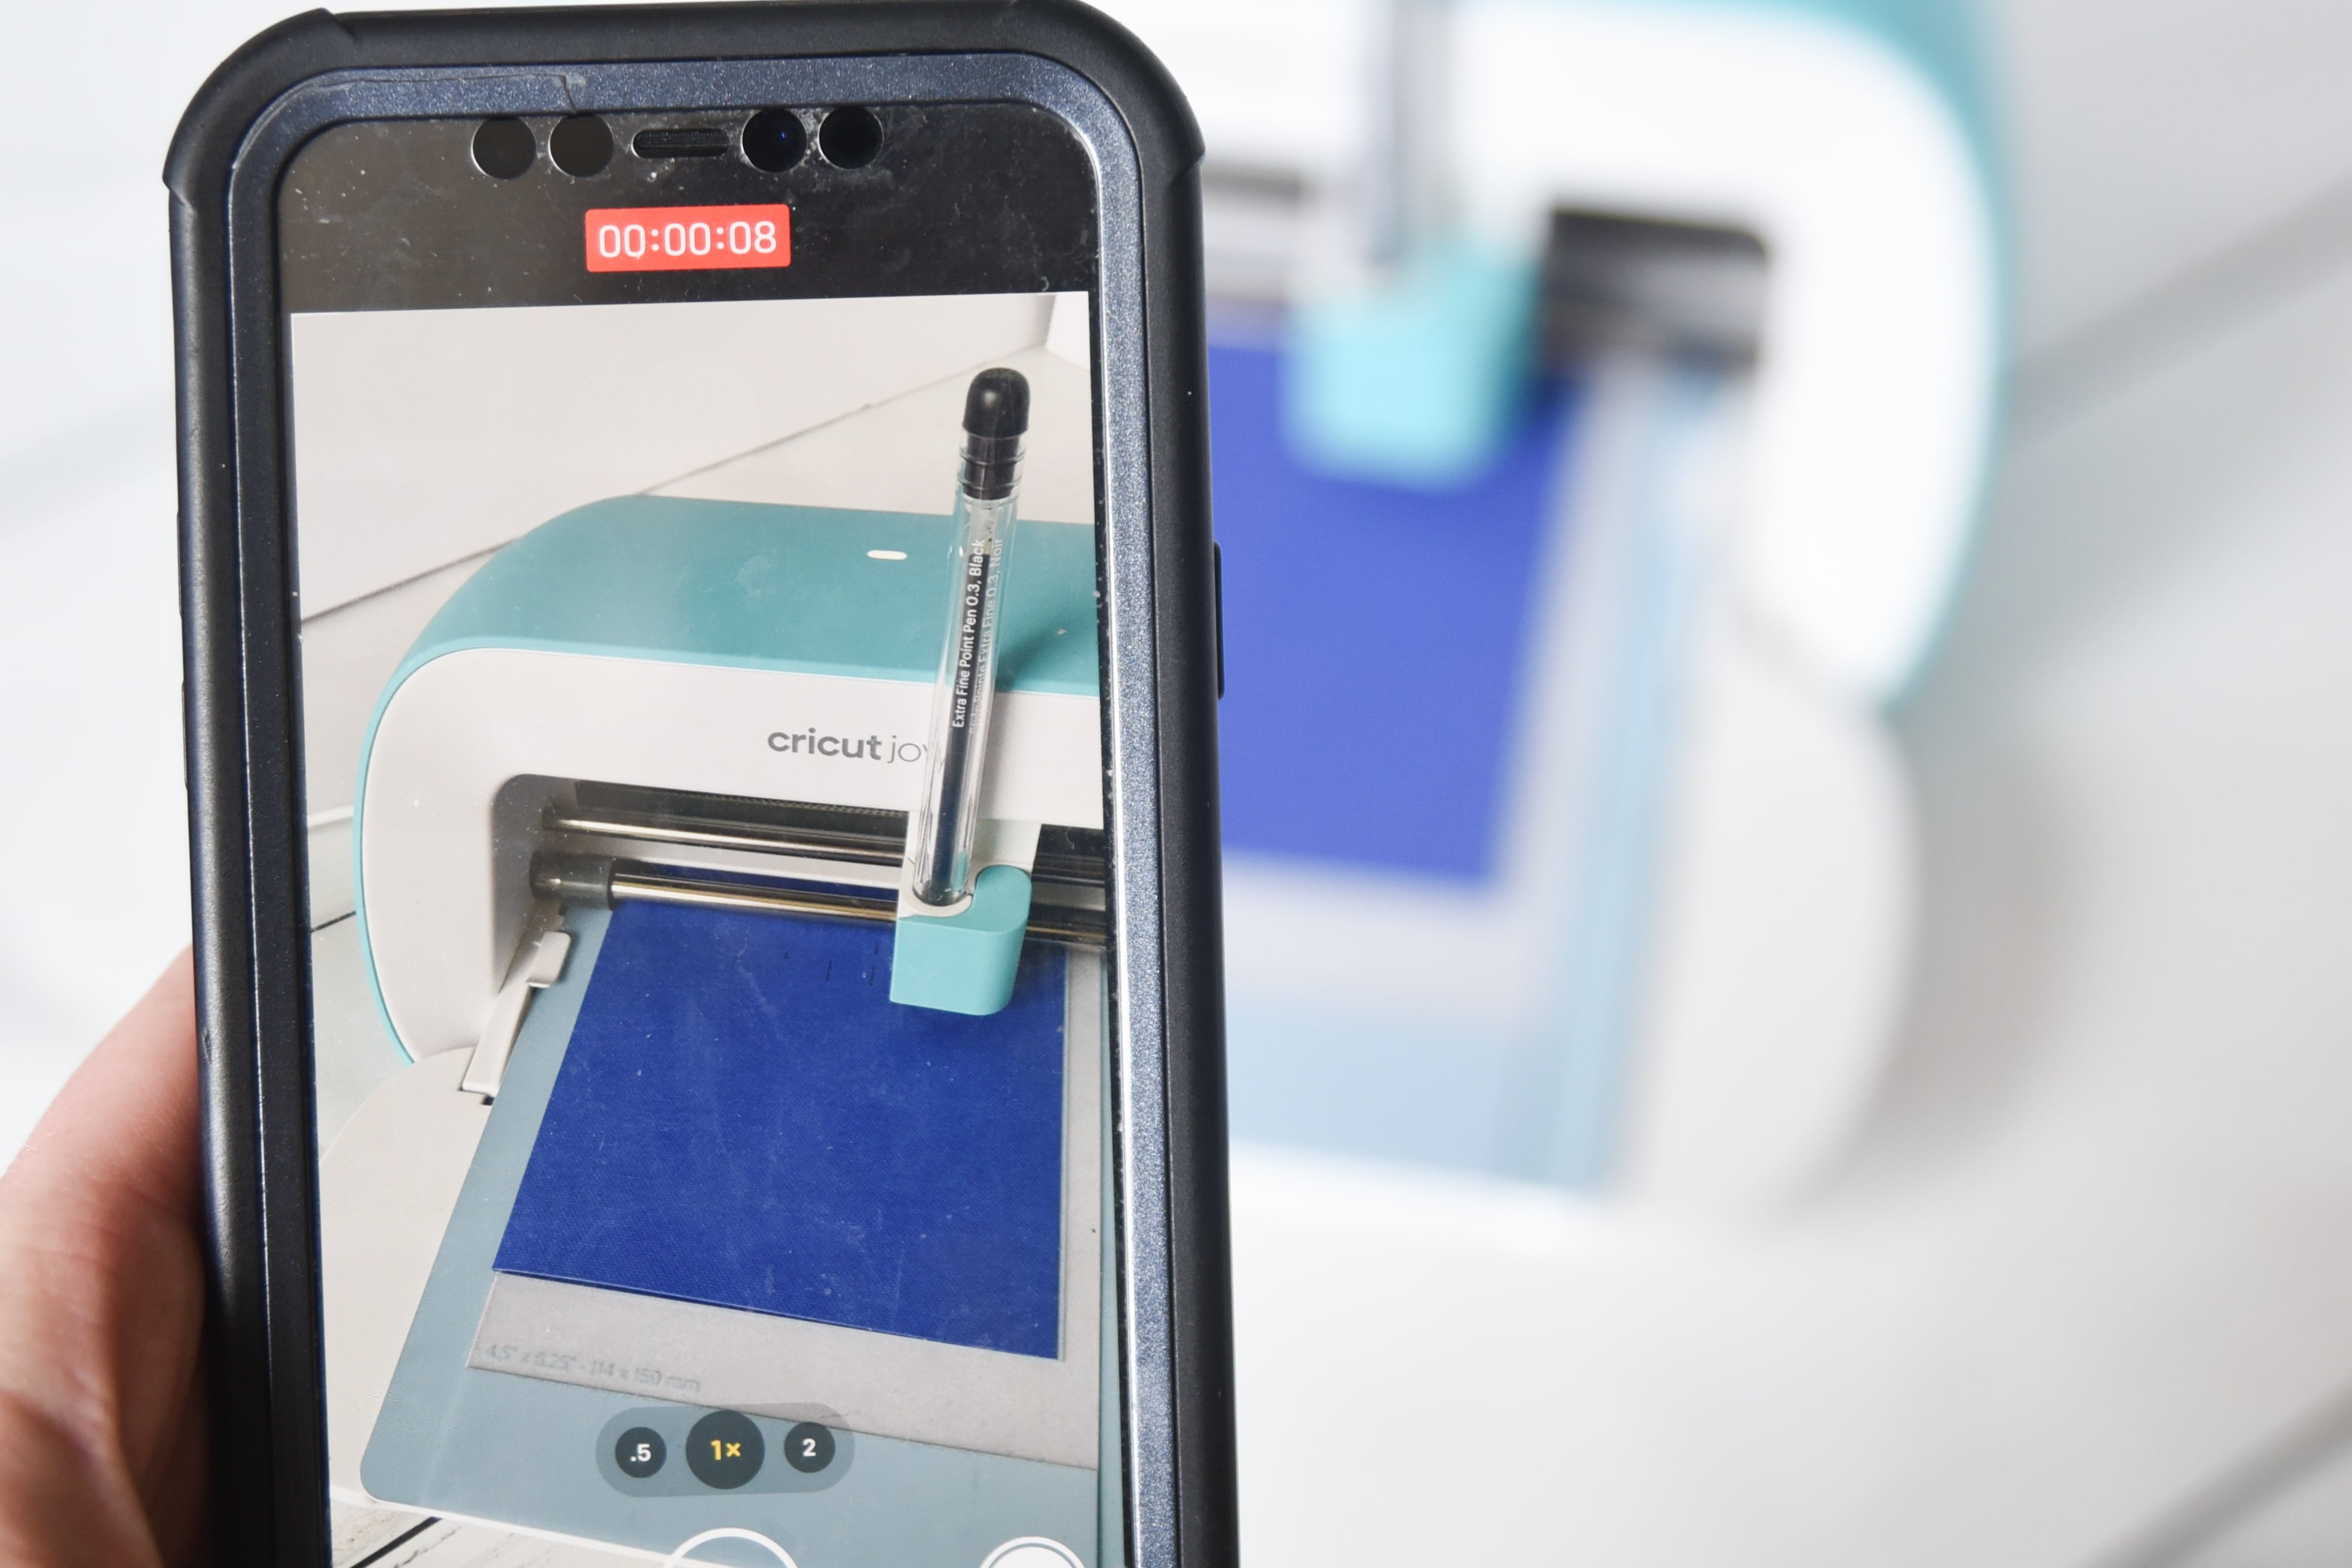
Now you’re ready to load it in! Once you press go in Design Space, it will tell you to load your mat. Carefully line your mat up with the rollers, and it will automatically be pulled in.
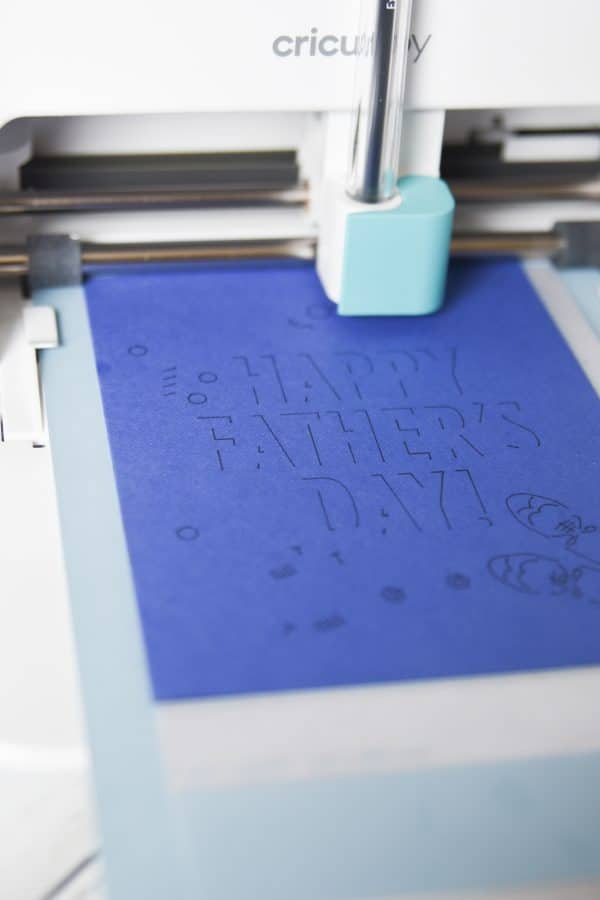
And now the magic happens! Your Cricut Joy will cut out the design, which usually takes between 3 and 10 minutes, depending on the complexity of the card. If you have a writing aspect to the project, that will be completed first, and then it will cut out the design.
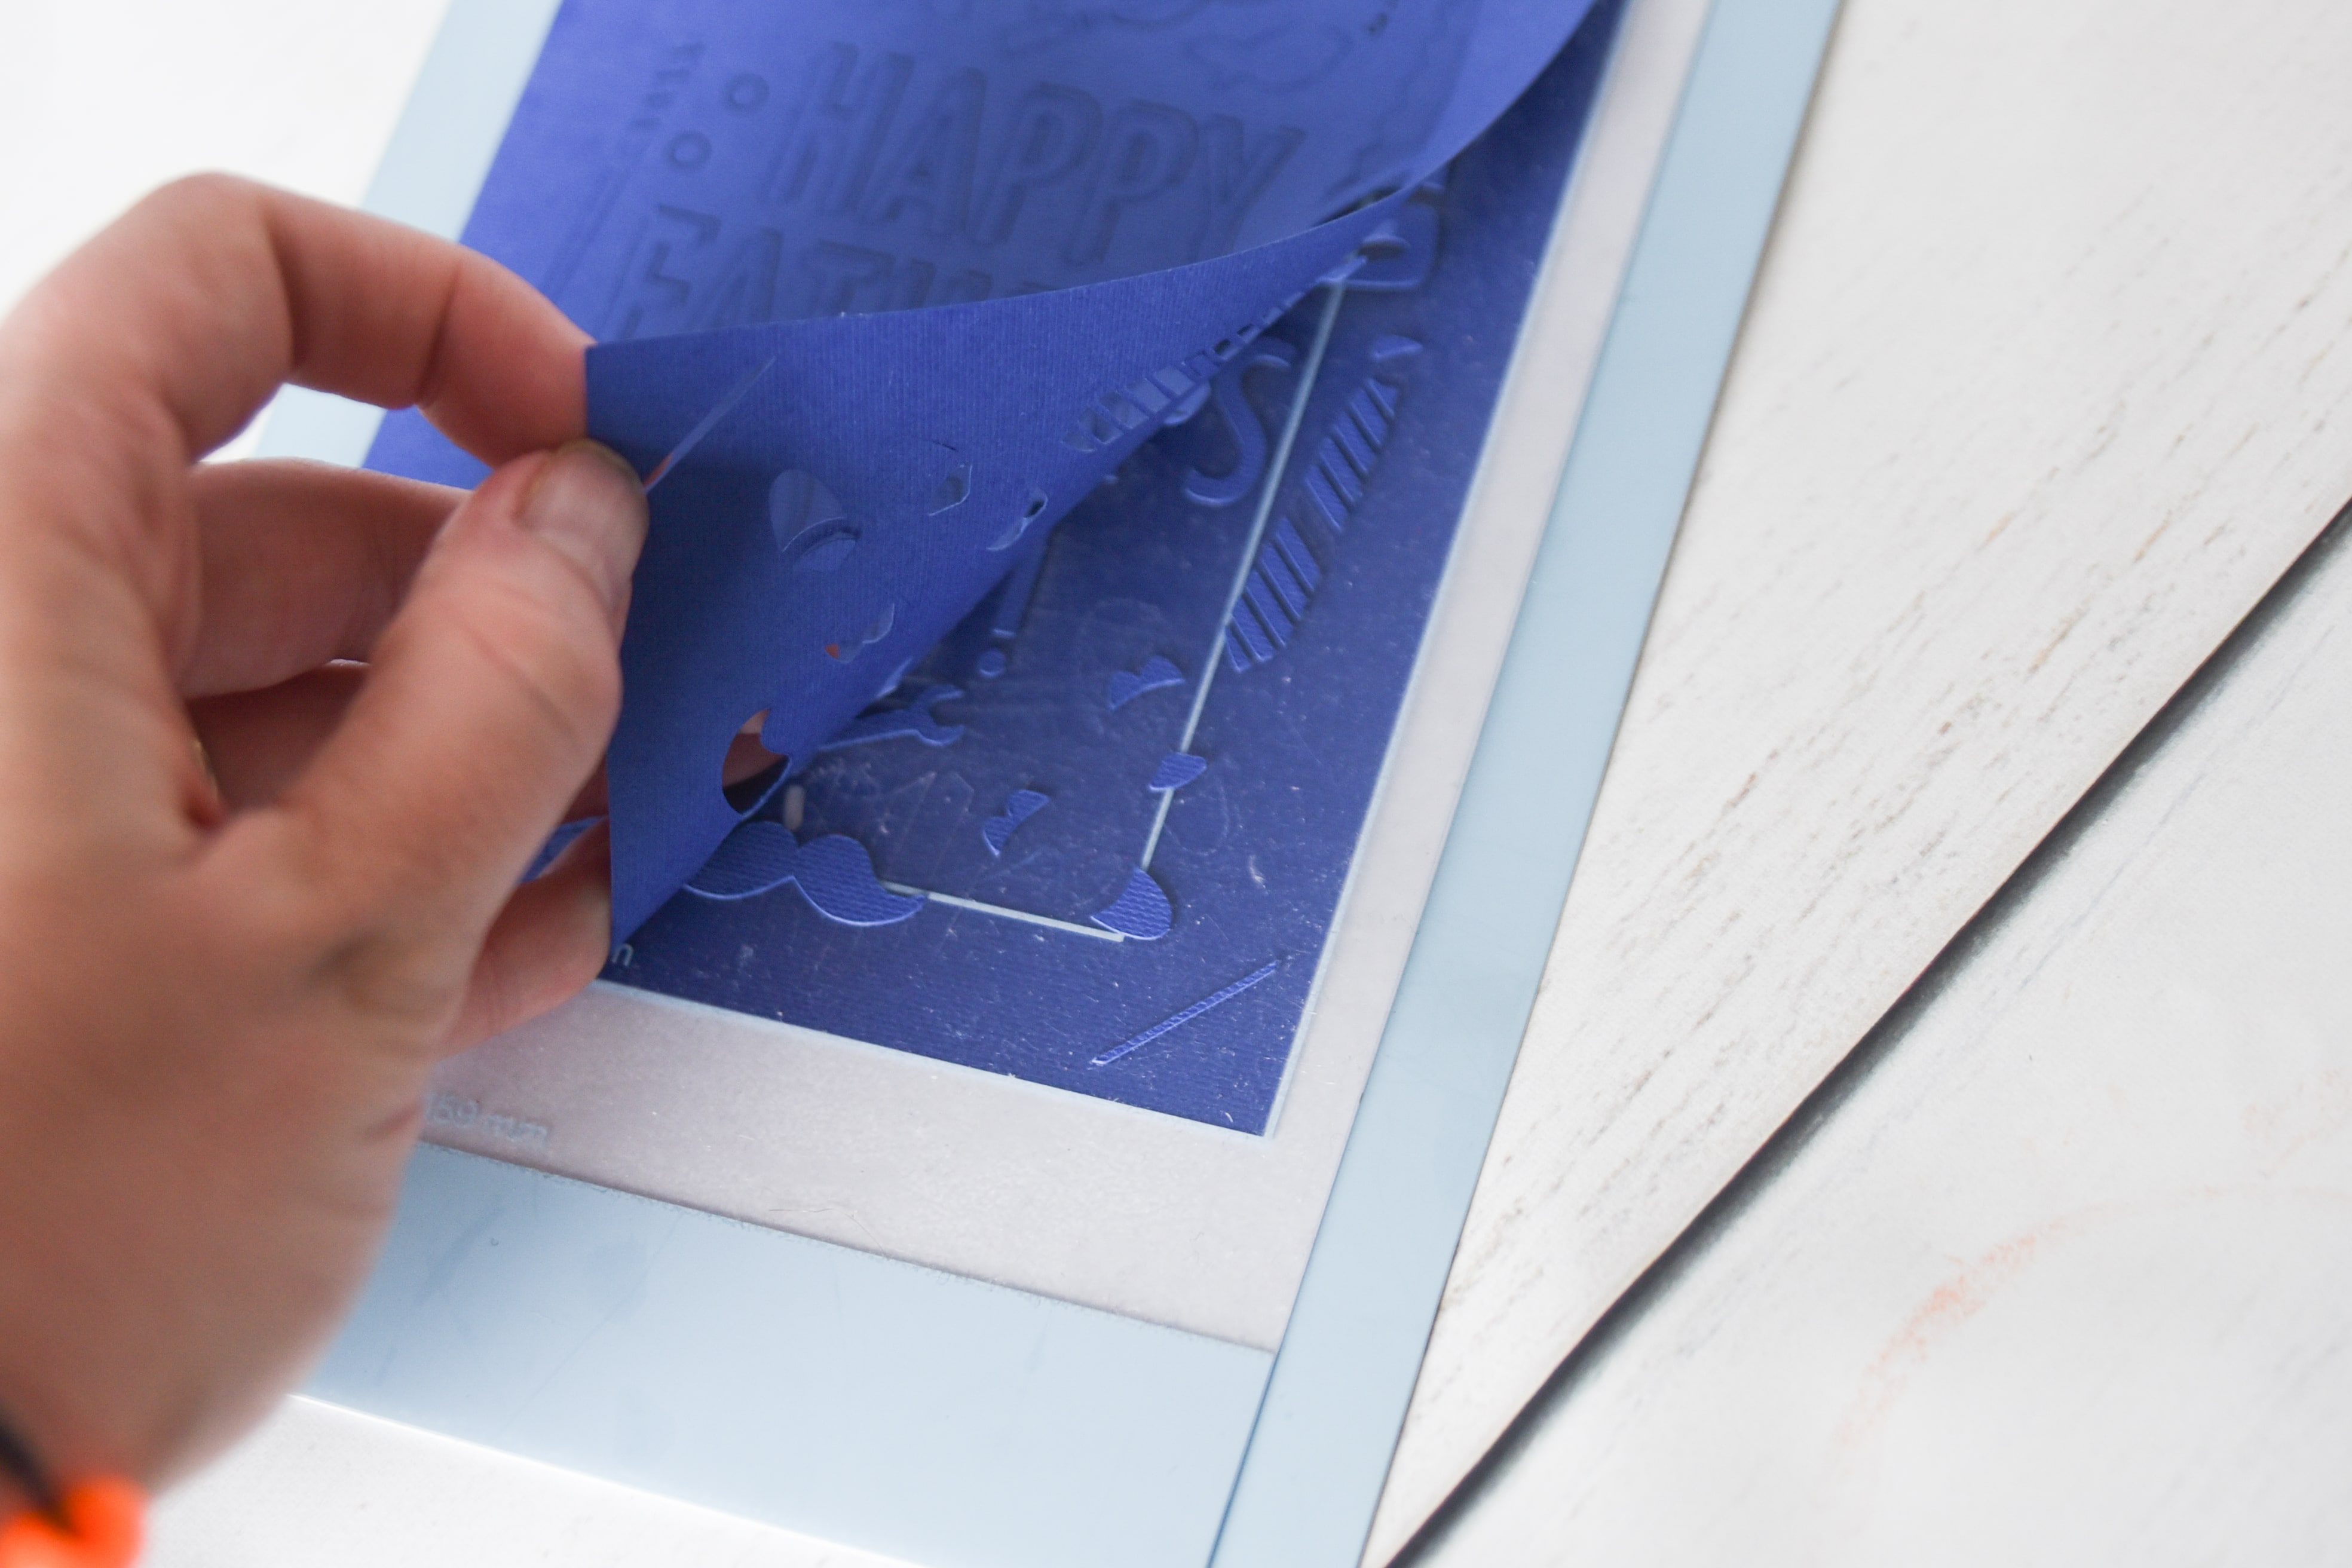
Once you have finished cutting out the card, unload the mat and carefully peel the card away from the mat.
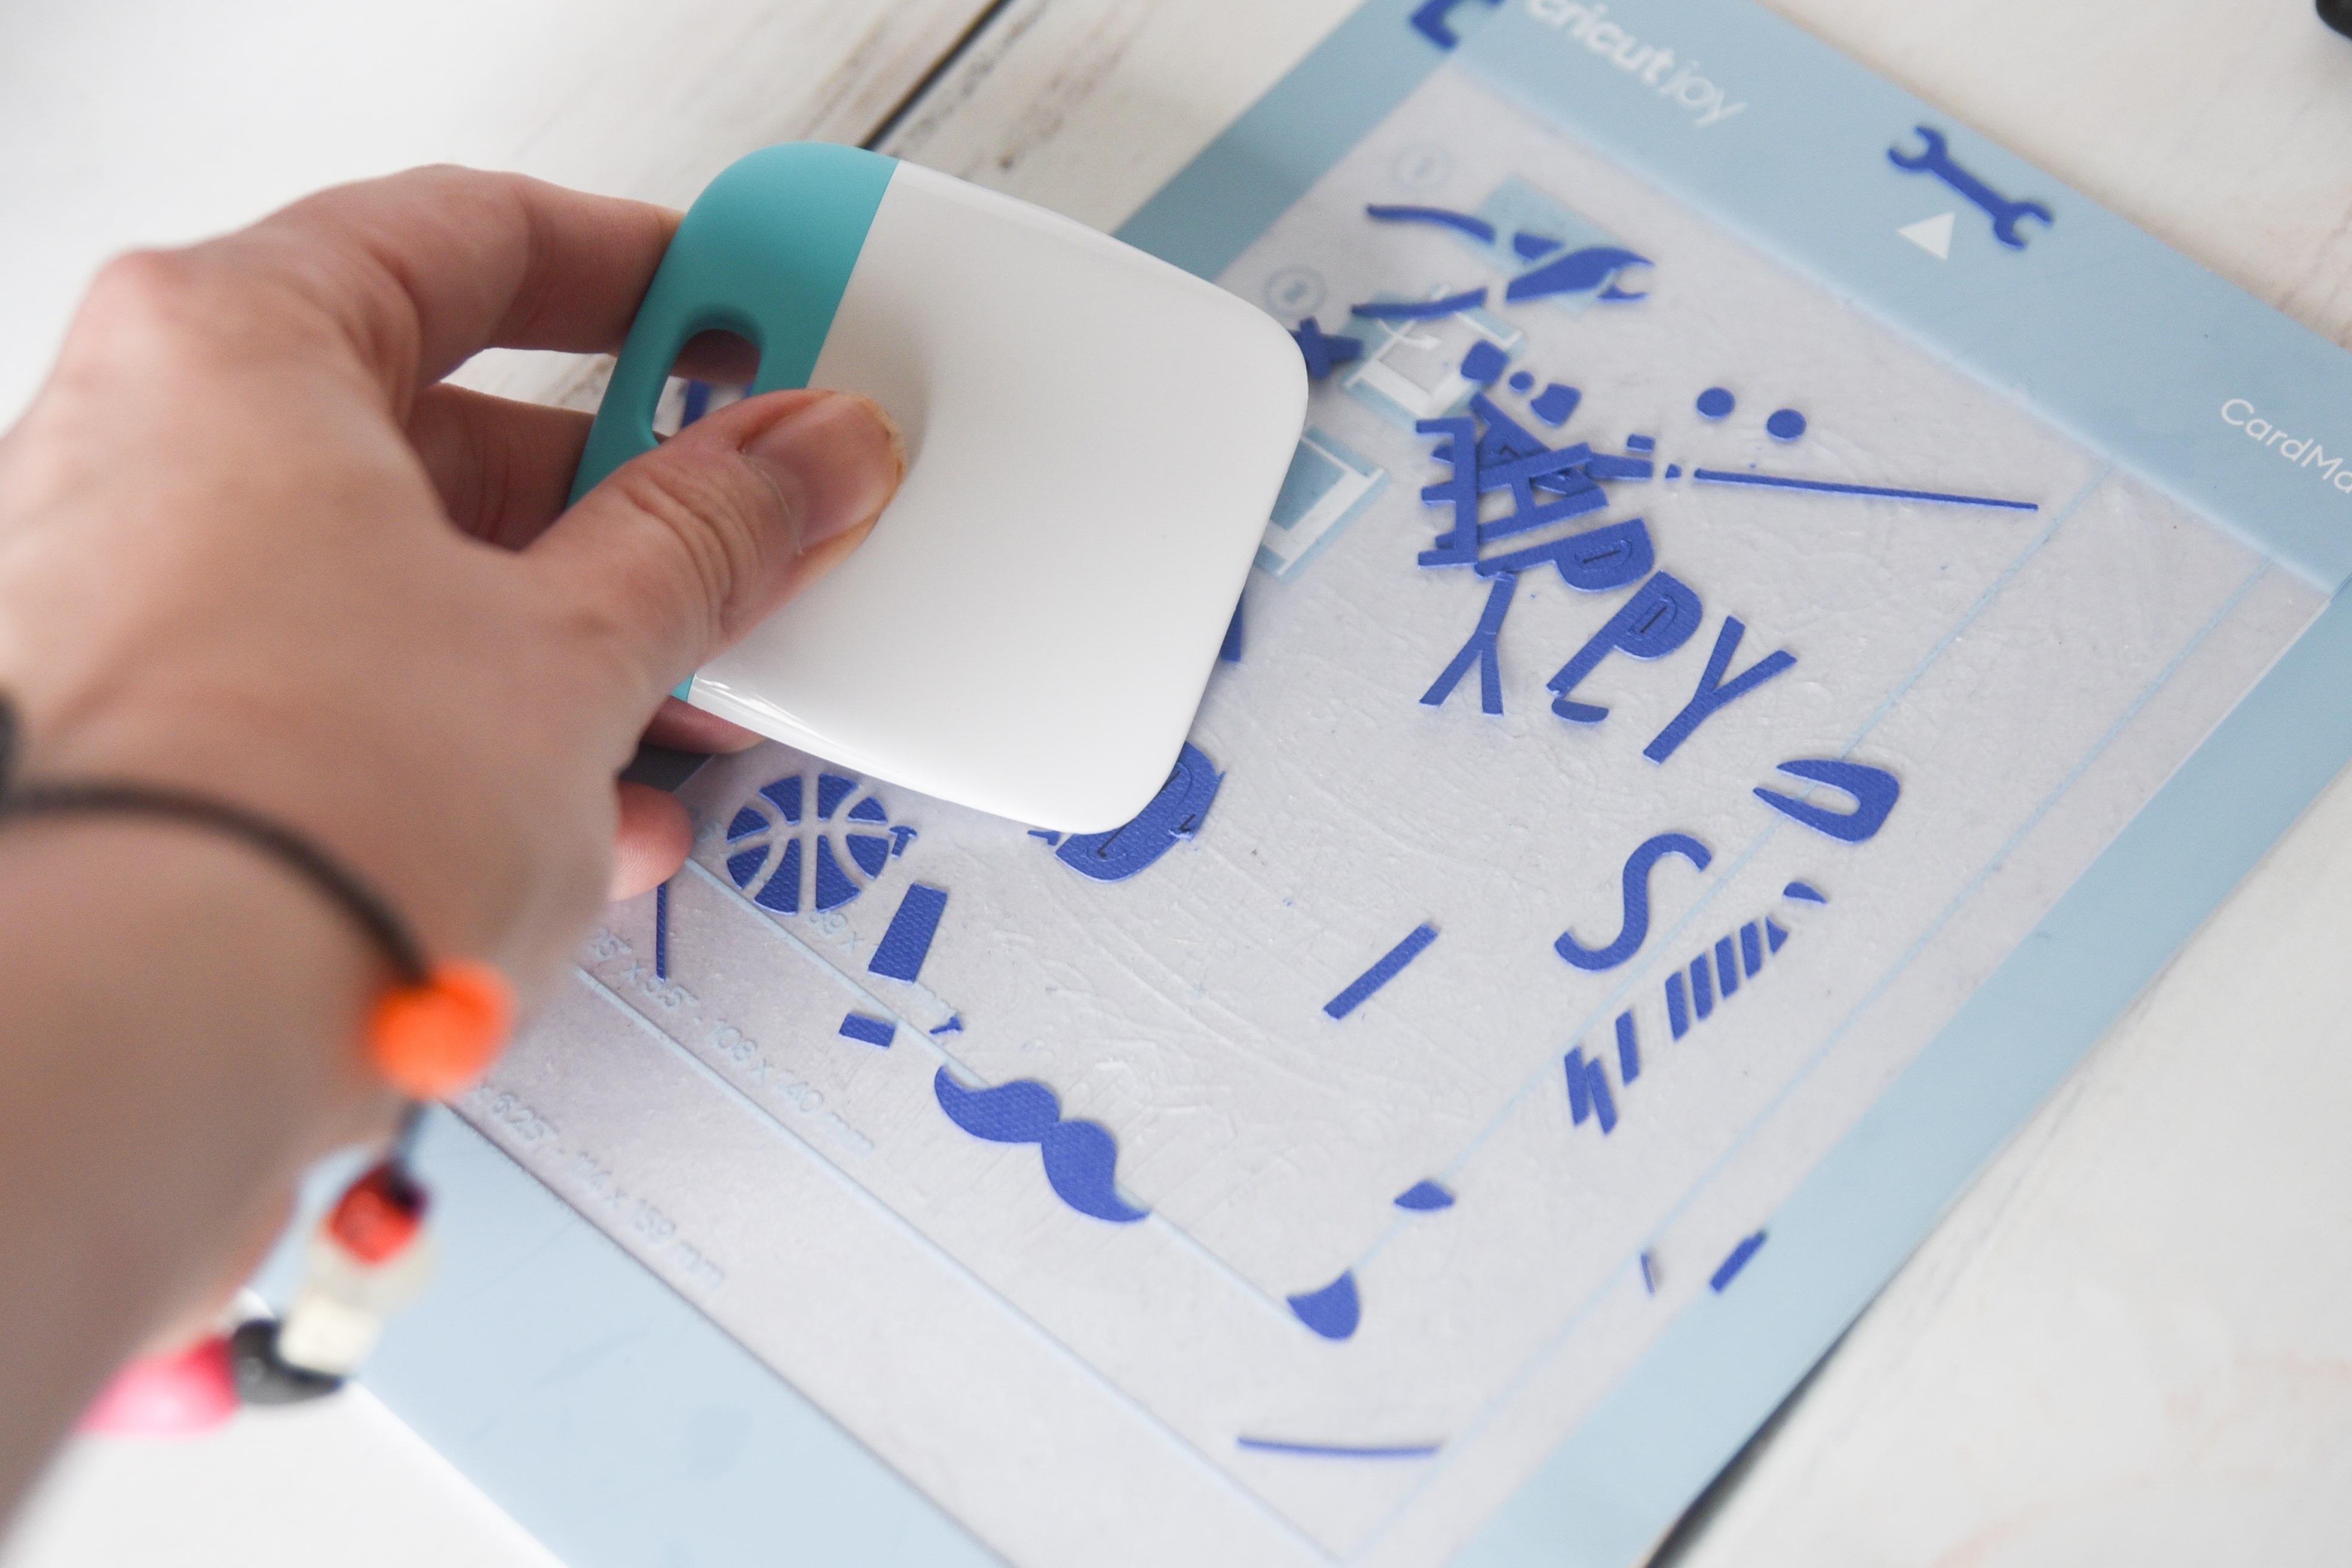
Use a scraper tool to easily remove the excess from the mat.
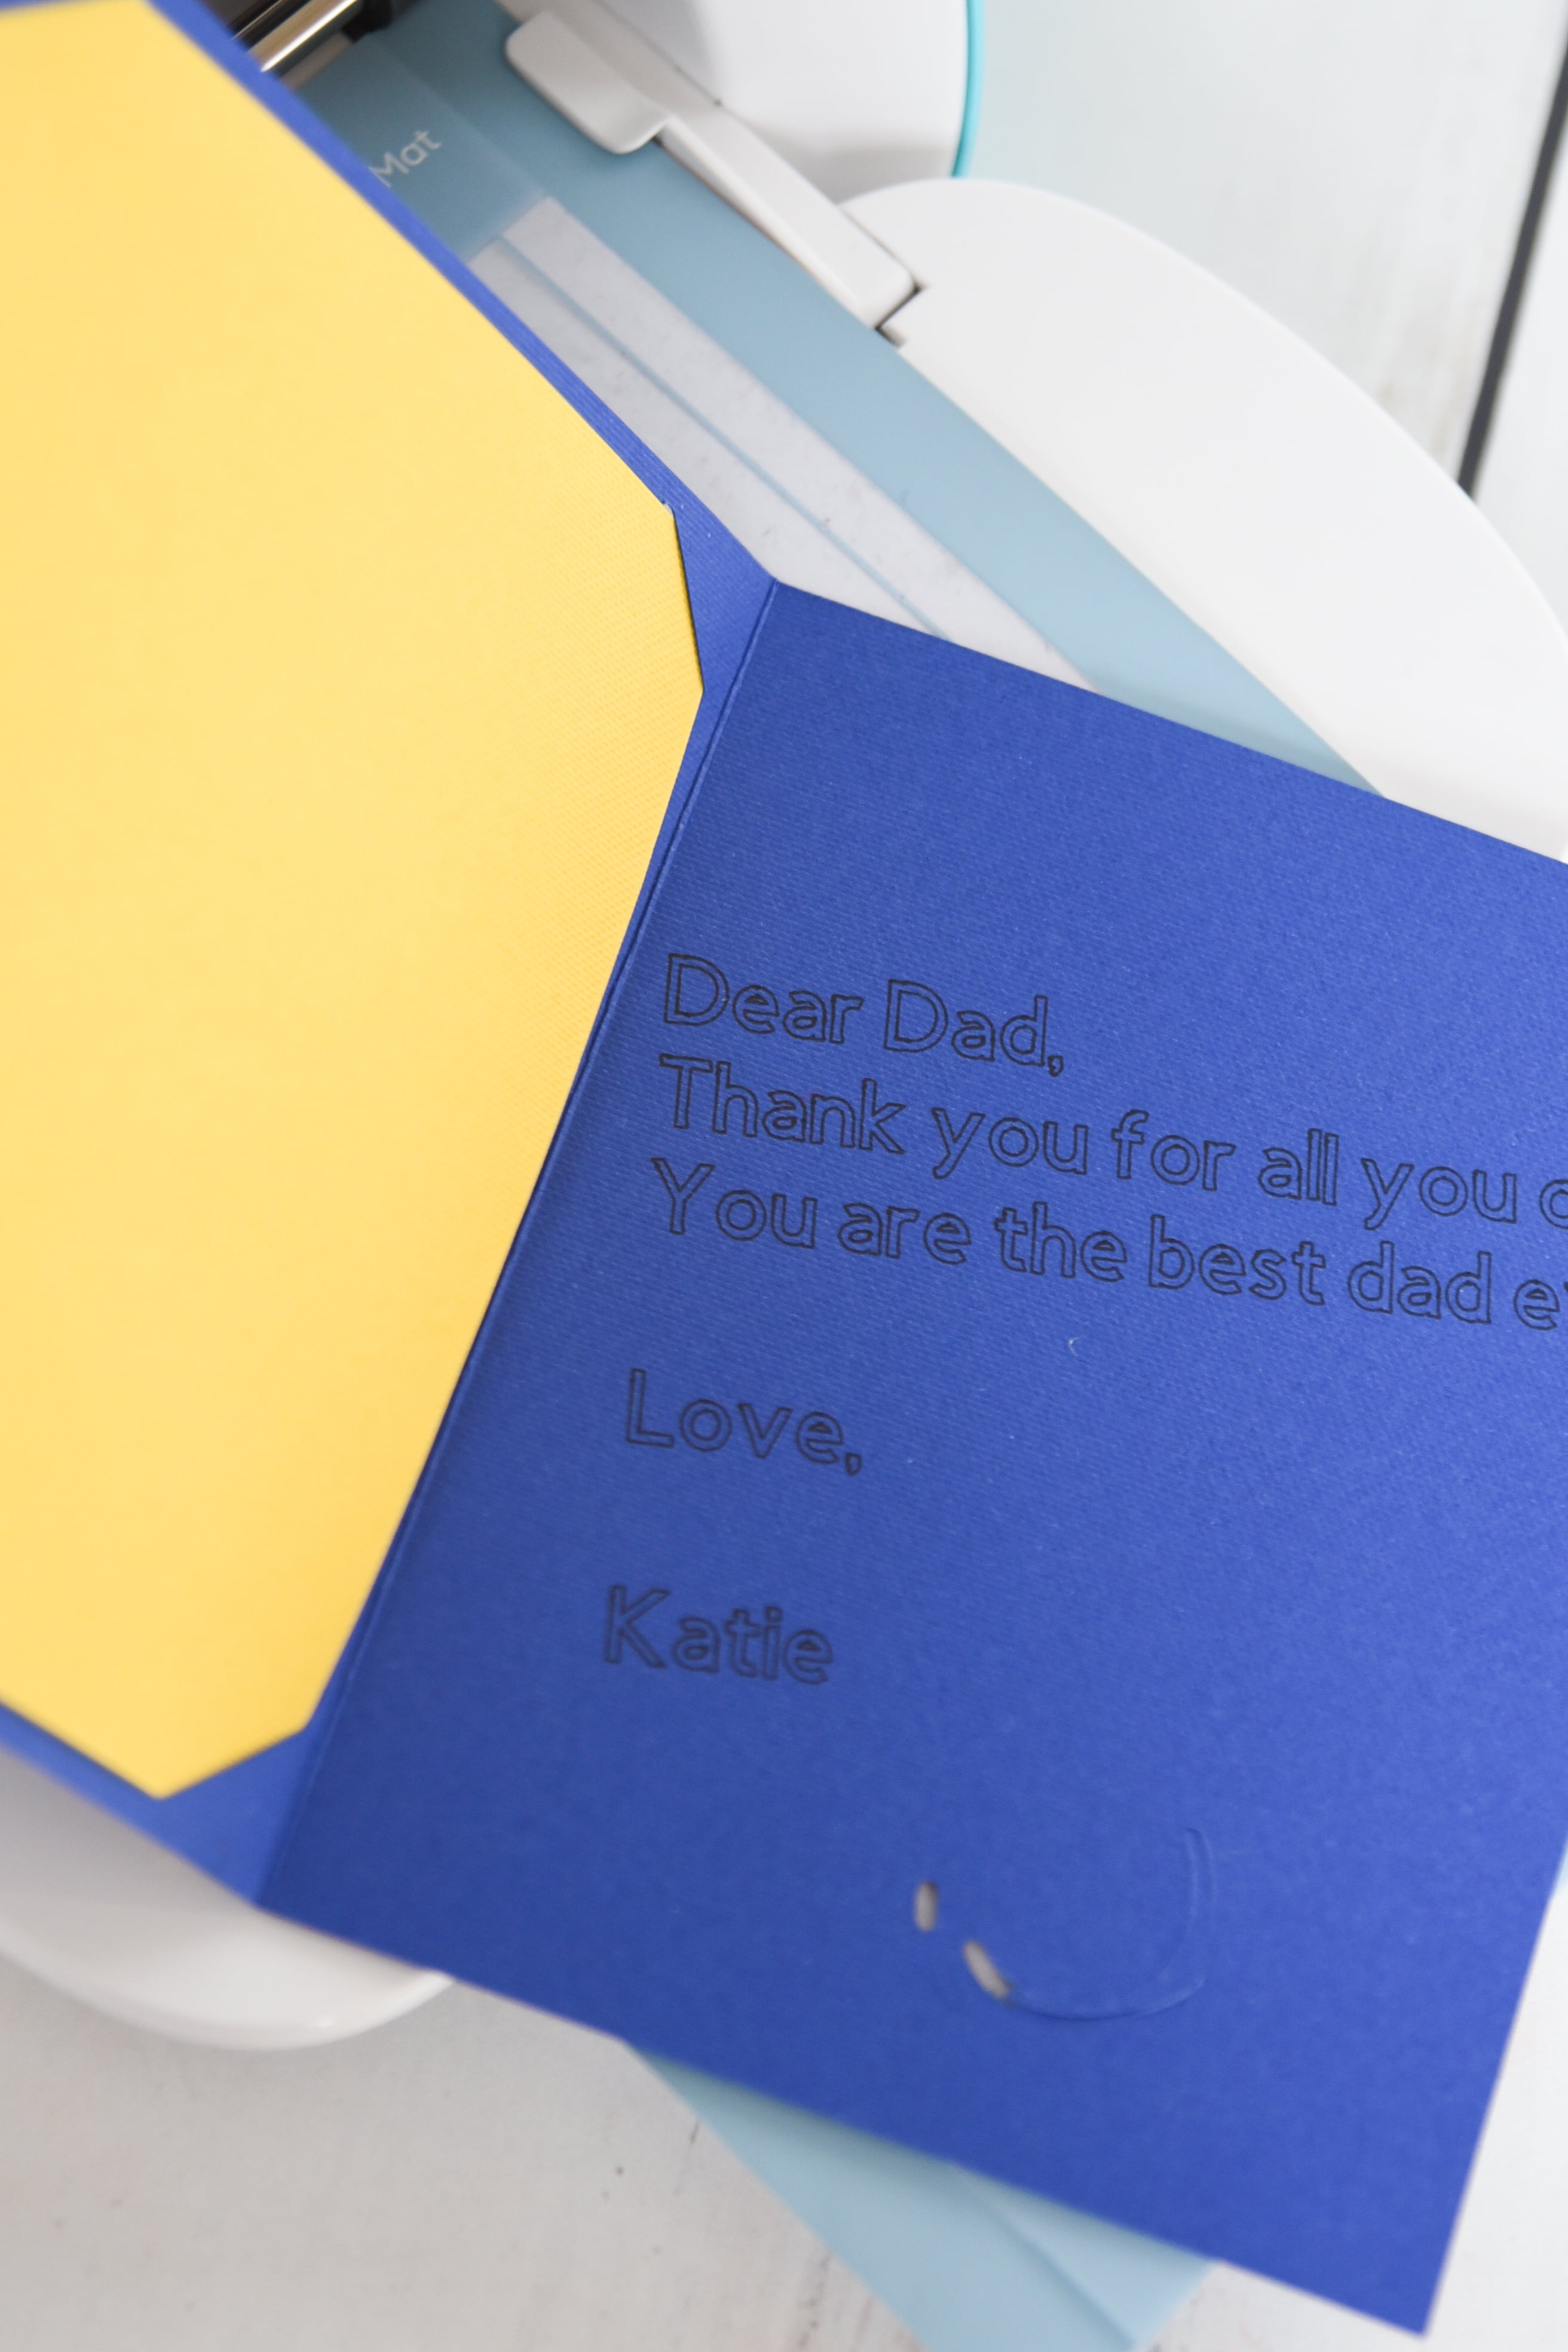
Take an insert card and carefully place it into the four insert holes around the edges of the card.
How to Create Your Own Cricut Joy Design
If you are like me, you’re probably going to be content with the designs that are in Cricut Design Space.
But I know there are a lot more creative people out there who would ilke to make their own designs for Cricut Joy cards. And it is possible!
Here are the basic steps for creating your own design. You can watch a little video tutorial below if that’s easier for you to watch!
[jumprope code=14A4bE8r7]
Open up a blank canvas in Design Space.
Click on add image and search for “Joy insert card.” I think there is one item that is a card plus the insert holes, but I would suggest picking the insert hole design you want and putting it in your canvas.
Add a square, unlock the dimensions and change the size to 4×5.25.
Place the rectangle behind the insert holes and make sure everything is lined up correctly.
Now you can add images or text. Make sure they are single cut designs. It needs to be easy to cut out! If you are using text that you want drawn, make sure to change the line type to draw.
Make sure everything is arranged in the right order, attach all the elements together, and continue to create the card as described in the instructions in the previous section.
Cricut Joy Cards and Writing
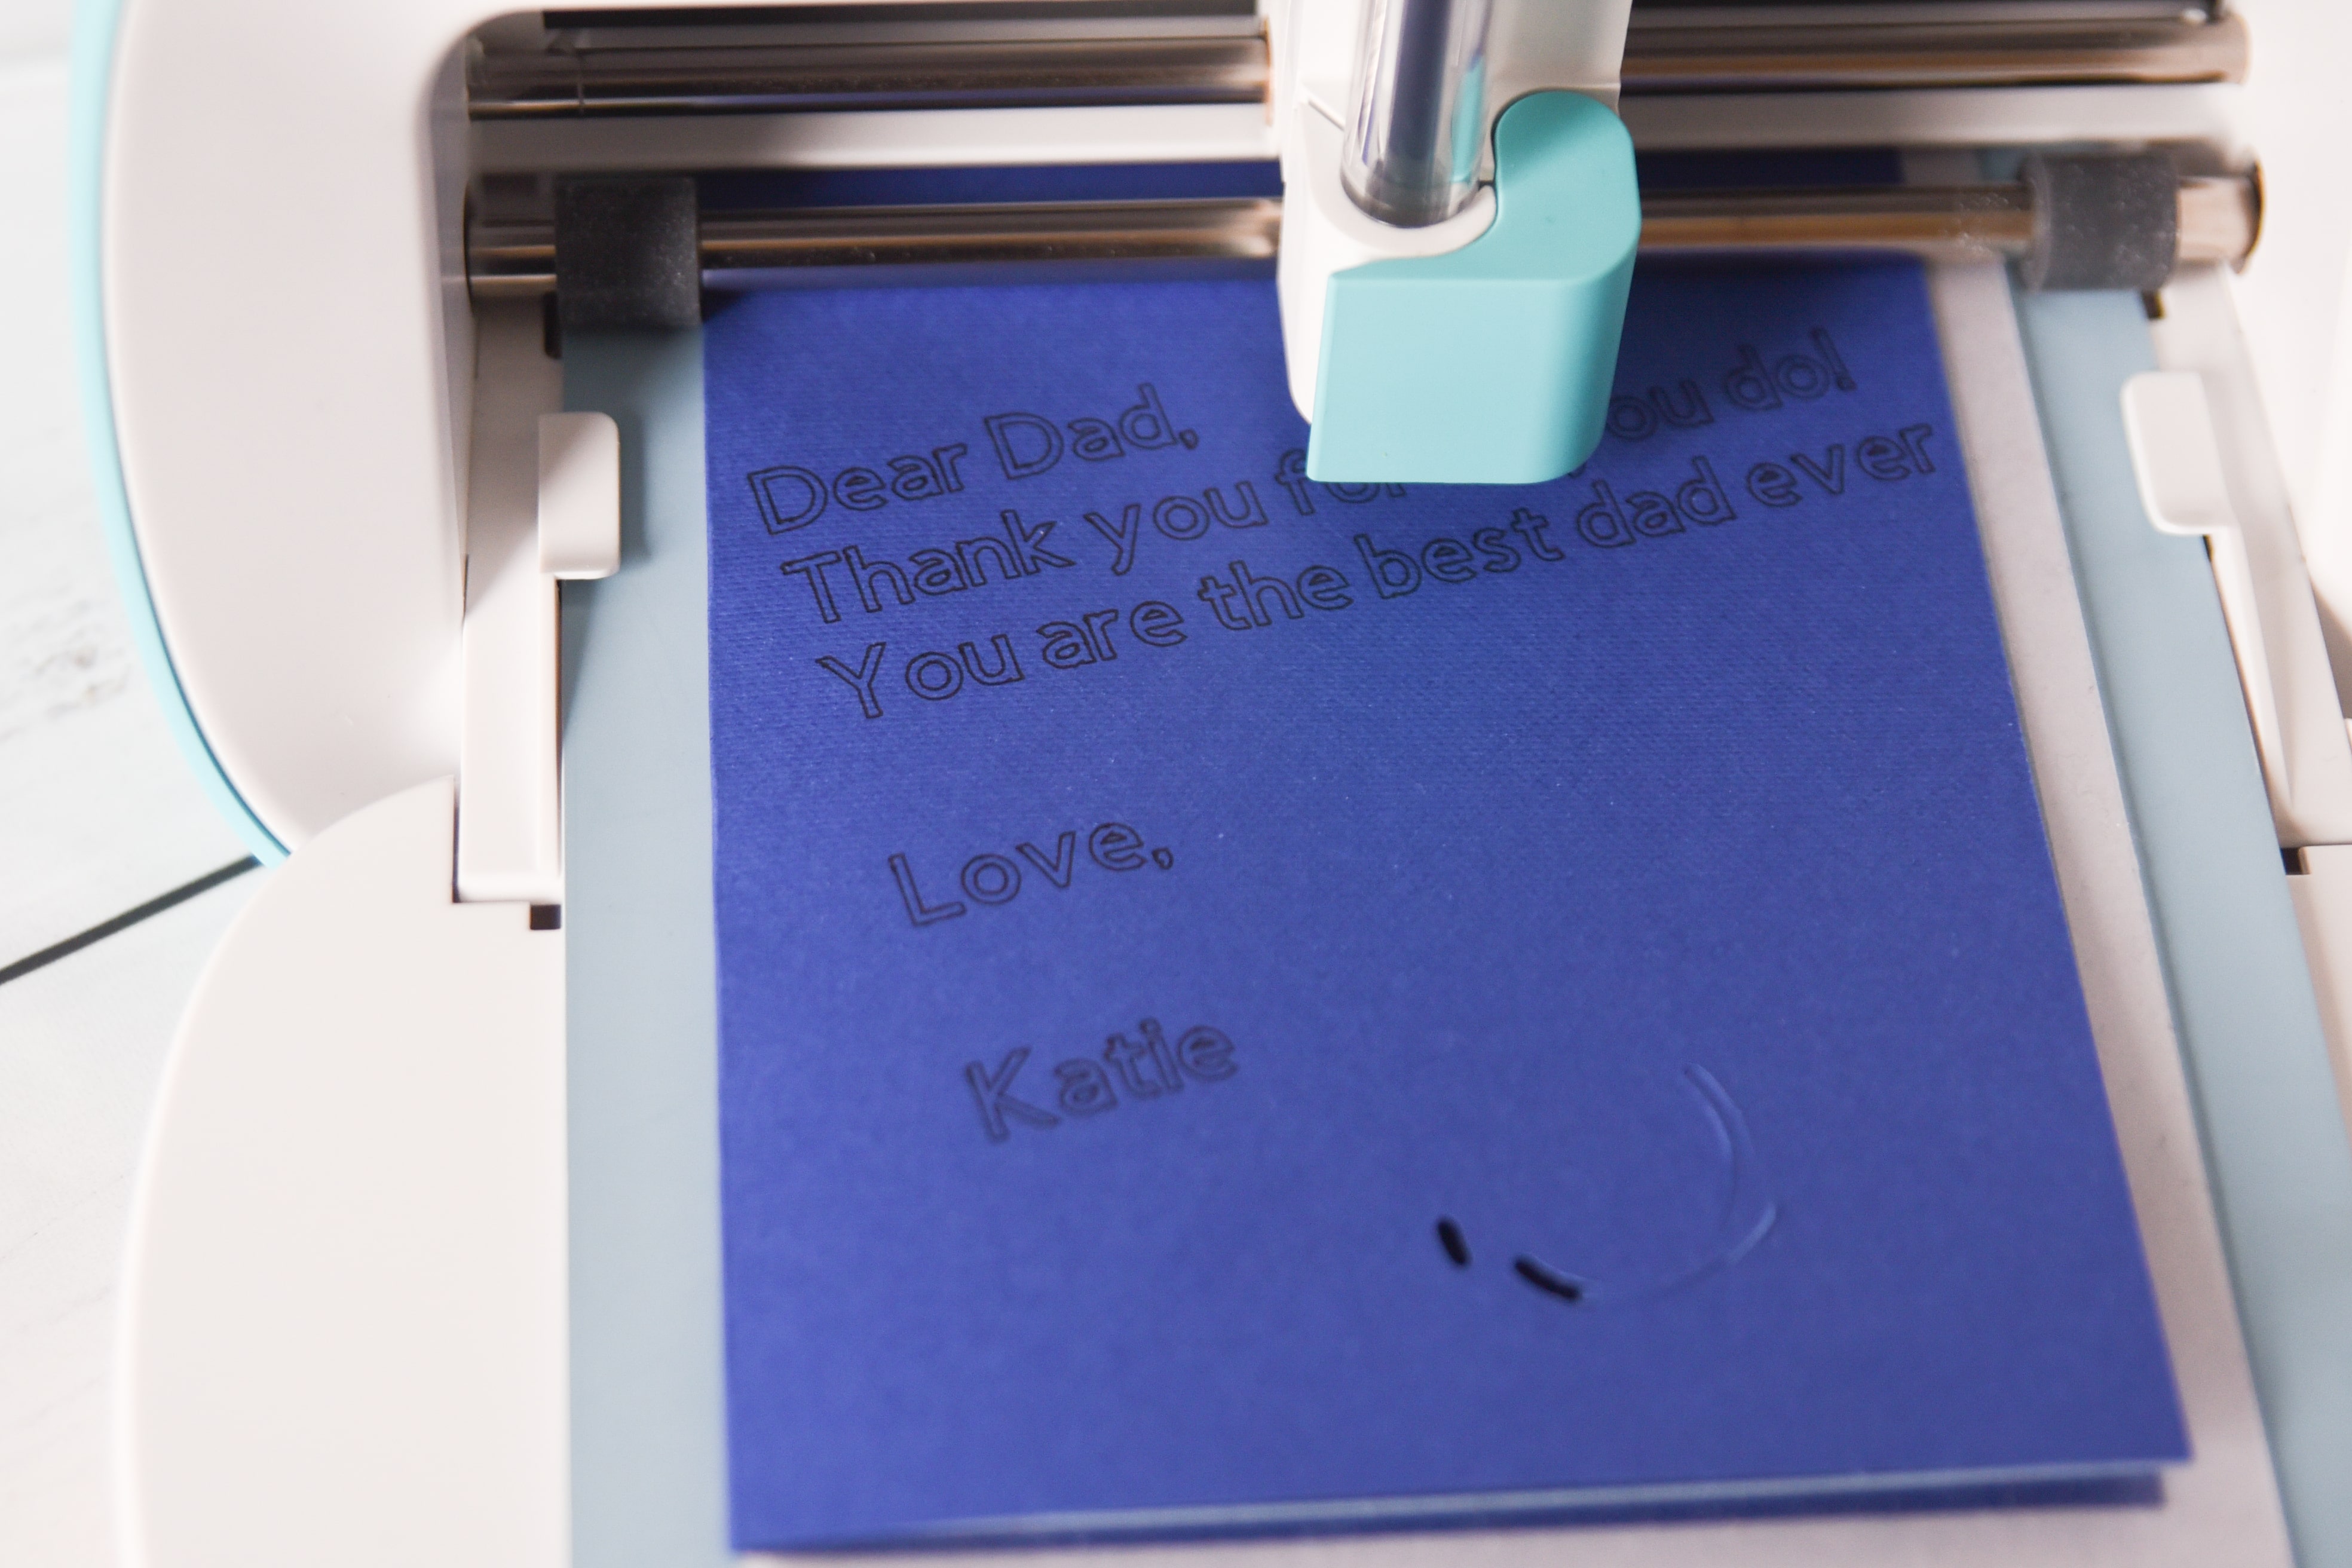
Can you write on a Cricut Joy Card?
Yes! Many of the designs in Design Space already have a drawn element added to them.
If you want to add drawn text or images to an existing card in Design Space, you are out of luck since you can’t customize a card that is available through Cricut Access.
However you can try and recreate a card yourself and add personalized drawing elements that way.
If you are designing a card yourself, you shouldn’t have any issues adding drawn elements.
How do you write on the inside of a Cricut Joy card?
I have terrible handwriting, and I’m sure most people can’t even read what I write on my cards. Using the Cricut Joy to write my messages is appealing!
If you want to write on the inside of the card on a Design Space design, you will need to create a new project.
If you want to do it with a card you designed, you will just need to do a separate rectangle in your design for another mat.
Regardless, here is what you will do! Watch the video below for a quick video tutorial:
[jumprope code=4hOVv2Db]
In images search for Cricut Joy insert. Just pick one – you won’t be cutting it out, it’s just to help make sure everything is sized correctly. Add to your canvas.
Add a rectangle and size it to be 4×5.24” and place it behind the insert edges and line them up.
Write your text and size it to fit on the card. Make sure the line type has been changed to “draw”.
Attach all the elements together (making sure your written text is on top) and press Go.
Preview the mat.
Select insert card as the material type.
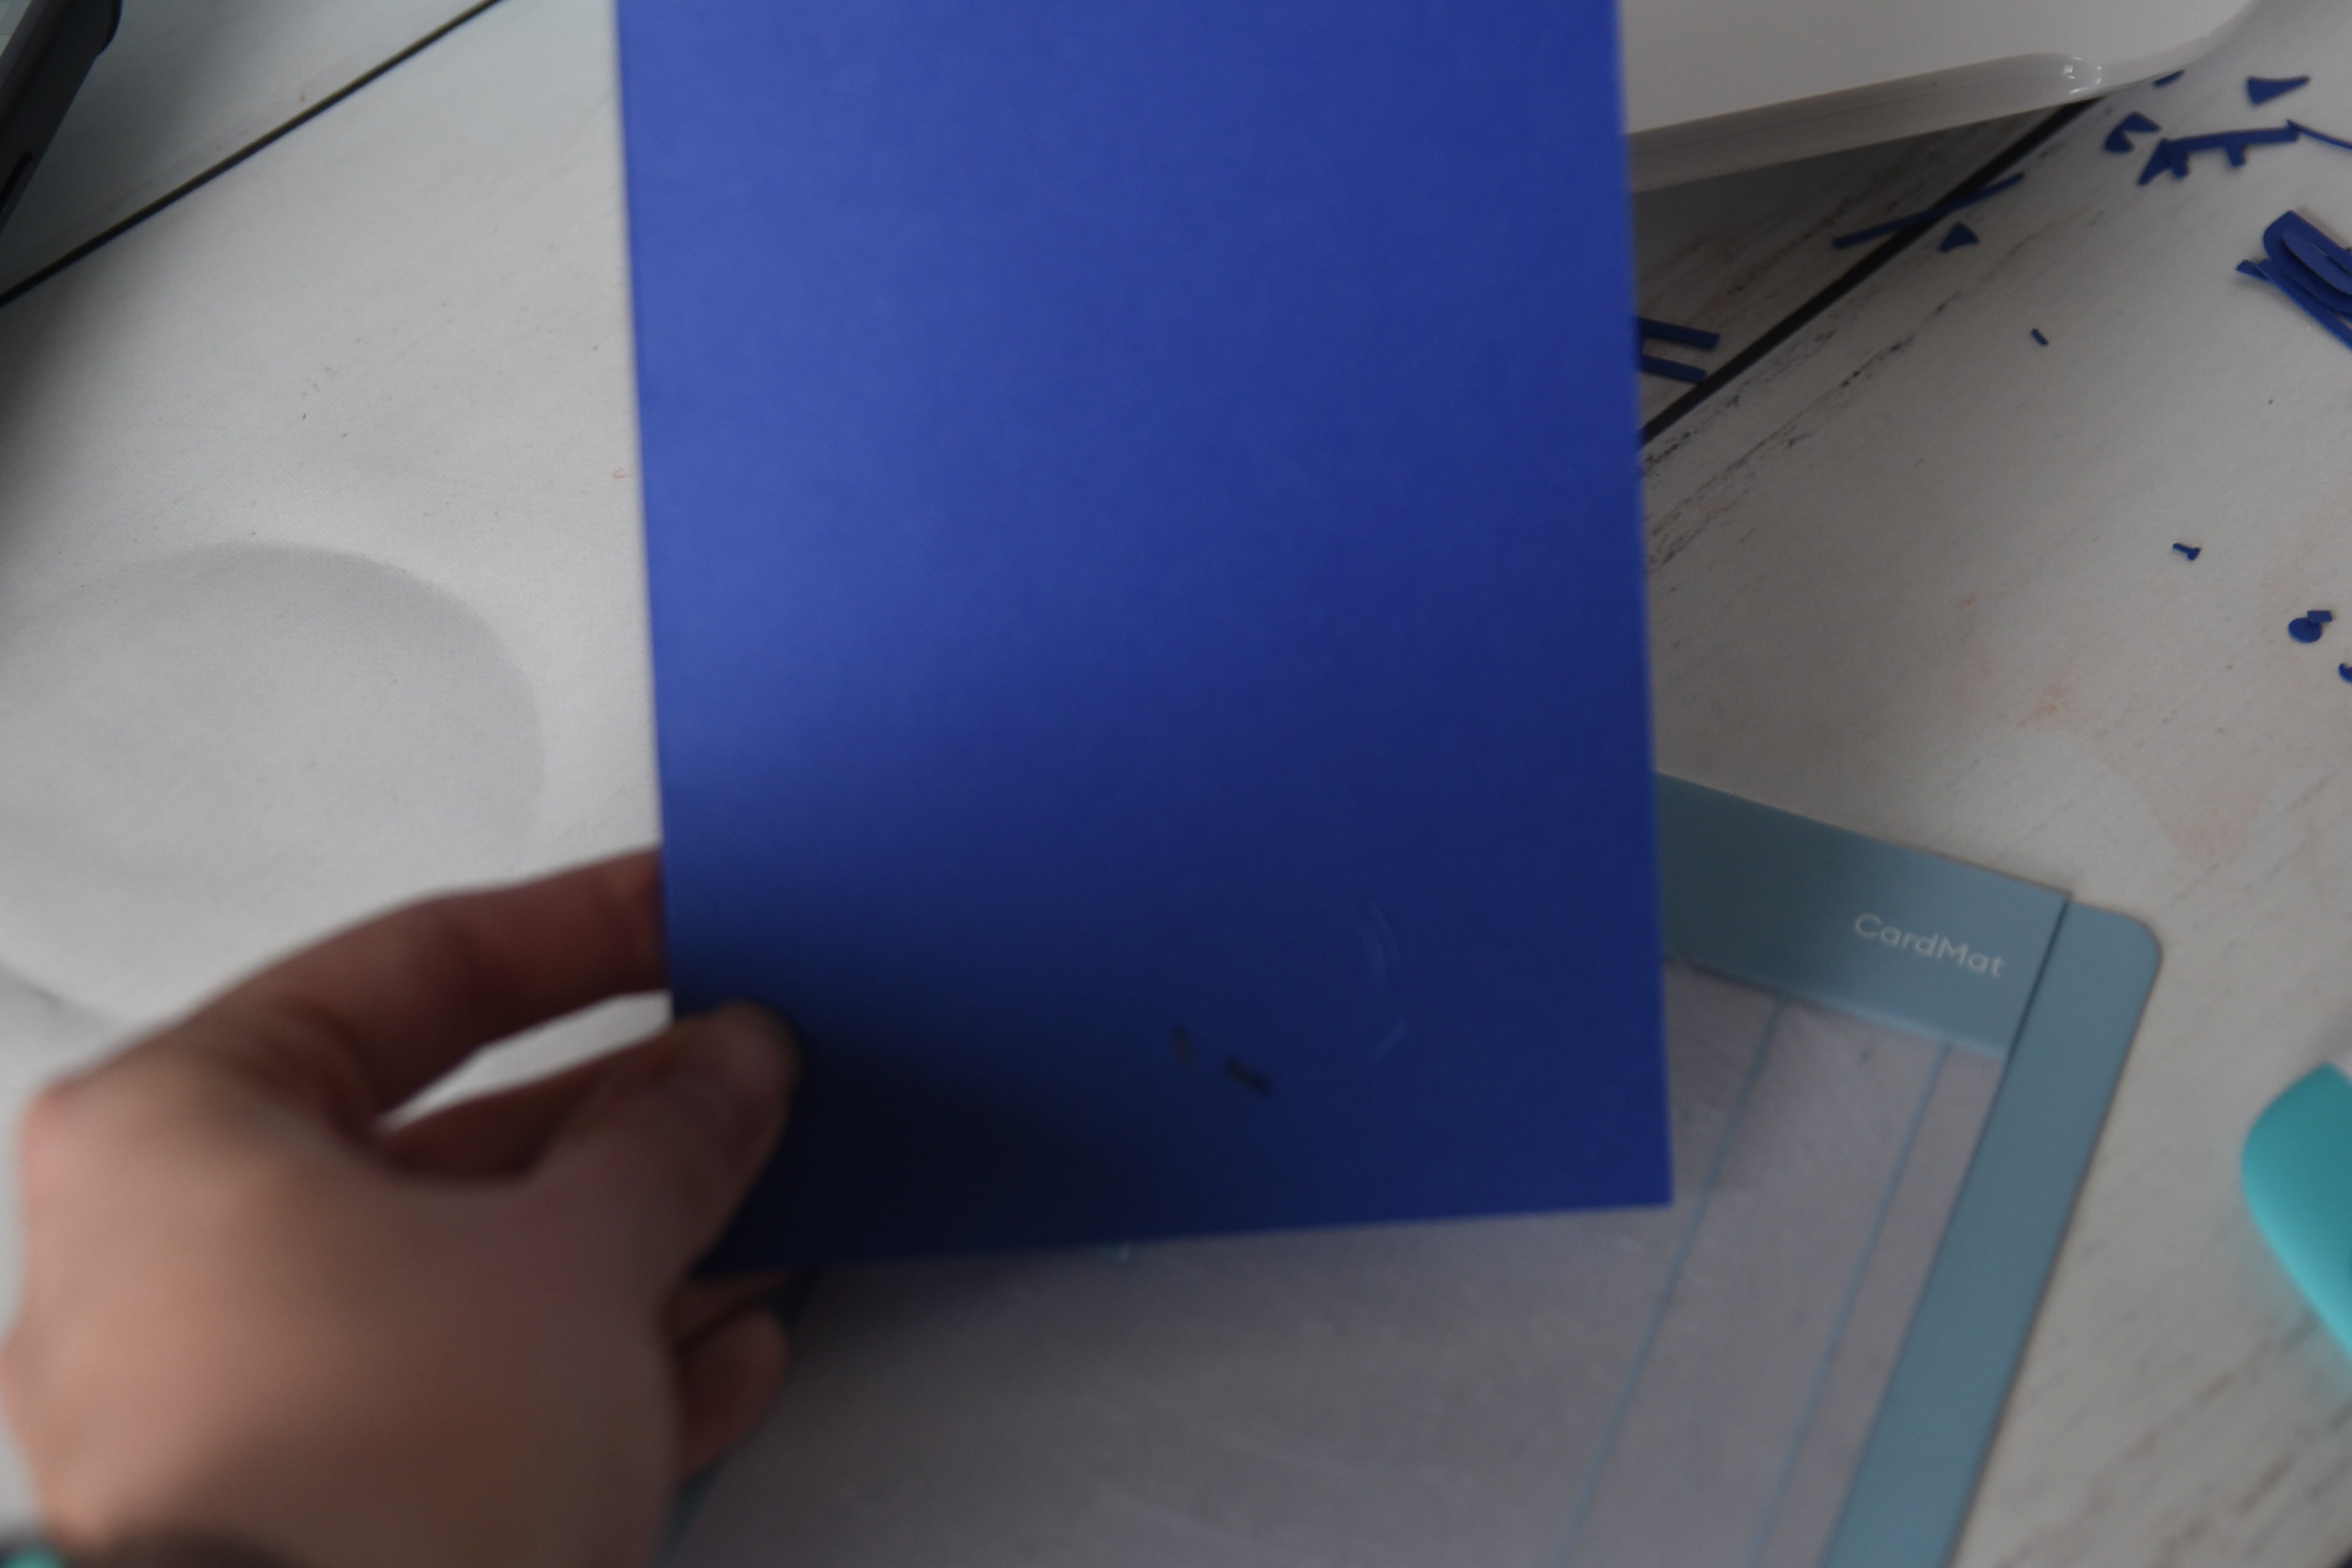
Flip your card inside out so the interior of the card is on top and slide into the card mat.
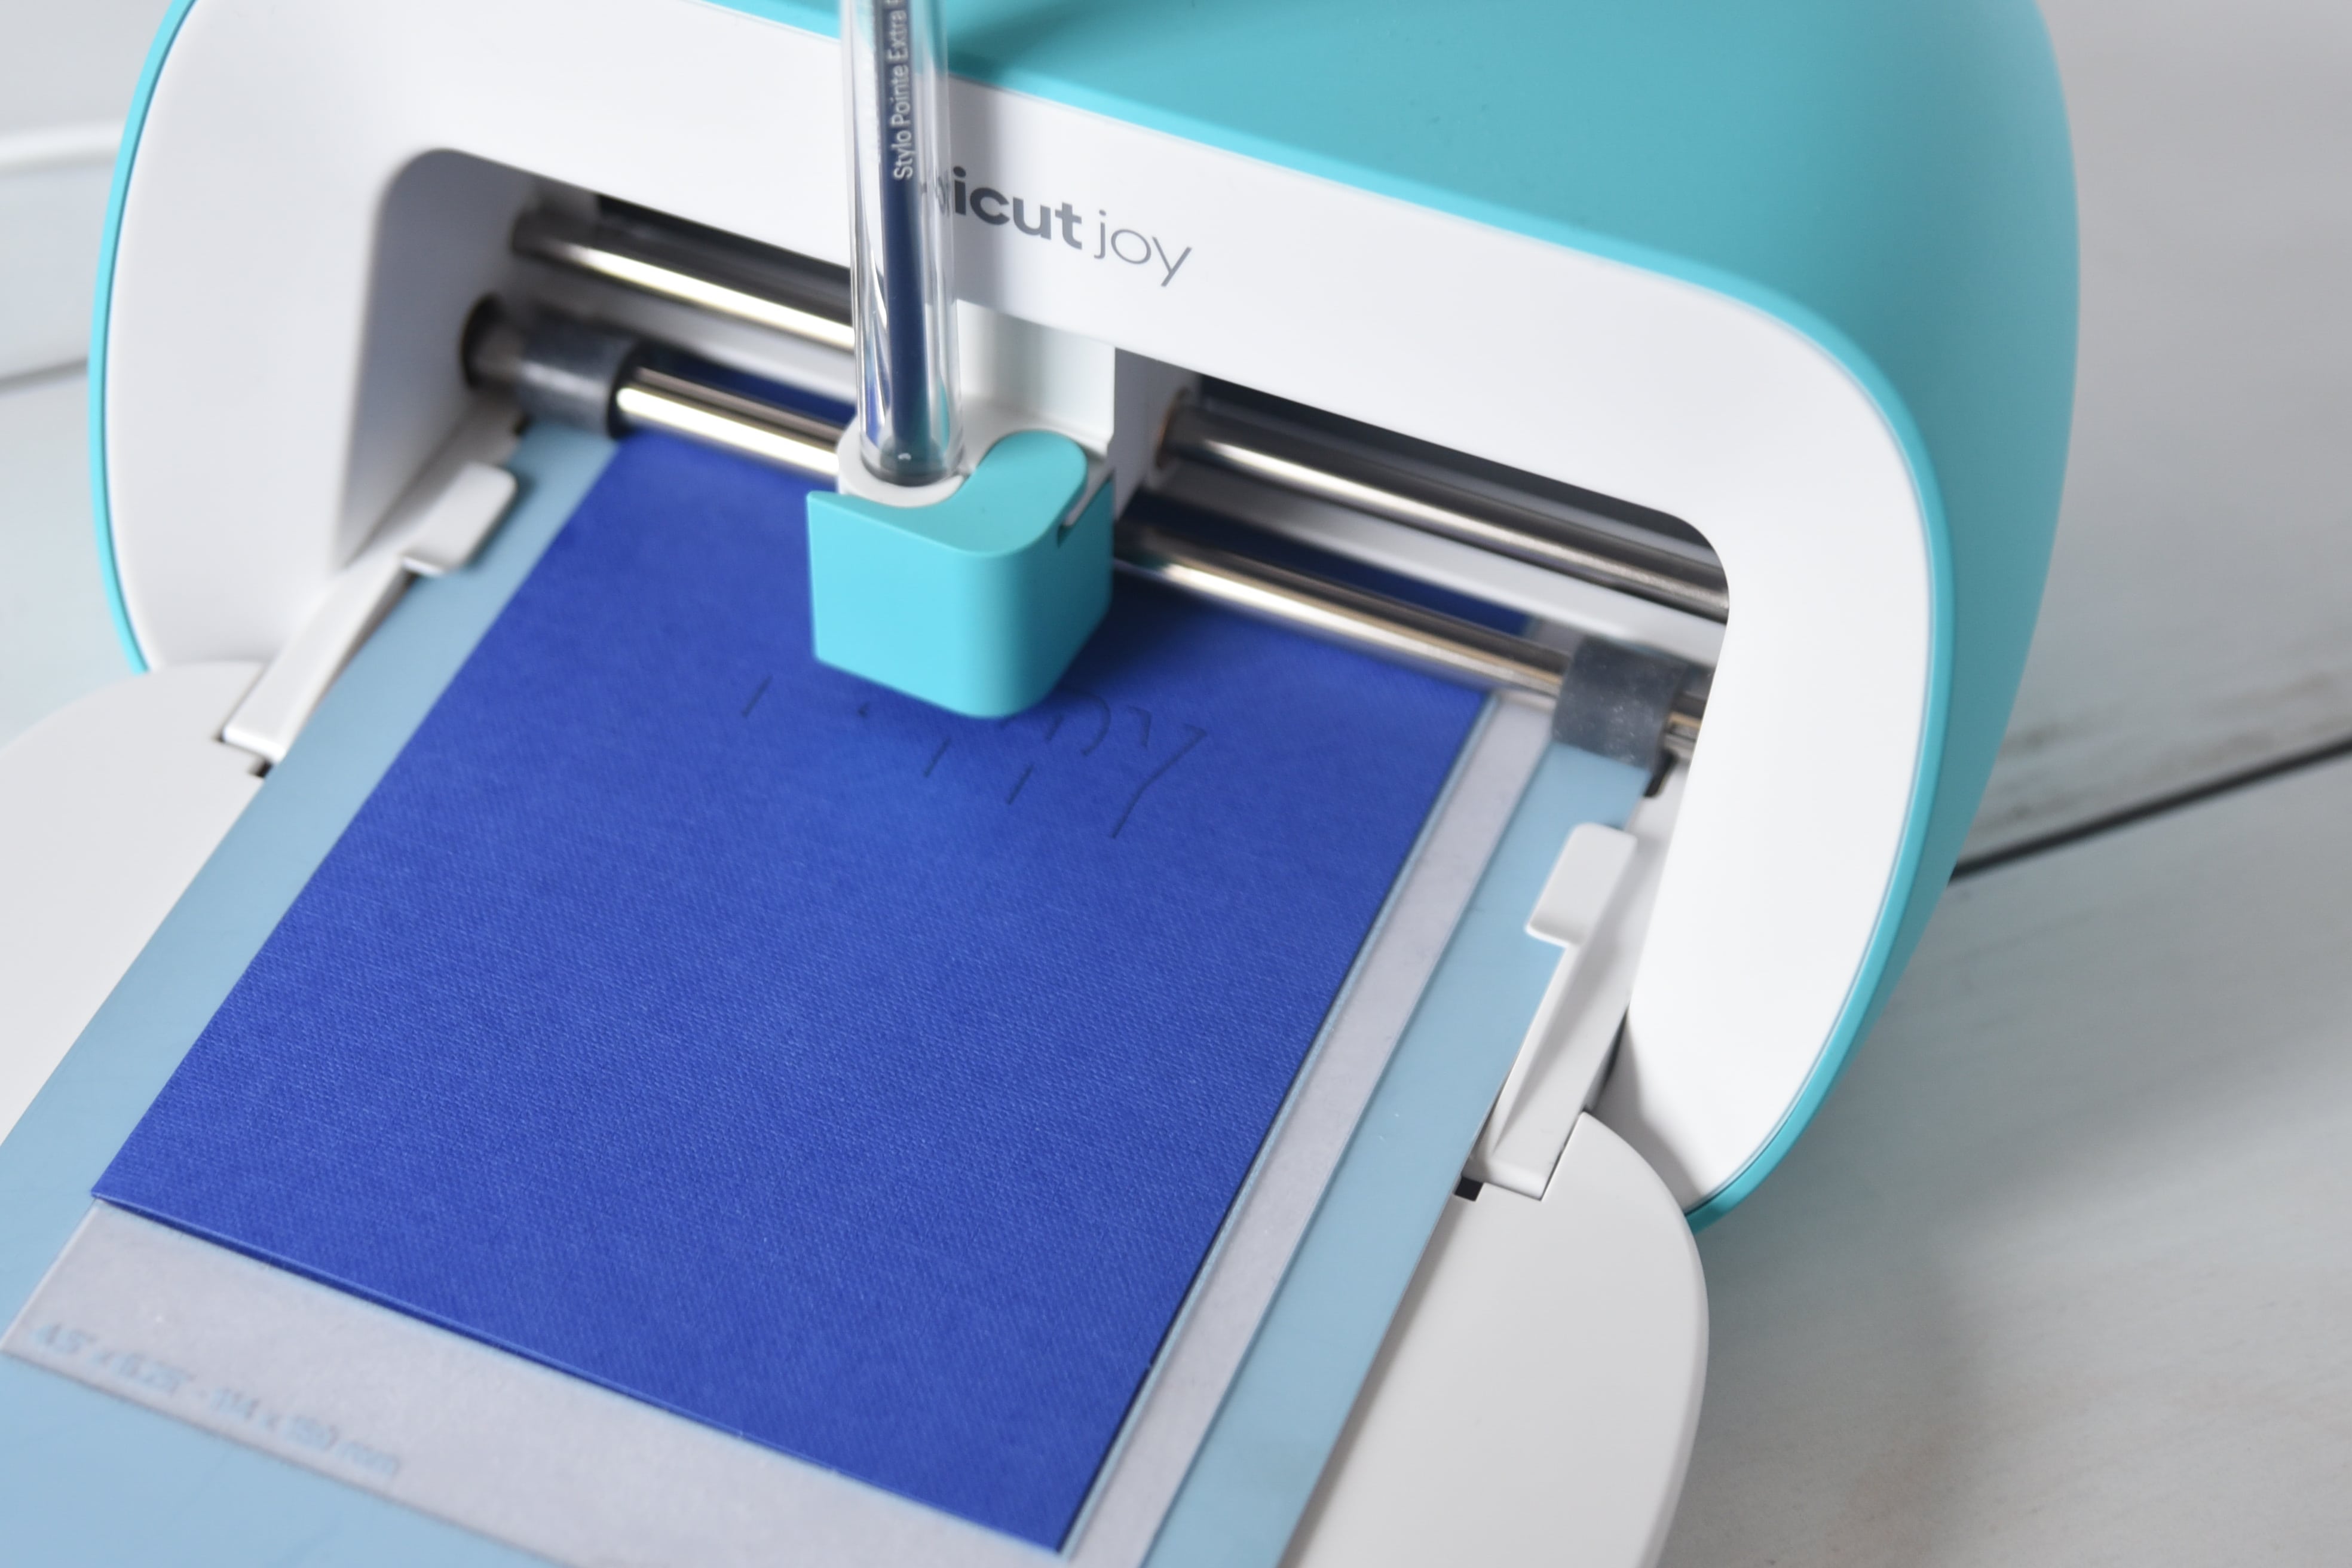
Load into your Cricut Joy, drop your pen in the tool holder and press Go in Design Space.
Once it has finished writing, press cancel in Design Space and unload your design!
Cricut Joy Card Making FAQ
Can I use Cricut Joy card materials or designs on other machines?
You can use the card materials with other machines, but it’s not going to work the same way. You’ll want to fold the card out onto your mat so it doesn’t cut through both sides.
Unfortunately, Cricut Joy Designs cannot be used on other machines. I tried to switch my machine to the Maker in Design Space, and all of the Joy designs disappeared. It’s kind of a bummer!
Can I edit the cards before cutting?
From what I can tell, no, you cannot edit cards that are available through Cricut Design Space.
Can you print and cut?
Nope, the Cricut Joy does not have print and cut abilities. Card making is very basic with the Cricut Joy.
Can I make my own design?
Yep, see the instructions above on how to create your own design!
Can I make invitations?
I had someone in my Cricut Joy group ask this – could they make an invitation using the Cricut Joy.
And you can! I don’t see any invitation designs in Design Space, but you could easily make one. I would suggest having it write most of the information on it and cut out small details.
If you want to do a one-page invitation, you will need to use other card materials, as there are only traditional cards available with the card kits – however, you could potentially use one of the insert cards!
Can I use non-Cricut materials?
You could use different card stock if you wanted – just make sure it’s the correct size.
Why is my card sliding around?
The most frustrating thing is when your machine is cutting and all of a sudden, the card starts moving around and your cut gets all messed up. SO frustrating!
It’s either that you haven’t pushed the card in as far as you can or its just not stuck to the mat as well as it could be.
I suggest using a scraper tool over the card on the mat to ensure it’s adhered as well as you can. If it’s still not sticking, it might be time for a new mat.
Cricut Joy Facebook Group
Have more questions about the Cricut Joy or just need some additional inspiration? Click here to join our Cricut Joy Creating group.
If you are looking for more Cricut help that’s not just specific to the Cricut Joy, make sure you join our Cricut Support Group!
I hope that this has answered most of your questions on how to make cards with the Cricut Joy. Card making with the Cricut Joy is really fun and simple, and it’s definitely one of my favorite features.
Other Cricut Joy Posts:
- Making Labels with the Cricut Joy
- Cricut Joy versus Cricut Explore Air 2 versus Cricut Maker
- Cricut Joy: Answers to ALL Your Questions
Other Cricut Posts:
- 30+ Cricut Explore Air 2 Project Ideas
- The Cricut Maker Machine: EVERYTHING You Need to Know
- How to Write with Cricut
