Cricut Made Family Gratitude Message Board
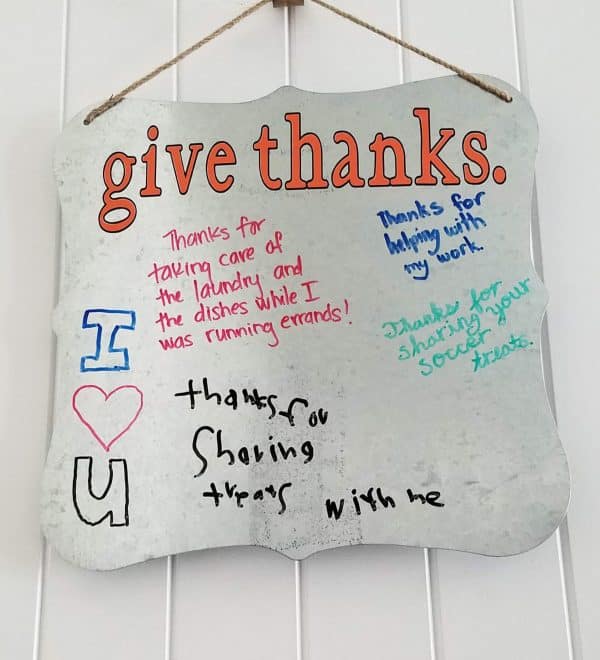
‘Tis the season for all things gratitude related. Get this message board put together and get the whole family involved in giving thanks!
Help Your Family Develop an Attitude of Gratitude
I think it’s interesting that we celebrate Thanksgiving in the Fall. I don’t think this holiday could come at a better time! At my house, school is in full swing, and Fall sports are taking over our afternoons and weekends. With the shorter days adding to all of this, we’re struggling with some major grumpiness over here.
It turns out that a grumpy attitude is contagious. As soon as one person starts whining, it’s just a matter of time until we’re all irritated with just about everything. This is no way to live! The solution? Help your family develop an attitude of gratitude.
Gratitude has been proven to lift spirits and helps us be more aware of the things going on around us. We all have SO MUCH to be grateful for! If your family struggles like mine does, here’s a fun project that might inspire a more positive vibe in your tribe.
Gratitude Message Board Suggested Supplies
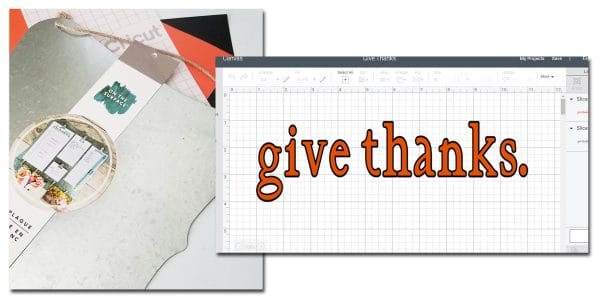
- Access the Design Space file for this project here.
- Cricut vinyl in contrasting colors – I used black and orange, but be creative!
- Transfer tape
- Last, but not least, a metal message board (I picked mine up at Wal-Mart).
Putting Your Message Board Together
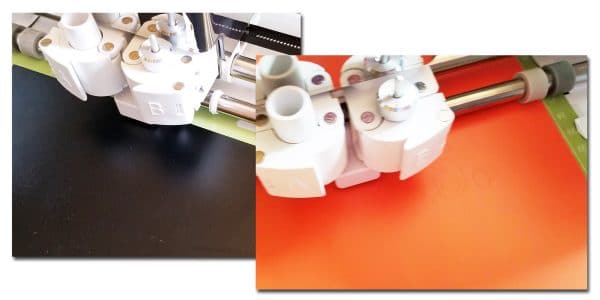
Before hitting “Make It” in Design Space, make sure the text is the size you want it to be. You want it to be big enough to be obvious, but not so big that you use up all the writing space with your vinyl. My message board measured 12″x12″, and the Design Space file is sized accordingly.
If you need to resize the file, I recommend giving yourself a border of about one inch on each side. As an alternative, you can always get a piece of copy paper and cut it to the size you think you want. Put the paper on your board and see how it looks. Adjust from there.
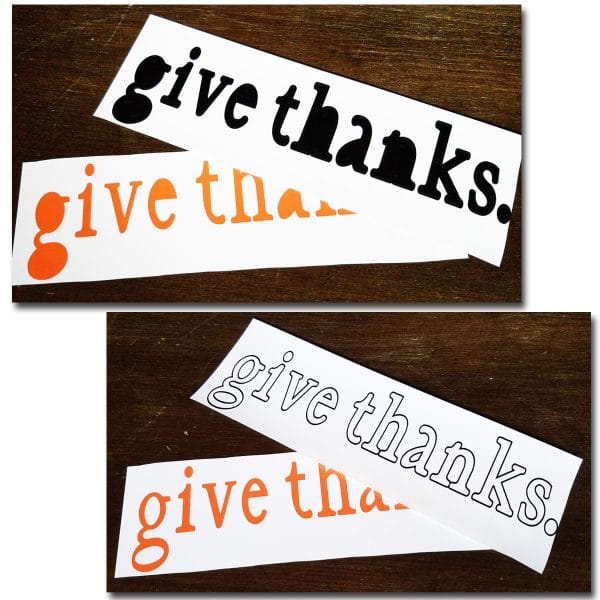
Once your amazing Cricut has done its work, it’s time to get weeding. Don’t forget to weed out all the little pieces inside your letters. Be especially careful with the black vinyl, as the lines will be fairly thin. If you have a Bright Pad, it would probably be a good idea to pull it out to help with this step.
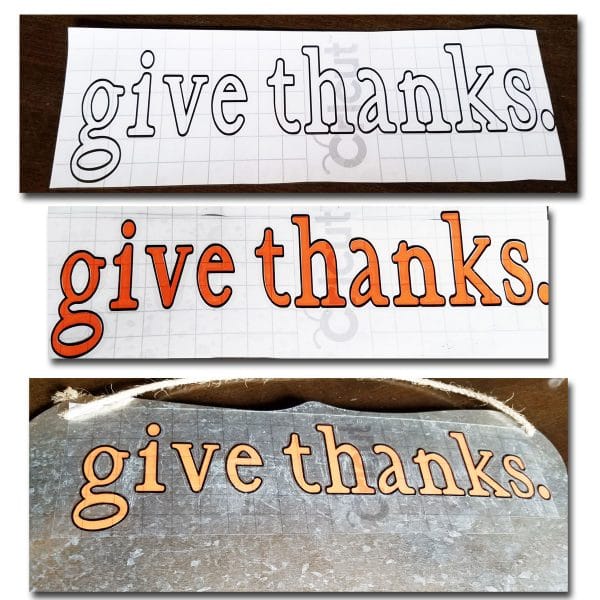
Ok . . . this next step can get a little bit tricky, but I promise you can do it! It’s easiest to finish the board if you lay both colors down with a single piece of transfer tape.
First, use a piece of transfer tape to pick up the black vinyl. Peel off the backing, and “transfer” the black outline onto the orange letters. Pick one letter to focus on lining up. Because the Cricut is so amazing, if you can get one letter lined up, the rest usually take care of themselves.
Now, this is important, make sure you get a good connection with both colors on your transfer tape. Ready? Peel off the backing and move your vinyl over to the message board. Again, it’s best to go over-kill on rubbing the vinyl onto the metal before peeling the transfer tape off. Don’t rush it!
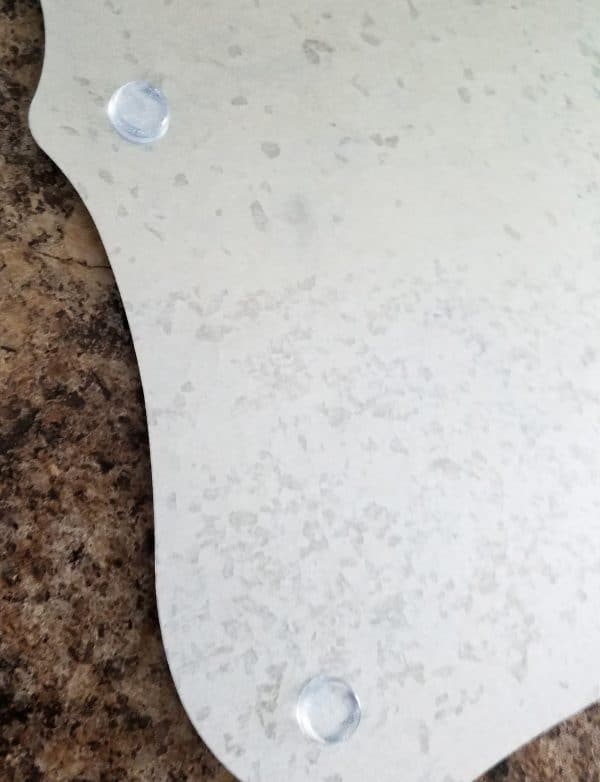
Before hanging up and actually using your message board, I recommend getting some felt pieces or plastic bumpers to stick to the back. Otherwise, you’re going to have some scratched paint.
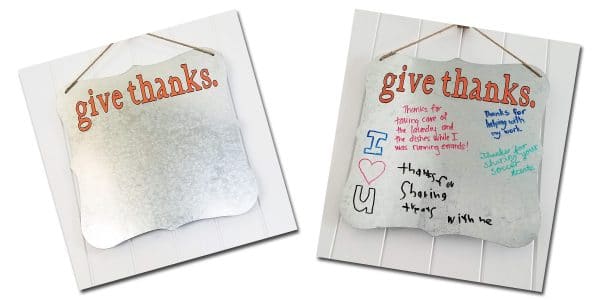
Once your board is hung up, get out a few dry erase markers and make sure they’re handy. Encourage your family members to pay attention to positive things going on in your home, and write them down. The more you notice, the more you’ll find!

![Best FOUR New Cricut Maker QuickSwap Tools [2021]](https://www.clarkscondensed.com/wp-content/uploads/2019/07/new-cricut-maker-tools-scaled.jpg)
I love this idea.