Cricut Made Haunted House for Halloween
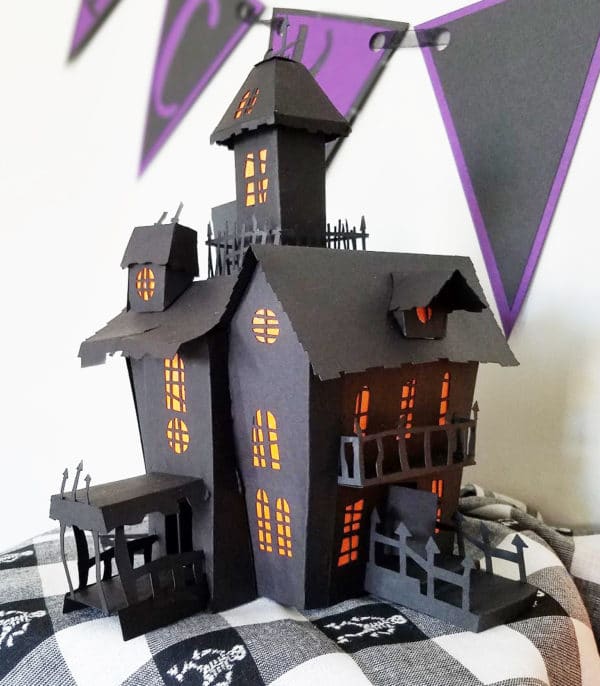
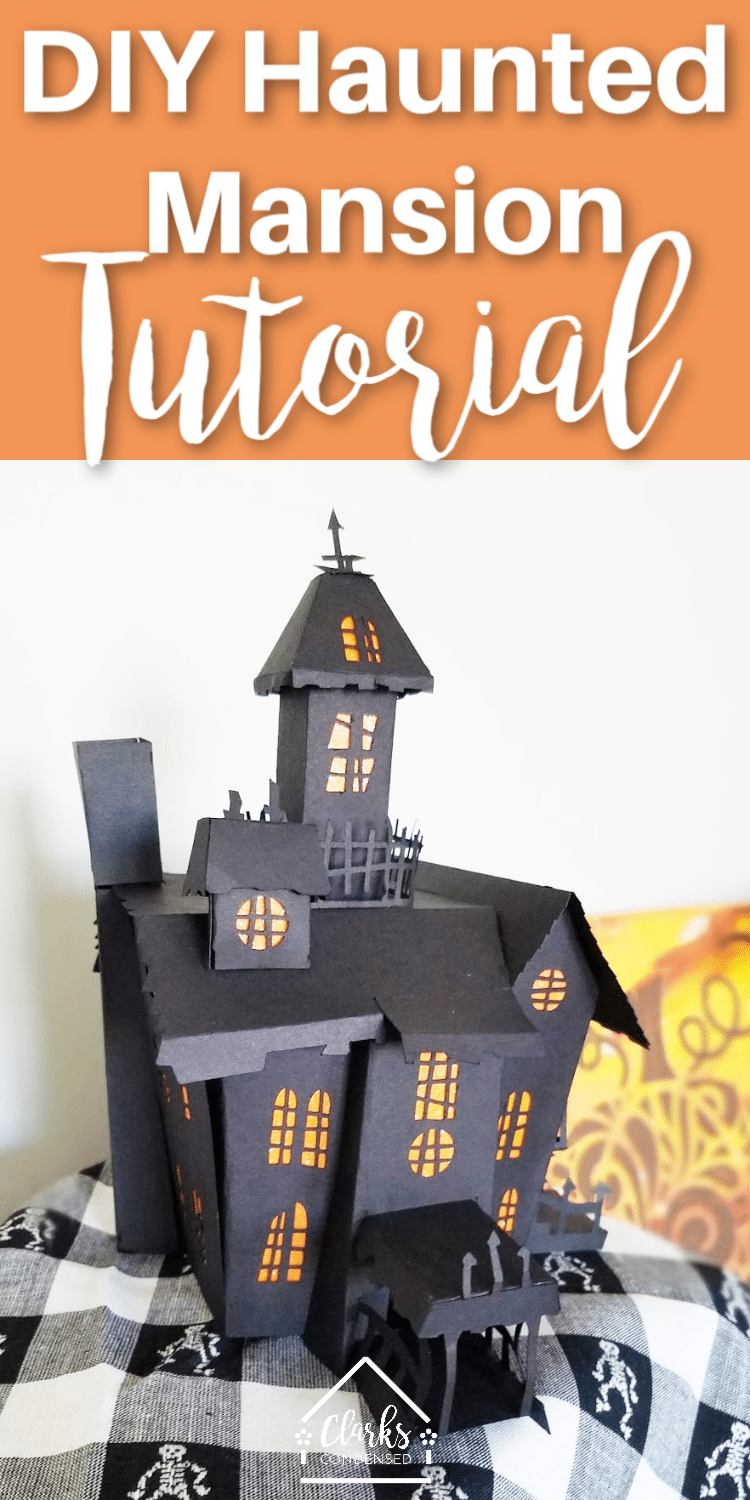
Fall is in the air! Get you’re home ready for the upcoming Halloween holiday with this fun Cricut Made Haunted House!
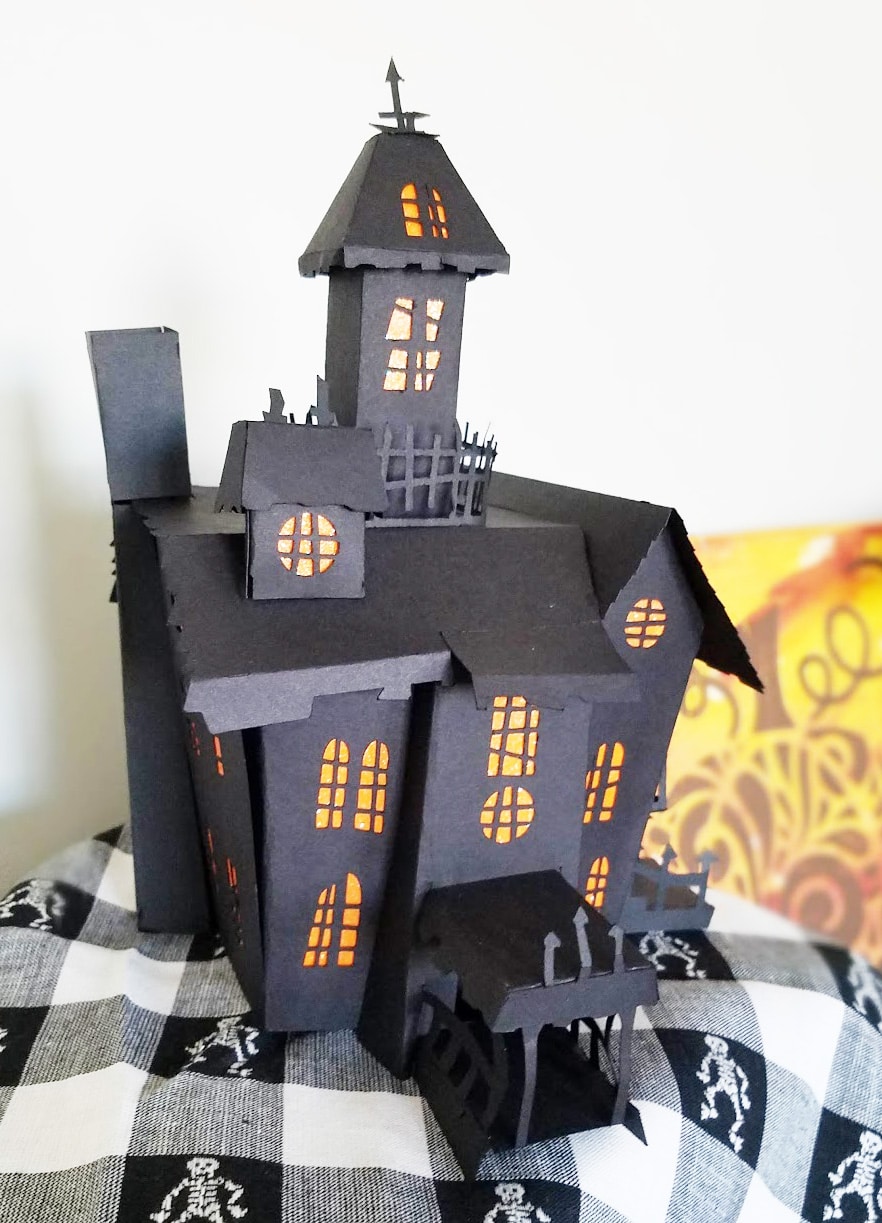
‘Tis the Season for All Things Spooky
School is officially in session, and things are starting to get back into a routine around here. My baby started first grade this year, so I have a lot more “alone time” than I’m used to. So far, I love it!
Don’t get me wrong, my kids are one of the best parts of my life, but there’s just something about having myself all to myself that feels very refreshing. For one thing, I can actually focus 100% on one thing for more than twenty minutes at a time.
What am I doing with all this freedom you ask? Nope, I’m not being responsible and using my time to actually get my “have to’s” done. At least for now, I’m enjoying having some empty space to craft in.
It’s been a long time since I’ve done much paper crafting, and with Halloween right around the corner, I thought this little haunted house would be a fun project to try out. Read on to see how it went!
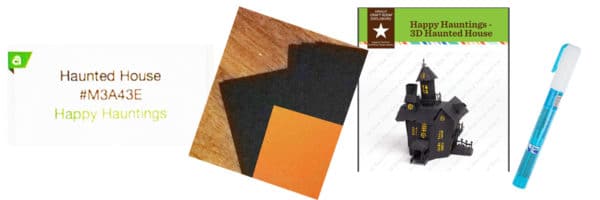
Halloween House Supplies:
- Happy Hauntings Haunted House Cut File – YOu can find it in Design Space by searching Haunted house or #M3A43E
- Card stock in black and orange – I used glitter orange paper, and I LOVE how it turned out! (You can also use yellow if you want, the colored paper becomes the light in the windows of the house).
- You will definitely want to download this pdf. It gives you instructions on how to put all of the many little pieces together. These were originally for the Cricut Expression. The original source for the PDF is down, but I was able to find it and put the PDF in my google drive.
- I recommend investing in a fine-tip glue pen for this project if you don’t have one already. There are a lot of very small pieces that need to be glued, and glue pens work like a champ!
- Cricut cutting machine – I used the Explore Air 2.
Building Your Haunted House:
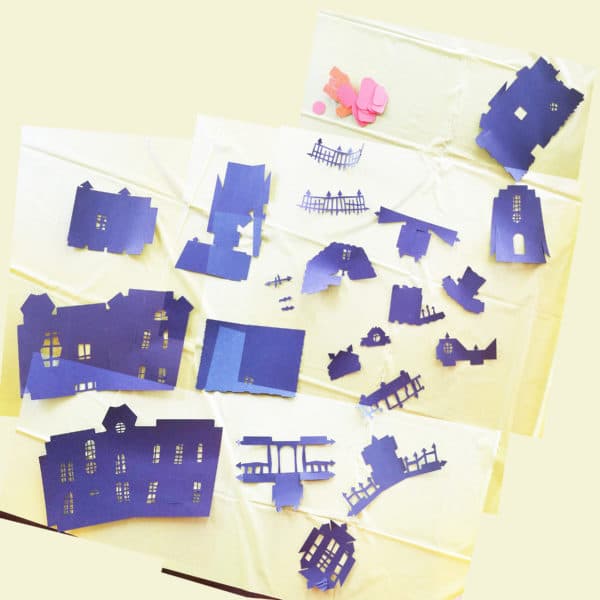
You’re going to need a few pieces of black card stock for this project, so be prepared for that. When you’re ready to cut, Design Space will tell you exactly how many pieces you need for the size of house you decide to make.
Before I cut my project, I set it to cut to a height of 6 inches. When finished, the house is a little bit taller than this . . . adjust the height of your house to fit the size you want.
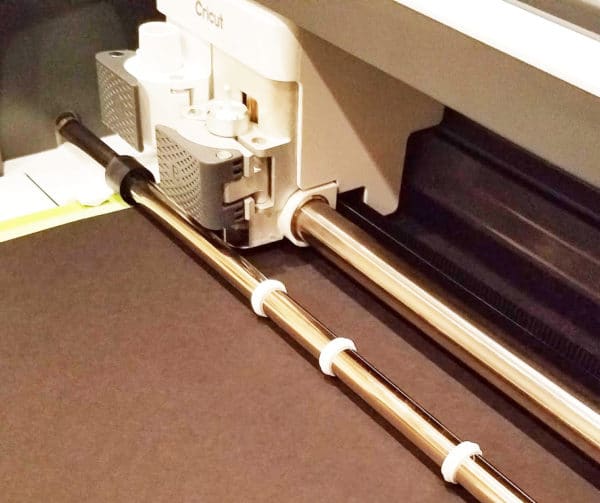
Before you hit go, it’s a good idea to set your cut settings to “Cardstock for Intricate Cuts”. Also, be careful when you’re weeding that you don’t throw out any of the little pieces!
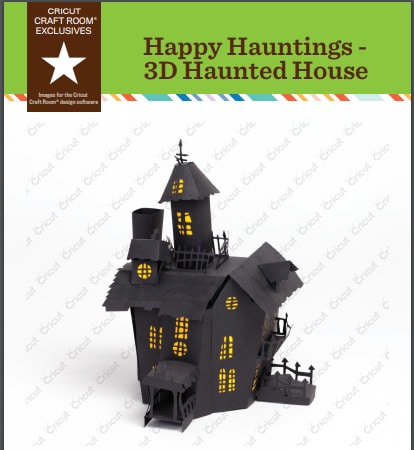
Trust me, you’re going to want the instructions in this pdf! If you haven’t downloaded it yet, click here to get it.
This pdf will take you one section at a time. Follow the instructions, even when they don’t seem to make sense! Before gluing anything, make sure it looks like the picture included with the instructions.
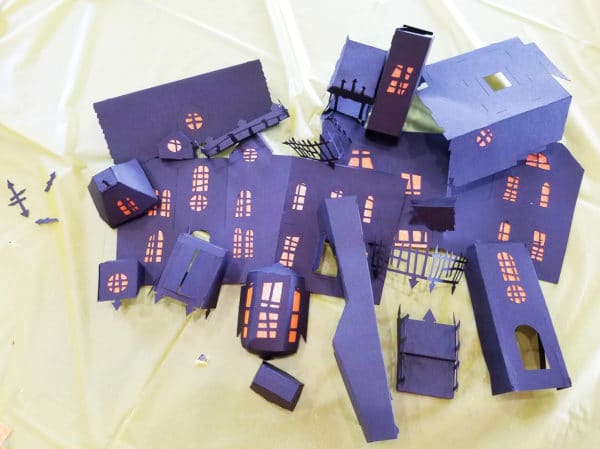
Eventually, You’ll end up with a pile of house pieces that just need to be put together. Again, follow the instructions here and you can’t go wrong! There are a few places where you connect pieces using slits in different places. I found it handy to keep a pin nearby to make sure the slit openings were easy to slide things through.
Yes, there are a few small, tricky places, but nothing you can’t handle! Take a deep breath, get in there, and create something you can be proud of.
Happy Halloween!


Hello! This haunted house is beautiful. I can’t download your pdf file, can you send me by mail please??
thank you
If you could just email us at katie@clarkscondensed.com we’d love to send it to you!
I love this haunted house…but none of the links on this site seem to work… is there another way to get the SVG and PDF for this project?
Hi, Liz! The links should be updated now 🙂
Id really like the instructions if u can email me thank u
Of course! If you could just send us an email at katie@clarkscondensed.com we would love to help.
I am not able to get the instructions, can you email them to me? I am super excited to try this project! Thank you!
Hi, Chris! What instructions are you looking for? Unfortunately, it looks like the printable PDF is no longer available from the Provo Craft website 🙁
Hello! The link to the PDF file is no longer working. Any chance you could email it to me?
Hi! It looks like the Provo Craft website is down where that was located, and I can’t find the PDF elsewhere! I’m going to keep looking.
The PDF link is broken? Can’t find it…
I’m getting ready to make this, I really want to put a battery light inside. Do you think it would light up nicely or look funny with light coming out of seems
I am so excited to make this, but can you Clarify, do I put real dial size on or off? I cannot make sense of this. Also, what blade is used? I have the cricut explore air 2
Hi! I’m not totally sure what your question is – are you wanting to know what to set the dial too? You will need the fine point blade 🙂
Thank you for your response. My question is related to the pdf instructions. At the top it states “ All characters are measured from the lowest possible point to the highest. In Happy Hauntings – 3D Haunted House, the Basic characters are the same height, and the Layer 1 feature, Layer 2 feature, Layer 3 feature, Layer 4 feature and Layer 5 feature are designed to fit proportionately. If Real Dial Size is selected, all characters will be cut according to the size specified.”
I am new to using a cricut and not sure what this means.
Ahh okay. So, the original PDF instructions are for the Cricut Expression. Just use the Design Space file that is linked, and the instructions should just be used as a guide 🙂
This is so cute! I have been looking for some Halloween decorations to put around the house and this would be perfect!