DIY New Year’s Party Favor by Cricut
Believe it or not, this year is winding down to a close. With only a few more weeks before we begin the new year, it’s time to start thinking about how you’re going to celebrate the old one. This project is for all you party planners out there. Check out this simple Cricut-made party favor box!
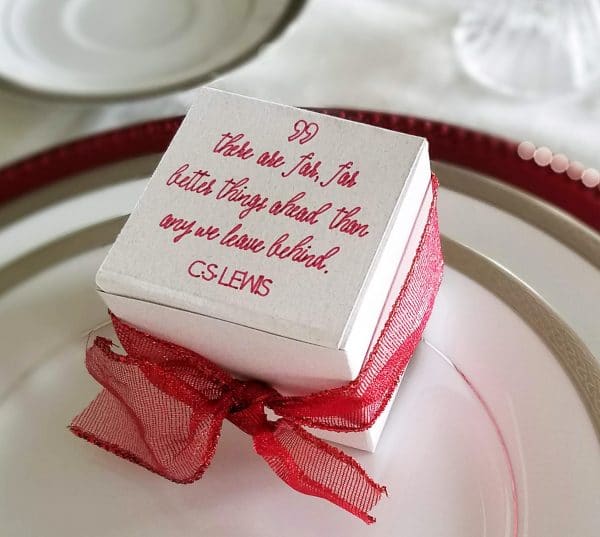
Planning for Party Favors
As a mom of three kids, I “do” a lot of parties. Most of the time, though, these parties are centered around kid stuff. There’s nothing wrong with that, but every once in a while it’s nice to just be an adult.
This party favor box is definitely geared more toward an adult party than a kid party. Although, if you fill it with candy, I’m sure the kiddos will love it, too!
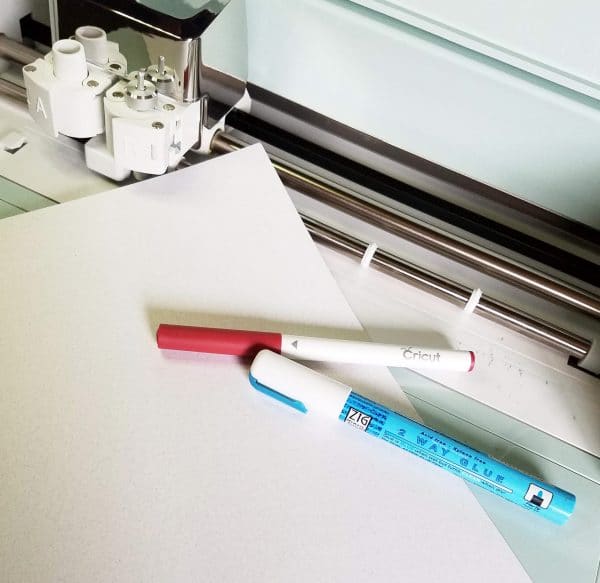
Party Favor Box Suggested Supplies:
- Card stock – choose a color that will go well with whatever color scheme you are planning for your party.
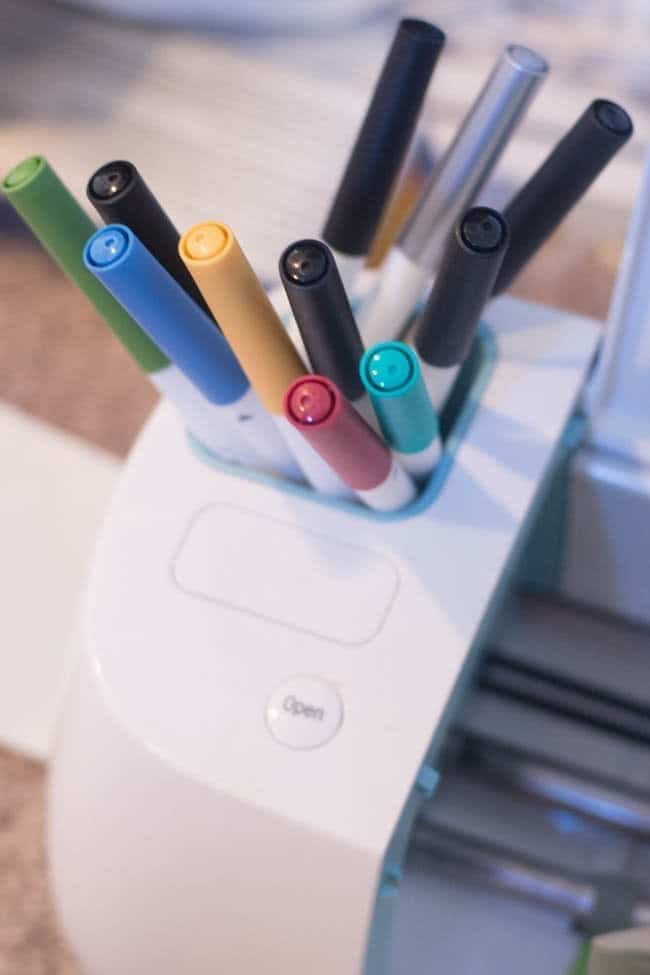
- Cricut pen – Cricut has a pretty big variety of pens specially made to fit into the extra housing on your Explore or Maker. Choose a color that will show up on the card stock you are using.
- Glue pen or glue stick- there’s not a lot of gluing in this project, but if you don’t have some, your box won’t stay together.
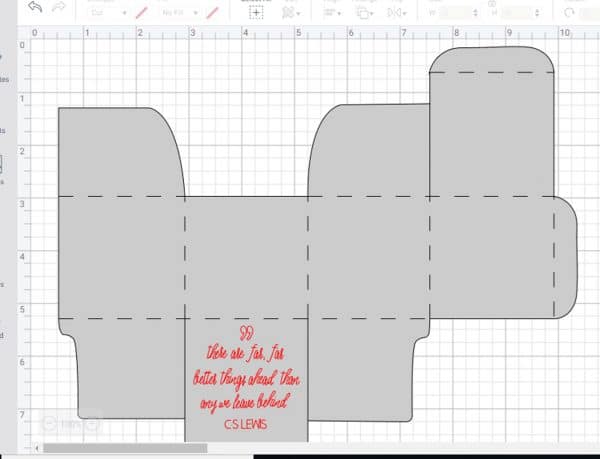
You can access my Design Space file by following this link.
This design incorporates cutting, scoring and writing all in one project. In order to get your writing where you want it, make sure all the layers of the project are “attached”. The Cricut will take it from there.
If you don’t have a scoring wheel, simply hide that layer from the design, and your machine will skip over that step. You will then need to score the project on your own after it has been cut.
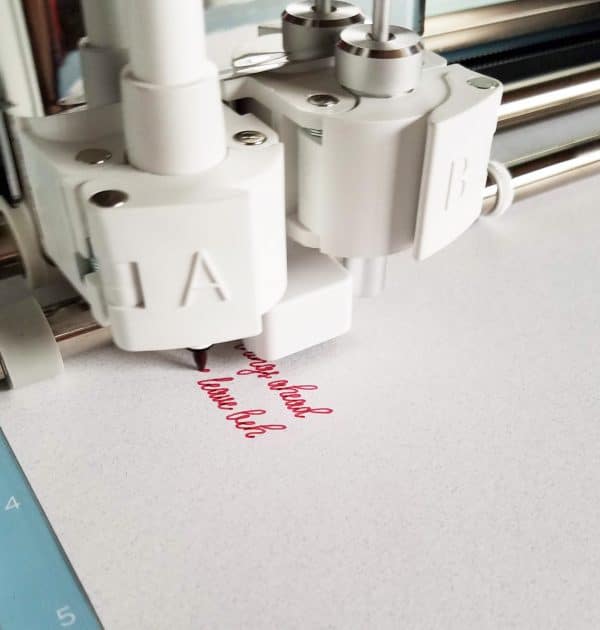
Look how pretty this writing is!
I love that the Cricut has two housings – one for the pen and one for the cutting blade. You hit “go” once, and the machine takes over from there. Mine did the writing first, and I love how precise each of the letters is. Even better, the quote ended up exactly where I wanted it!
click here to learn more about writing with your Cricut!
Your Cricut will write whatever you “tell” it to write, but I thought this quote from C.S. Lewis was perfect for a New Year’s get together.
there are far, far better things ahead than any we leave behind.
C.S. Lewis
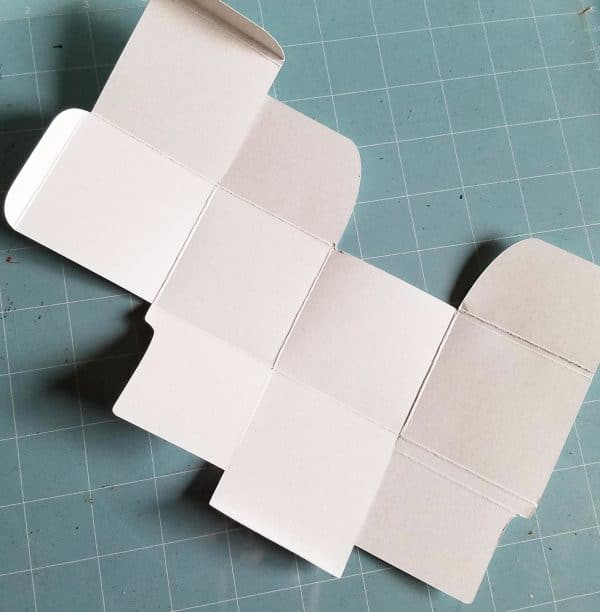
Building a Box
As you might be able to tell by looking at this picture, I don’t have a scoring wheel. My measuring skills are sometimes less than awesome, so there are a few places on this box that I ended up scoring more than once. Even with my human inadequacies, though, this project turned out great.
Take a minute to fold along all of the scored lines before you put your box together. This will help all of your corners to be nice and sharp.
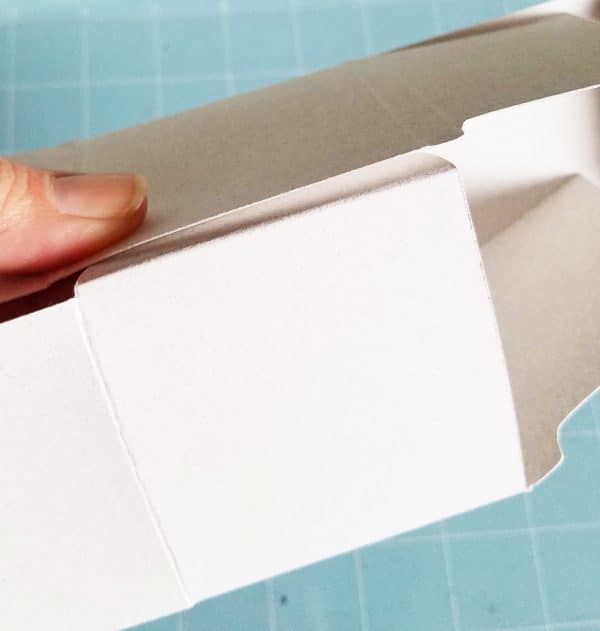
Once your box is cut out and scored, you’re ready to put it together. This is a pretty simple box – basically it’s just a big tube with the top and bottom flaps attached to either end. Make sure you glue your “tube” securely so your box doesn’t fall apart. There is only one small tab to glue in this project, everything else will stay together with folding.
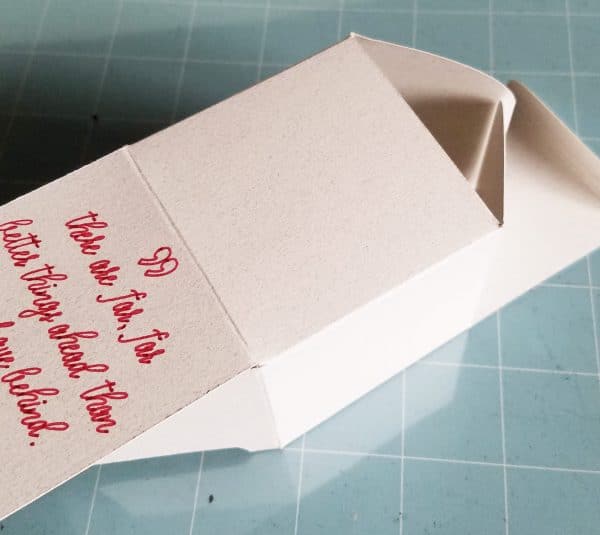
Here, you can see my box after it his been glued together, and the top and bottom flaps are ready to be shut. All you need to do now is decide what to put inside! And, probably send out some invitations or something. I hope you all have a very happy New Year!

Can I save this for future projects? I have tried and it just freezes.
Hmm I was able to open it successfully. Does it give you an error?