The Ultimate Guide to Cricut Print and Cut: Tips, Tricks and Troubleshooting
Print then cut is one of Cricut’s best features – if you are new to print and cut or are just looking for some troubleshooting advice, this post will cover all that and more! It truly is a game-changer!
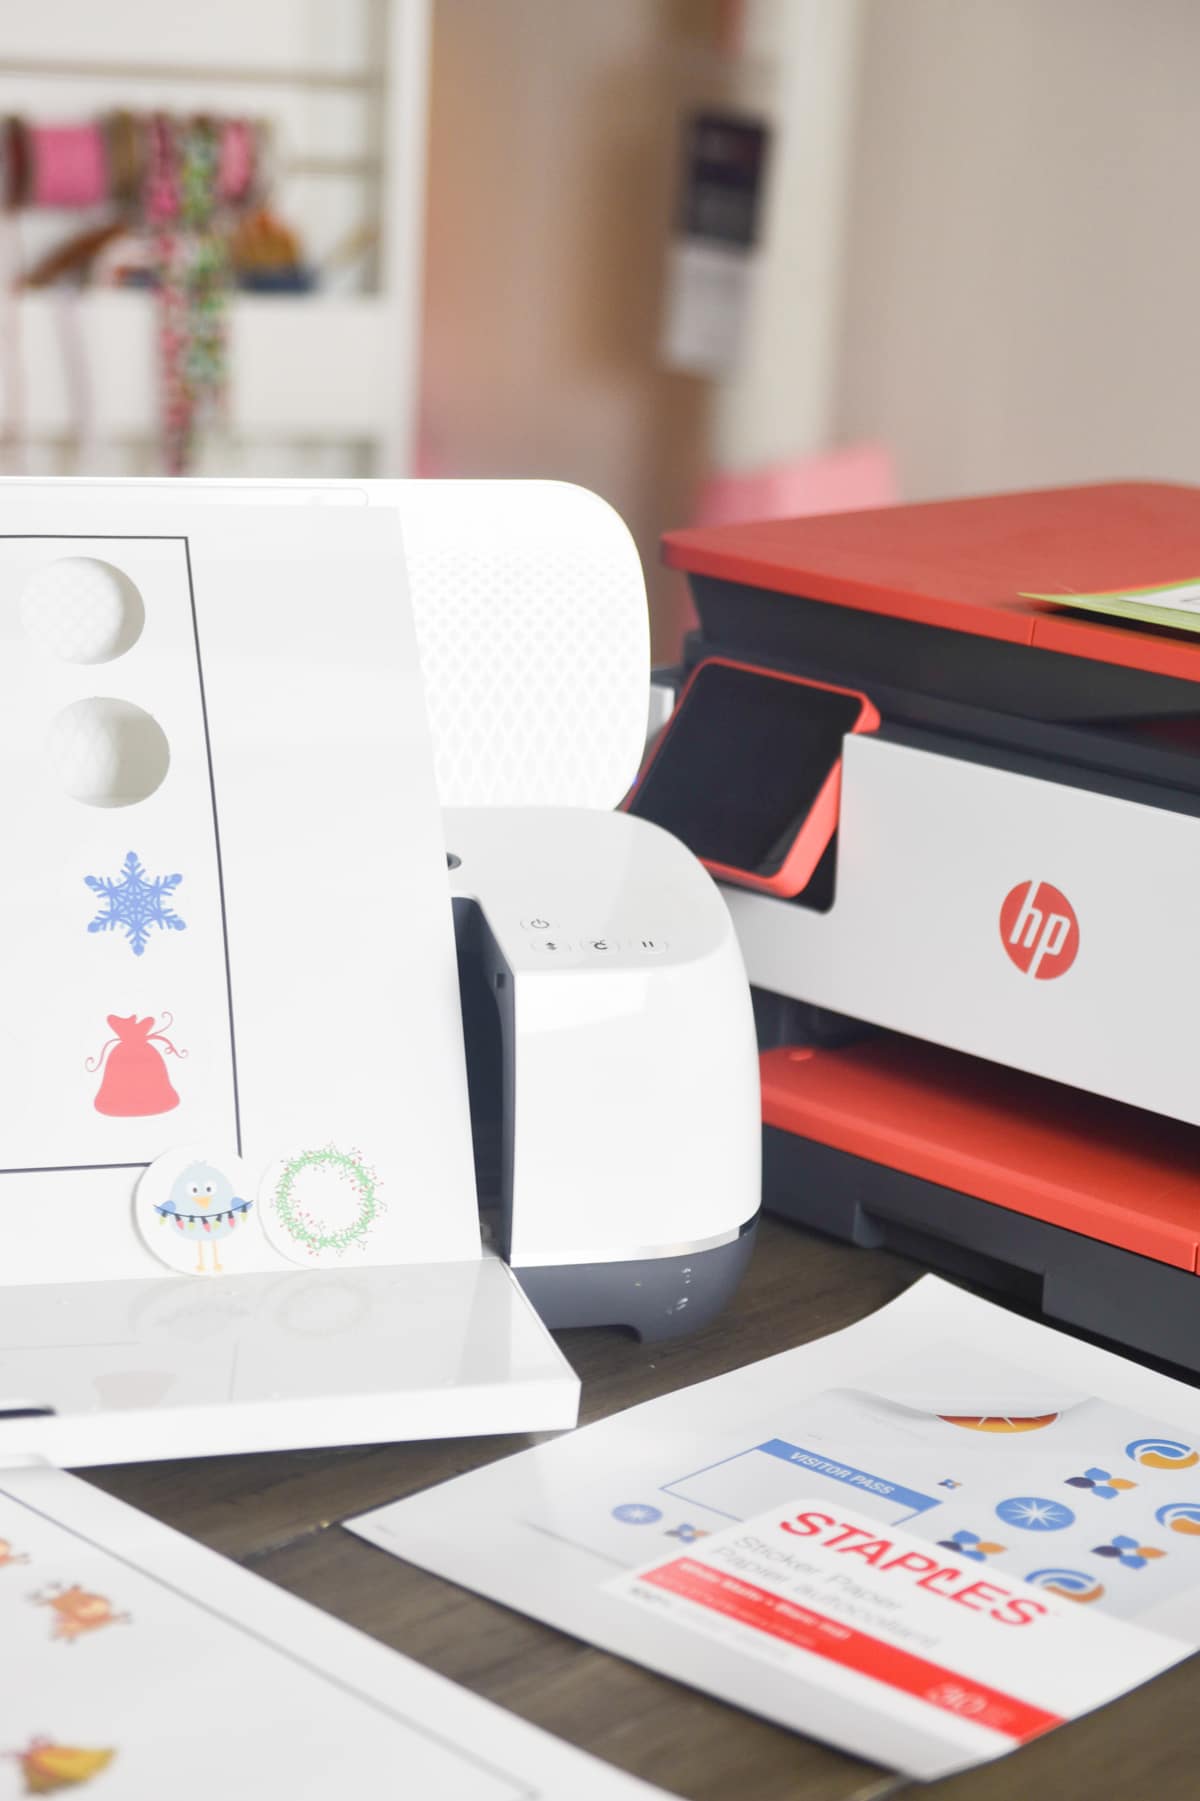
The Print then Cut feature in Cricut Design space is a great way to make crafting so much easier and is one of my favorite things to use.
From making your own stickers at home to cutting designs for your scrapbook pages, there are so many amazing ways to use this easy feature.
But while the feature is a great option for crafters, there are a few must-know tips that make the feature much easier to use.
Instead of learning by trial and error, like I did, take a look at my favorite tips and tricks for using Cricut print then cut.
First, an important thing I’ll share exactly how to do print then cut, and then I’ll share some tips and tricks for making it even easier!
Thank you to Staples for partnering with us on this post
Table of contents
- What is Cricut Print then Cut?
- How to Use Cricut Print then Cut
- Best Printer for Cricut Print and Cut
- Best Sticker Paper for Print then Cut
- Print then Cut FAQ
- Can You Use Print then Cut on Vinyl?
- What Materials Can You Use?
- Other Supplies Needed for Print and Cut
- What types of images can you use with print then cut?
- What Devices Can I Use Print then Cut with?
- Can My Cricut Cut Sticker Paper?
- Can I Upload My Own Files to Design Space for Print then Cut?
- Will Transfer Tape Damage My Printed Design?
- How Big Can I Make My Print Then Cut Design?
- Can You do Cut and Print with Colored Paper?
- Cricut Print then Cut Troubleshooting
- Cricut Cutting Inside Images
- Why is Cricut Sticker Paper Jamming the Printer?
- Cricut Not Finding Sensor Marks
- How to Calibrate Your Machine for Print then Cut
- More Cricut Posts You May Enjoy:
What is Cricut Print then Cut?
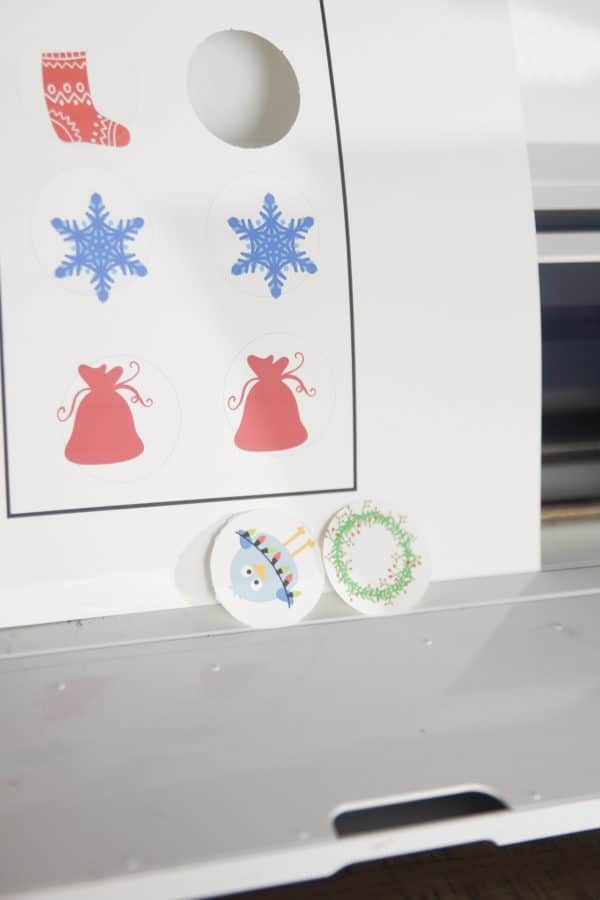
This handy feature is a game-changer in Cricut Design Space is an easy way to print out a graphic design, then cut out the design using your Cricut.
The feature is available on both Cricut Maker and Cricut Explore, making it a great way to use your favorite cutting machines.
The only drawback to this fun feature is that it is not currently available on the Cricut Joy.
Using Print then Cut is great for a variety of fun craft projects, including:
- Making your own planner stickers at home
- Creating your own greeting cards and gift tags for friends and family
- Cutting out pictures with graphic designs for your scrapbook
- Printing designs on vinyl to add to your latest project
The list goes on and on! If you’re ready to start using this amazing design feature for your new project, keep reading! I’m going to break down some of the most common questions and issues users face when making projects with the Print then Cut feature.
How to Use Cricut Print then Cut
- Open Cricut Design Space, upload your image, and create your design.
- Make sure you’ve selected the image file you are using and set them to the line type of “cut” and fill as “print”
- Make sure that you’ve attached and flattened your images in order to print multiple layers together. You must press attach before flattening.
- Click the “Make It” button and preview your mat.
- If everything looks good, then click “Continue.”
- Here you will see an option that says “Send to Printer”. You will print to whatever printer you want. If you’ve already printed the project at a prior time, select, “I’ve Already Printed”
- It is pre-selected to print with the bleed, which makes it so there will be no white border and allows for a more precise border. I personally usually turn this off.
- Now you will select the material that you’ve printed from the list of materials.
- Place your material on your mat in the top right corner of your StandardGrip mat.
- Load into your machine – it will take a couple of seconds for it to detect your registration marks.
- Press Go and let the magic happen!
- Remove mat from machine and carefully peel up your paper or sheet that you are using for your project
Best Printer for Cricut Print and Cut
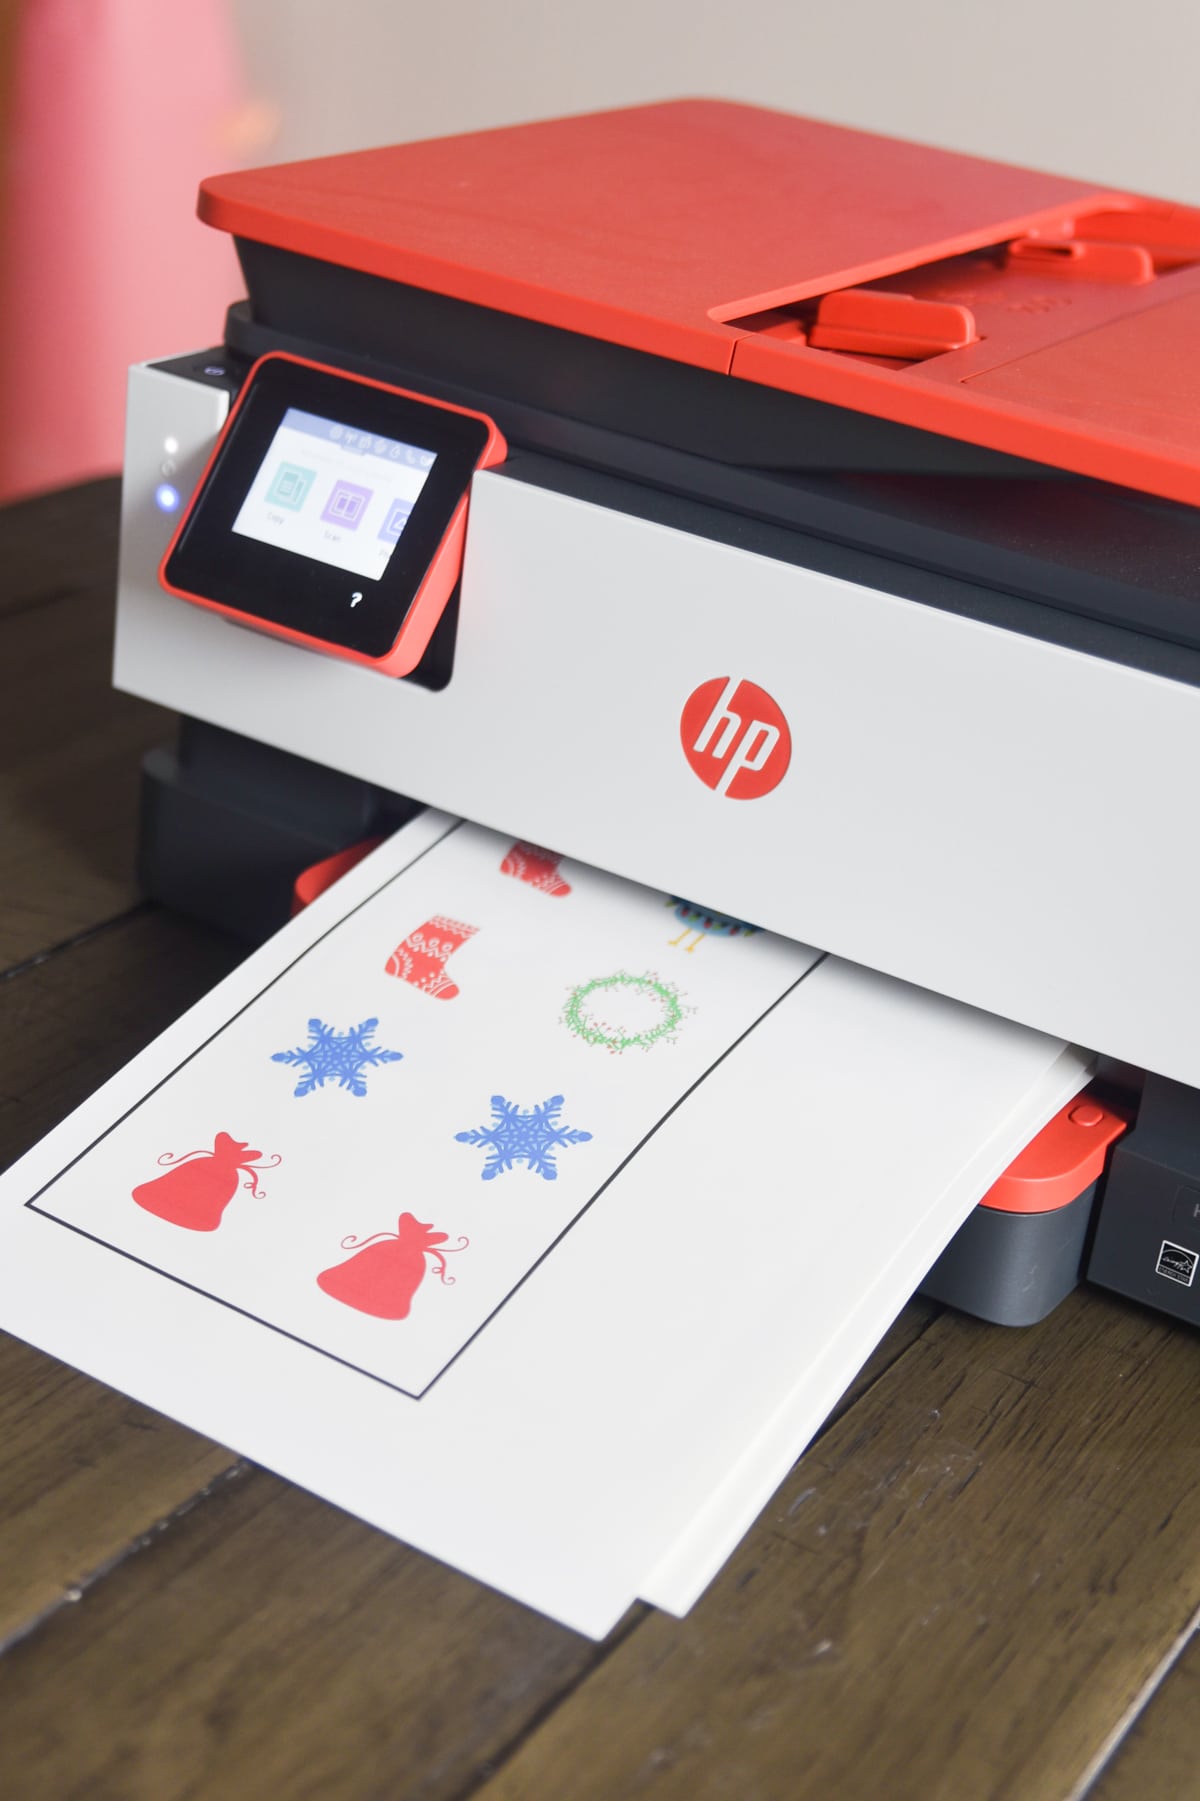
The first thing to consider is an essential for Print then cut is a good printer. Cricut recommends using an InkJet printer.
I would definitely make sure you get a printer that has good reviews. Thankfully, InkJet printers are pretty affordable these days, and there are a lot of options.
Here are a few to consider purchasing:
- HP OfficeJet Pro 8035 (this is the one I have!)
- HP OfficeJet 3830
- Epson WorkForce Pro
- HP OfficeJet Pro 8210
- HP Envy 6055 (I have an HP Envy that works well, though Cricut’s brand of sticker paper doesn’t work very well with it – the clear kind does, though)
- HP Envy Pro 6455
- Epson Workforce Pro WF-3820
- HP OfficeJet 250
- HP OfficeJet 200
- Epson WorkForce Pro WF-4830
I have had good luck with HP Printers. I especially like using their Instant Ink program. You pay a monthly fee for a certain number of pages printed, and they send you new ink before you need it!
You can also find some great deals on Ink cartridges and refills at Staples.
Best Sticker Paper for Print then Cut
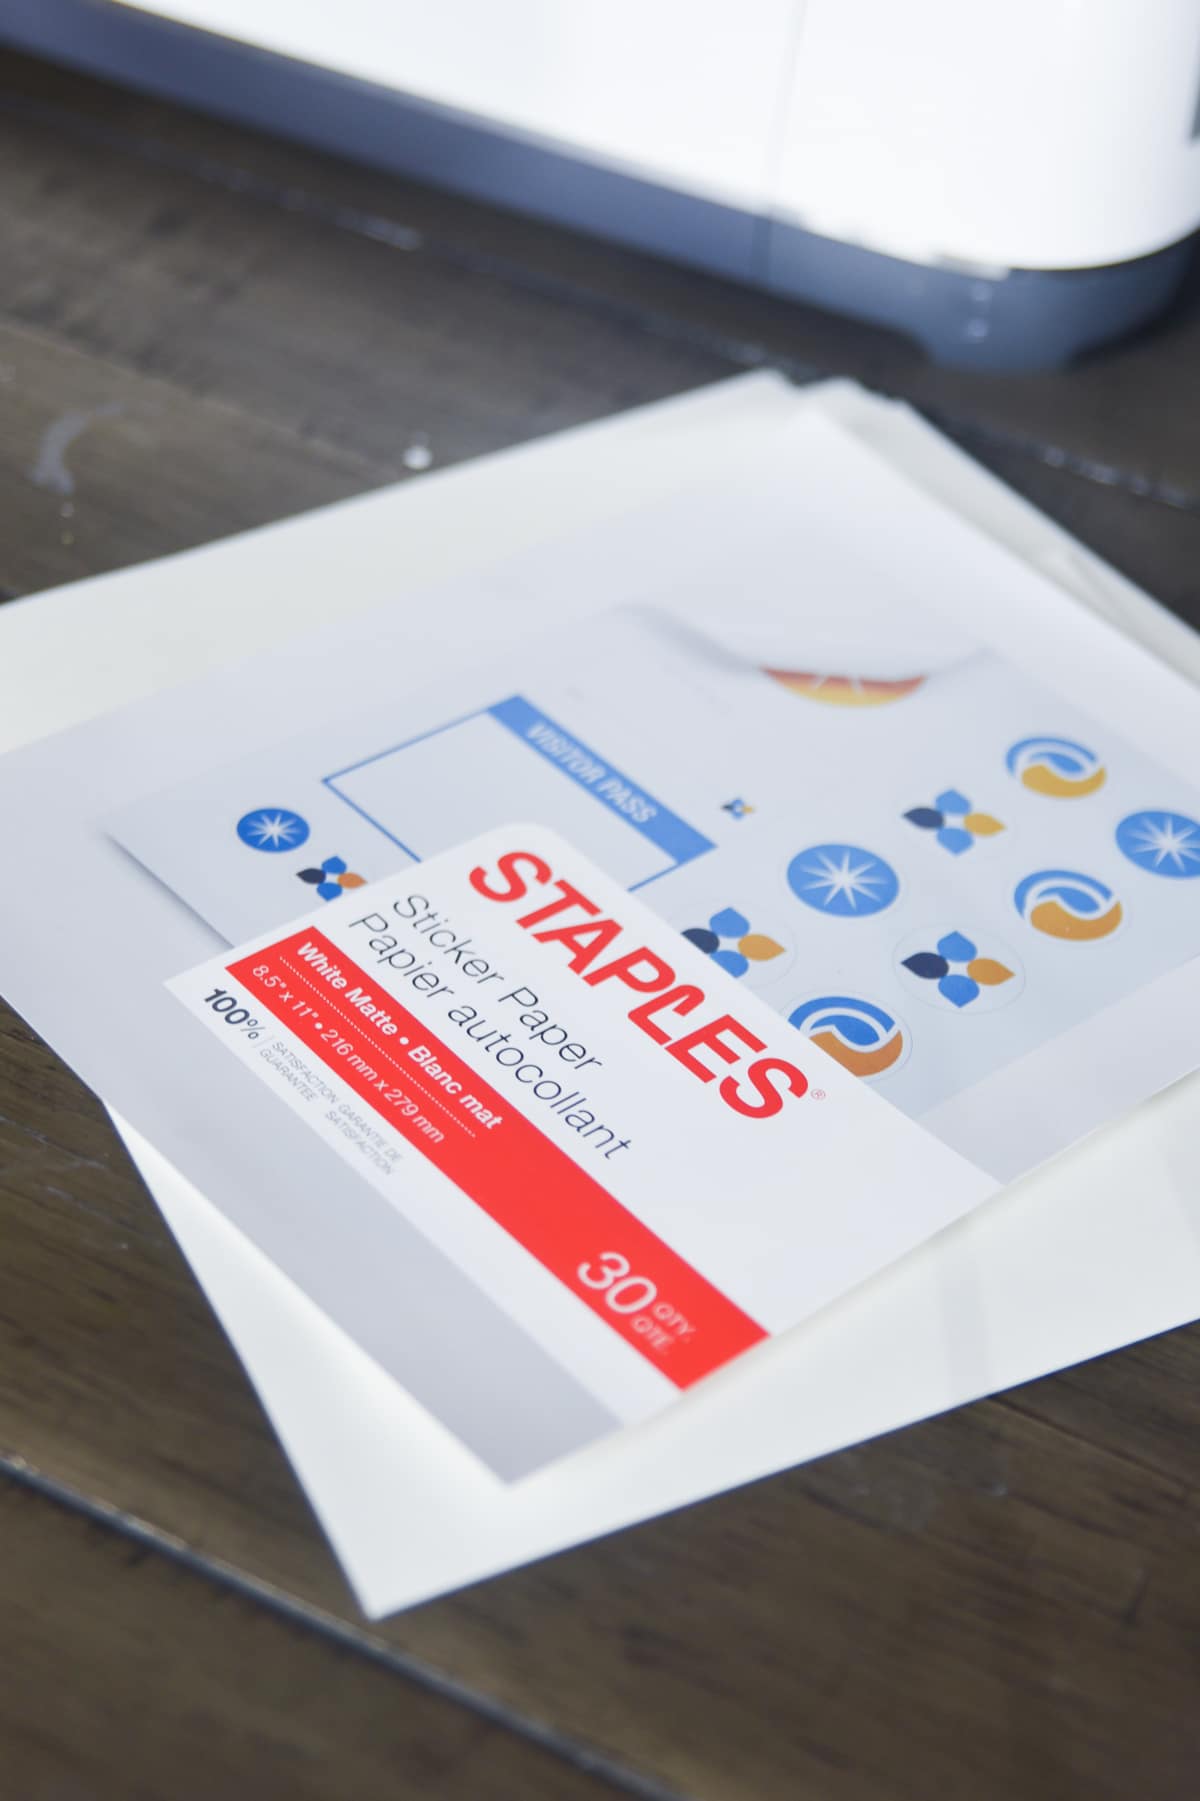
A lot of people use print and cut to make stickers with Cricut – so I thought I’d share my experience with different sticker paper.
Many users report issues with the Cricut brand sticker paper, especially when using the paper in their printer – myself included. The best way to determine this is by looking at the weight of the sticker paper and checking your printer settings to see what it would recommend.
However, I personally opt for a different brand. Silhouette brand sticker paper has been great for me in the past, but I recently discovered Staples Sticker Paper, and it works great as well! It doesn’t get jammed, and the results are fantastic.
Cricut Machine FAQ
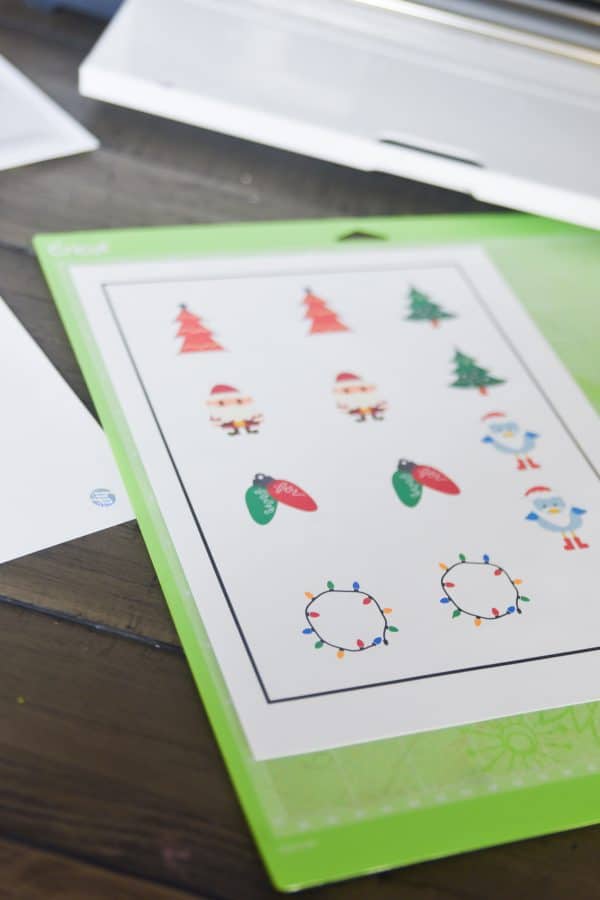
The basic answer to this question is yes…but you can’t use the feature on just any vinyl.
To print then cut on vinyl you will need to use either printable vinyl or printable heat transfer vinyl.
If you have either of those vinyl options, you can create your design, print it on the vinyl and cut the design using the print then cut feature.
Any printable material that is 8.5″X11 would technically work! It does have to be white with the Cricut Explore Air series, however, there is more flexibility with than with the Cricut Maker.
You could use cardstock, printable fabric, glossy paper, label sheets, printer paper, washi sheets, vinyl, sticker sheets, etc. Have fun experimenting!
You will need a cutting mat (I usually end up using a StandardGrip mat) and a printer!
What types of images can you use with print then cut?
You can use pretty much any images that you want with Print then cut, however, some do work better than others. In Design Space, you can go into the images library under “art type” and select print then cut.
Even if you find an image that isn’t labeled with that, you should be able to print and cut with it. It may just look a little different when it’s flattened. (Push the flatten button)
What Devices Can I Use Print then Cut with?
This feature is compatible with iOS devices that have AirPrint enabled, as well as your desktop or laptop (Apple or PC). It is not compatible with Android devices.
Can My Cricut Cut Sticker Paper?
Again, the basic answer to this question is yes, your Cricut can cut sticker paper.
But being successful at making custom stickers with your Cricut means you’ll need to pick the right sticker paper for your machine, which I talked about earlier!
Can I Upload My Own Files to Design Space for Print then Cut?
Yes! You can most definitely use your own images with the print then cut feature. You just have to make sure they’re a png file for cutting.
If you want your Cricut to cut around the edge of your design, you need to make sure the design is a PNG with a transparent background. But if you just want your Cricut to cut a square frame around your image, you can use a JPEG file with the print and cut feature.
Either way, you’ll need to start by uploading the image into design space. After you upload the image, you’ll be asked to save the design as a cut file or as a print then cut file. Select the latter option to upload the file into design space.
You can also use SVG files with the print then cut feature, but you’ll have to take an extra step to prepare the design before printing. Upload the SVG into Design Space and select the Flatten option at the bottom of the layers menu. This will make your SVG into a printable file you can use with the print then cut feature.
Will Transfer Tape Damage My Printed Design?
Using transfer tape to transfer your vinyl design to your work surface is one of the best ways to ensure your design stays intact.
But some transfer paper may remove the ink from your printable vinyl when you transfer it from the backing paper to your craft material.
To reduce the ink transfer, choose a transfer tape that has a light stickiness for best results.
How Big Can I Make My Print Then Cut Design?
To create a print then cut design in Design Space, you’ll need to stick within the size parameters set by the design program.
That means your designs can not exceed 9.25×6.75 inches in size.
Make sure to measure the size of your design before you try to print and cut it to avoid problems with the process.
Can You do Cut and Print with Colored Paper?
If you are using the Cricut Explore Air 2, you can only use white paper.
However, when they were developing the Cricut Maker, they somewhat accidentally discovered that you can cut with colored and even some patterned paper. I do recommend using lighter colors, though, so the sensor makers can still be read.
Cricut Print then Cut Troubleshooting
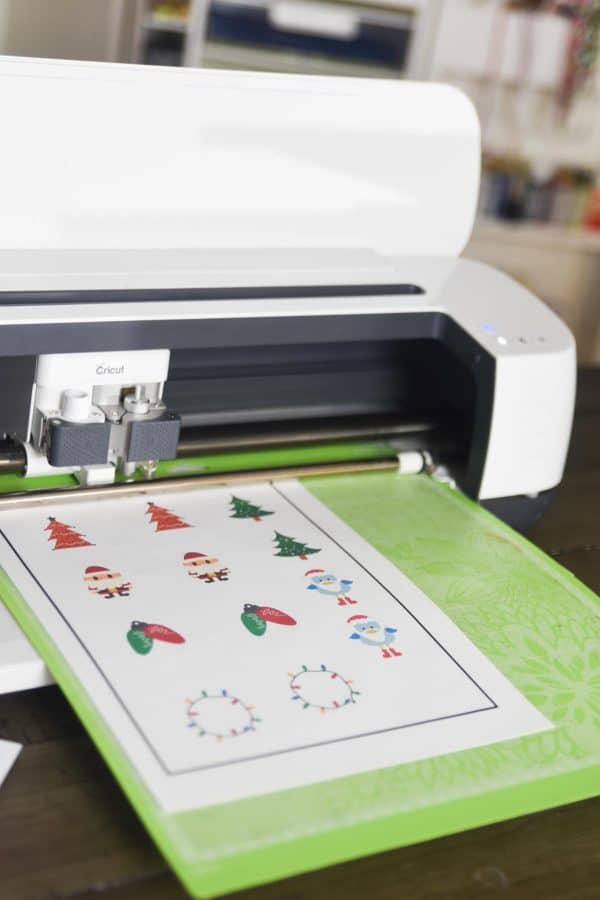
Cricut Cutting Inside Images
One of the most frustrating situations when using print and cut is when your machine starts cutting along all the lines of the image, and not around the outside. Super annoying!
This is typically happening because you either haven’t flattened your image OR you are cutting two images that you’ve put together, but you didn’t flatten the image before attaching.
Why is Cricut Sticker Paper Jamming the Printer?
This is super frustrating – and it’s happened to me, too! I actually haven’t found a good solution for it, and just about everyone I have talked to has reported the same issue (this has been with various printers).
I have heard some people have luck with choosing a “cardstock” setting on their printer. The Cricut sticker paper is very thick, which is why I think a lot of printers have trouble with it.
You can also check the manual for your printer and see what settings it recommends for the weight of the printable sticker paper.
Cricut Not Finding Sensor Marks
It’s so frustrating when you go to cut your print then cut project out, only to be told it can’t find the sensor marks! Here are a few things that might be causing issues:
- You are using colored, patterned or reflective material – this is especially true if you are trying to use this type of material with the Cricut Explore Air 2
- The lighting around your machine can affect it – make sure it isn’t too light or too dark, and that there isn’t any type of lighting directly pointing at the material
- Incorrectly Positioned Material
How to Calibrate Your Machine for Print then Cut
If you’re having issues with your Cricut not cutting correctly around the border of your print then cut design, you may need to recalibrate your machine.
After signing into Design Space, select the account menu in the upper left corner (the three lines stacked on top of each other). Then, select calibration. Choose the print then cut option on the calibration menu. In the next menu pick the printer you plan on using with your machine, then hit print.
After the printing is done, place the printed sheet of paper on your cutting mat in the top left corner of the mat and start the cutting process. Your Cricut will begin scanning and cutting the design. When the cut is done, check the small square at the center of the sheet without removing the mat from the machine. If the square was cut correctly, hit Yes in Design Space. If you hit no, the machine will continue calibrating until it cuts correctly.
The machine will begin cutting the top and sides of the page. Check the cut lines again without removing the mat and select the appropriate numbers in the drop-down menus based on the cuts the Cricut made on the page.
Finally, the Cricut will cut a large square in the center of the sheet. When that cut is done, remove the mat from the machine and answer the final question to complete the calibration process.
Do you have ay questions about Cricut Print then Cut? Let us know in the comments
More Cricut Posts You May Enjoy:
- How to Make Gifts Tags with Cricut (Design Space Tutorial!)
- Cricut Foil Transfer Tool: FAQs Answered!
- Cricut Infusible Ink Pens: Tips and Tricks for Getting Started
- How to Use Different Types of Iron On Materials
- How to Use Vinyl Iron-on for Cricut: Everything You Need to know
- How to Use Cricut Foil Iron-On – And a Few Things NOT to do!


Do you use the ink that comes with the printer or use photo ink? How does jet ink hold up when you launder?
I just use what comes with my printer! I haven’t used designs from print and cut on items that I would launder.
I’ve been wanting to use this feature for a while now, but I’ve been too scared! Thanks for such a helpful post!!! I have confidence I can do it now!
I’m so glad!
Good article!