How to Use Cricut Window Cling + Project Ideas
Cricut Window Cling is such a fun material to work with. Here are some tips for making your own projects, as well as some window cling project ideas to get you started.
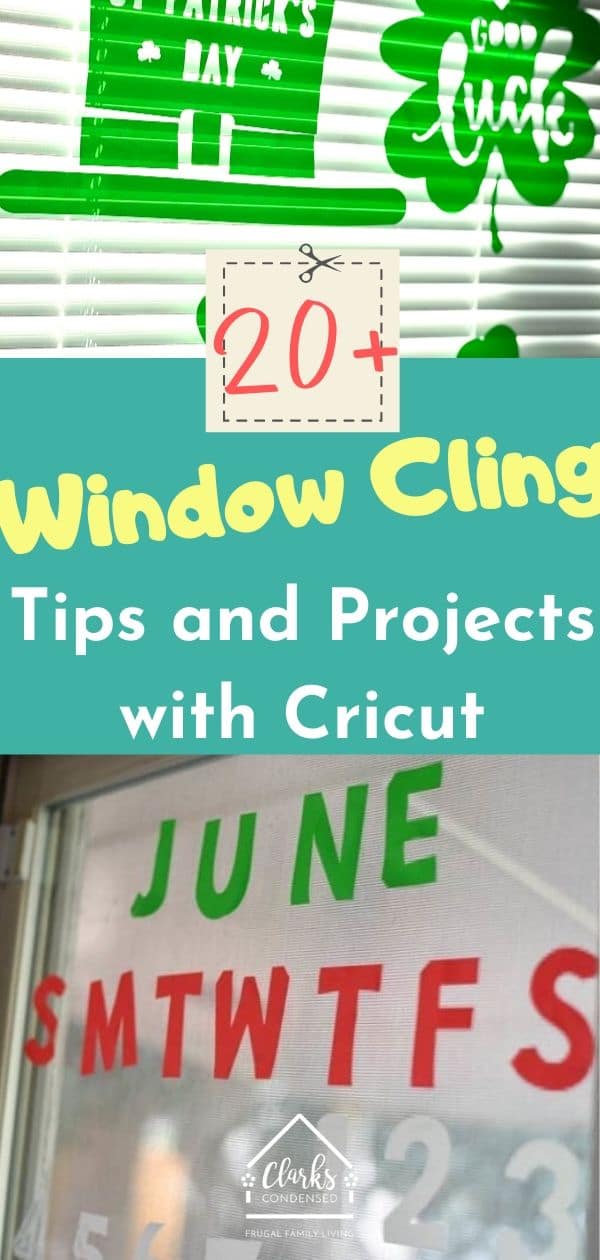
It’s been a while since I’ve done a Cricut post, so I’m excited to be partnering with Cricut today to share all about my favorite Cricut material – Window Cling!
Cricut Window Cling can be used for so many fun window cling projects -. It’s really quite easy to use, so today I will be sharing with your Cricut Window Cling application tips, as well as a window calendar tutorial.
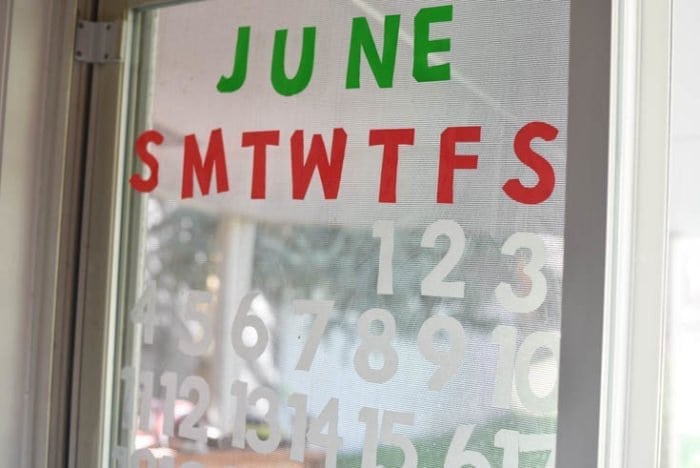
We have a large sliding glass window in our kitchen, and the other day, I thought it would be perfect for a window calendar using Cricut Window Cling.
First off, here is a little bit more information about what window cling can do and things to keep in mind.
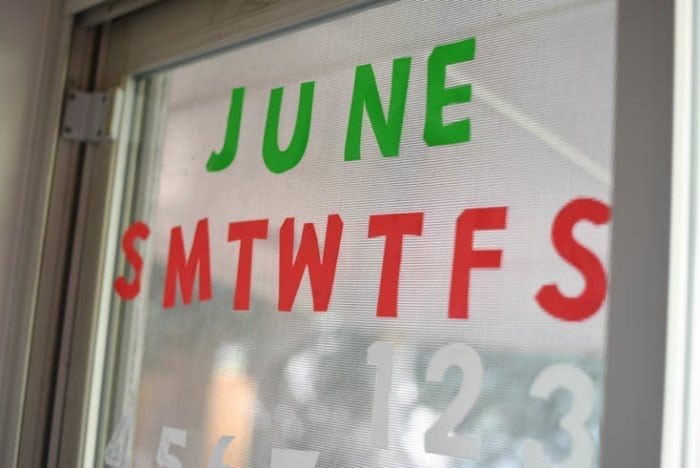
Table of contents
Originally written in 2017; updated in 2020
Cricut Window Cling Tips and Application
- Temporarily stick to windows
- Great for seasonal decorations, interior window stickers for cars, and more
- Easy to use and cut through
- It’s not very thick – some window cling decals are thick and gel-like. However, Cricut Window Cling is quite thin and flexible. Because of this, you want to make sure you are careful when using it.
- I found that I had to press it down with my fingernail or the Cricut scraper in order to make it not fall off the window.
- If you are cutting an intricate design, make sure you mirror the image. That way, you can put the window cling on the window and transfer it with the liner paper still on it. Otherwise, I think it’s easier just to cut it not-mirrored and then just peel the pieces off as you need them.
- With the Cricut Explore, you just select “Window Cling” as your custom material. It will automatically do your cut as a “kiss cut”, which doesn’t cut all the way through the liner paper. If you have a previous Cricut model, you can read this Kiss Cut Guide for the proper settings for your machine.
And here is how you use it:
- Using Design Space, you can create your design, write your phrase, etc. I take full advantage of my Cricut Access subscription for coming up with custom designs and fun phrases.
- Once you’ve created the design, press “Go”
- If you are using the Cricut Explore Air, you will set the dial to “Custom” and then select Window Cling – no further action is needed. As I mentioned above, if you are using a previous model, reference the Kiss Cut Guide for the correct settings.
Where to Buy Window Cling?
Window Cling is available at various places online and in-store:
VIDEO

Window Calendar Tutorial
Materials used:
- Cricut Explore Air
- Window Cling
- Holographic Vinyl
- Scraper
- Cut Files – 1-10, 11-20, 21-31, Days of the Week
Make Calendar in Design Space
I had to do this in different stages because I couldn’t cut everything at once. I used the font “Cricut Keystone”, which is available for $4.99 (and it’s also included with a Cricut Access subscription). I felt it was thick enough that it would be easy to put up on the wall.
I had to two three different “stages” for the days of the month – I fit about two numbers on each line. So I first designed those – if you like how mine look, you can use these: 1-10, 11-20, 21-31, and days of the week.
Make sure you measure your window, door, etc. so you can adjust the size of the numbers properly so everything fits correctly.
I also did separate cuts and colors for the month, as well as for a little box to place around the current day – however, for that, I used Cricut’s holographic vinyl, which is easy to use as a window decal. You can just create these with whatever fonts you like. I used a square from Cricut Access to make the one that goes around the numbers.
Send to Cut
Once you have finalized your design, send it to your Cricut machine to cut. If you have determined you want to mirror it, do it at this point.
If everything looks good on the mat, press the “Go” button again. Make sure the dial on your machine is switched to “Custom” and then on the next page you will be able to select “Window Cling” as your custom material. Press “Go” again once you are ready.
Load Your Materials
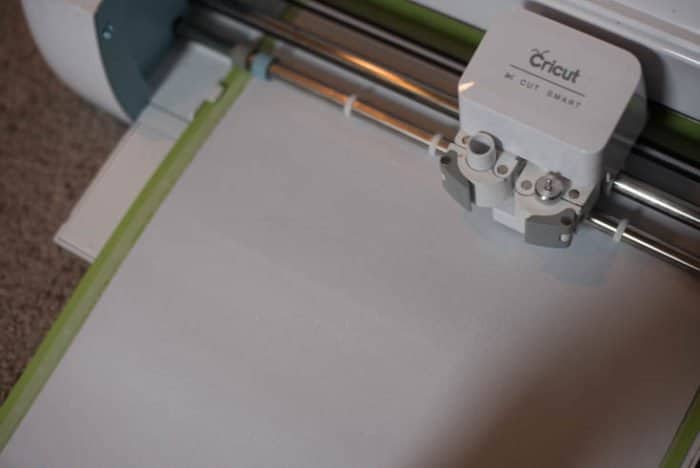
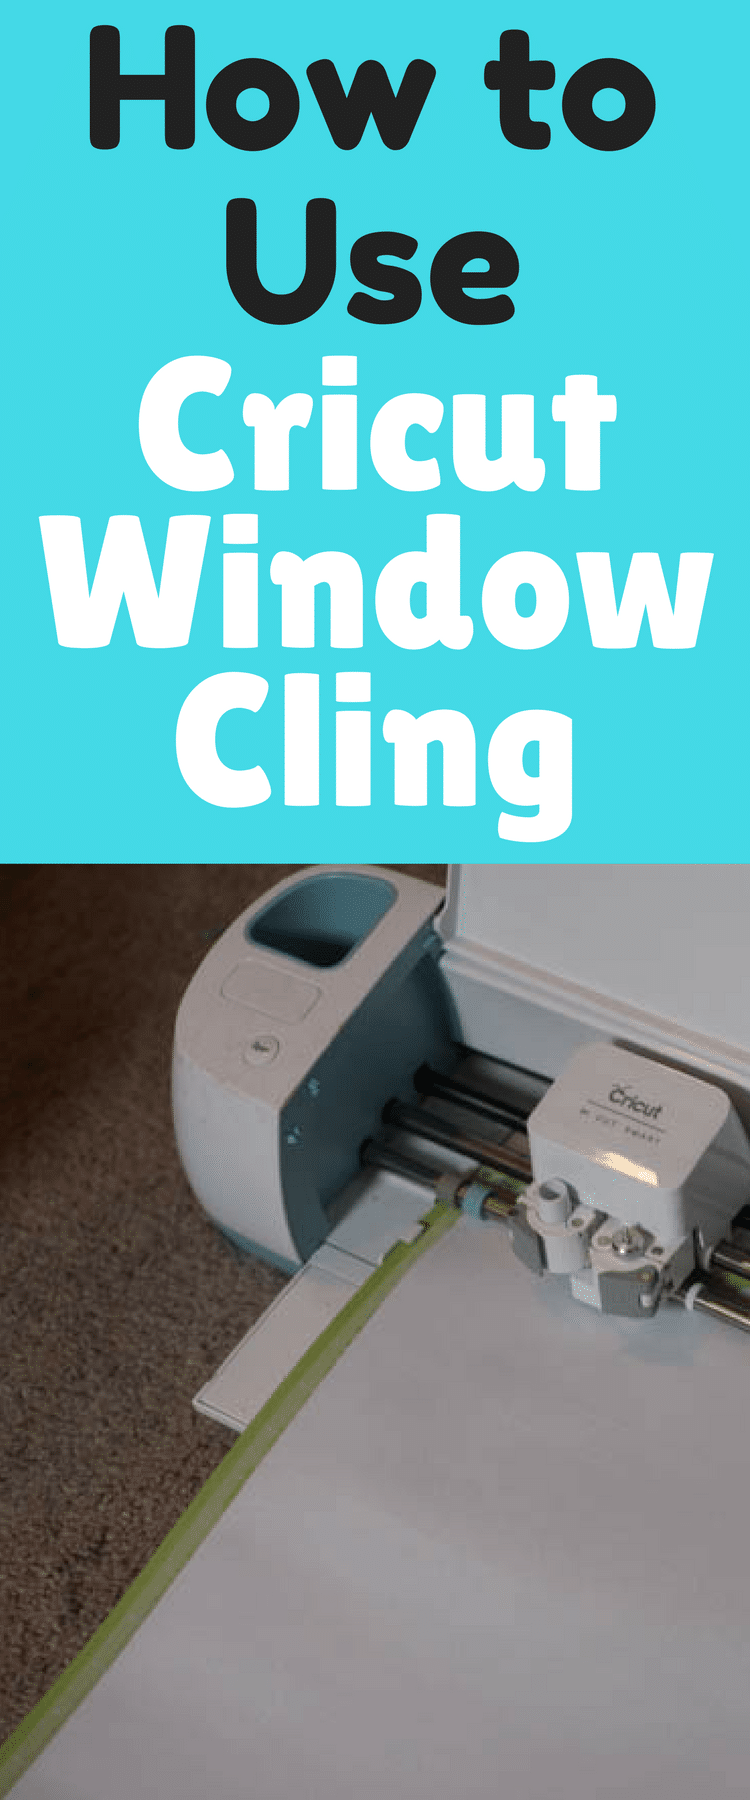
Your machine will tell you to load the mat – so do this! The window cling is rather slippery, so I made sure to hold it down as I loaded the machine and as it first started to cut. Once you’ve loaded your mat, press the flashing Cricut button on your machine to start the cut.
Remove Excess
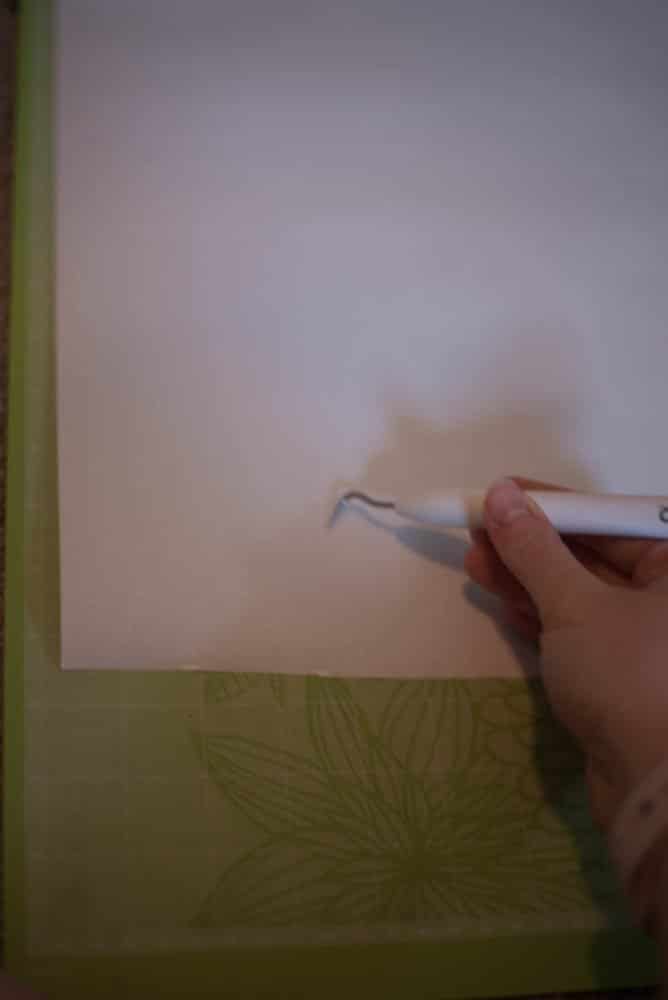
Remove the excess material around your numbers and months.
Applying to Window
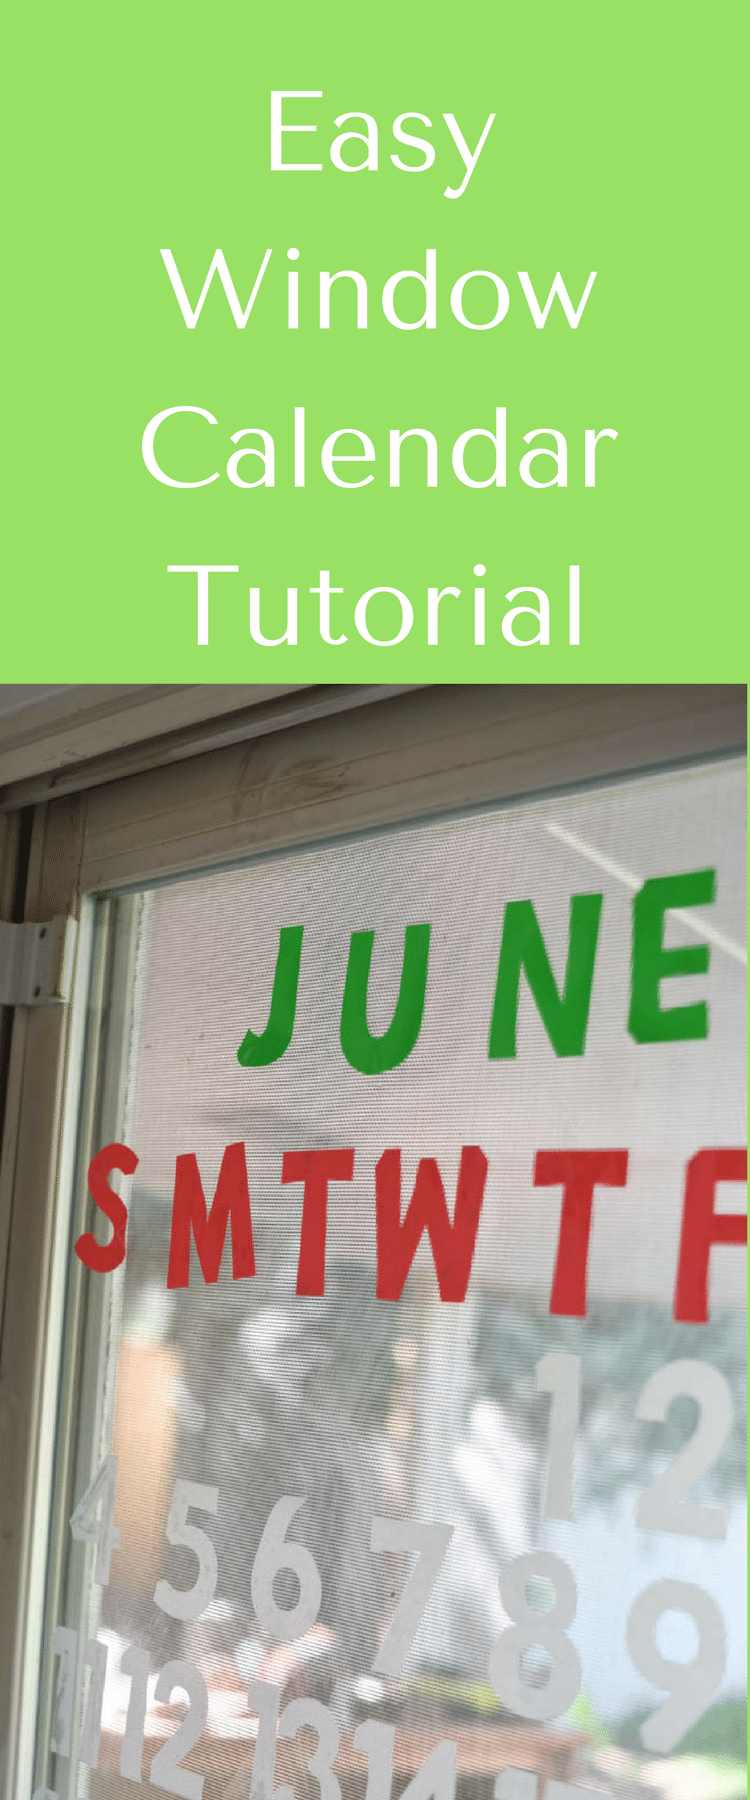
Start by putting your month window cling piece at the top and center of your calendar.
Then, apply the days of the week letters so they are evenly placed across the window. After these are up, apply your numbers!
I had to use my scraper to make sure they stayed – otherwise, they fell down pretty quickly. However, they’ve been up there for several days now with no issue!
The holographic vinyl is perfect for the shape that indicates which day it is – however, you can certainly use window cling for that as well.
Jack thinks this is so fun, and it’s a great way to make sure everyone knows what day it is! I plan to make little pieces of window cling for our birthdays and special events at some point, too!
Cricut Window Cling Ideas
And now for a collection of other ideas. It seems like this material is especially popular for Halloween and Winter -. but don’t let that limit you. I plan to do a new window cling project every month. There are a lot of fun ideas below, though.
- St. Patrick’s Day Window Decals
- Christmas/Winter Window Clings
- Birdhouse Window Clings
- Halloween Window Clings
- Spider Web Window Clings
- Christmas Window Clings
- Christmas Countdown
- Snowman Window Clings
- Window Cling Curtains
- Just Married Window Cling
- Summer Window Clings
- Window Cling Dolls
- Halloween Tic Tac Toe
- Ghost Window Cling
- Jack o Lantern Window Cling
- Winter Scene
What else can you do with your machine?
People often ask, “What different materials can I cut with the Cricut?” There are so many different things you can cut!
I’ve already written in the past about Cricut DIY Projects, which includes the list of materials. However, I wanted to focus on Window Cling because I don’t think a lot of people even know it exists. Here are a few other materials you may not realize you can use with your Cricut machine:
- Cardstock, posterboard, vellum, paper
- Vinyl (glitter, printable, dry erase, chalkboard, etc.).
- Washi Tape
- Craft Foam
- Glitter Paper
- Sticker paper
- Chipboard
- Cereal Boxes
- Aluminium
What are you going to make your next craft with?





Hi, This is really Awesome! Just wondering if it could be done with the, Cricut Expression? Also, The file is not downloading:( Is there is any other way to download the file. Would love to do this in my daughter’s room, in a mirror. Thank you so much for sharing.
Best Regards
Hello! The file is a Design Space specific file, so unless you are trying to open it in Design Space, it won’t download 🙂 You could probably do this with the expression, but you would need to recreate the design in there 🙂
Window cling!? Is there anything you can’t do with a Cricut!?