
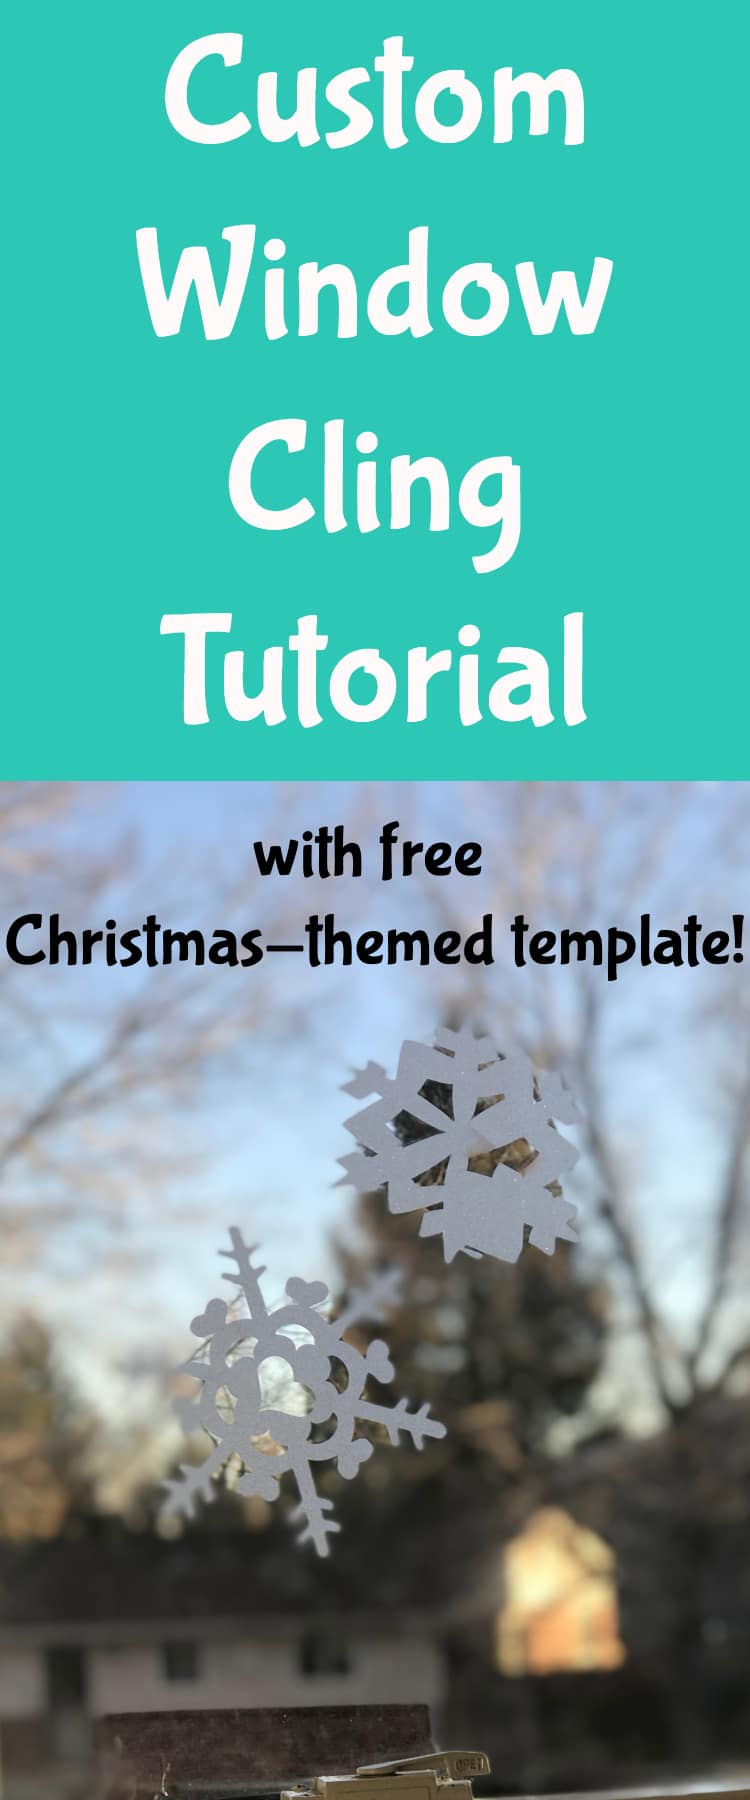
DIY Snowflake Window Cling Tutorial
Free Christmas Window Cling Tutorial
Make your own custom window clings with this simple tutorial – free Christmas-themed template included here! This technique can be used for any type of window cling. I made this using my Cricut Maker, but you can use the same material to cut out your own if you don’t have a machine!
One of my favorite materials to use with my Cricut Maker is the window cling!
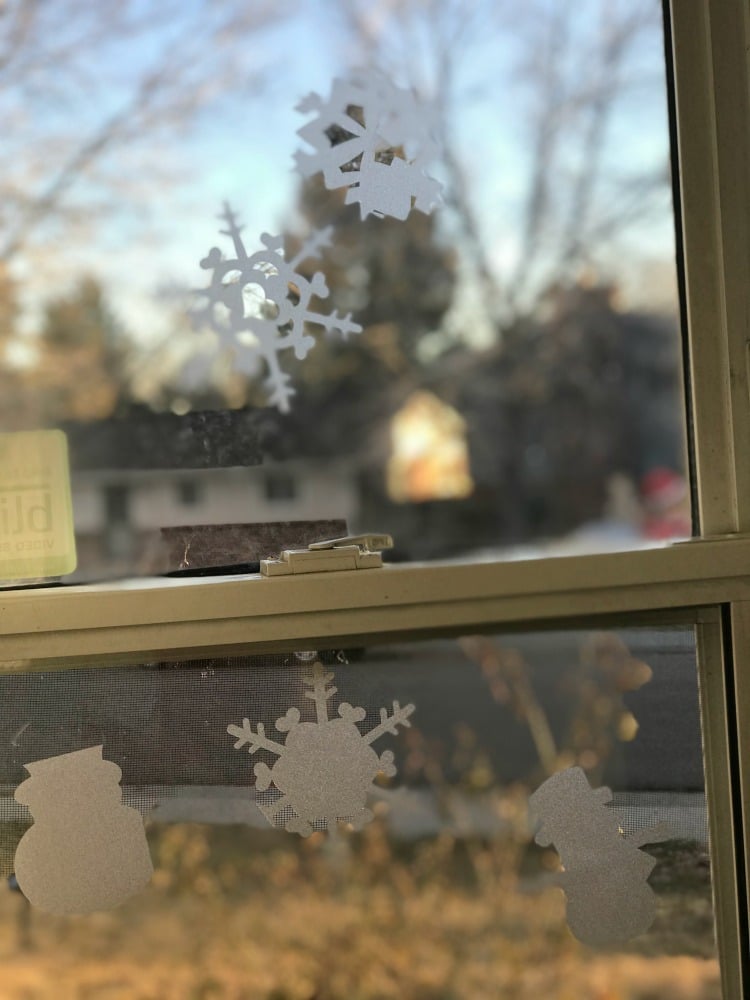
It makes it so easy to make cute and custom Christmas decor for our windows – especially snowflakes.
For our family Christmas bucket list today, I had put that we were going to make snowflakes for the window.
Well, somewhere between elementary school and now, I’ve forgotten how to cut out snowflakes – and even after I looked up a tutorial online, I just butchered it…so my smart five year old exclaimed, “Mommy, why don’t we just use the Cricut?”
He knows what he’s talking about…and that mommy isn’t always the best at doing crafts without my Cricut. haha!
We had a lot of fun selecting what shapes we wanted to cut out for the window. I wish that I’d had red and green window cling, but I think the white turned out pretty.

This project was super easy to do in Design Space. And if you don’t have a Cricut – no worries! You can still use the window cling to cut out your own shapes! The Cricut just makes it a little easier 😉
DIY Window Cling
Materials:
Cricut Maker or Cricut Explore Air
Variety of Images in Design Space (you can use our template with the shapes we used here – please note that these are all available with a Cricut Access subscription. If you aren’t subscribed, you will need to pay for them yourself)
Instructions:
- Open Design Space and select what images you want. You can search for snowflakes, snowmen, Christmas trees, santa, stars…etc! Feel free to use our premade template here – it’s ready to cut!
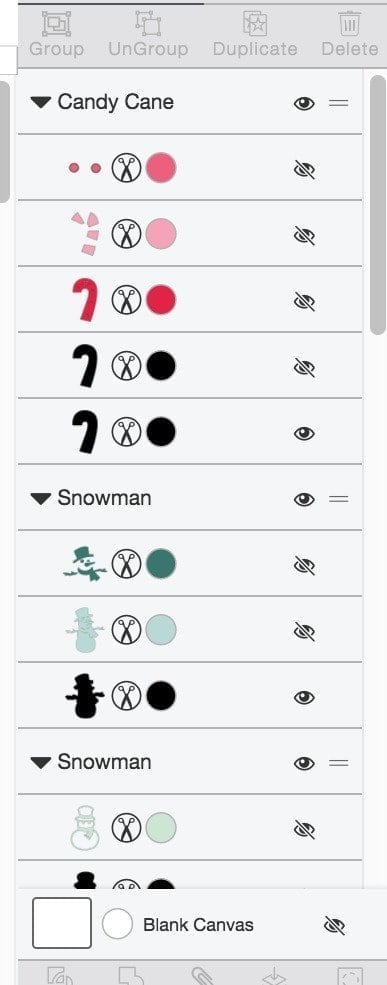
- With images that are multi-colored, press the eye button next to all the layers in the layer panel except for the solid one. Here is an example of what it should look like for each image:

- Press make it.
- Change the mat to 12×24 (or you can do 12×12 if that is the size of your sheets)
- Select window cling as the material
- Load material into machine
- Cut
- Weed out excess material
- Put on window and enjoy!
Other Cricut Posts You May Enjoy:
- How to Layer Heat Transfer Vinyl
- How to Use Iron On Vinyl with Cricut
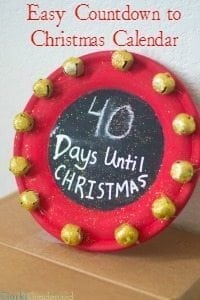
- Window Calendar Tutorial with Cricut Window Cling


This is so cool! I had no idea Cricut had window clings you could make! My kids would love these!
It’s really fun!