Cutting Basswood with Cricut Maker: Everything You Need to Know
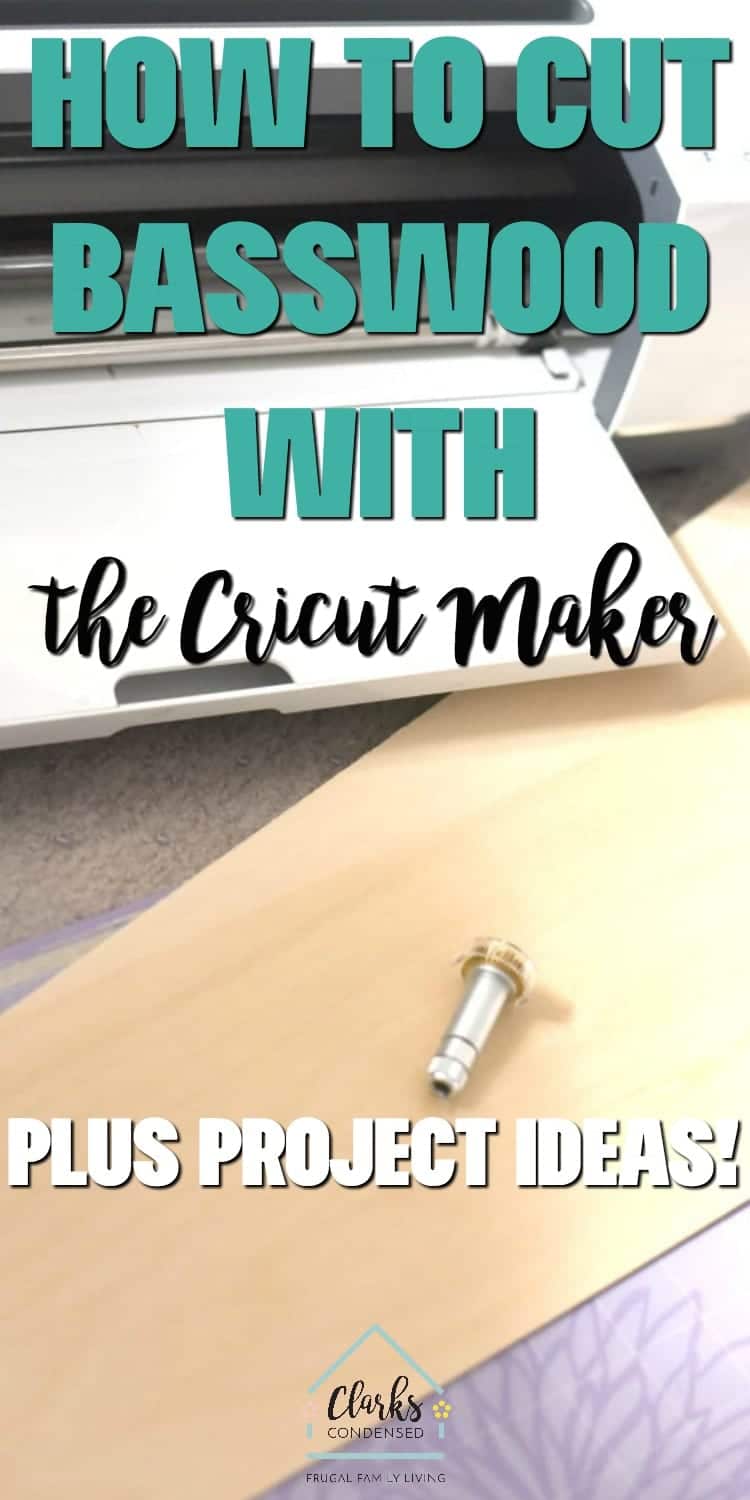
Basswood is my favorite wood to cut with my Cricut Maker. In this post, I share all my favorite tips and tricks so you can avoid some of the mistakes I’ve made when it comes to cutting basswood with the Cricut Maker.
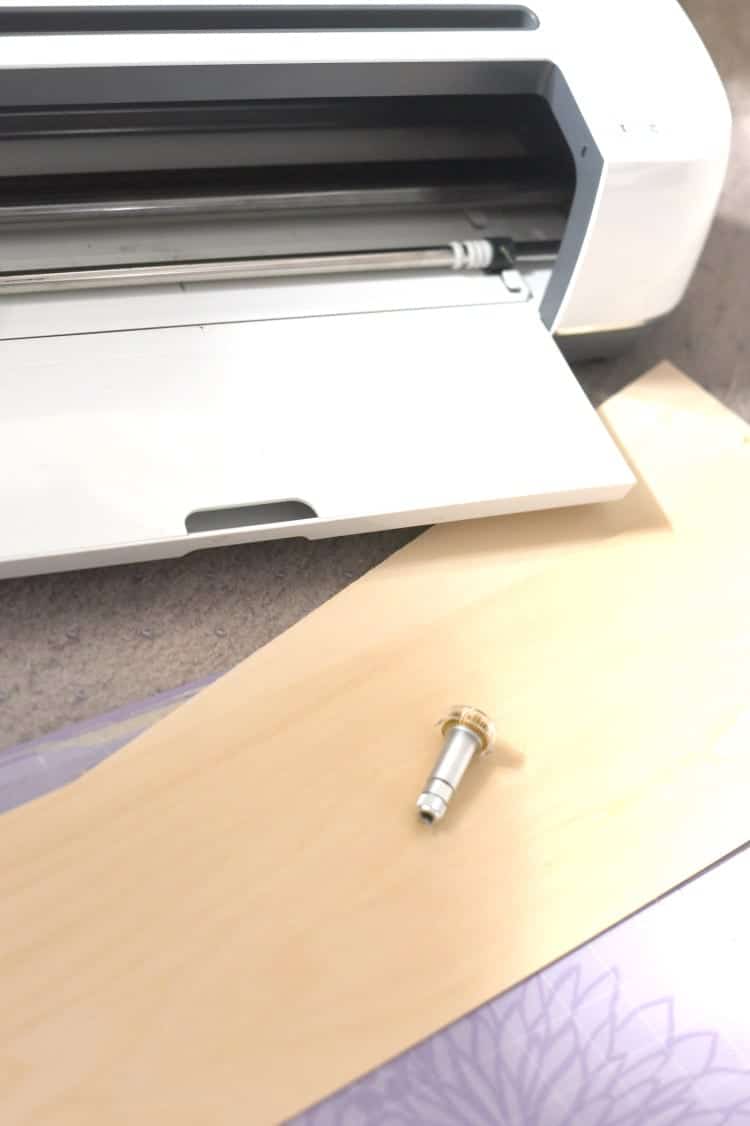
Cutting Wood with Cricut Maker
Ever since I learned how to cut wood with my Cricut Explore Air, I’ve been hooked.
So you can imagine how excited I was when I learned about the Knife Blade that would be released to work with the Cricut Maker.
Game. Changer.
I absolutely LOVE cutting wood now, and there are really just so many options.
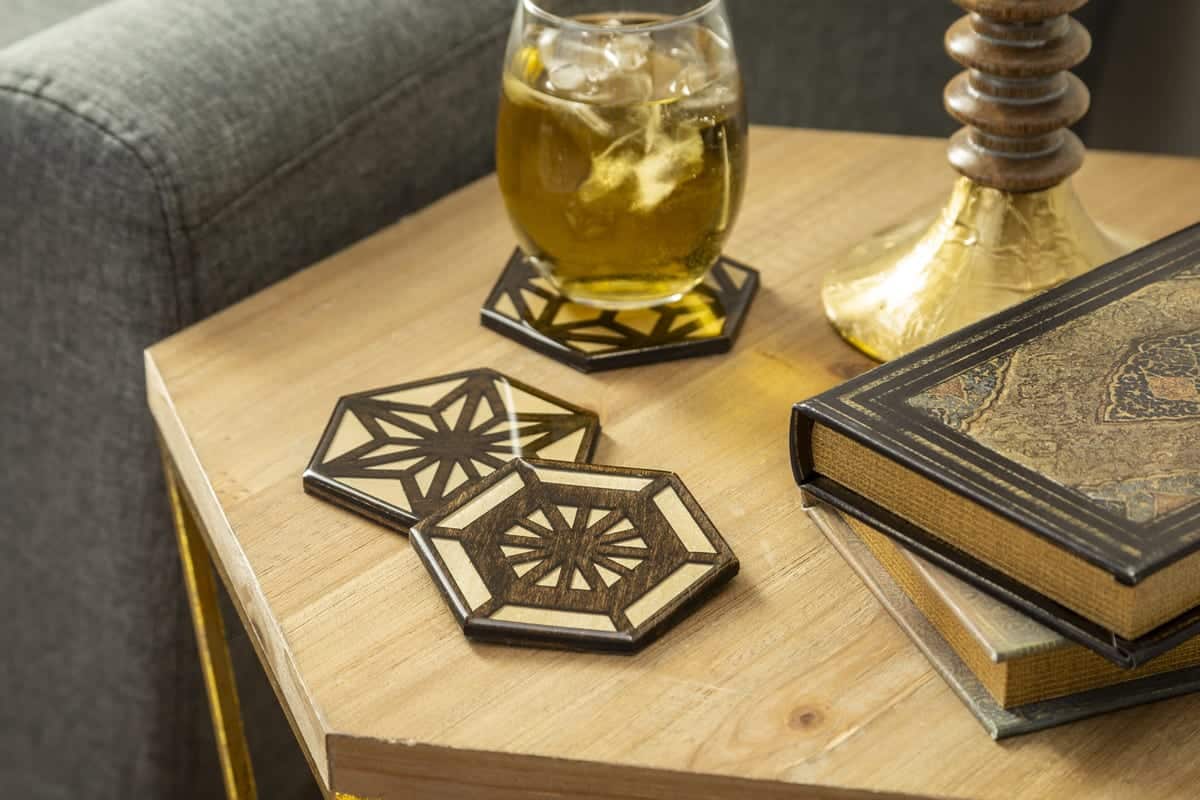
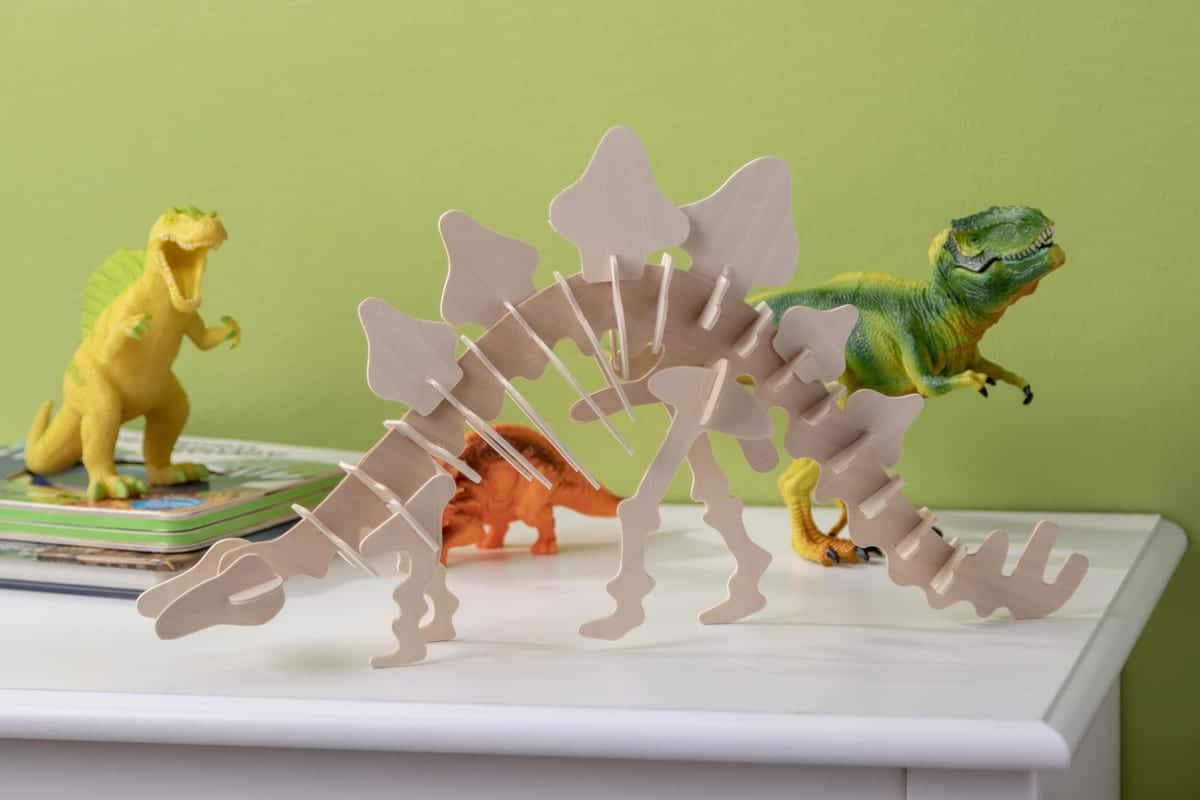
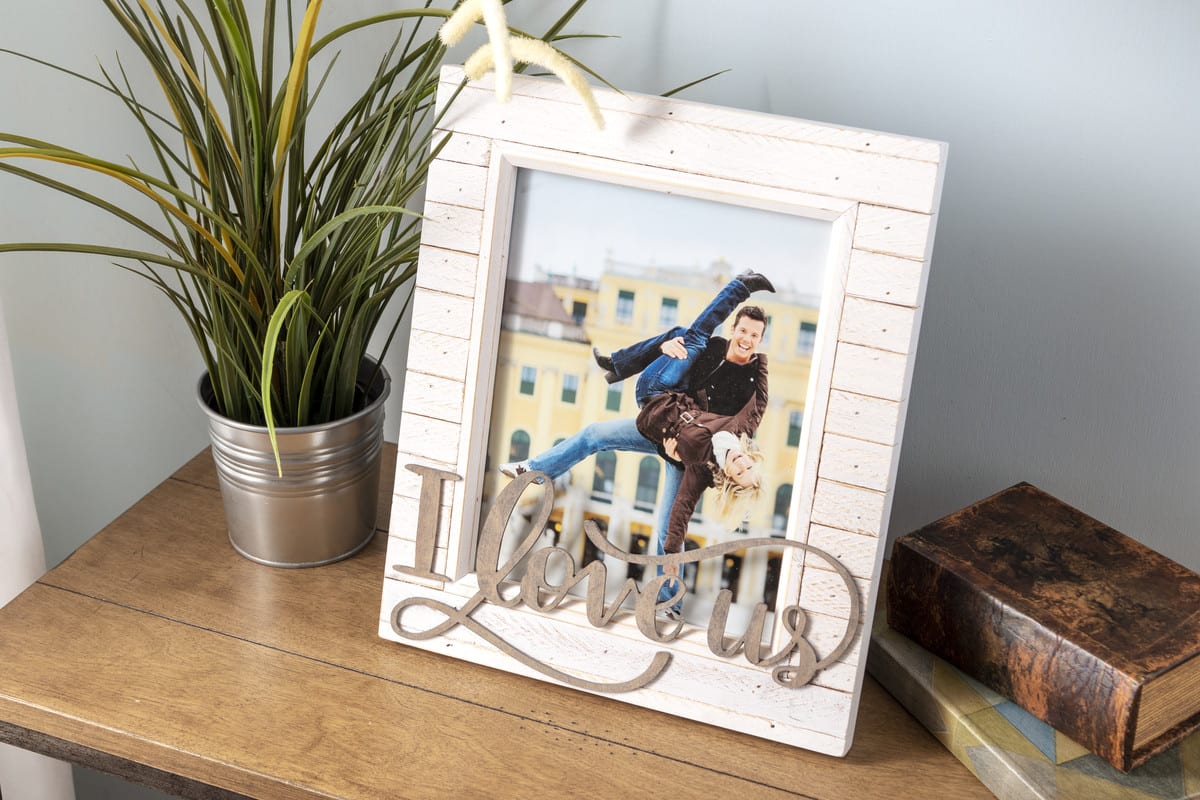
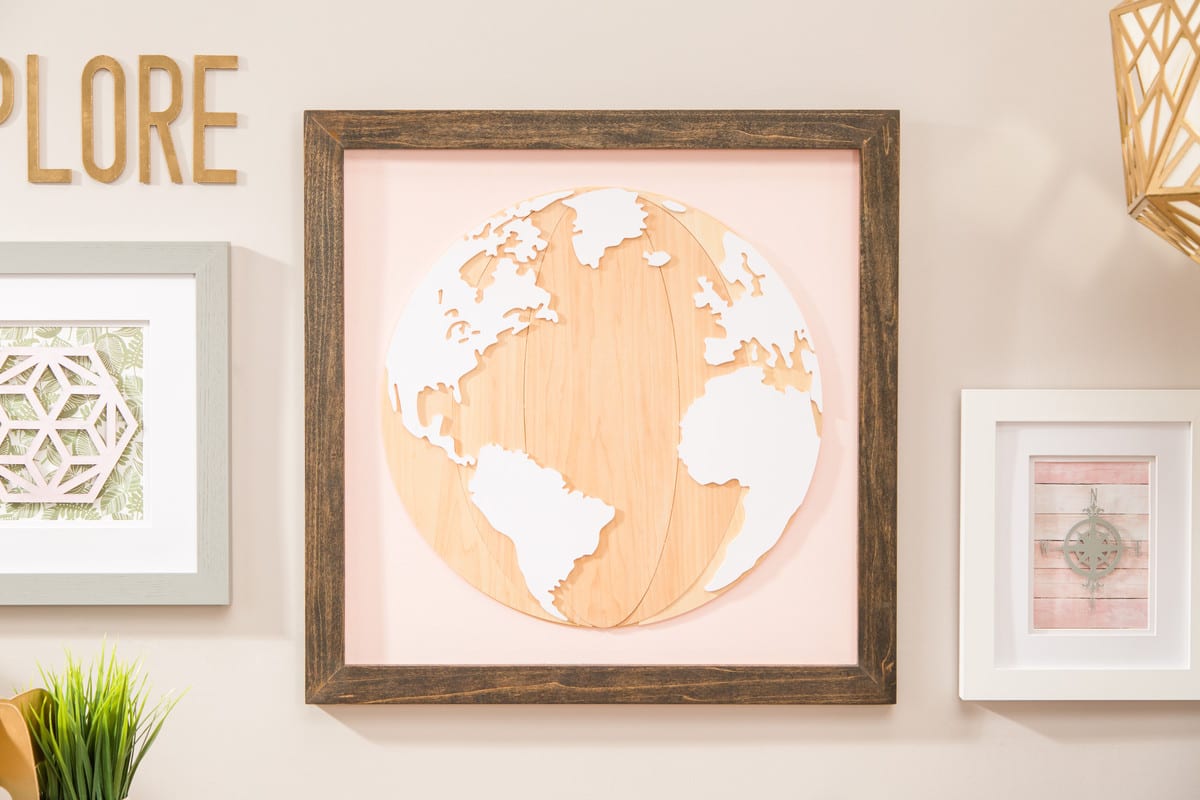
Picture frames. Wooden Signs. Figurines. Jewelry.
So many fun options.
I’ve tried using both basswood and balsa wood. While balsa certainly has its place, I’ve found that I much prefer using basswood, specifically in the 1/16″ thickness.
It cuts beautifully with the Knife Blade, but I have had to learn a few things through trial and error. So, today, I thought I would share a few tips to help you cut basswood to your heart’s
Where to Buy Basswood for Cricut?
I’ve been asked this quite a few times – what brand of basswood do I use?
I just went to Joann’s once and used the brand that they sell, which is Midwest Products. It works great. I do recommend inspecting the pieces for any cracks, because I have purchased some that had a crack that just got worse once I got working with it. Here is where you can buy it on their website (this is in bulk – I always go in store so I can buy just one piece).
The only downside to the ones I get at Joann’s is the size. I wish I could find a sheet of basswood rather than a long strip. But I’ve made it work! They are about $10 for one strip, which is kind of pricey. So make sure you have a coupon (check out my post about how to save at Joann’s Fabric to learn the best tricks of the trade).
My hope is that Cricut will come out with their own basswood…but this hasn’t happened yet 🙂
What Thickness?
As I mentioned earlier, I use the 1/16″ kind. I don’t think I’ve actually seen the 1/32″ anywhere, though I would imagine it exists since Design Space has a setting for it!
However, I think 1/16″ is the thinnest I would go. It is still quite thin, and I just think 1/32″ would be way too thin. At least for the projects I do!
What Do I need?
In order to cut basswood with your Cricut Maker, you will need to the following:
- Cricut Maker (Cricut / Amazon)
- Cricut Knife Blade (Cricut / Amazon)
- StrongGrip Mat (Cricut / Amazon)
- Painter’s Tape or Masking Tape
- Basswood – 1/16″
[the_ad id=”93378″]
If you are planning to paint your wood, I suggest doing it before you cut – especially if there are small pieces. This isn’t always possible, but I found it easier just to paint a large piece of basswood rather than tons of tiny pieces.
How to Get Started
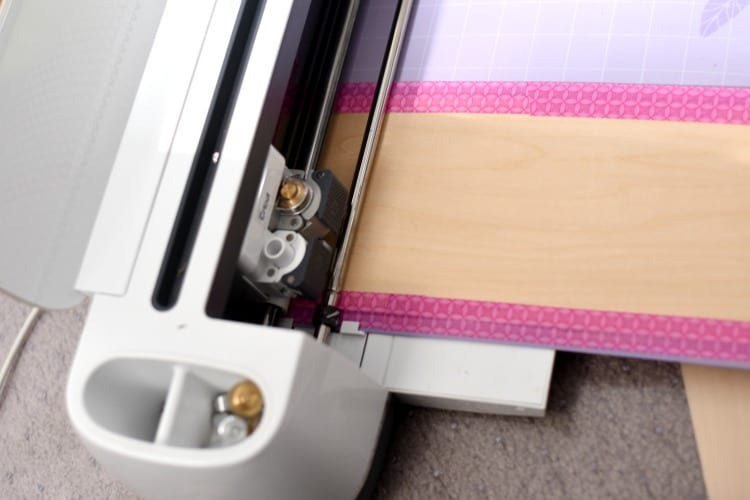
First, pick out a project! At the end of this post, I will share several different ideas! But really, the sky is the limit. I would just keep the following in mind:
- The more intricate it is, the more room for error. While I have successfully cut intricate designs and fonts, it wasn’t without messing up about five times first.
- Smaller is Better
- If you are cutting a font, try and pick one that is thick and isn’t super fancy.
Once you’ve selected a project, you will need to prepare your mat. I’ll share more details about this below, but basically, you’ll need to secure it down with painter’s tape!
Move Stars
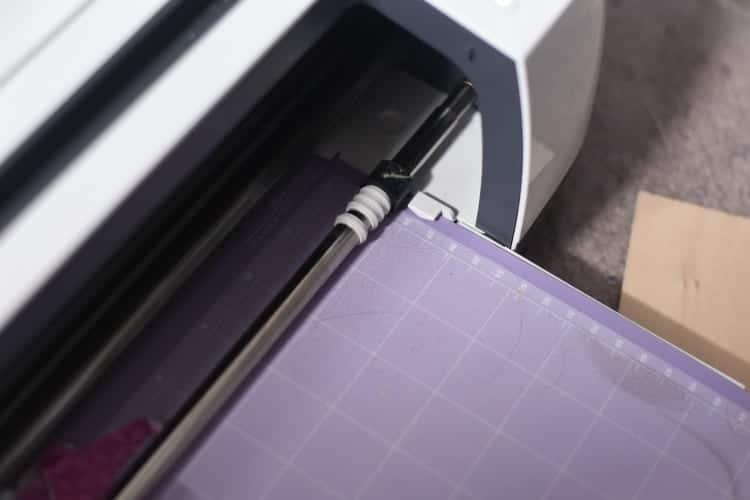
Move your little circle star things (I don’t even know what these are really called) on your Cricut Maker bar. This will help prevent getting marks in your wood, and I find they just tend to get in the way.
Mirror Images
So the main reason I recommended doing this with the Cricut Explore Air was because you couldn’t move the circles I mentioned above. However, I still think it’s helpful for the Maker.
If there are any kind of blemishes that appear, if you’ve mirrored the project, you can just flip it and no one will know! I had this happen a couple of times when I was cutting out circles.
Painter’s Tape
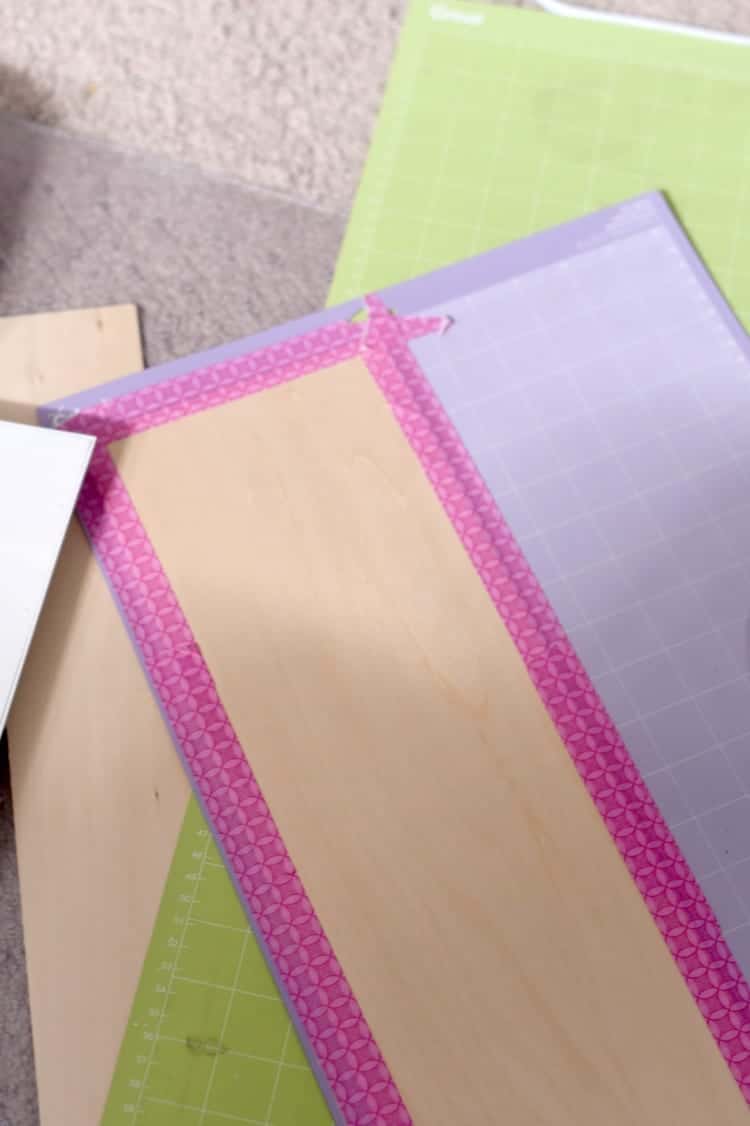
In my opinion, the biggest key to success is using painter’s tape (or something similar – masking tape works, too) to secure down your wood.
If your wood shifts even slightly while it’s cutting, your project is just done-zo. When I was trying to cut out the sign I created for my dad’s office, it kept shifting (I was cutting too many big pieces) just a little bit, but it was enough that it didn’t actually ever cut through.
I did have painter’s tape for this, but it was just too big. Which brings me to my next point . . .
Smaller Pieces are Better
I would avoid trying to cut lots of BIG pieces at a time – so, in my case, I was trying to cut out a long strip of words that took up the entire width and height of my pieces of wood.
It was just too big for my machine. I mean, it tried to cut it – but for some reason, it just kept shifting.
For the project I was working on, the letters were separated, so in the end, I just split them up into smaller cuts. It took a lot longer, but I had already ruined three sheets of basswood previously, so it was worth the extra time for it to actually work.
So – moral of the story – don’t try and cut on the entire piece!
Working with Text
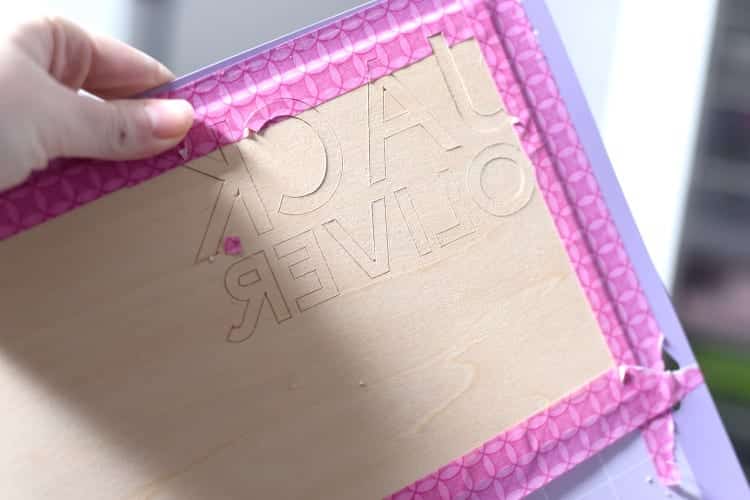
I really like cutting out text, but it’s important to keep a few things in mind.
In this sign that I created for my dad’s office, I had initially wanted to create something he could just mount on his wall. However, it quickly became apparent that the font I had chosen didn’t have strong enough connecting pieces, and it just broke apart.
So if you want to cut out text that is connected, make sure that the pieces that connected each letter are thick. When they are thinner, they will be more susceptible to breaking.
When using text in general, I find that thicker is better. I just don’t think thin and intricate really translates well with balsa wood.
Take the Sticker off the Back
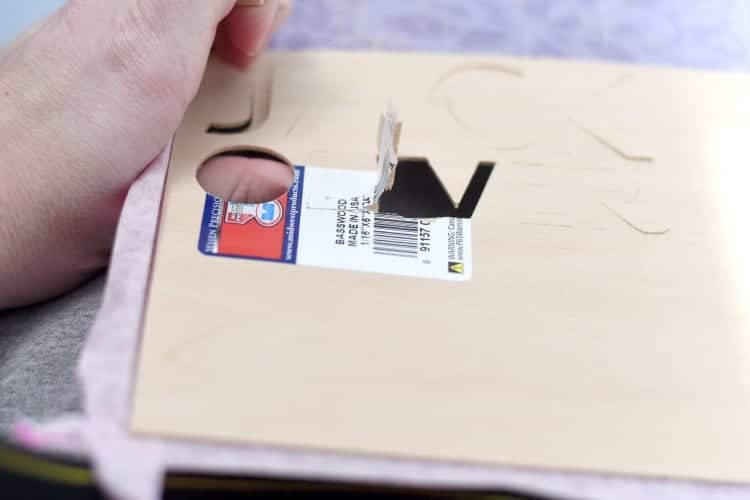
With the brand of basswood that I use, it always has a sticker on the back. I have found that places, where it doesn’t cut through the most, are on the opposite side of the sticker when I forget to take it off. Take it off!
Be Patient
Depending on the intricacy of your design, it can take a long time to cut. It usually will cut through about 15 times, and if there are a lot of curves involved…don’t expect it to be done in just a few minutes.
Keep in mind that the more intricate the design and the longer it’s cutting for, the more room for error.
Clean Your Knife Blade and Keep Mat Debris Free
The Knife Blade can get junked up pretty easily. I’ve had a few projects ruined because the machine said it was jammed, and it wouldn’t let me start again until I pulled out the mat, and then the lines didn’t match up well.
So first, make sure you clean your knife blade before AND after cutting. Just be careful, because it is sharp (and I have been cut by it!).
Secondly, keep an eye on the wood, machine, and mat while it is cutting. I’ve also had projects stop cutting because there was too much dust from the project being cut, and it got stuck in the blade. Not fun! If you start to see some build-up, gently try and brush it away.
Be Careful
Even though basswood is certainly easier to work with than balsa, and it’s definitely not as fragile, you still need to be careful.
Pieces will break if you aren’t careful. Don’t just try and pull the basswood up off the mat and expect everything to stay nicely on the mat. You really have to be careful.
TrueControl Knife
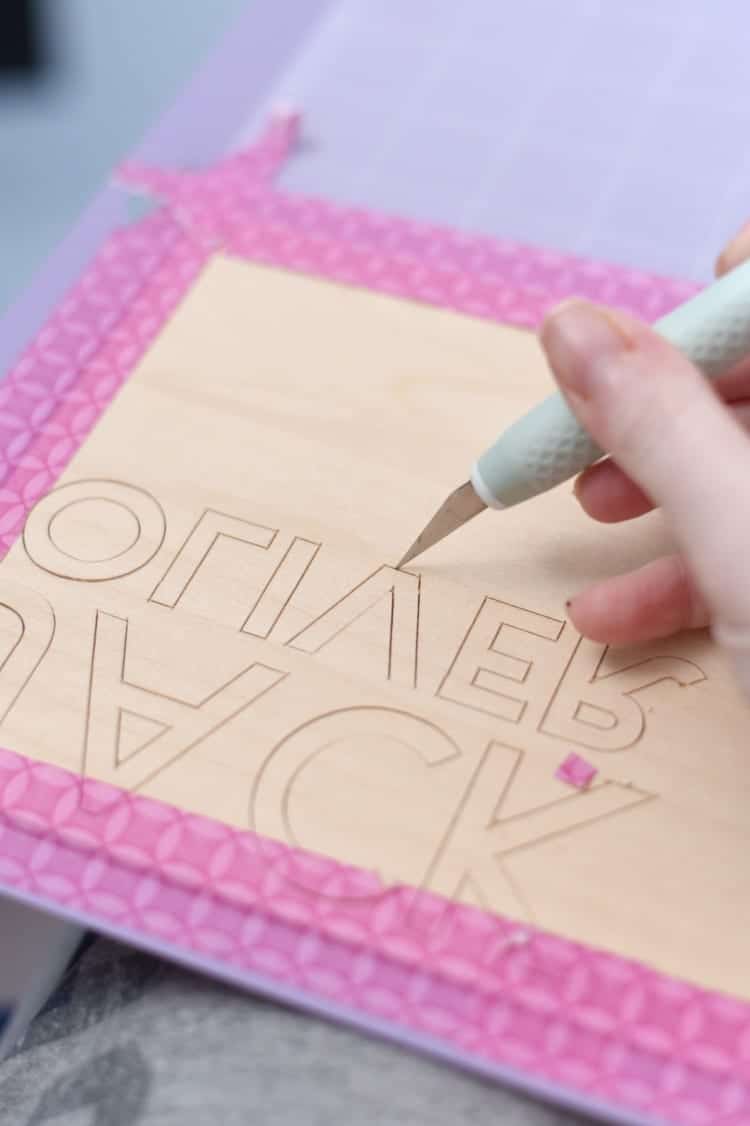
One annoying thing is that even after the Knife Blade has cut all the way through, there are almost always spots that haven’t cut all the way (especially in small crevices or curves).
So if you run into this problem, I highly recommend having a Cricut TrueControl Knife. I LOVE, LOVE, LOVE mine!
I hesitated to get one for a while because I thought it was basically just an XACTO knife…which, it is very similar to. However, I find it’s much easier to control and cut away just those small pieces that are hanging on.
Cricut Maker Wood Projects
Now I will share some fun wood projects. Some of these use balsa wood or some other kind of wood. However, you can easily use basswood instead!
First, here are two that I’ve already created on my website:
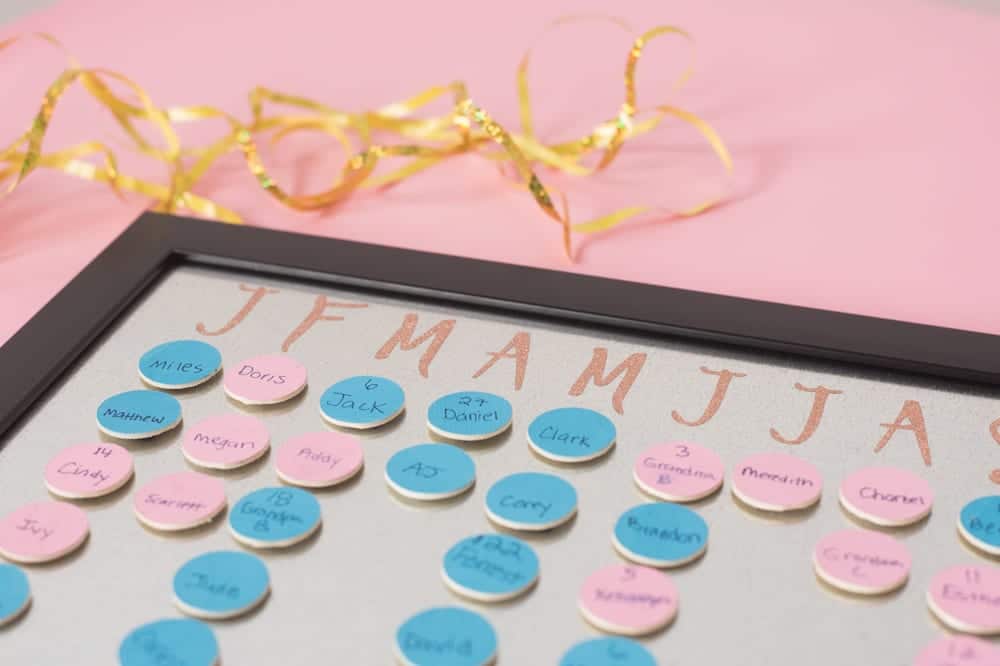
Wooden Sign
I have made some cute wooden signs using basswood. My favorite one was the one I made for my dad’s office!
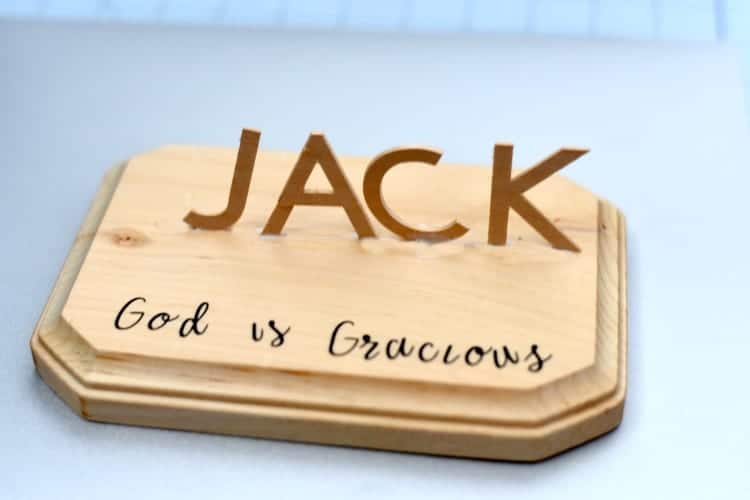
Just the other day, I made this 3D sign – I’m making one for each of my son’s. It simply just has their name standing up on a little wooden plaque. And then I cut out the (rough) meaning of their name to put on it.
This was a very simple project. All you need is:
- Basswood
- Wooden plaque/platform
- Wood Glue
- Vinyl
I opened Design Space and created the text that I wanted.
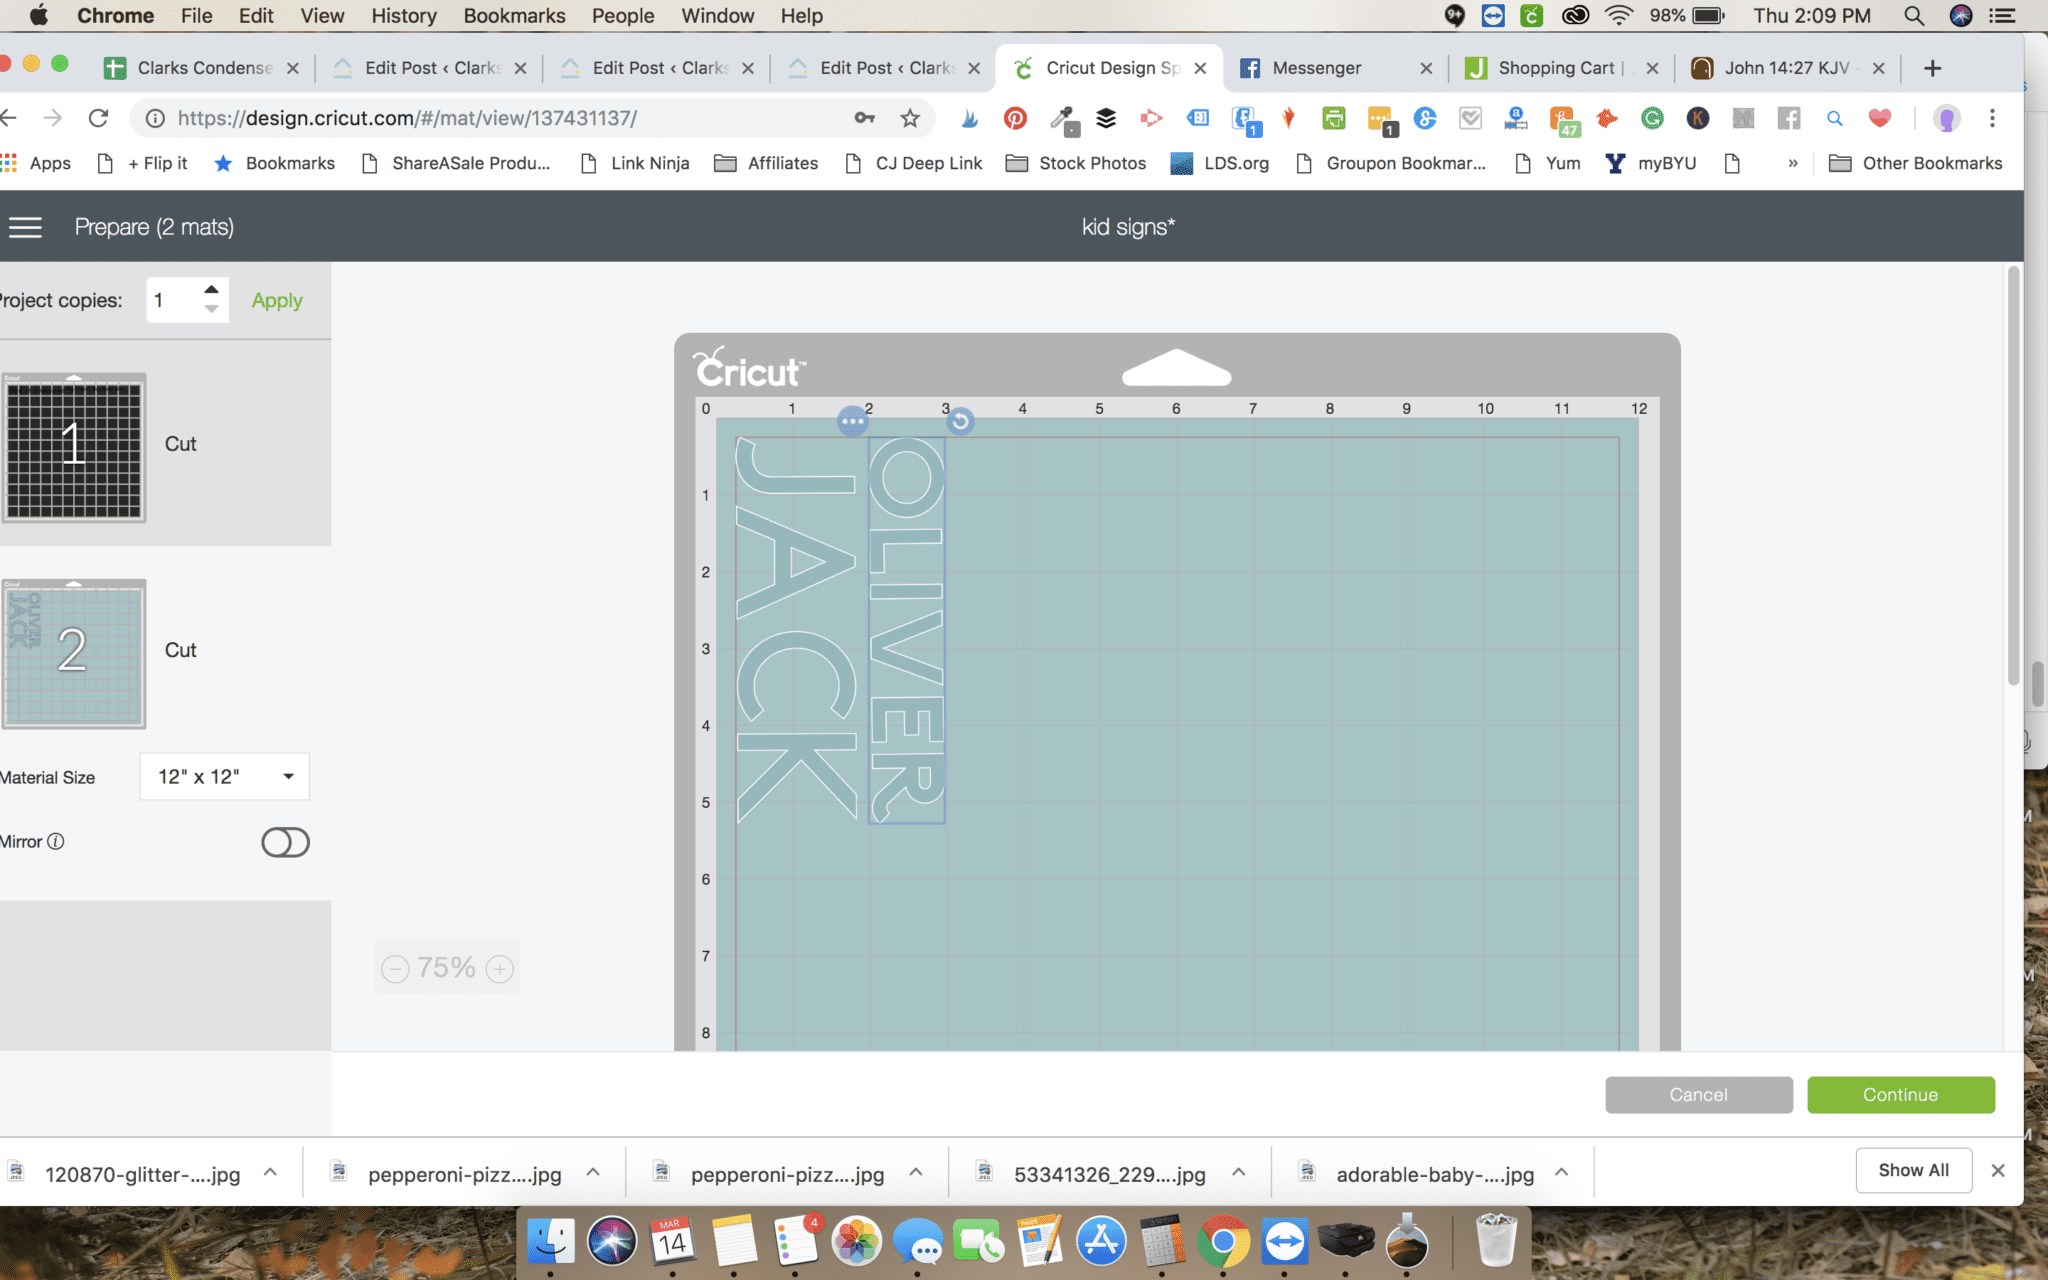
When I was ready, I went to the mat preview. I had to rearrange my large text that would be cut on the basswood.
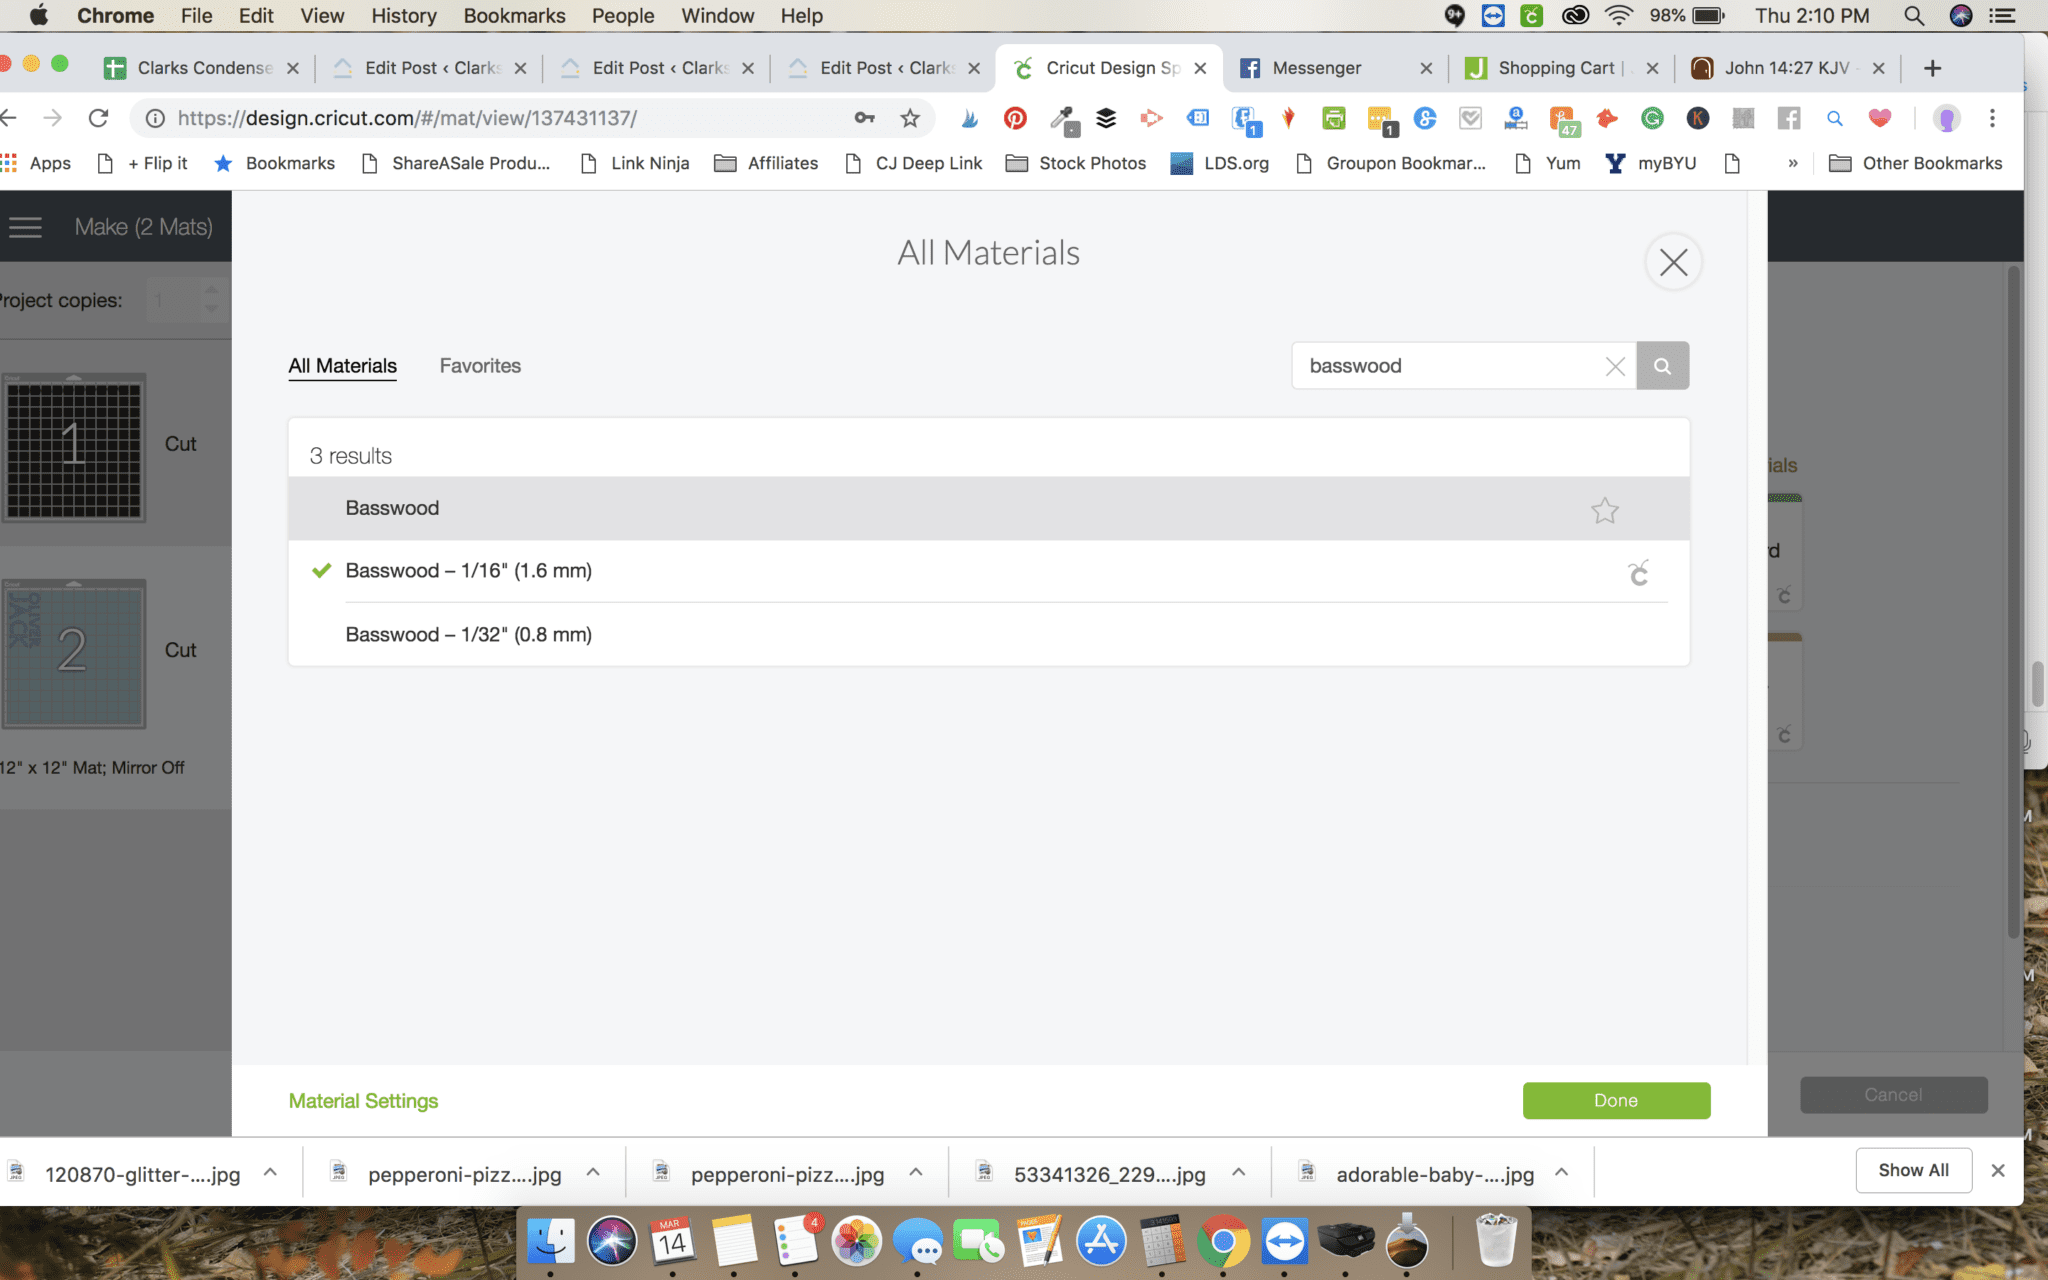
I selected Basswood – 1/16″ in the cut settings.
It took about 30 minutes to cut out both of my son’s names. As I mentioned above, sometimes the knife blade doesn’t cut *quite* as well as I would like, so I used the TrueControl Knife to cut out some pieces that had snagged.
Once I cut out the pieces, I carefully glued each one to the plaque using wood glue. This is a bit of a time-consuming part of this project because you have to be super careful not to let the wood pieces fall over.
After the wood was on, I put on the vinyl, and viola – cute little decoration for our boys’ rooms.
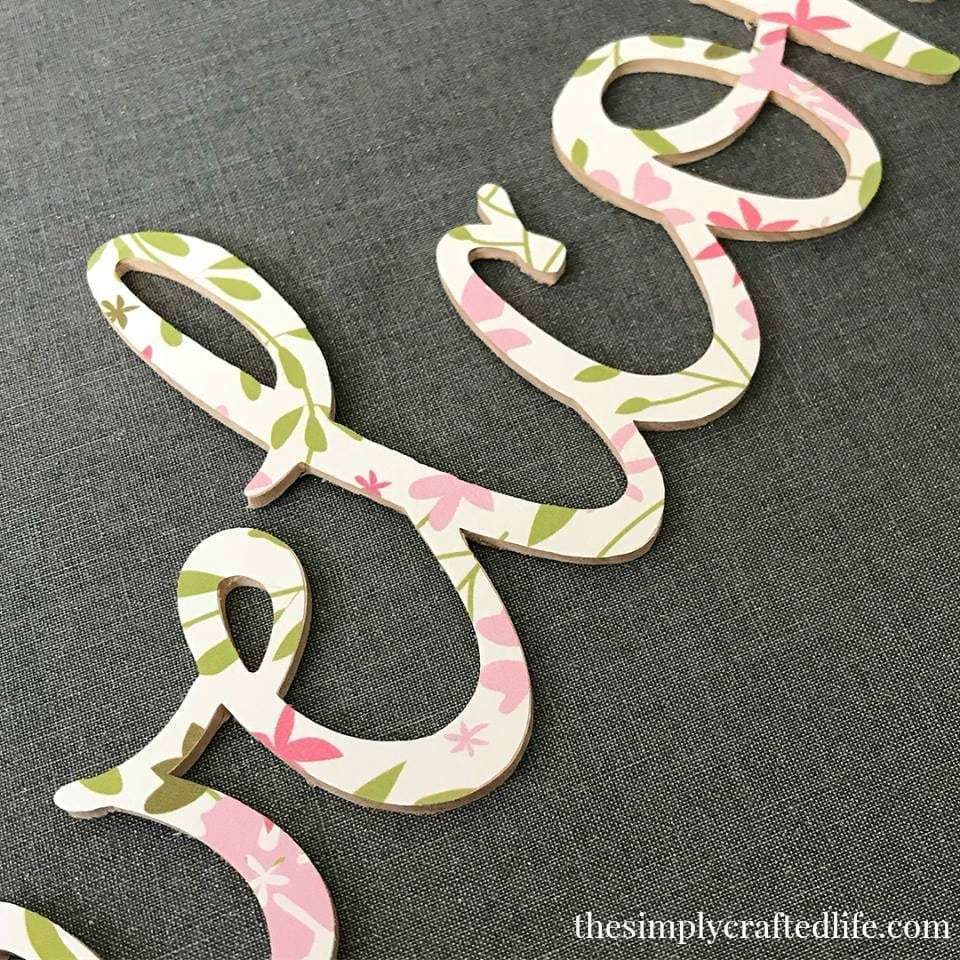

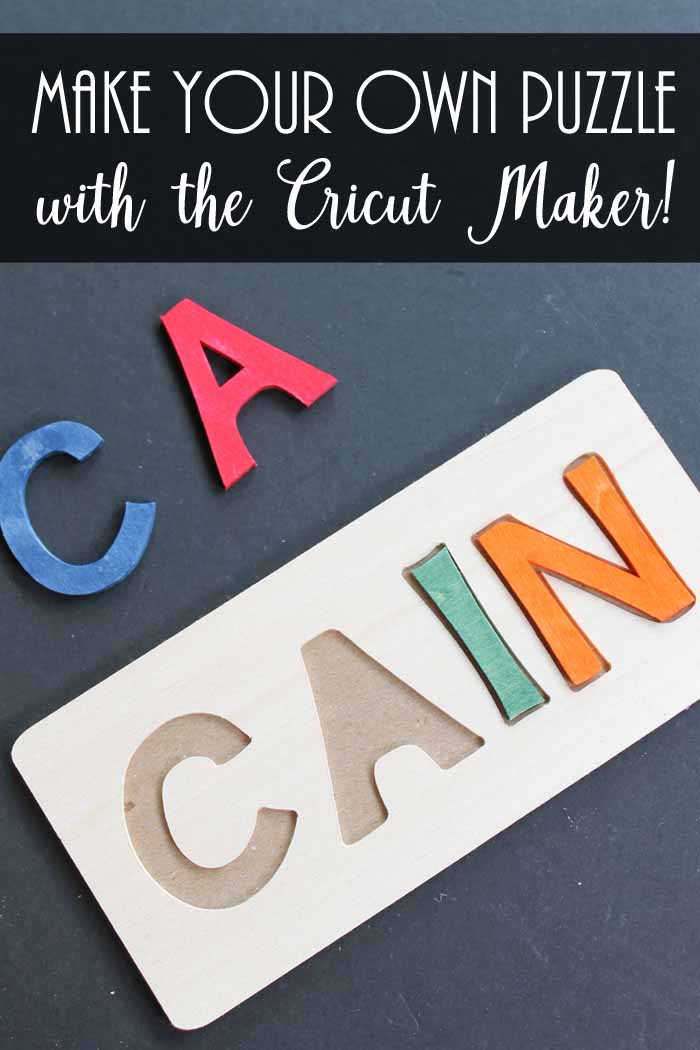
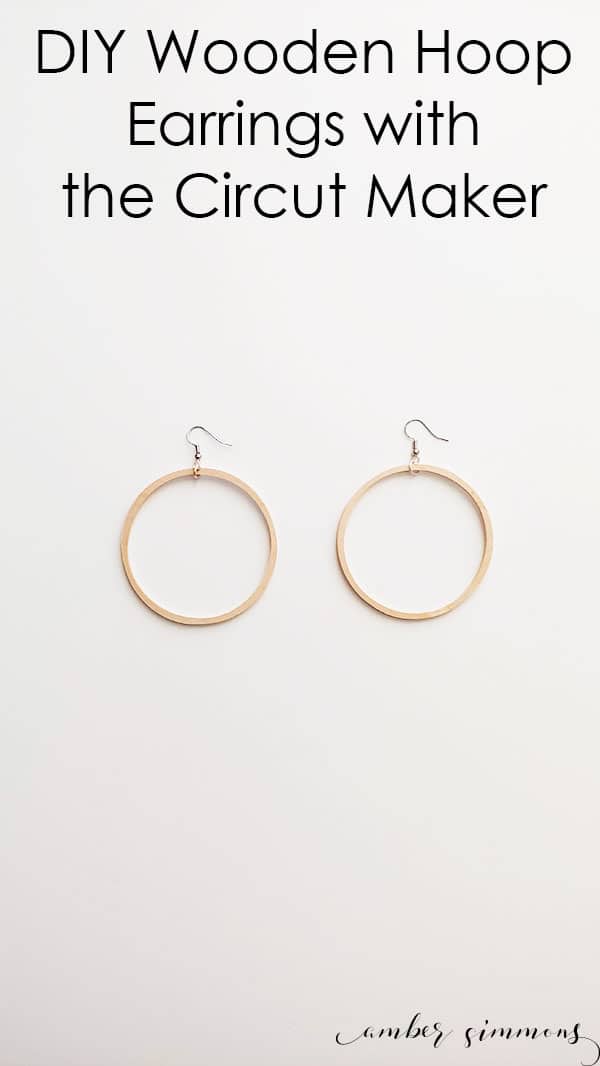
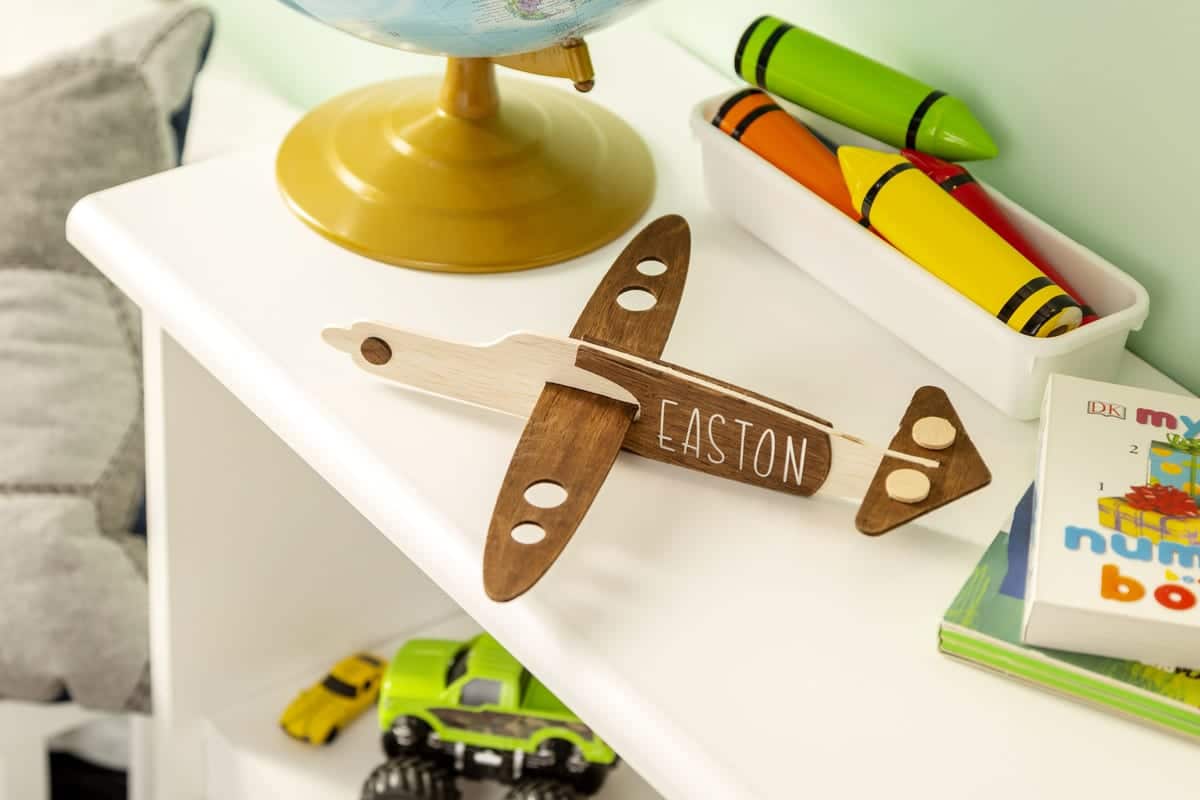
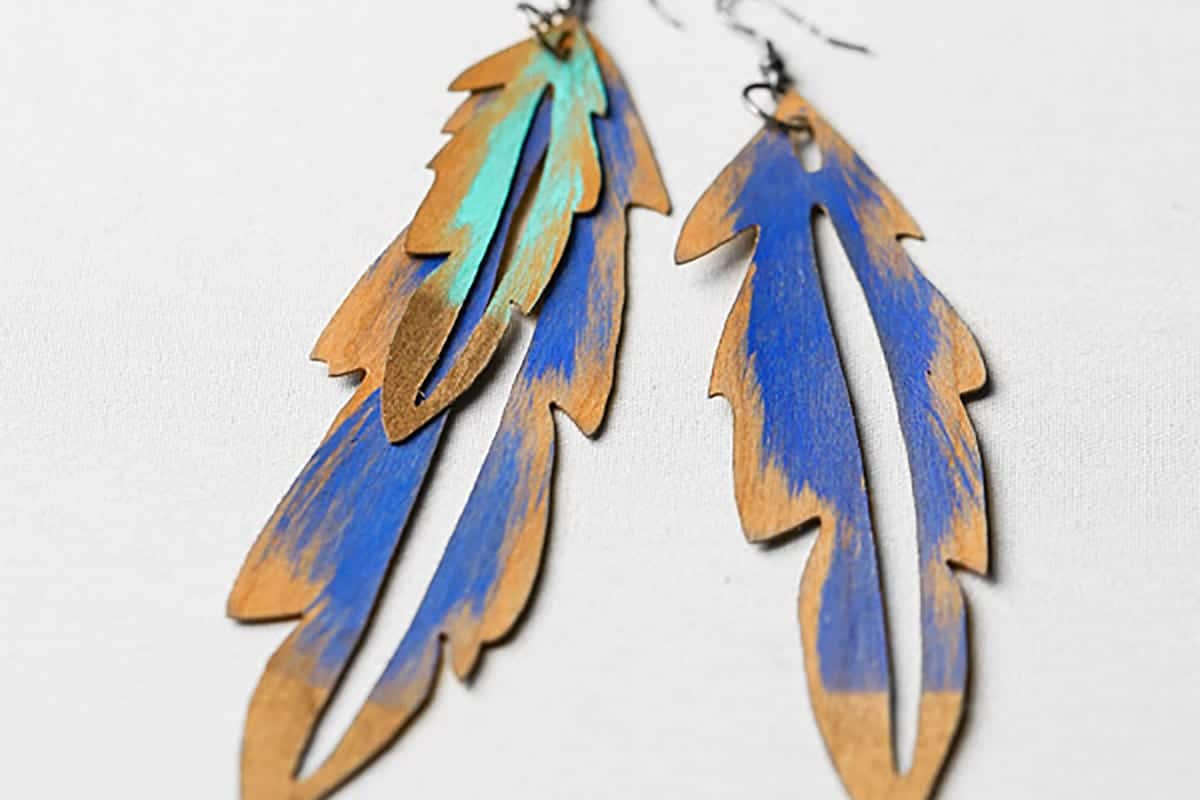
Heart Necklace– This technically isn’t made with wood, but you could add a heart and cut it out.
Other Posts You May Enjoy:
- 10 Easy Cricut Maker Projects (Using Less than Five Materials!)
- How to Use Iron On Vinyl with Wood + DIY Front Porch Sign
- My Must-Haves Materials for Cricut: What I Can’t Live Without


Hi Katie, I’m considering buying the Cricut Maker. I want to cut wood and make pictures – layered designs… mountains, trees, animals and such. Does the software allow me to draw out my own designs?
Love your website with all your tips and experiences. You’ve done some pretty cool designs. Thank you!
P.S. Love your family photo
You can definitely do your own designs! I wouldn’t say it’s the best design program, but you can do quite a bit!
Hi! I am new to having the Cricut Maker and have been trying wood earrings. I feel like almost everyone that I have done has either cracked or the wood ends up peeling up. I am using 1/16″ basswood. Have you ever had any issues with this? I ordered this wood from Amazon, so I am wondering if it might just be my wood? Any advice is appreciated! You seem to know what you are doing! 🙂
Hi, Ashley! I sometimes will get cracks if what I am cutting is too thin especially with fonts) or have too many twists and curves. What types of things are you trying to cut?
What’s the best cricut to buy for both card, vinyl and wood projects please
I would suggest the Maker if you will be doing wood projects 🙂
What is your go-to calligraphy font to use with wood & knife blade?
I have used Babette a lot!