How to Make a Diaper Cake: An Easy Baby Shower Gift/Decoration
This diaper cake tutorial is easy to follow and make. Diaper cakes are a great decoration for a baby shower because it doubles as a gift, as well! If you are wanting to learn how to make a diaper cake, this is the best place to learn.
So, I had entirely planned to post everything about Charbel’s Baby Shower last week, but some things came up, and I just ran out of time. But there were a few things I wanted to share still, especially this tutorial on how to make a diaper cake.
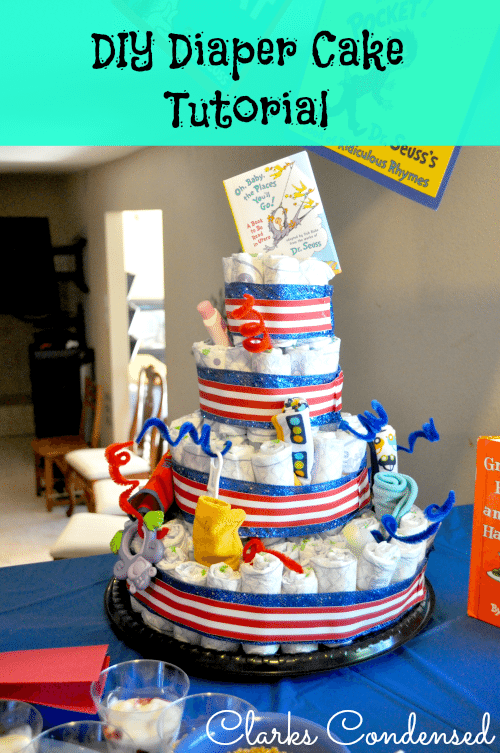
How to Make a Diaper Cake
To be honest, I’ve always been intimidated by diaper cakes. I’ve seen them at parties before, and of course, on Pinterest, but I always thought they seemed so hard! However, when we decided to make one for the baby shower, and I started researching how to make them, I realized just how easy they are. I think one of the most useful gifts a new mom can get is diapers, and this is such a fun way to give that essential item.
We set out to make a diaper cake that looked like a Cat in the Hat hat, but it ended up looking more like a Fourth of July one. But that’s okay! These “cakes” are so easy to customize according to whatever theme you want and are sure to be the hit of any party.
How many diapers do you need for a diaper cake?
These instructions will make a four-layer diaper cake, so if you want it smaller, just use fewer diapers!
However, for this tutorial, you will need 100-120 size one diapers. If you are using a larger size diaper (such as a three) you may need closer to 100 than 120.
Make sure you read this post – The Ultimate Guide to a Diaper Stockpile – to get an idea of how many diapers and what size you will need during the first year.
Materials:
- 100-120 size one diapers (Pampers is our favorite brand, though we used LUVs when making this tutorial)
- Ribbon (in two different colors, one being a larger width than the other)
- Some type of platter or round cardboard to place it on
- Wooden dowels or skewers
- 100-120 regular sized rubber bands
- 5-10 extra large rubber bands (you can get a pack of assorted sizes here)
- Miscellaneous baby items (we bought the Johnson and Johnson baby travel kit, a bib, a teething toy, and small baby washcloths). I have a few ideas of what you could use in this post – The Best Dollar Tree Baby Shower Ideas
- Pipe cleaners (optional)
- Pins or double-sided tape
Diaper Cake Instructions
Step One:
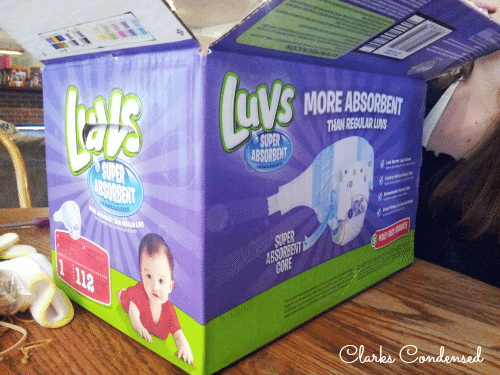
Open up the box of diapers…obviously! We bought Luvs, because Daniel and Charbel like that brand, and they happen to be a little cheaper than other brands. I saw that the Walmart brand was even less expensive for the same amount of diapers, and that is actually one of my favorite brands of diapers. With that, feel free to buy whatever brand you like!
Step Two:
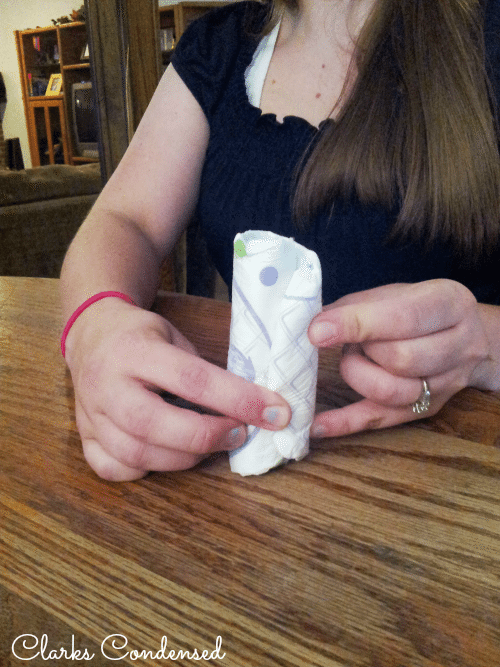
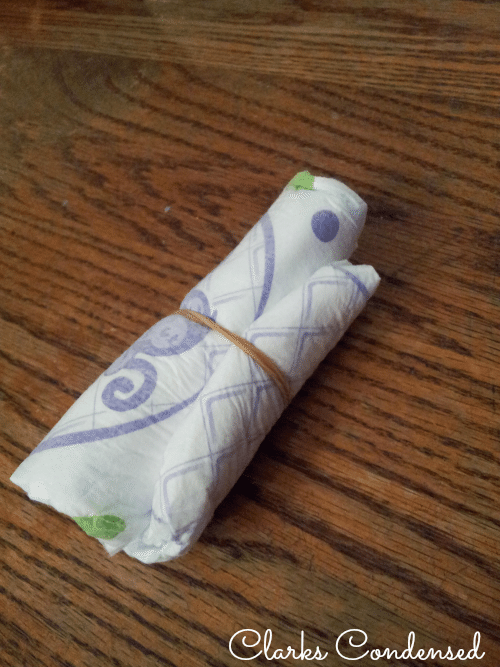
Roll the diapers. We found it easiest to do a bunch at a time, rather than just one at a time. It made assembly go much quicker. Start at the end of the diaper that is closed (so, the bottom) and roll forward to the other end, making sure it is a tight roll. Secure with a rubber band. Repeat with all the diapers.
Step Three:
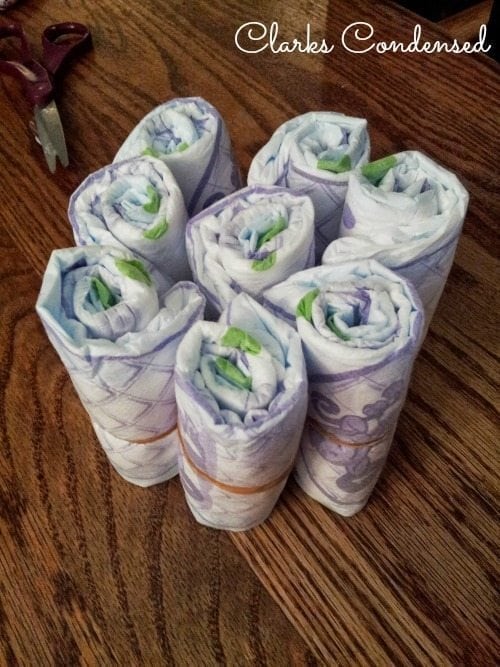
Now, assembly begins. We weren’t sure how many layers we would end up making, so we started with the top layer. Place one diaper in the center, and put seven diapers around it. Place a large rubber band all the diapers to keep them in place. Set aside.
Step Four:
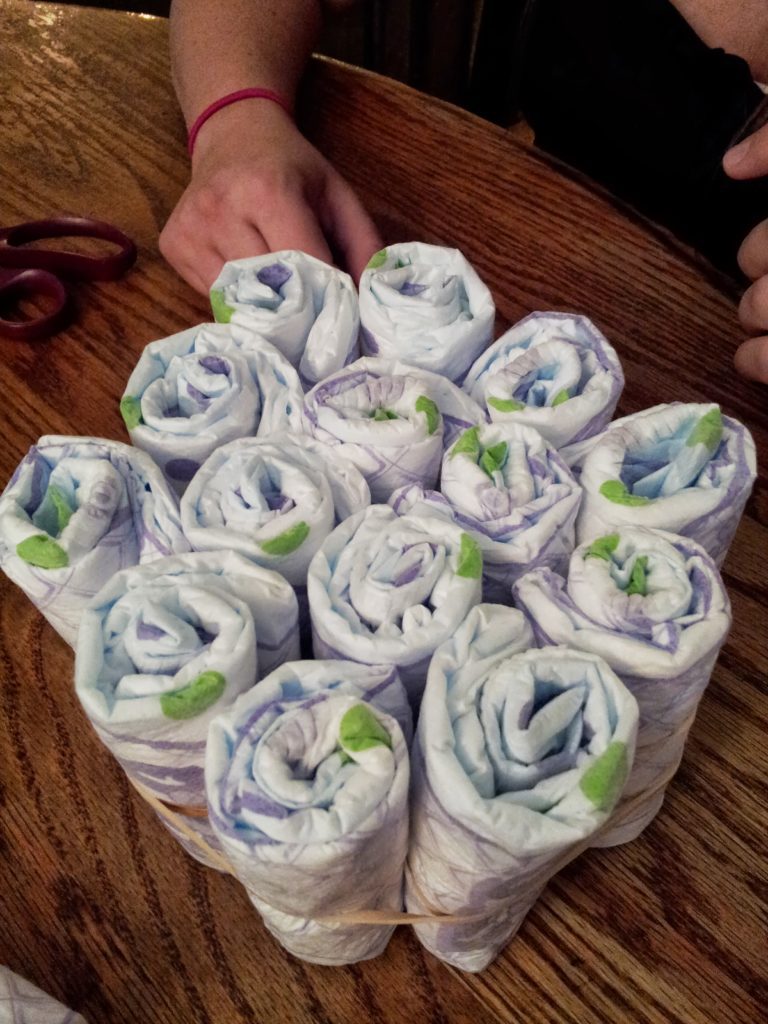
The second to top layer will be the base for every additional layer you will do. Start by grouping together four diapers into square-like shape, and put a rubber band around them. Then, put 10ish more diapers around those four diapers, and secure with a large rubber band. This is the perfect size for the second layer.
Step Five:
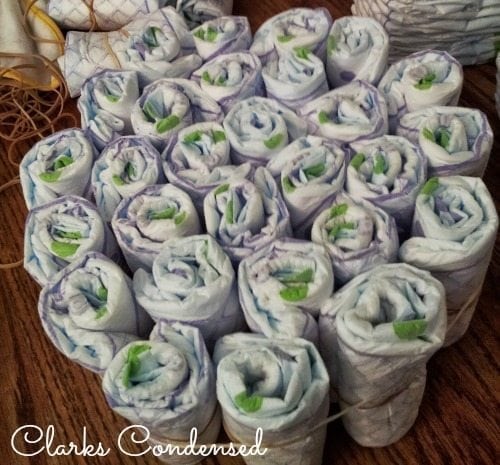
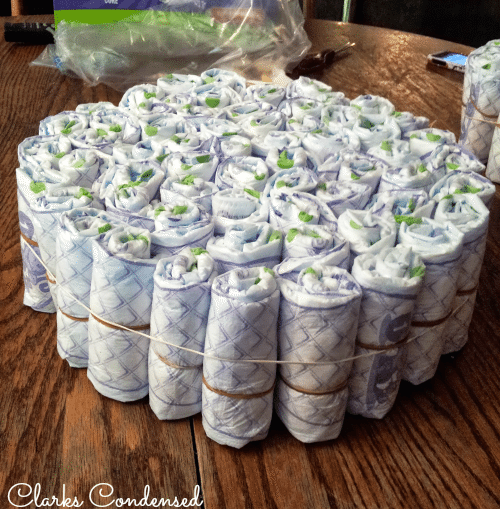
Start by making the same layer from step four, and then just put another “ring” of diapers around it. Continue to rings of diapers until you reach the desired size. For the third layer, we did one more ring, and for the last layer, we did two more rings.
Step Six:

Place the bottom layer of the diaper cake onto the tray or piece of cardboard you selected. This makes it easier to transport, and a little more stable.
Step Seven:
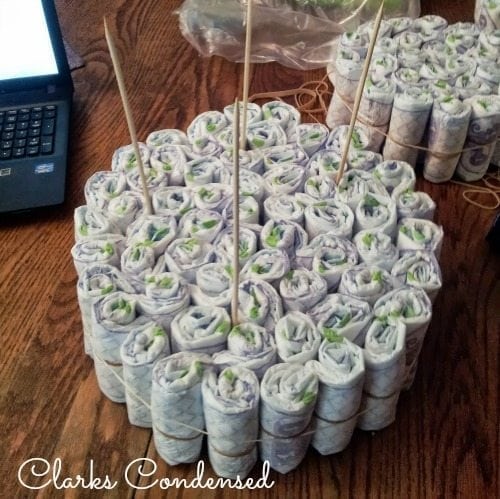 Place four wooden skewers or dowels into the bottom layer of the cake. Place them an equal distance apart, about two rows in. Be careful not to poke through any of the diapers.
Step Eight:
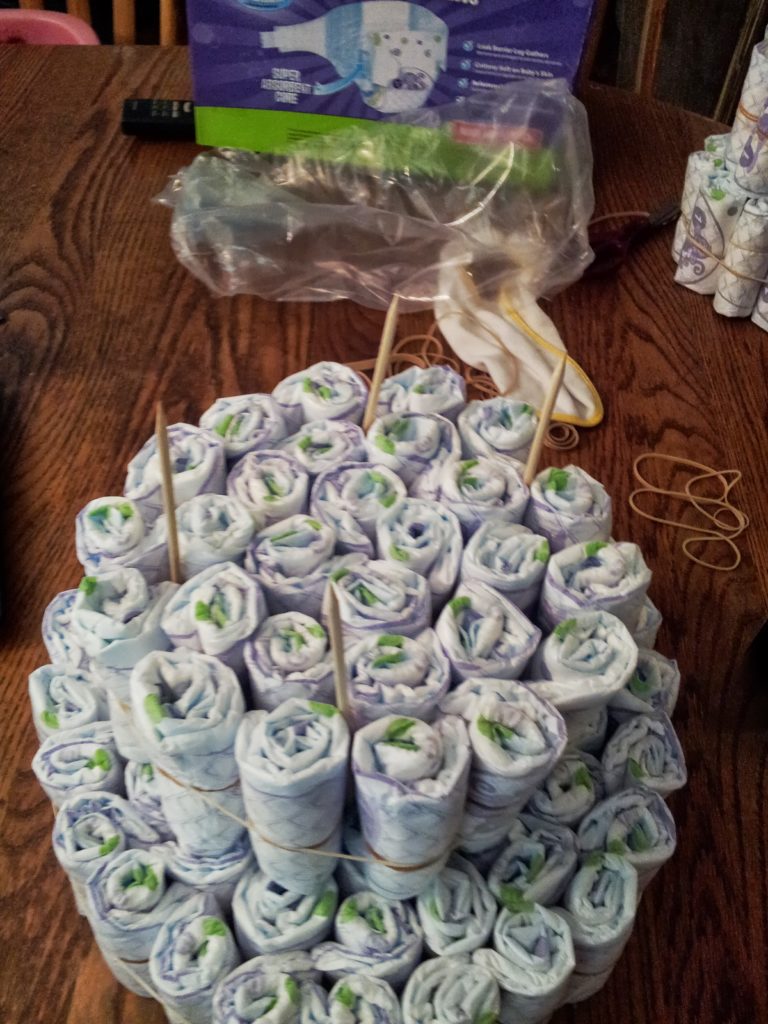
Carefully place the next layer of diapers over the dowels, making sure that the dowels go through an empty space, and that they aren’t visible on the outside of the cake. Repeat with each additional layer. If the dowels or skewers you have aren’t long enough to reach the final layer, just put a few more in, starting at the second or third layer, to help keep the top in place.
Step Nine:
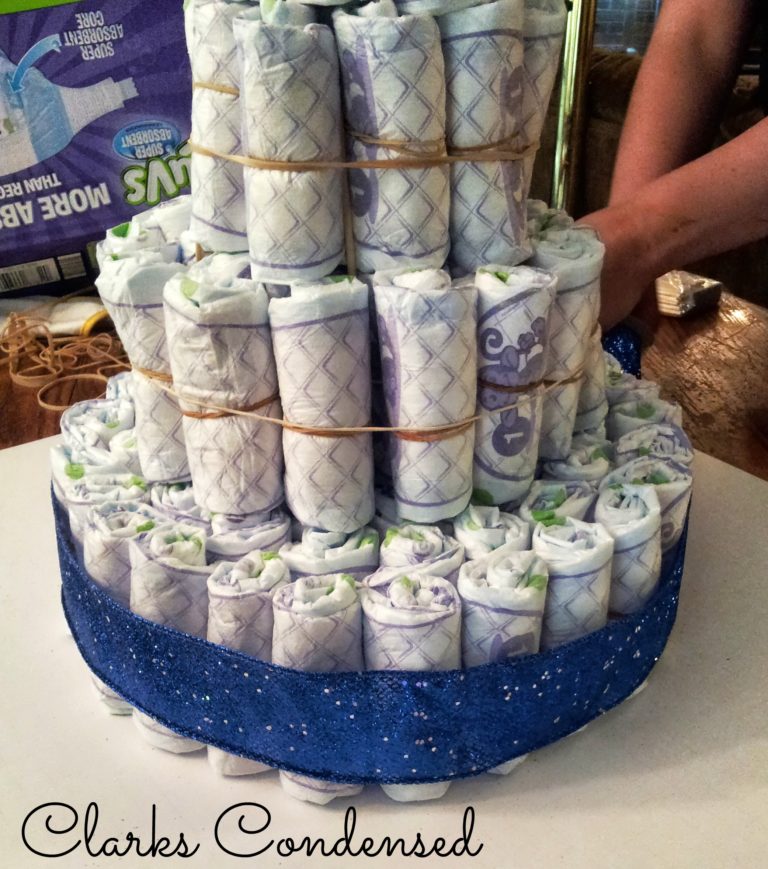
Take the ribbon that has the largest width and wrap it around the bottom layer of the cake, making sure to cover the rubber bands. Overlap the fabric about an inch, and cut.
Step Ten:
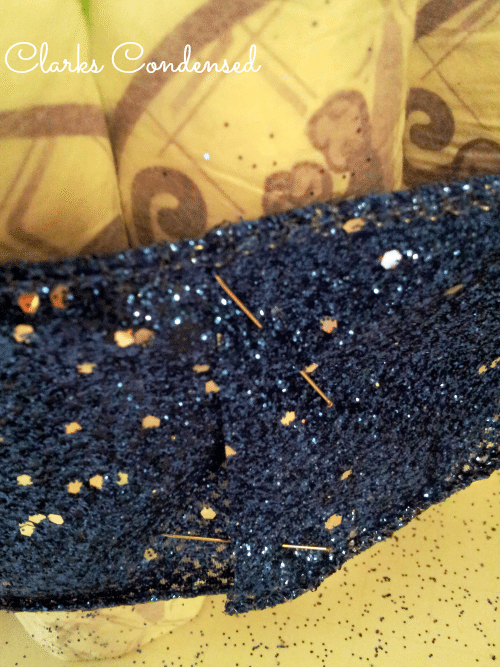
Secure ribbon in place with pins or double-sided tape. Repeat on each level.
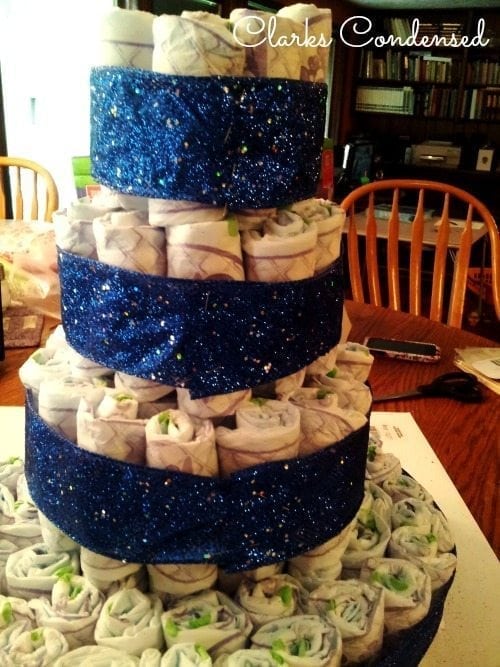
Step Eleven:
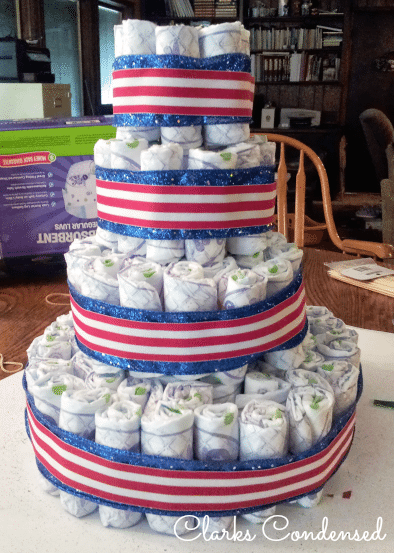
Take the next kind of ribbon, and starting at the bottom level, wrap around the first ribbon and secure in place. Repeat with each level.
Step Twelve:
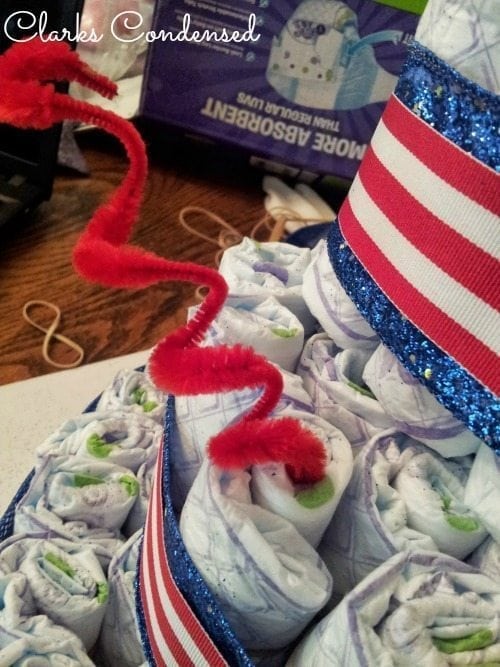
This is optional, but we just took pipe cleaners, wrapped them around a finger to curl them, and place them on the diaper cake randomly. It turned out looking so cute!
Step Thirteen:
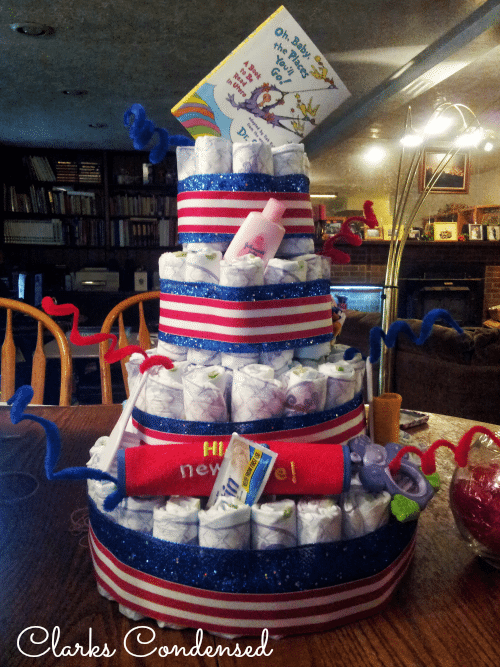
Add all the extras! If you didn’t buy extra items to put on it, then you are done. Otherwise, just place them wherever you think they will look nice.
This is such a great and practical gift – here are some other practical baby shower gifts you may enjoy.
Originally posted August 2013; updated July 2018.



That is SO cute! Almost makes me wish………nahhhh. But a really cute shower gift idea! Deb
Fab tutorial.
Do hope you will share it at this week’s Friday Baby Shower – Alice @ Mums Make Lists
Your diaper cake turned out soo cute :)!! Its been a long time since I’ve made one but, I like the way you put them together! and I can see cat in the hat for sure!
Thank you so much! It was a lot of fun. I’m glad you can see the cat in the hat 🙂
That’s adorable, a little different than the version I make – such a fun idea!