DIY Baby Shoes – Tutorial and Pattern
Make your own baby shoes by following this tutorial from Cricut Design Space. These DIY baby shoes are perfect for ages 3-4 months, and they make for a great baby shower gift!
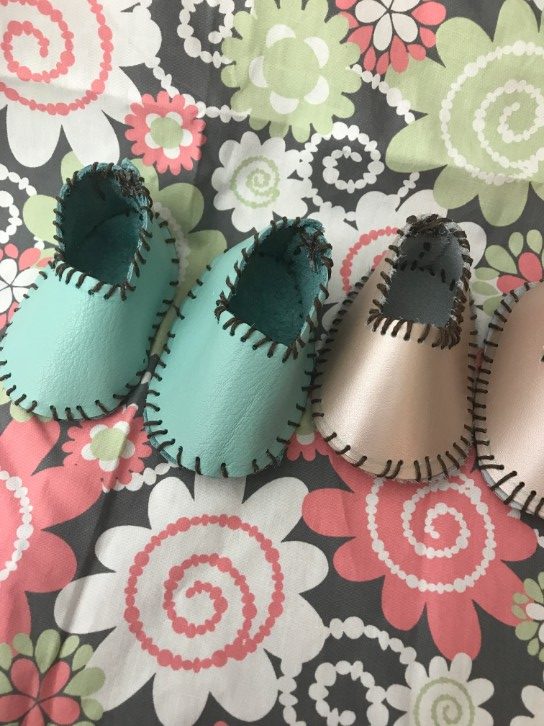
I know that baby shoes don’t really have a purpose (well, until the baby starts to walk), but they are just so darling!
Baby moccasins are all the rage, but they are super expensive (especially for something that your baby will grow out if in like, a week).
I have been wanting to learn how to make soft baby shoes for awhile now, but I just never found the time.
So when I was invited to participate in a Cricut Maker Project Hop, and I saw the baby leather shoes in Cricut Design Space were available, well, I couldn’t resist signing up.
Today, I will be sharing with you how to make your own baby shoes! The pattern in Design Space can be used with leather, felt, or any other kind of material your heart desires. However, for the sake of this tutorial, I will be using soft leather.
As I mentioned, I am participating in a Cricut Maker Project Hop – the Cricut Maker is the latest and greatest from Cricut, and it is amazing – I’ve been using mine for a little over a month, and it’s hard to stop – you can find out all about the Cricut Maker here.
When you buy the Cricut Maker, it comes with 50 free projects that have been created just for the Cricut Maker. A bunch of us bloggers have come together to demo each of these projects (you can see the links to all the tutorials at the end of this). We are also giving away a Cricut Maker.
Anyways, back to the shoes.
This project was really fun to do…once I figured out the best technique for approaching it. I think that these make for an awesome and personal gift idea…or a great way for a mom-to-be to pass the time as she wants for her baby to arrive.
I have created a photo and video tutorial, both of which you can find below. Fair warning, I made the video while I was sitting on my bed…the lighting wasn’t the greatest (though I fixed it part way through)…but I still hope it is helpful. This is one of those projects that I really think benefit from having visual instructions to go along with it.
Another warning – these are addicting to make! They almost make me want to have another baby (almost being the key word).
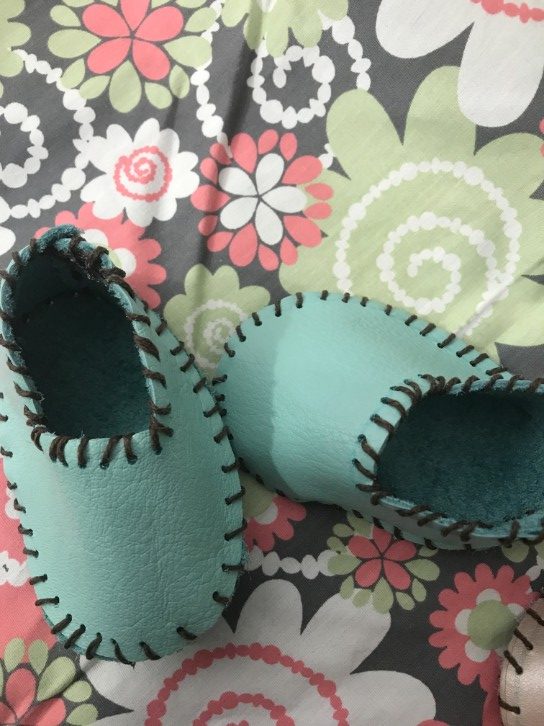
Notes on this Project:
There are a few things to keep in mind before starting this project. I will admit, I wish the instructions had pictures to go along with them (which is what I’m providing now), because I found it to be a little confusing at times. However, it’s a great project, and it’s definitely one I recommend you try!
First off – there are a few items the instructions list as optional:
- Leather stitching punch & mallet
- Leather Groover
We didn’t buy a leather stitch punch and mallet…however, we did get a leather hole punch (it’s the same idea – just a little easier to use).
I personally found the Leather hole punch to be essential. You use it to create holes along the seam allowance to make it easier to sew. I tried sewing throughout it with just the needle, and it was just a little too difficult.
I bought the groover, but I didn’t end up using it. The washable fabric pen made the seam allowance before it cut out the shoes, and the groover tool is used to do this. It can create a little “prettier” finish on the shoe…but I just didn’t feel like I needed to use it.
Second, make sure you use the correct leather! On my first attempt, I used the Rose Gold Metallic leather from Cricut. It’s beautiful and high quality…however, it is not the right leather for this project. It’s tough to sew through, it’s not very flexible, and it’s not very soft! The instructions say soft leather – don’t ignore that!
Make sure you buy leather that is soft and flexible. It makes for a much better shoe for a baby, and it’s easier to work with. Although the instructions say to use the deep cut blade, when I select the thickness in Design Space (1.4mm), it suggested I use the rotary blade, which worked well.
With the soft leather that I used, it pretty much ruined my pink fabric mat – all the fuzziness on the bottom transferred pretty significantly. In order to combat this, I have two suggestions:
- Place a piece of transfer tape on to the cutting mat to act as a barrier between the mat and the material OR
- Place the fuzzy side of the material facing UP on your mat. When you go to cut your pattern pieces, select the option to “mirror” on the mats.
The instructions also say to use your hole puncher to punch holes around the seam allowance for all pattern pieces before you start sewing. I felt this would make it somewhat difficult to make all the holes match up.
Instead, I just did holes all the way around one of the soles of the shoe, and then as I sewed, I created more holes. Alternatively, you could count how many holes you did around the sole and then make sure you do that same number around the top piece (making certain to space them similarly).
These shoes are designed for 3-4 month old babies. You cannot currently adjust the size in Design Space, though hopefully they will come out with additional patterns soon!
Soft Leather Baby Shoes Tutorial

Materials
Soft Leather – I am having trouble finding the kind I got, but I purchased it at Michael’s (which also has all of the items listed below). It was in the leather craft section, and they were sold in sheets. They looked similar to this (but they had lots of colors!) It was about $12 per sheet (make sure you use a coupon!)
Thick Waxed Leather Thread and Needle
Leather Punch
Super glue
Cricut Maker
Cricut Rotary Blade
Washable Fabric Pen (I was unable to get this off of the Metallic Leather, but it came off of the soft leather – no problem).
Cricut Baby Shoe Instructions
Open up Design Space, navigate to “projects” and type in leather baby shoes. It should pop up on the first page of results.
When you select the shoes, the instructions and materials will pop up. I recommend selecting the printer button to print off a PDF of the instructions.
Once you are ready, select “make it”, and you will be taken to the cut preview screen. Here you can make sure each pattern piece is where you want it on the mat. I had to rearrange them a little bit because of the size and shape of the soft leather I was using.
As I mentioned above, if you want to preserve your mat a little bit better, there are a couple of options. You can put done a piece of transfer tape onto the cutting mat to act as a barrier between the fuzzy side of the leather and the mat, OR you can place the leather with the fuzzy side up and mirror the pattern pieces.
Select continue, set the material you are using, and let your Cricut cut the project!
Once your project is cut, lay out the pieces to make sure everything looks right.
Then, grab one of the soles and one of the tops and put them together to better visualize the project. The right side (the side that people will see) of the sole should be place face down, and the right side of the top of the should face up.
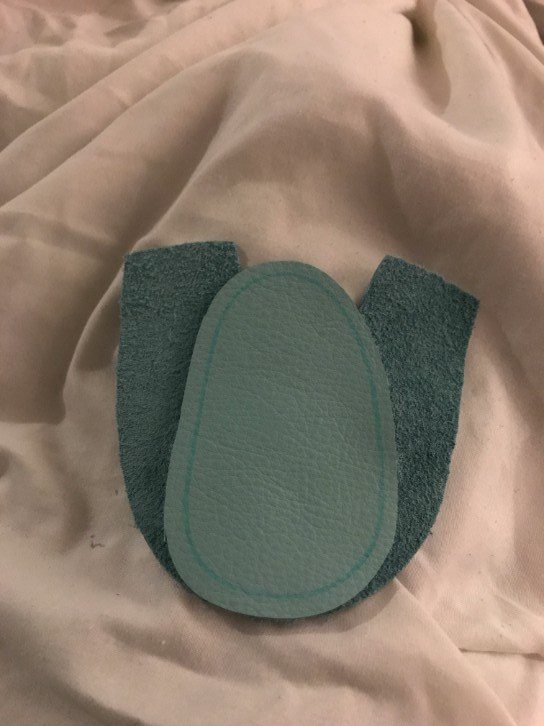
If you are using the leather hole puncher, punch a hole along the seam allowance at the top of the toe of the shoe. Then, punch holes along the seam allowance all the way around the shoe, spacing them however far or close together you want to.

Then, make another hole on the top piece for the shoe that lines up with with the first hole you made in the toe of the sole (if you aren’t using a hole puncher, skip to the next instruction).
Thread your waxed thread through the needle, tying a knot at the end. Starting on the bottom of the sew, put the needle through the whole in the sole and top of the shoe and pull until you reach the knot.

At this point, I make enough holes on the top piece of the shoe’s seam allowance to match up with the sole of the shoe. I just make holes until I reach the back middle of the shoe
Do a whip stitch through all the holes until you reach the back middle of the shoe.
Overlap the back edges of the shoe and do a straight stitch up to the top.

Repeat steps on the other side of the shoe until you reach the back, straight stitch up again, and secure both loose ends of the thread with super glue.

Punch holes in the top edge of the shoe and do a whip stitch the whole way around.

Repeat with the other shoe, trim off extra pieces of thread, and enjoy!
And enjoy! It can be a little tricky getting start, but once you get the hang of it, you might be tempted to open up your own baby shoe shop!


These are so cute! And I love how easy they are!!