Easy DIY Backyard Ice Rink with Boards
Turn your backyard into an ice rink this winter with just a few simple instructions. This DIY Backyard ice rink with boards is easily assembled, easily disassembled, and super easy to store. It’s a lot of fun for kids and adults of all ages!
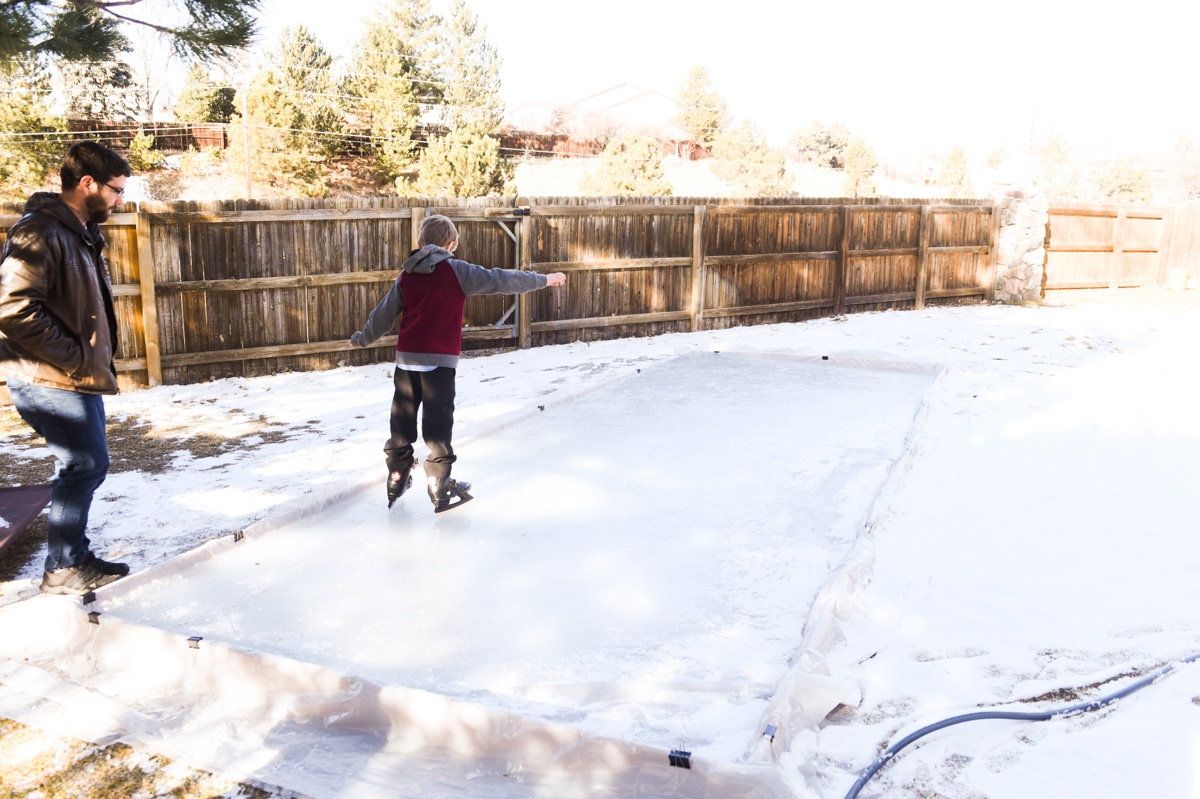
Backyard Ice Rink with Boards
I built a super, simple backyard ice rink for my kids to play on. It has helped them to get outside, get some fresh air, and to exercise.
Most of all it helped them to get some of their energy out outside of the house. It didn’t take too much work to build, and I designed it so it wouldn’t be too expensive.
To me, building a backyard ice rink seemed like something that shouldn’t be too hard. You mostly need to have a close to level surface and cold enough weather to freeze the water. Our backyard is shaded by a big pine tree, so it ends up having ice and snow most of the winter anyway. I might as well have some ice I can enjoy!
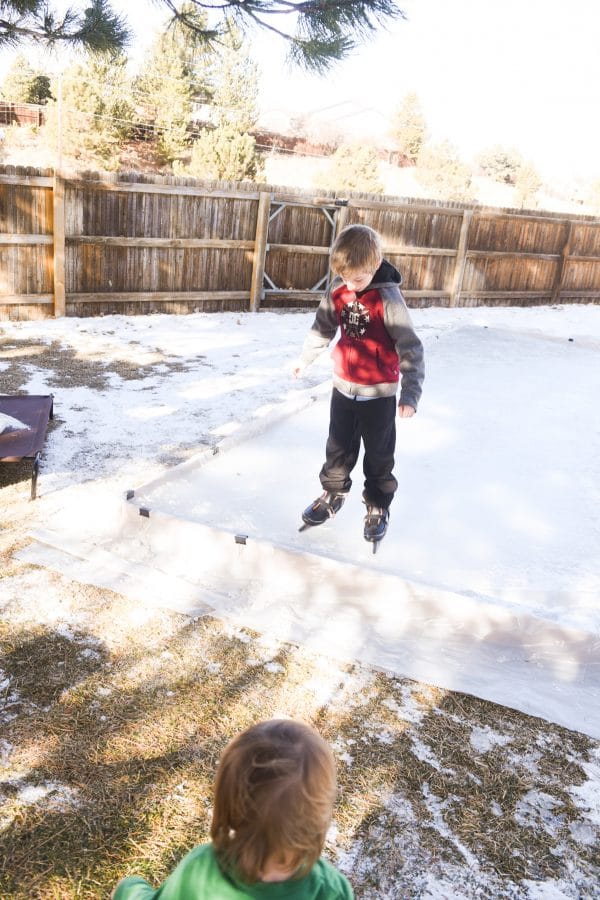
A lot of the videos and tutorials that I looked at made the project seem more difficult and expensive than I thought necessary. I believe I have come up with a setup that is cheap and easy as possible.
Plus, you can take it apart, relocate it, and store the materials without too much difficulty. I would suggest that you read through all of the instructions, and then just go for it!
- Backyard Ice Rink with Boards
- Video Tutorial
- Approximate Cost:
- Materials:
- Backyard Requirements:
- Directions
- Pick Your Spot
- Place Plastic Sheeting
- Lay Out Your Wood
- Hammer Stakes and Secure Wood
- Start Using Binder Clips
- Finish Frame and Setup of Plastic Sheeting
- Take Whatever Safety Precautions you Need
- Add Water
- Wait and Let the Ice Freeze
- Smooth the Surface
- Have Fun and Enjoy!
- More Backyard Fun:
Video Tutorial

Approximate Cost:
Outside of the squeegee and hose, everything cost about $100 – and you can easily reuse the setup year after year.
Materials:
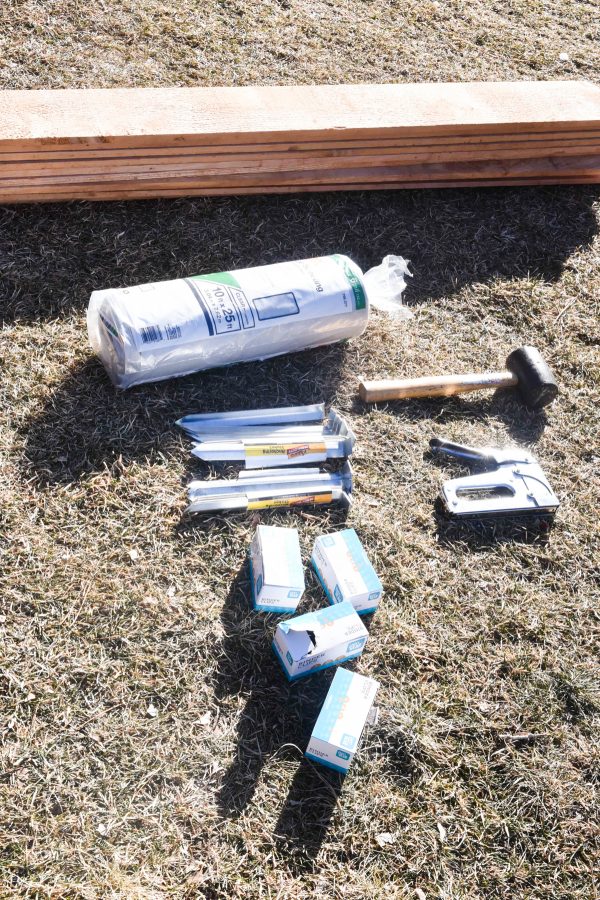
- 6mm clear plastic sheeting (in the painting section of the hardware store); I bought on 10ft x 25ft sheet; I put a 3mm sheet under the 6mm
- 12 6in x 1in x 6ft cedar fence slats
- 24 metal garden stakes; 9 1/2in; I bought two sets of 12 stakes
- Rubber mallet
- 16 large binder clips
- Squeegee and Hot Water to create a smooth surface
Backyard Requirements:
- A flat part of your yard; at least mostly flat
- Water
- Cold Weather
Directions
Pick Your Spot
Try to find the flattest part of your yard. Yards are usually set up to drain water away from a house, and flat yards likely pool water. However, a section of your yard with very little slope should work fine. I grabbed a 3ft level to get a better feel for my slope after the first placement of my frame.
The first time I set up the rink frame water pooled in one corner, and it wasn’t close to covering most of my prepared area. Due to the simple nature of my frame, I was able to move the whole setup without too much difficulty.
One suggestion is to use a string and a level. Put a stake or stick into the ground, your higher corner, where you want one corner to be, tie a string at the base, and pull it to the opposite corner. You could tie it to a stick or something there as well at that opposite corner. Move the string up or down at the opposite corner until your level tells you that the string is level. Then you can measure how high up the stick or stake your string is tied to tell you the difference in height between the two points of the yard.
I used six-inch wide fence slates because I thought they gave me a decent height for a low price. For that height, I need the yard to not slope down more than 4 inches if I wanted 2 inches of water at the thinnest point of the ice. You can decide you think you can make your ice or what thickness you’re okay with. The thinner the ice, the more likely it will crack. You could use wider/taller boards to give you more wiggle room, but you’ll have to spend much more.
Place Plastic Sheeting
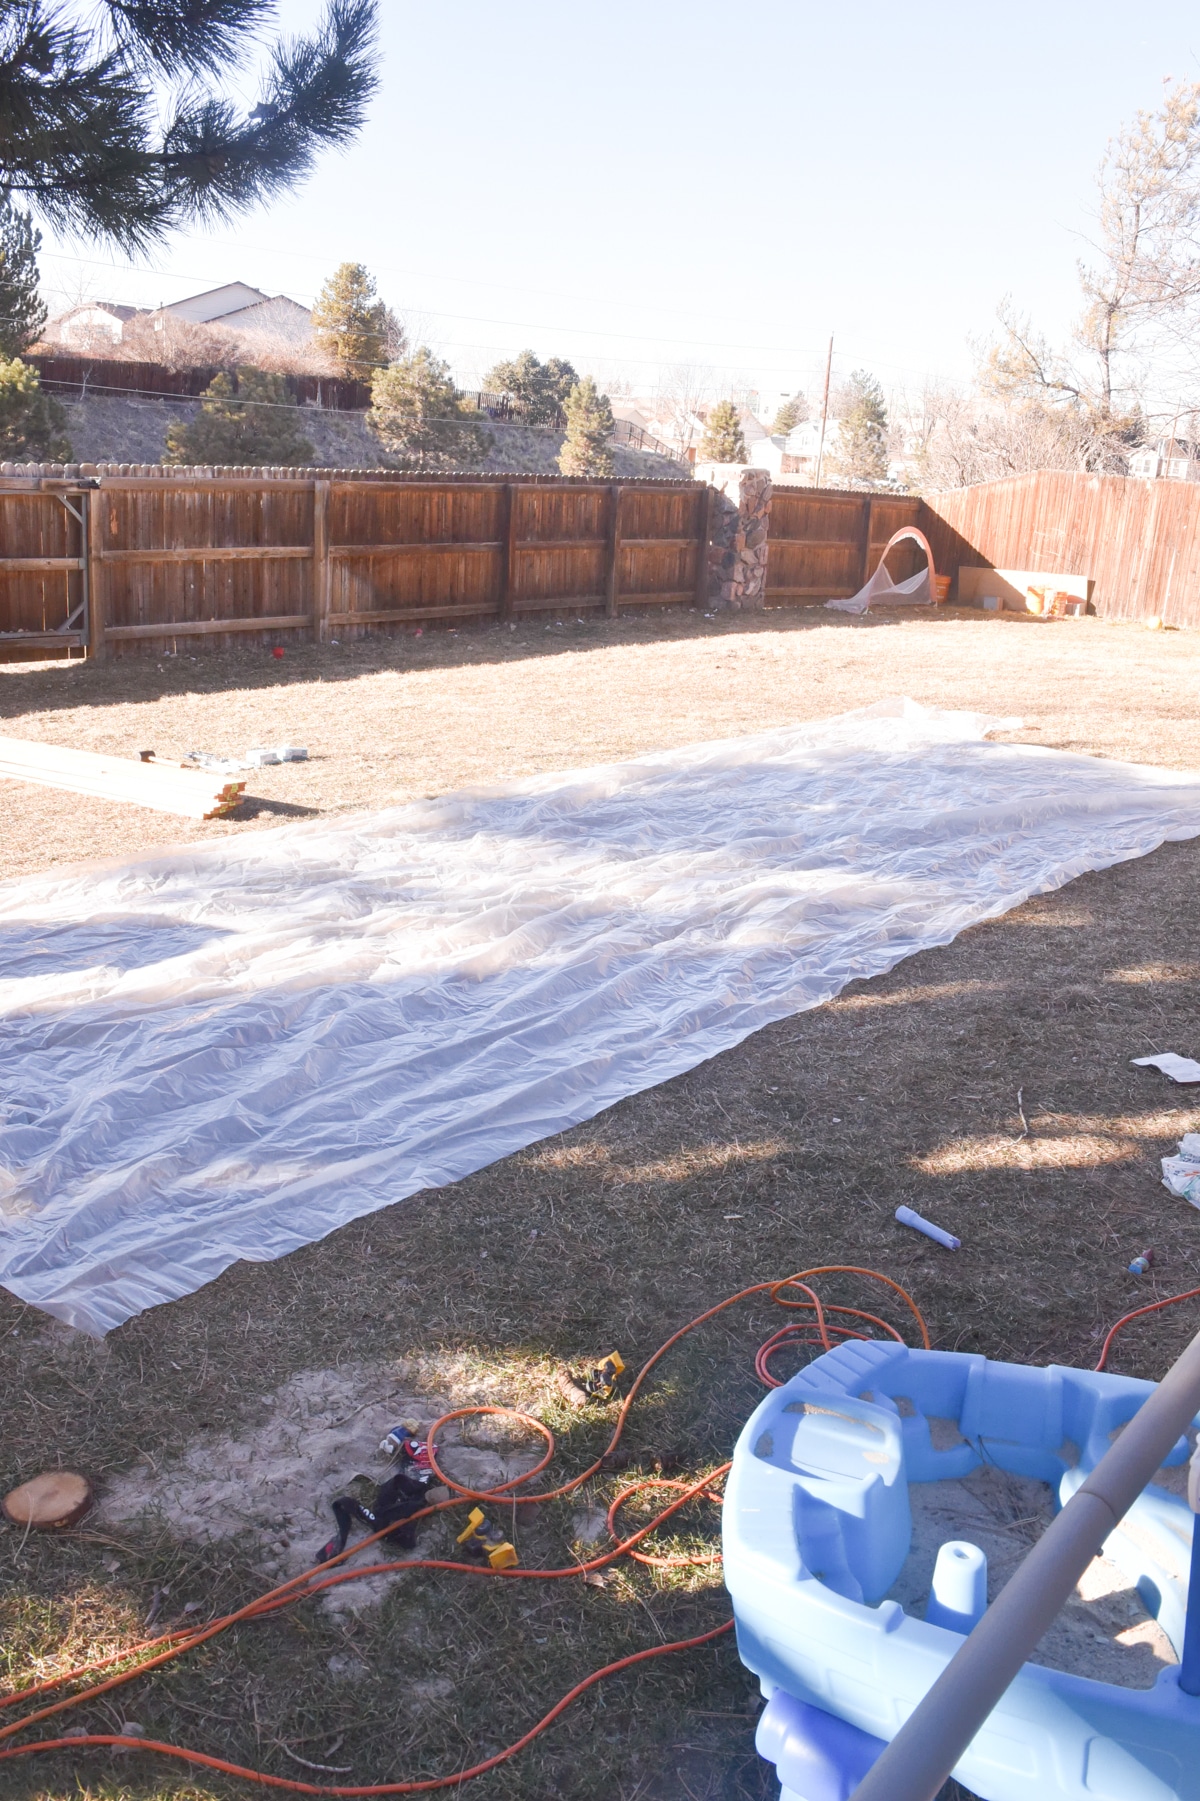
Once you have the part of the yard you want to use figured out, lay out your plastic. I put a thin sheet of plastic underneath my 6mm sheet of plastic to help protect the thicker plastic. I simply bought the thickest plastic sheeting that I saw at Home Depot from the painting section. There are probably better specialty products out there, but I would bet that this gives you a lot of what is needed for the price.
You want to use clear plastic sheeting to help protect your grass. You want the sunlight to come through the plastic to keep your grass from dying. If you wanted to make a larger version of this rink, you could use two sheets and seal them together. I saw a rubber plastic spray seal that was clear, which might work for this purpose. It is meant to be waterproof.
Lay Out Your Wood
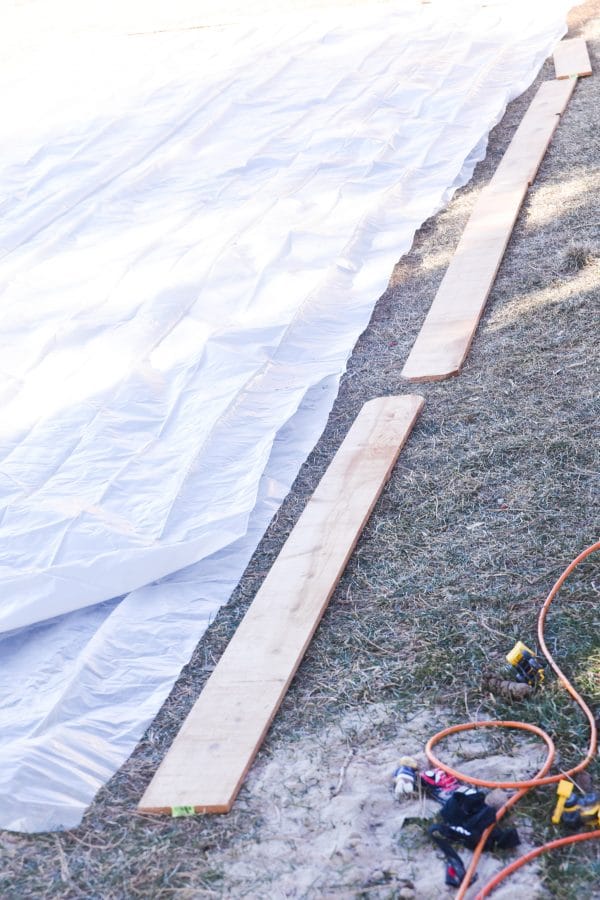
I laid out my fence slats. I only made one cut. I cut one of my fence slats in half. I didn’t worry too much about having everything laid out perfectly. I let some boards overlap, and some extend past the corners. I only put a small amount of effort into trying to the corners square. If that is too laid back for you, feel free to take the time and effort to make it as perfect as you want.
My frame did not end up being the same size as my sheeting, 10×25 feet. I wasn’t trying to create a trampoline. You want enough plastic to go up the sides of the wood and over the edge of the top edge of the wood. I didn’t measure this out precisely.
Additionally, in the end, you want your plastic to be as smooth as possible. I didn’t spend a ton of time on this, but I probably should have spent more time than I did. Ridges in the middle and air gaps in the corners and along the edges will put unwanted pressures on the ice when someone steps onto the ice, which could cause the ice to crack. This is more of an issue of adults will be using the ice.
Hammer Stakes and Secure Wood
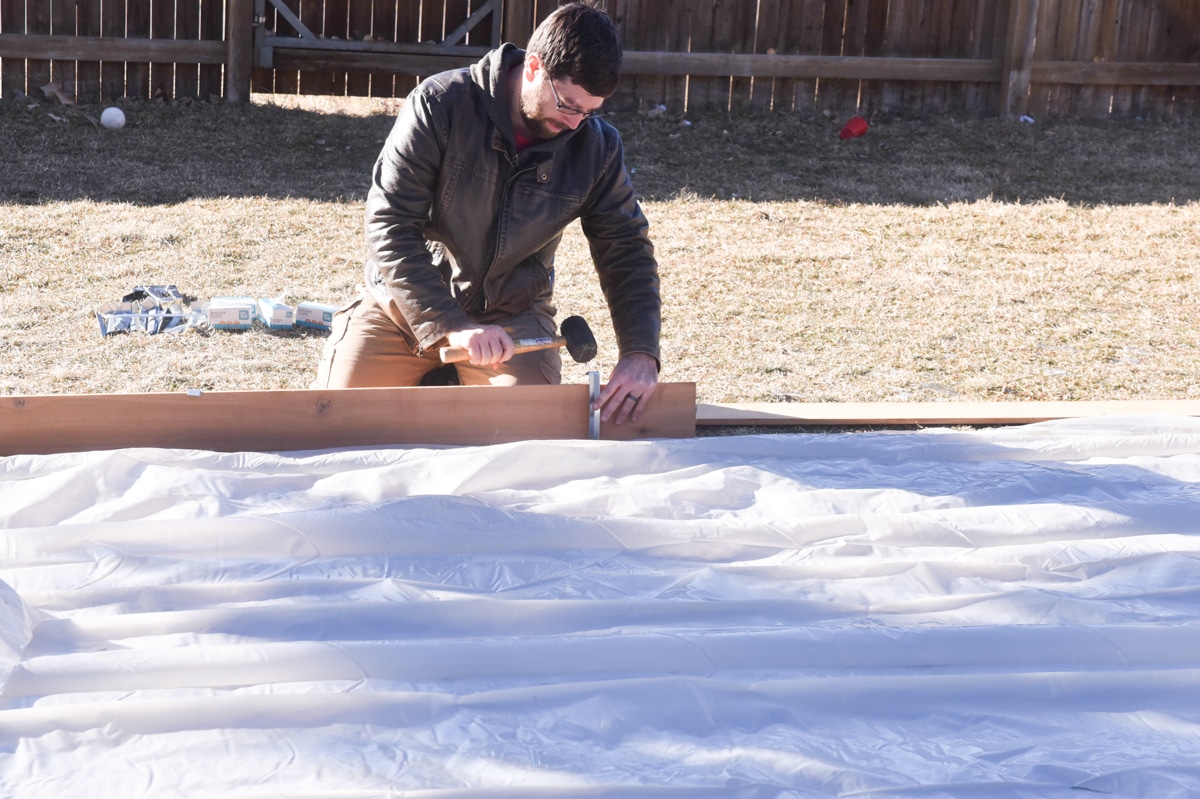
I started hammering in my metal stakes while using the wood as my guide. I noticed that, at least for me, my stakes would end up tilting toward me more than I wanted, so I started my stakes out tilted a little away from me. The stakes have a flat top, and that top should go over the wood.
I put the stakes on the outside edge of the wood, so the flat top does end up going over the wood towards the rink area. That metal could be seen as a danger, but it does end up being covered by plastic sheeting later. Additionally, you could try to cover it with something like a pool noodle with a lengthwise slit. That wouldn’t cost too much and would help protect any kiddos that fall on top of the edge.
My ground was rather frozen, so I had a lot of difficulties getting my stakes into the ground. It would be wise to try to set this up early in the season. Otherwise, you could try to throw some water on the ground on a warm, sunny day to soften the ground before you start.
Start Using Binder Clips
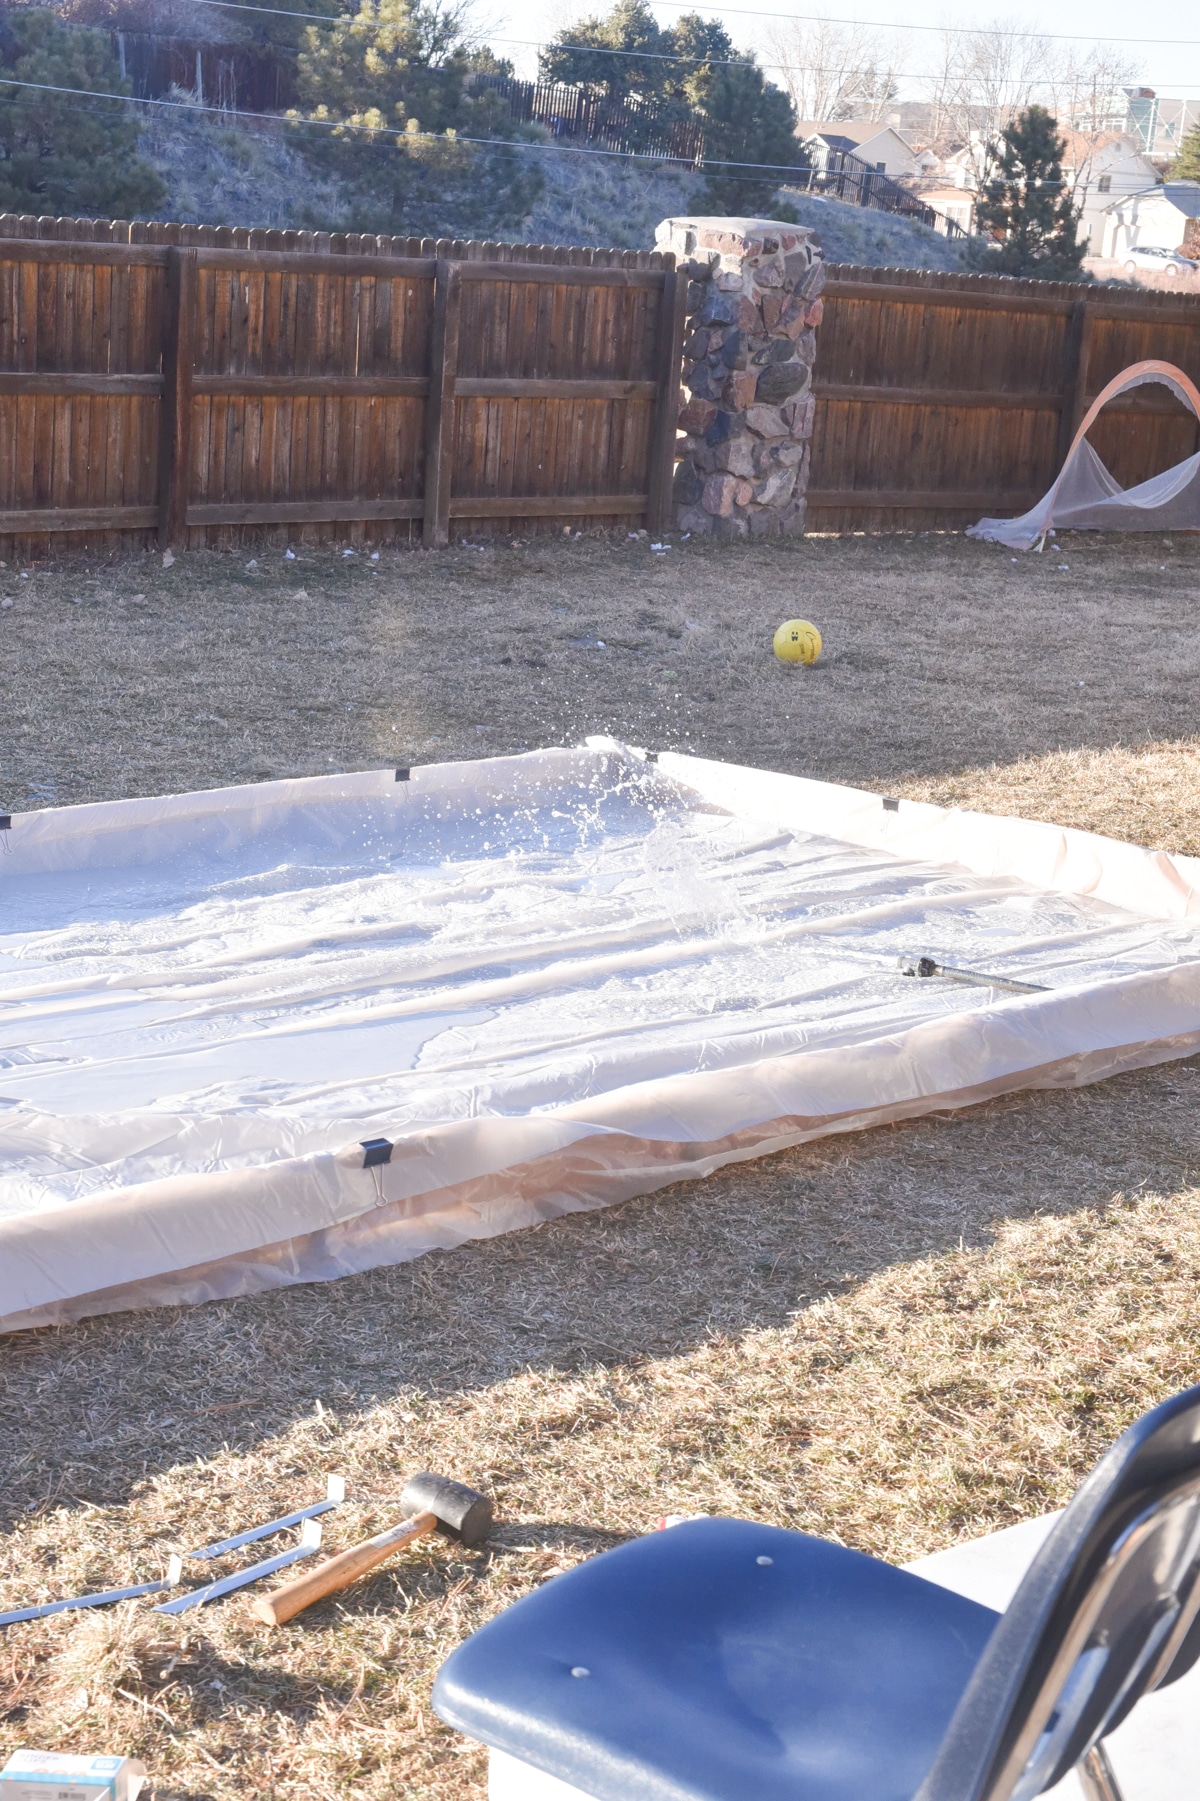
Once I got about half of my stakes into the ground, I started to use the binder clips to attach my plastic to the wood slats. This helped me to make sure I wasn’t framing things out beyond the reach of my plastic on the opposite side.
Finish Frame and Setup of Plastic Sheeting
I pushed my plastic sheeting in the corners, and I smoothed out the plastic as much as possible. Once the plastic was where I wanted it I put all of the binder clips in place. Originally, I thought that I might use a staple gun to staple the plastic to the outside of the wood slats. I don’t think this is necessary, and it makes it possible to move and clean up the rink when you’re done without dealing with staples and torn plastic.
Take Whatever Safety Precautions you Need
At this point, you might want to put some pool noodles with slits over the edges for safety. Whatever you decide to do to soften up the edges, I would do before you add water. The ice later might make things more difficult.
Add Water
If you use a hose during cold weather, don’t forget to disconnect it afterward. Leaving a hose connecting during freezing temperatures puts the pipes of your house at serious risk of freezing and bursting.
Wait and Let the Ice Freeze
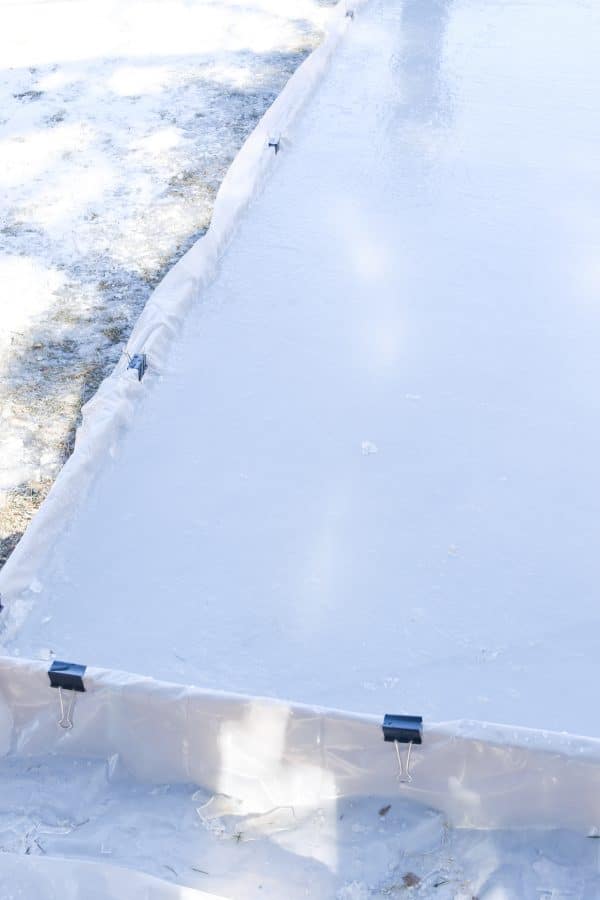
Leave the ice for a few days. Honestly, how long it takes probably depends a lot on your weather. We had temperatures in the low 20s F at night, and it still took three days.
If you have thicker and thinner parts, then thicker parts will freeze sooner. My water froze to about an inch thick the first night, even though the ice was already forming as I was filling the rink up.
I thought it would have been more. I tried tapping the ice lightly and then more firmly to test the ice. Plus, I put my kids on first in good snow boots in case they broke through the surface and there was water underneath.
Smooth the Surface
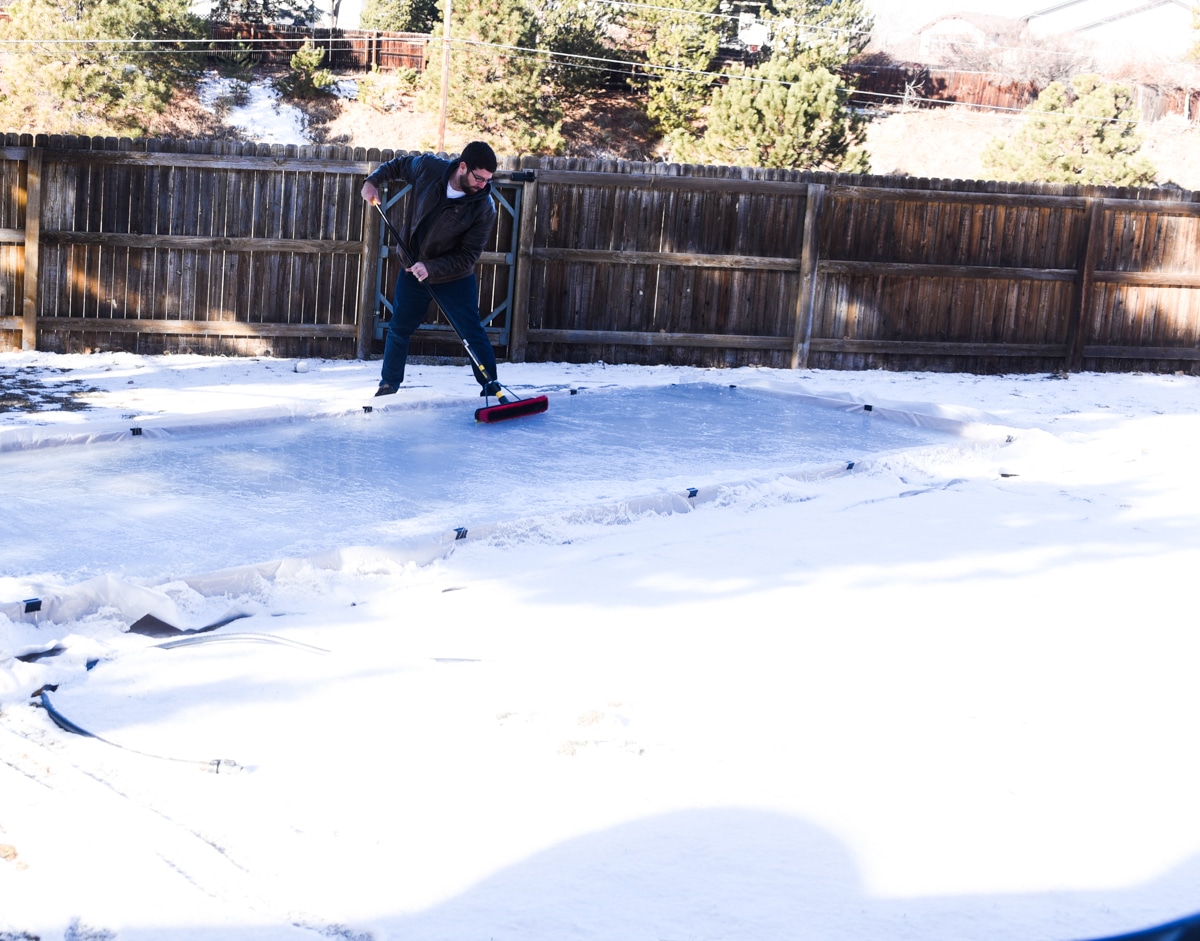
If you want to smooth out the surface due to snow or for whatever other reason, then I would try a bucket of warm water and a squeegee.
The warm water should help to melt some of the rougher spots, and, hopefully, it should freeze into a much smoother surface. I don’t know if I need to say this, but, just in case, ice is slippery so use it at your own risk!
Have Fun and Enjoy!
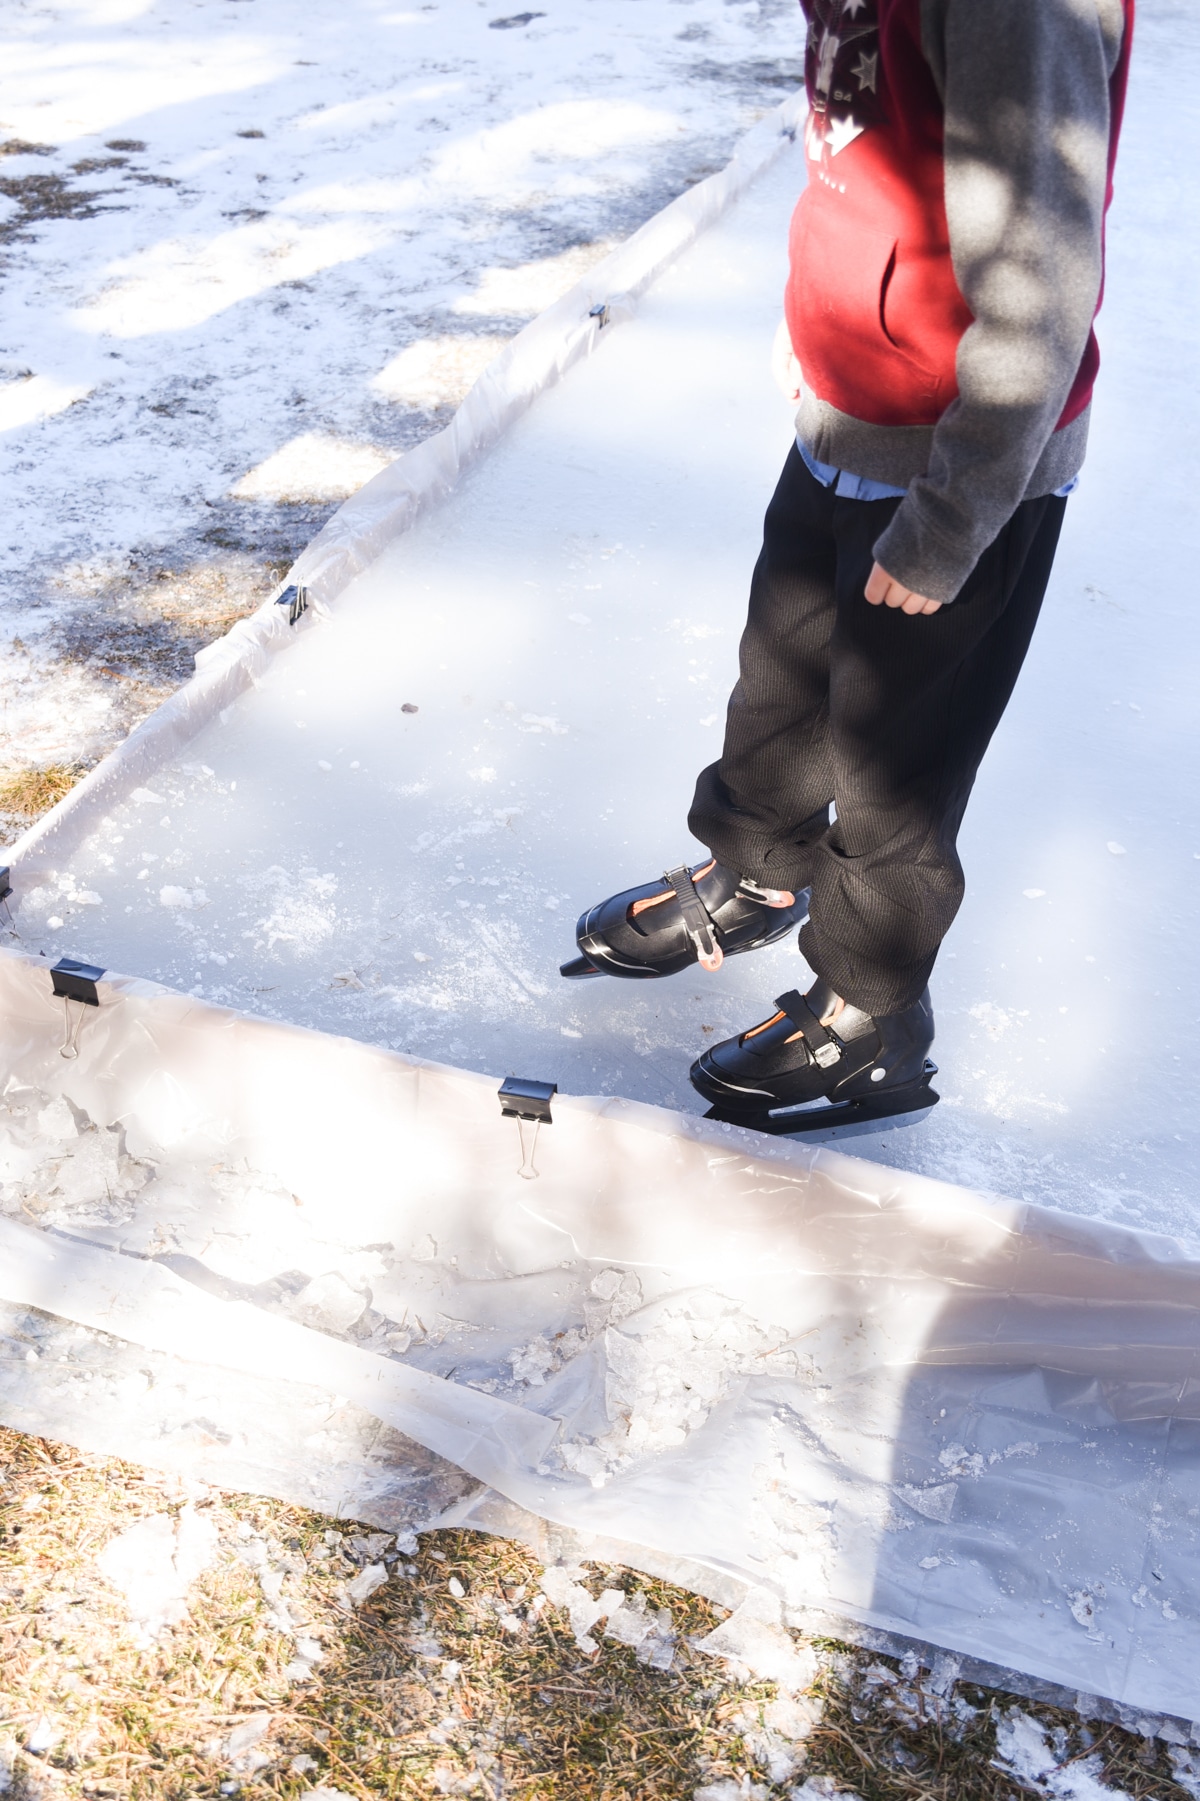
One of the first things I thought of when I saw the shape of the plastic sheeting was that this could work for curling! I’m sure you would have to put a lot of work into the ice surface, but it just seemed similar to the proportions for curling, haha! I got my son some ice skates, and he enjoyed skating. Once, I lost track of where both of my boys were, and I found them sliding around on the ice.
Best of luck with the project! I think it is a relatively simple and low-budget way to help kids have a lot of backyard fun!
DIY Backyard Ice Rink
Materials
- 6mm clear plastic sheeting (in the painting section of the hardware store); I bought on 10ft x 25ft sheet; I put a 3mm sheet under the 6mm
- 12 6in x 1in x 6ft cedar fence slats
- 24 metal garden stakes; 9 1/2in; I bought two sets of 12 stakes
- 16 large binder clips
Tools
- Rubber mallet
- Squeegee and Hot Water to create a smooth surface
Instructions
- Pick a flat, open spot of your yard for your ice rink
- Put a thin sheet of plastic underneath my 6mm sheet of plastic to help protect the thicker plastic.
- Lay out fence slats - we cut the fence slats in half. You want enough plastic to go up the sides of the wood and over the edge of the top edge of the wood.
- Hammer in the metal stakes while using the wood asyour guide. The stakes have a flat top, and that top should go over the wood.
- Put the stakes on the outside edge of the wood, so the flat top does end up going over the wood towards the rink area. That metal could be seen as a danger, but it does end up being covered by the plastic sheeting later. Additionally, you could try to cover it with something like a pool noodle with a lengthwise slit.
- Use the binder clips to attach my plastic to the wood slats.
- Push my plastic sheeting in the corners, and I smoothed out the plastic as much as possible. Once the plastic was where I wanted it I put all of the binder clips in place
- If you use a hose during cold weather, don’t forget to disconnect it afterward. Leaving a hose connecting during freezing temperatures puts the pipes of your house at serious risk of freezing and bursting.
- Leave the ice for a few days. Honestly, how long it takes probably depends a lot on your weather. We had temperatures in the low 20s F at night, and it still took three days.
Building your own backyard ice rink is a great way to get outside and enjoy the winter weather with your family and friends. With a little planning and preparation, you can have your very own DIY backyard ice rink up and running in no time. Thanks for following along, we hope you found this guide helpful. Now get out there and enjoy some Ice skating!





Very nice! I love the simplicity and utility of this project. This is a great way to embrace Winter and stay active, which is important in colder climates.
Thanks! It has provided a lot of fun for the kids.