DIY Beach Towel Bag with Pillow Tutorial
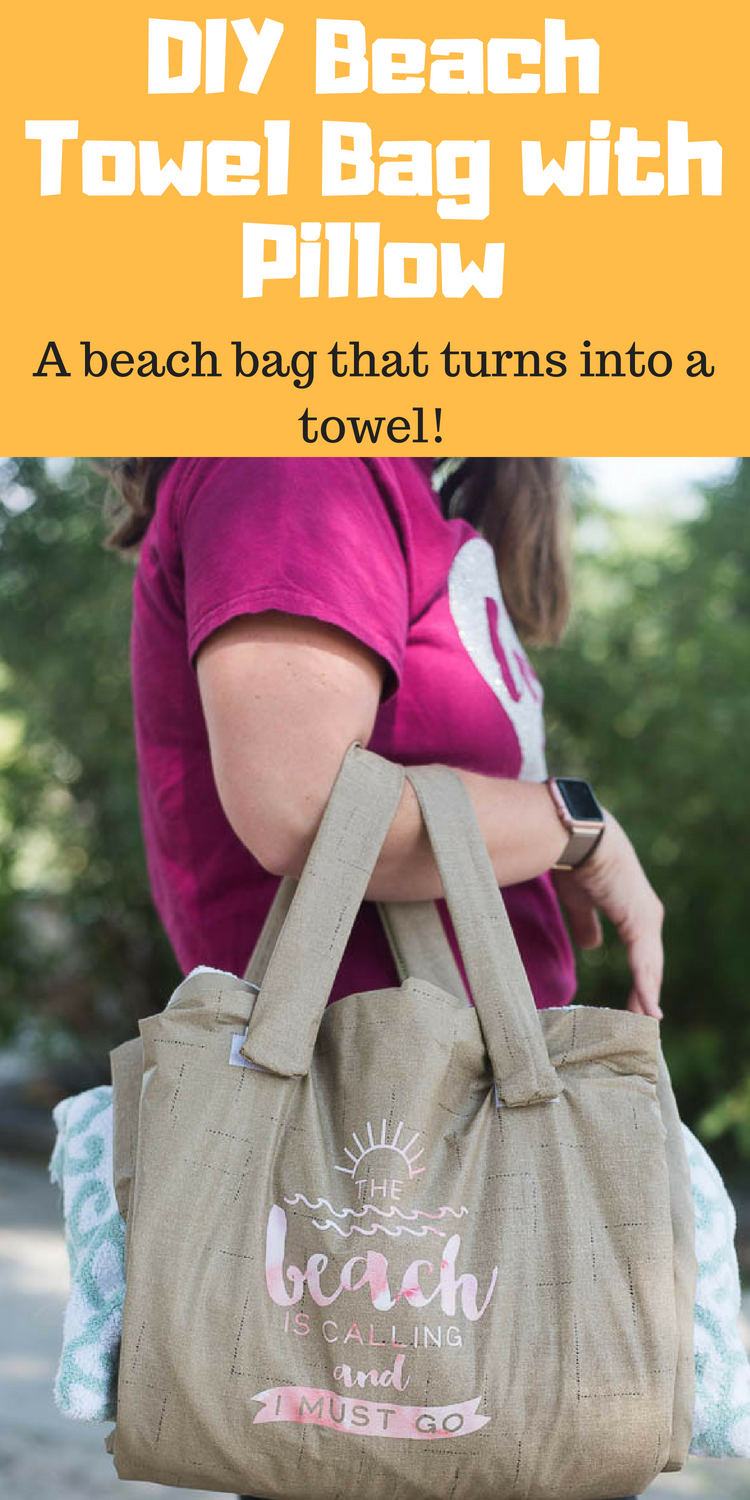
This DIY Beach Towel Bag is so fun and perfect for your next trip to the beach – it has a built-in pillow that is perfect for taking a nap on the beach. If you’ve been looking for a beach bag that turns into a towel and has a pillow, this is the tutorial is for you! Easy to follow instructions – the project is a bit time intensive, but it’s very beginner friendly.
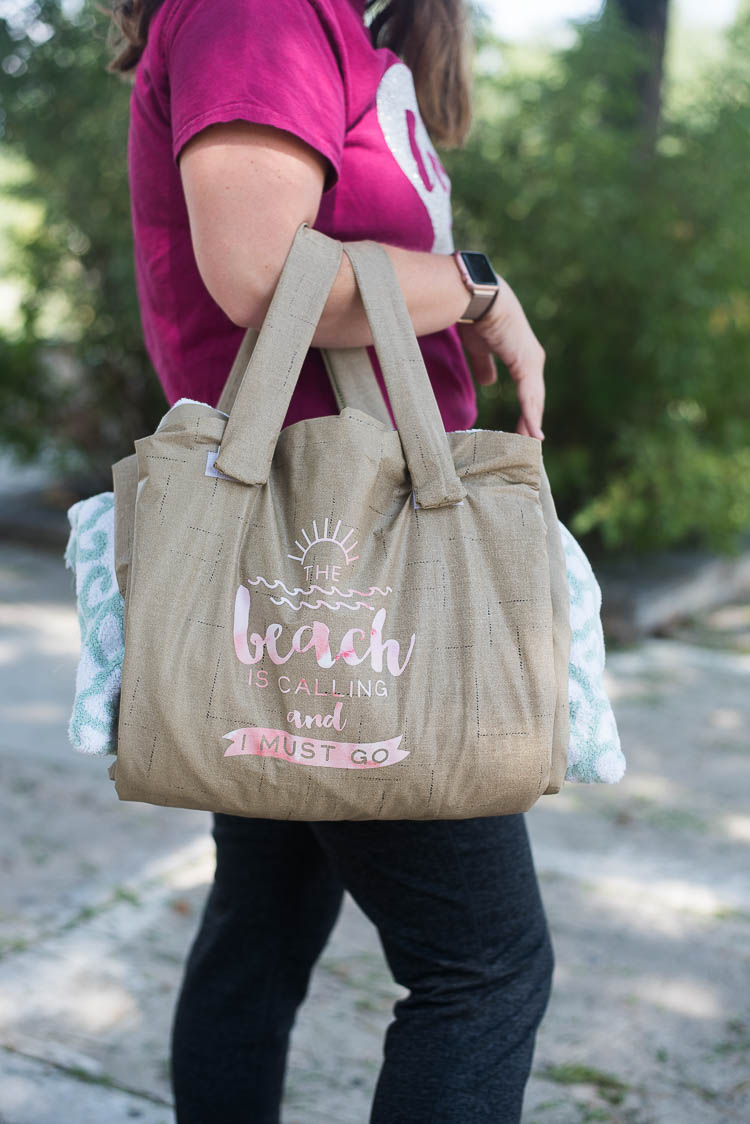
Beach Bag that Turns Into a Towel
Thank you to Cricut for partnering with us for another great post!
We have spent a lot of time at the beach this summer – well, as much as you can when you live in a landlocked place like Colorado 🙂
In June, we traveled to a couple islands in the Bahamas, and then we spent a few days at a family reunion in Atlantic Beach, North Carolina.
While I admit I’m not the biggest beach fanatic, I really enjoyed our time there. It really is such a beautiful sight to see!
A while back, I saw post on Pinterest with a beach bag that turned into a towel with a pillow, and I thought it seemed like such a clever and fun idea. I looked around at a few different tutorials, and after deciding that I didn’t quite love any of them, I took bits and pieces of each and came up with my own DIY Beach Towel Bag tutorial!
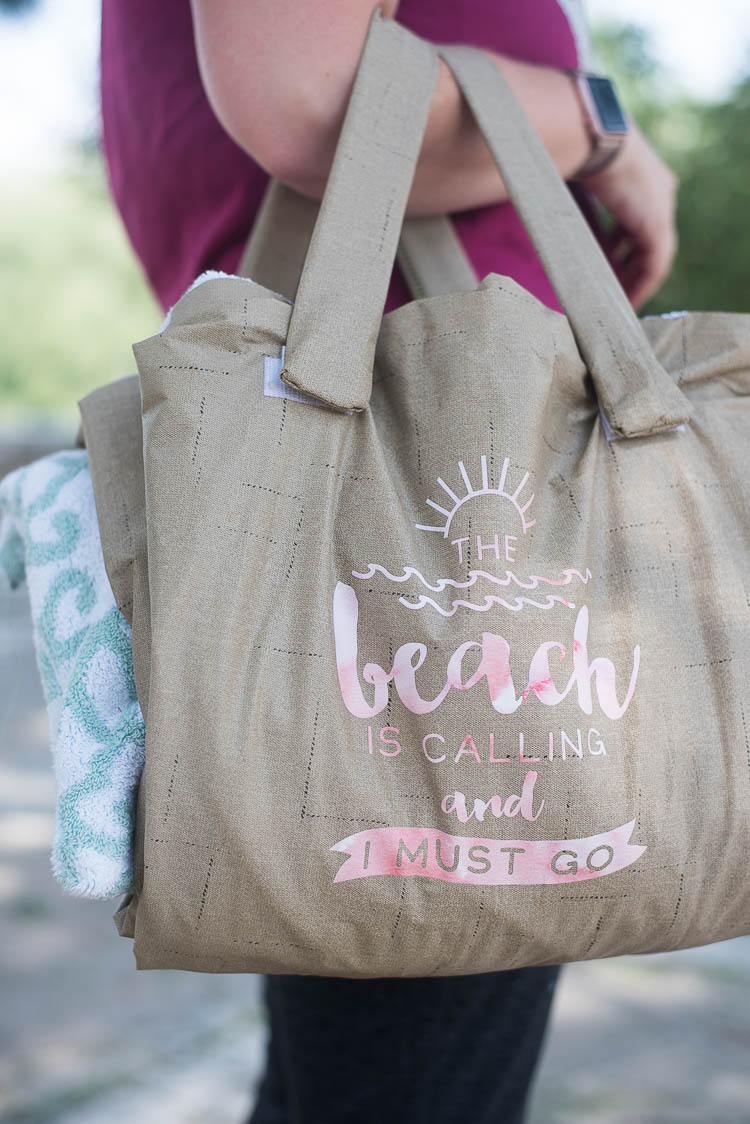
While this is an easy project, there are quite a few components, so it is a bit more time intensive. I would definitely devote half a day or so (and that’s if you have no interruptions or distractions) to making this.
Because of the materials that are used, some of the steps can put a lot of pressure on your machine. So if you have a sewing machine that doesn’t handle thicker materials very well, you may want to hand stitch at times. My machine is pretty heavy duty, and I did break one needle.
I was excited to have my Cricut Maker to help assist in this project! The Cricut Maker is amazing for helping with sewing projects. While you can totally do this project without the Maker, it definitely makes cutting some of the pieces easier and more precise.
Plus, I cut out this CUTE iron on decal using Cricut’s new patterned iron-on. I thought it was perfect for the beach bag and for any lover of the beach. Don’t you think it turned out so cute?
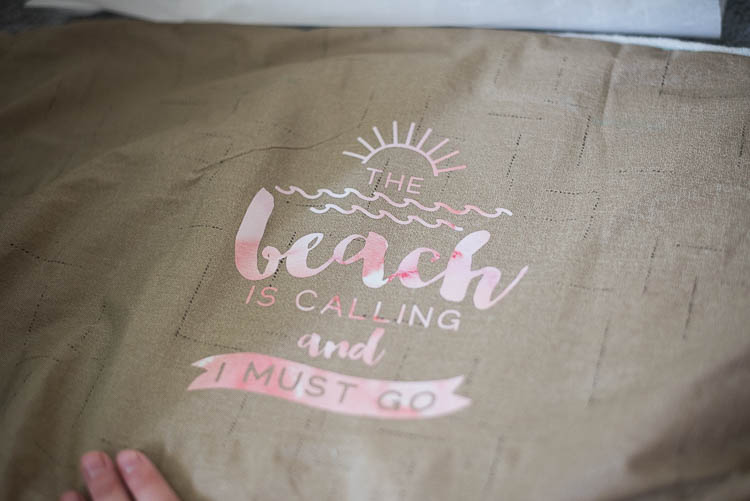
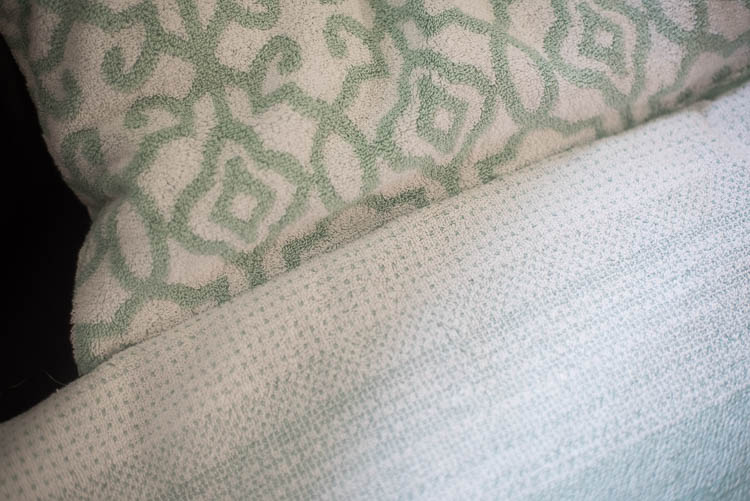
I debated whether or not I wanted a backing for the towel/bag, and if so, what I was going to use it out of. I felt like I wanted something to make it look a little more finished – even if it meant more sewing – but I wasn’t so sure how I felt about using a cotton material. I mean, it will be facing down into the sand, and I just felt like that would be hard to clean off!
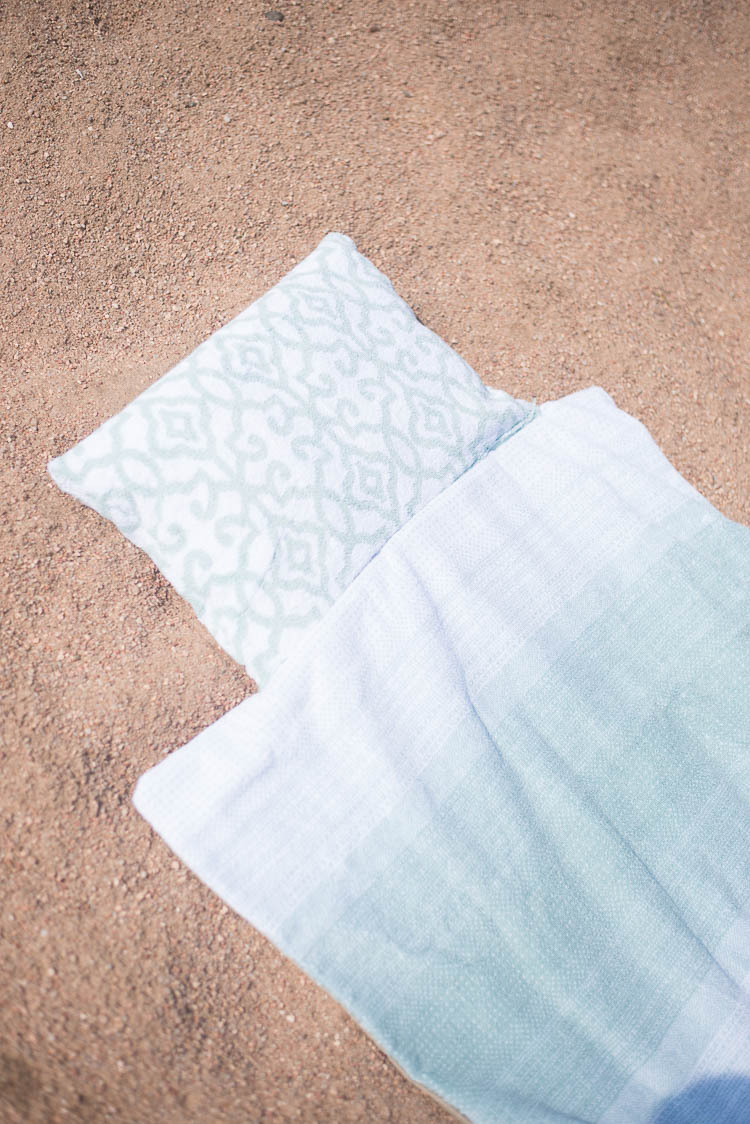
So I ended up going with a vinyl tablecloth. It’s relatively waterproof, and it’s easy to clean off. It ended up being pretty similar to this DIY waterproof picnic blanket I made a while ago, actually, which is also made from a vinyl tablecloth.
I got the vinyl tablecloth at Walmart. They only had one color left, which I didn’t really love, but it ended up looking really nice with the towels. Forrest thought it definitely looked beachy enough!
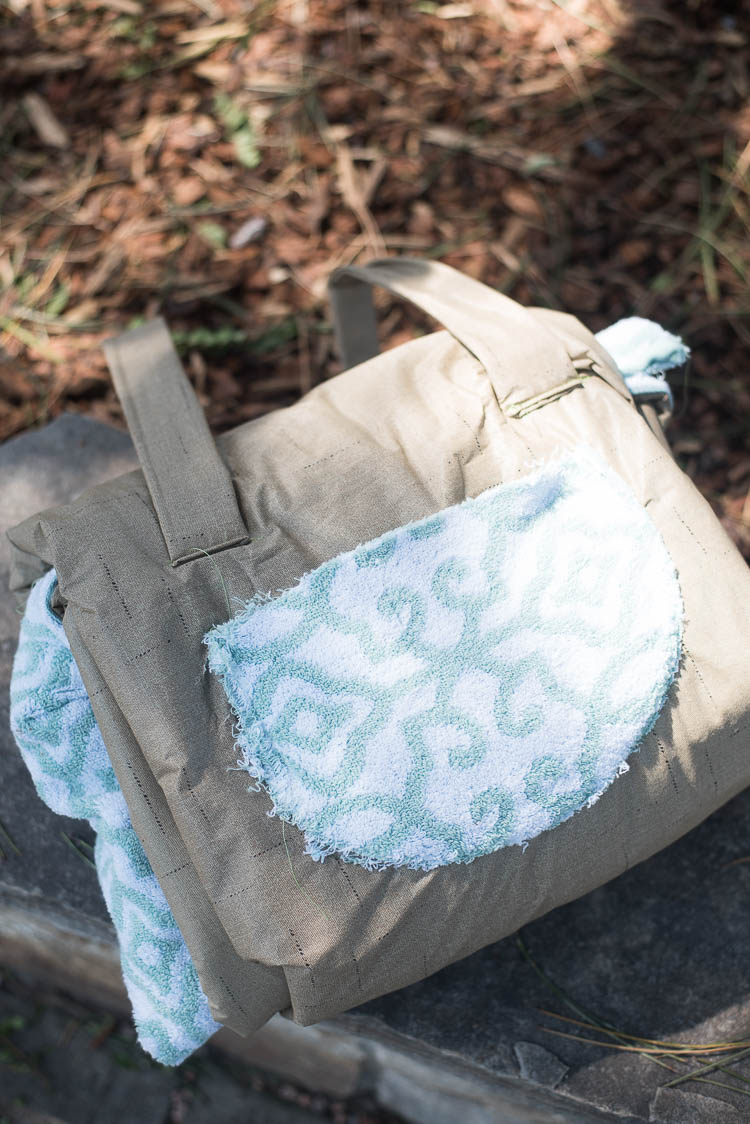
DIY Beach Towel with Pillow
What I Would Have Done Differently
Hindsight is 20/20 right? I’m always pretty upfront about how my DIY projects are rarely perfect, and I end up messing up at least a handful of times throughout it. However, that just makes it so I can give you better advice so hopefully, your project will turn out better than mine 🙂 I did like the end product, but there are a few things I would have done differently:
- I would have used a quilting needle instead of a regular one
- I would have used cotton to cut out the pocket for the front of the bag. The towel was a little hard to work with, and I don’t think it looks as finished as a cotton pocket would have looked
- I would have been more careful about sewing the pocket on – because I didn’t straighten out the towel beneath it, it caught while I was sewing the pocket, and there are some puckered areas on the towel. Still useable, just not as nice
- I thought the straps turned out fine, but if I had gotten cotton for the pocket, I may have done the straps from that as well
- Sewing the velcro on would have made for a more sturdy finish, but I was sick of sewing by the time I was done with this project 🙂
Cricut Sewing Products
With the release of the Cricut Maker, Cricut has really attracted a lot more sewists, which is awesome. In the past year, they’ve also released some great products that every sewist can use in her collection. I use a few of them in this project, and I really like them:
- Self-healing mat (I LOVE the designer ones. So pretty!)
- Rotary Cutter (they have a 45mm and 60mm)
- 12×24 Acrylic Ruler. I love this because it’s the same size as the long Fabric Grip mat, so you can make sure you are cutting your fabric the perfect size to be used the Cricut Maker.
You May Also Enjoy: Fabric and The Cricut Maker Machine
FAQS
- What sewing machine did you use? I have a Pfaff sewing machine.
- Do I have to have a Cricut to make this? Nope! You can cut everything out by hand. However, you likely won’t be able to make this particular iron-on decal without a Cricut machine.
- Do I have to use a vinyl tablecloth? Nope! You can use any backing that you want. You can even make it simpler by not having a backing at all and just use the towel!
- What Cricut machine are you using? I use the Cricut Maker, though I also have the Cricut Explore Air.
- Can you use the rotary blade with just the Cricut Maker? Yes, it is only compatible with the Cricut Maker.
- My material is too thick for my machine to cut – what should I do? You may want to use a quilting needle. Otherwise, you may need to hand sew certain sections.
- Can I use stuffing instead of a pillow to make my pillow portion? Of course!
- Can I make more pockets? Of course! Just cut out whatever shapes and sizes that you want. You can easily put them on both sides.
Beach Towel that Turns into a Bag Tutorial
Materials:
- Two large bath towels or beach towels in coordinating colors. A beach towel is ideal.
- Smaller pillow (we used a camping pillow that worked great – it was like $5 at Walmart)
- Thread
- Sewing Machine
- Vinyl tablecloth in matching colors
- Velcro (either sew-on or stick-on)
- Rotary Cutter
- Self-healing mat
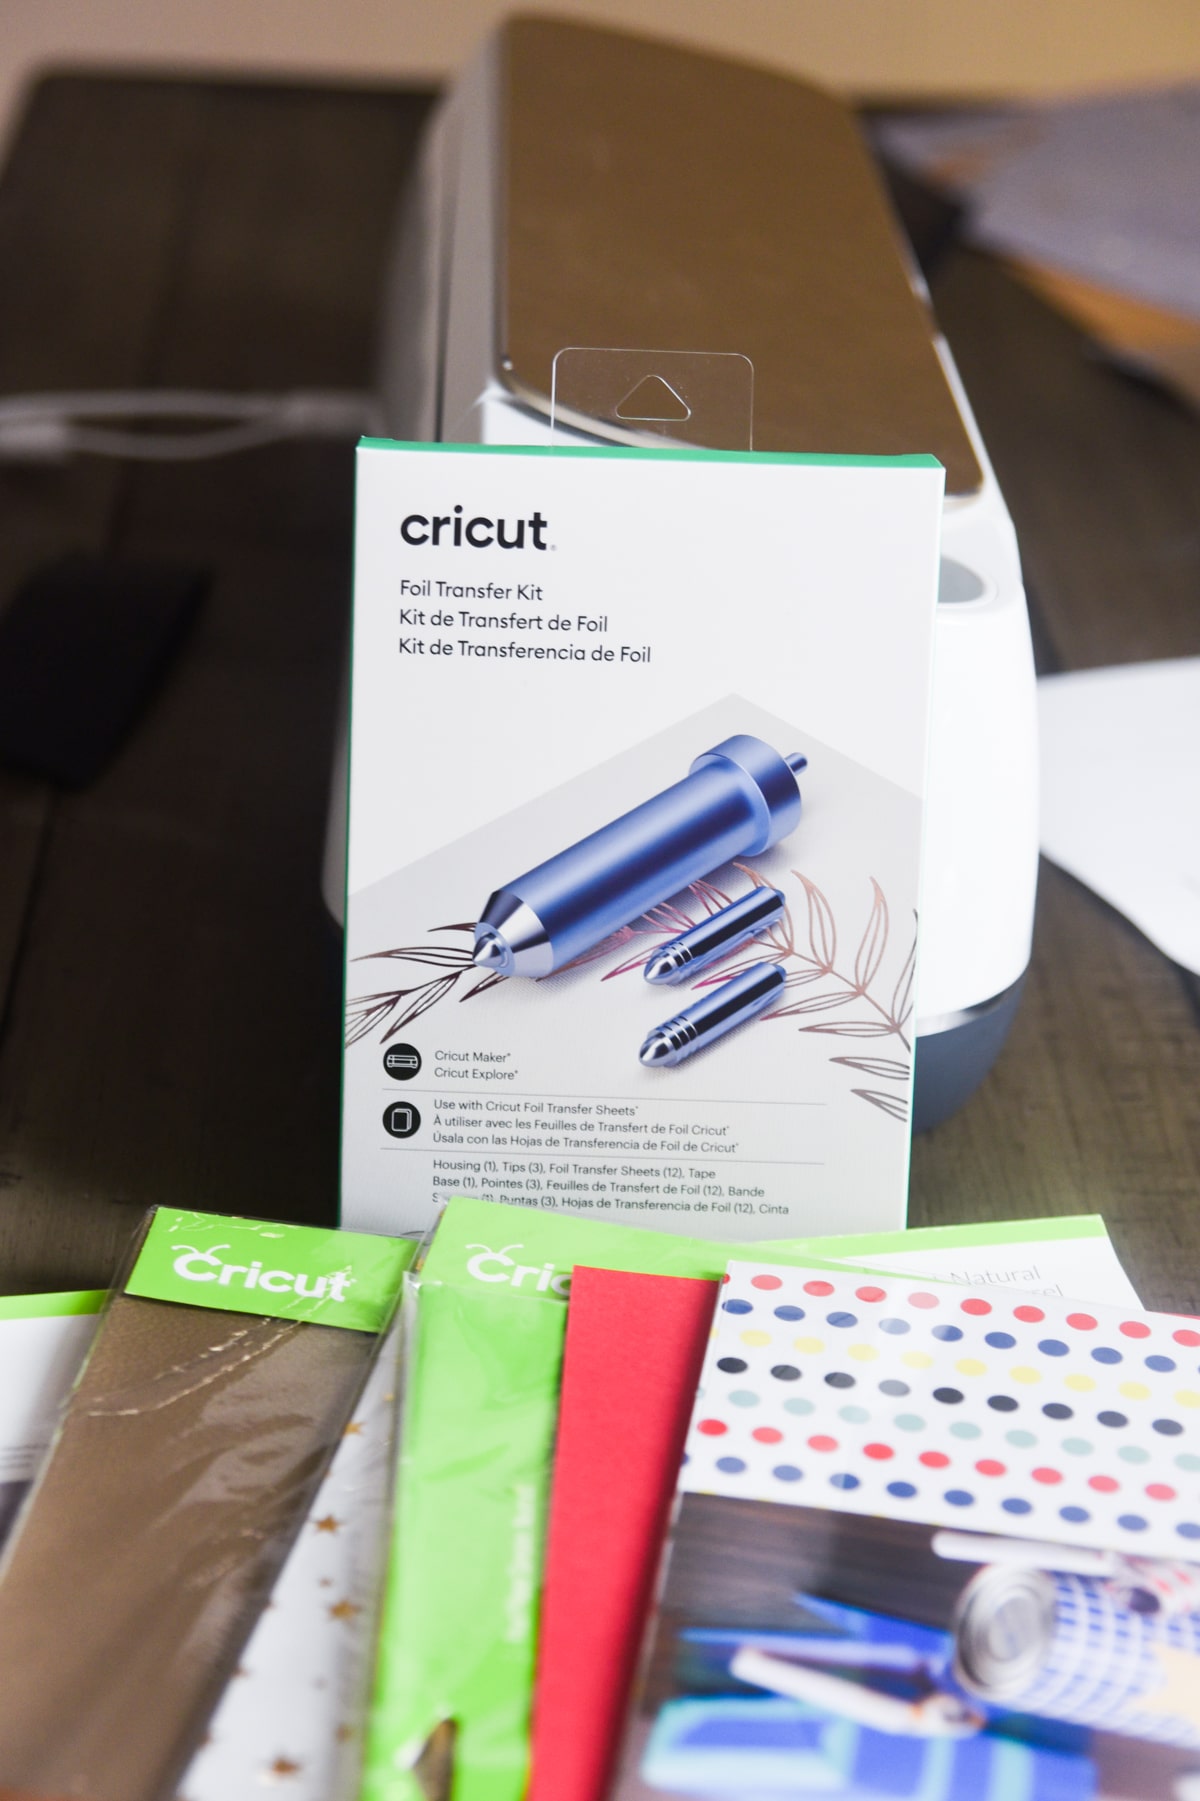
- Cricut Maker (optional, but very helpful – especially if you want the decal on it). Here is the Design Space file for the items I cut using my Cricut Maker.
- Iron-on Vinyl (if you are doing the decal on the front). I used Cricut Patterned iron on. LOVE it!
- Cricut EasyPress (if you are doing the decal on the front)
- Parchment Paper (if you are doing the decal on the front)
- Cricut Cutting Mats – FabricGrip and Standard Grip
Instructions:
First, we will assemble the pillow:
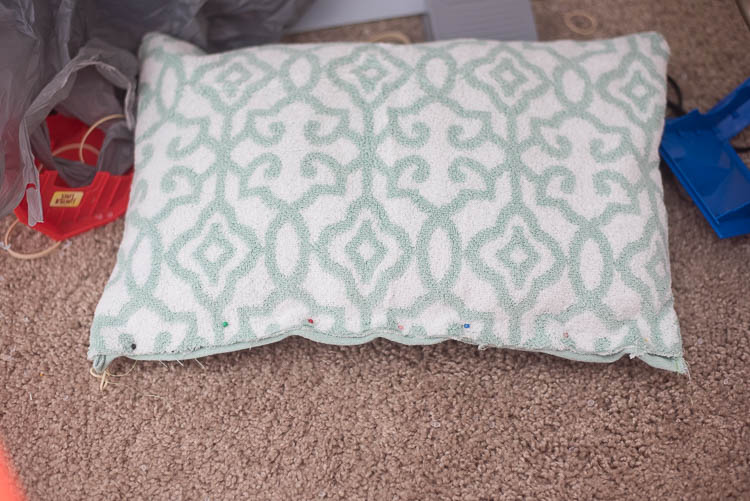
Lay the towel for your pillow down on the ground, right side up. Place your pillow at the top of it, leaving about an inch of space.
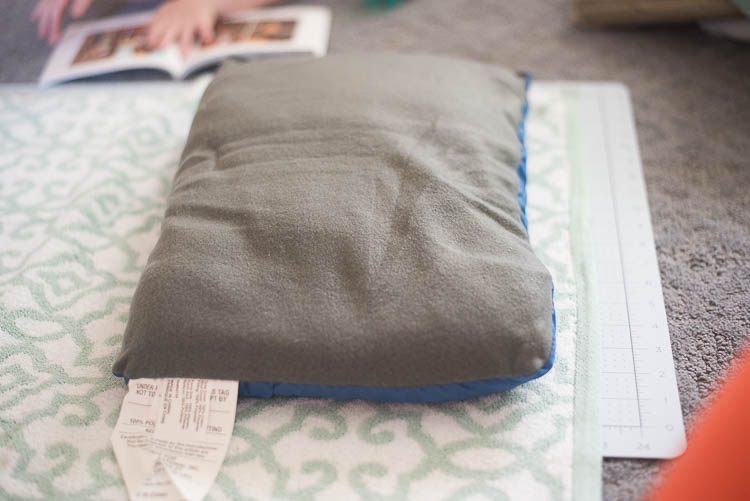
Fold the pillow over with the towel until you have about one inch around the edges.
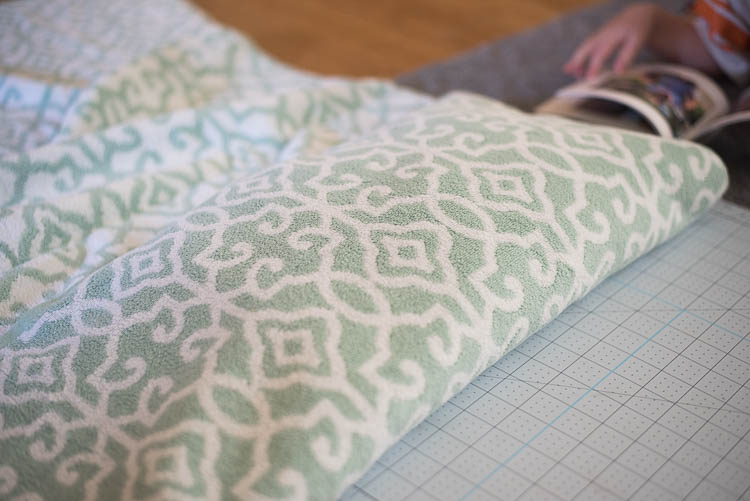
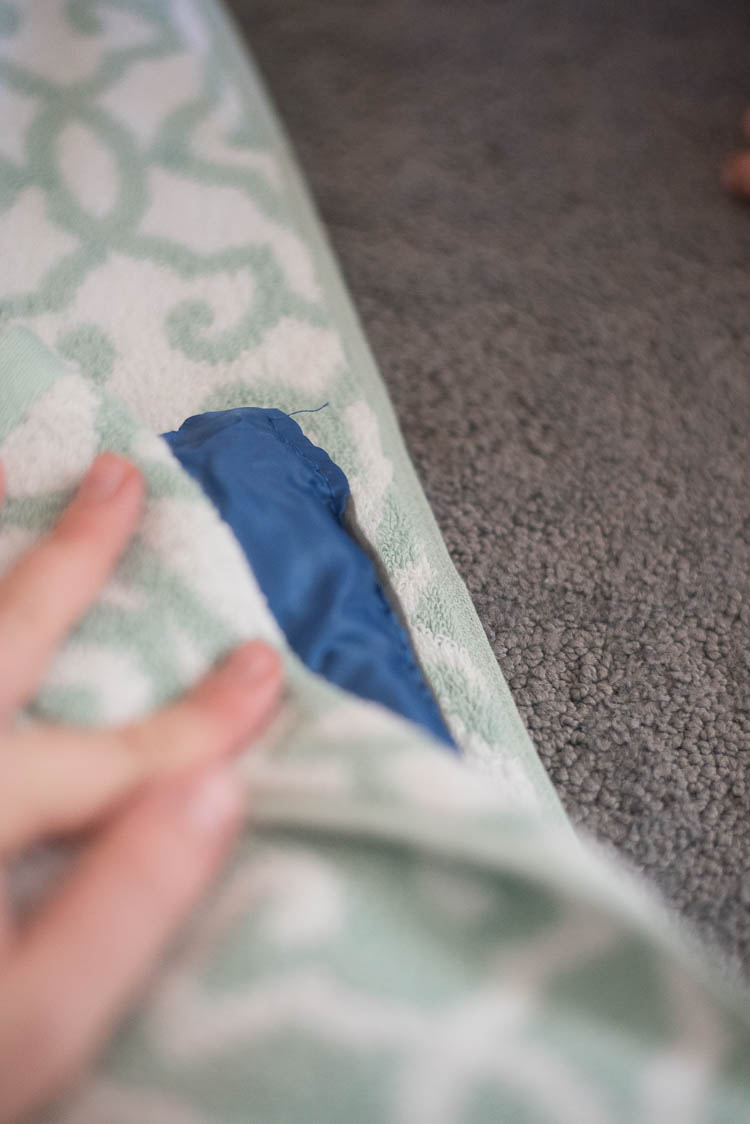
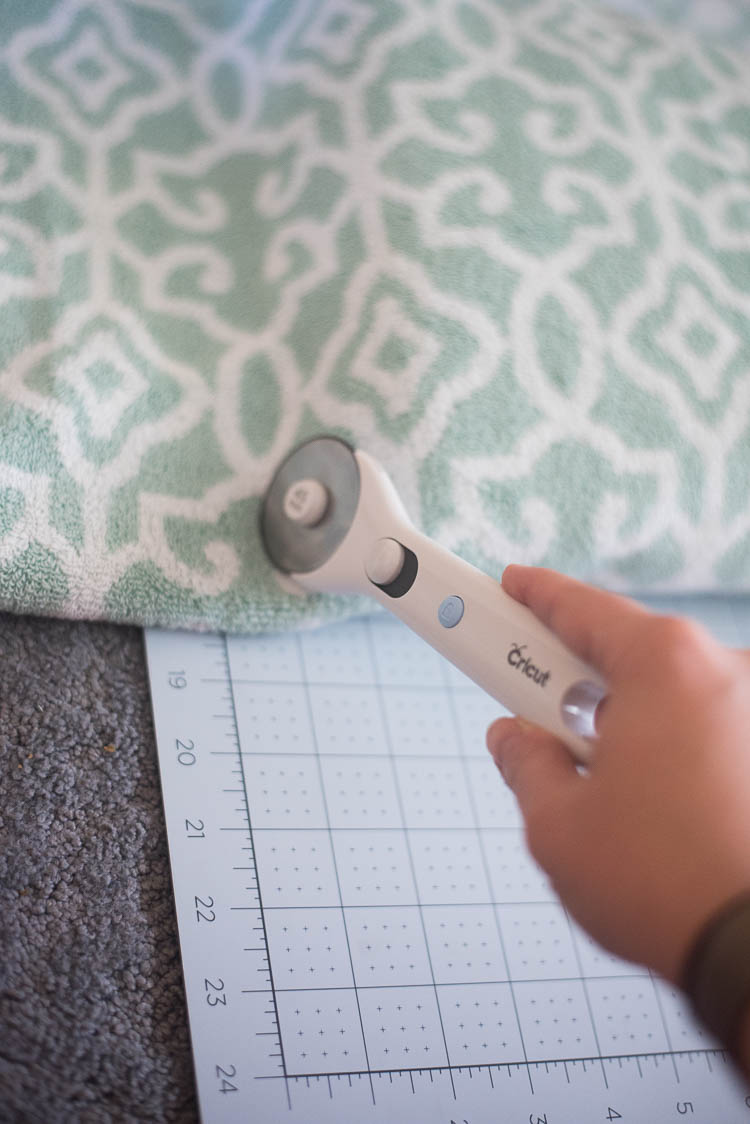
Using a rotary cuter, cut this pillow form out.
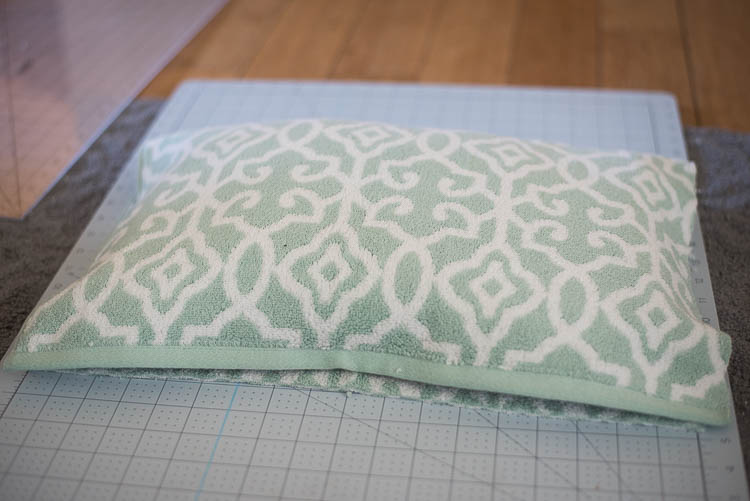
Sew around the two short edges, and then flip to make the right side on the outside.
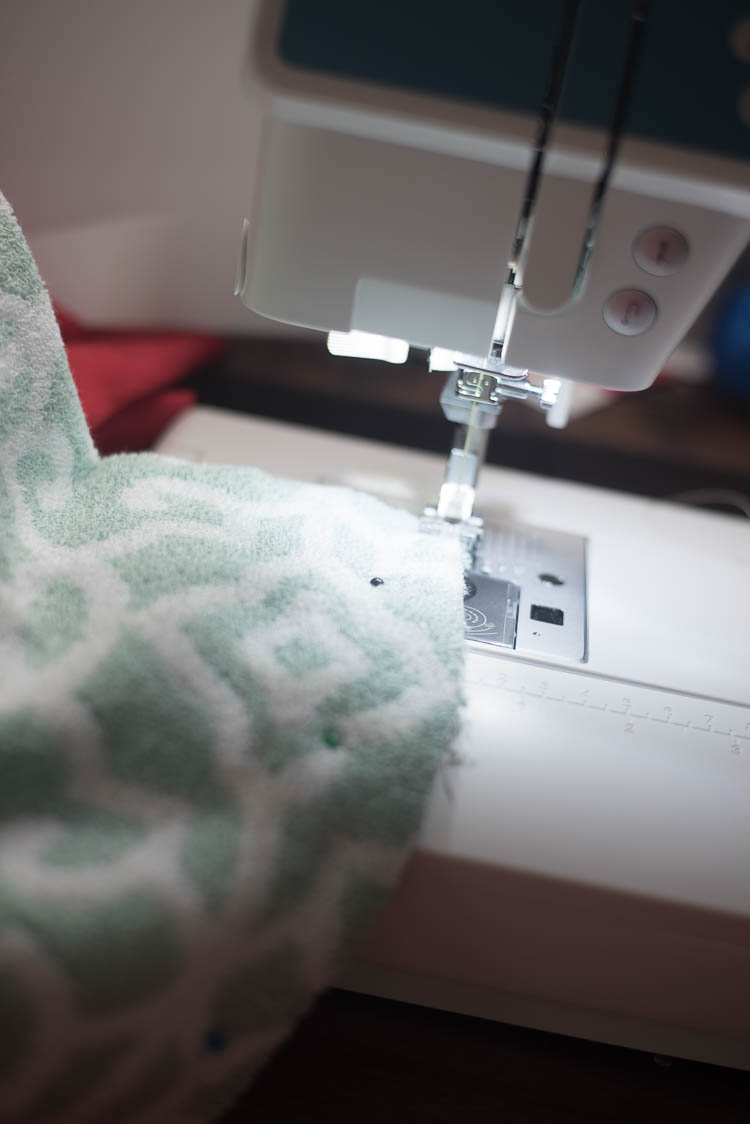
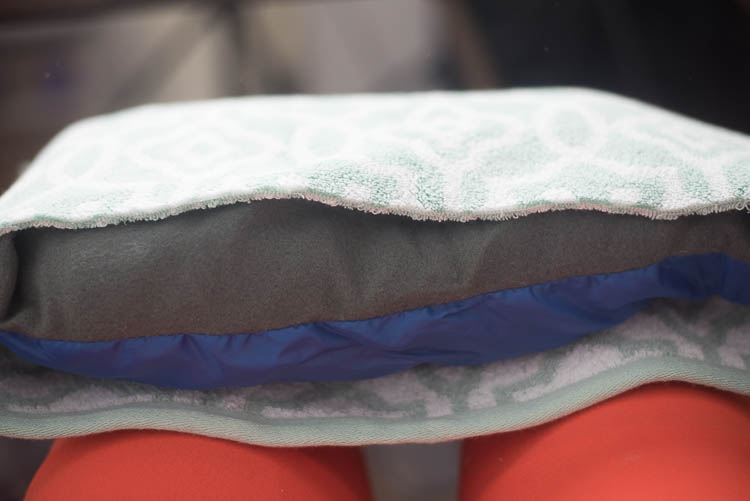
Place the pillow (or stuffing) inside and fold the edges in and sew shut.
Put the other towel on top of your vinyl tablecloth, right sides together.
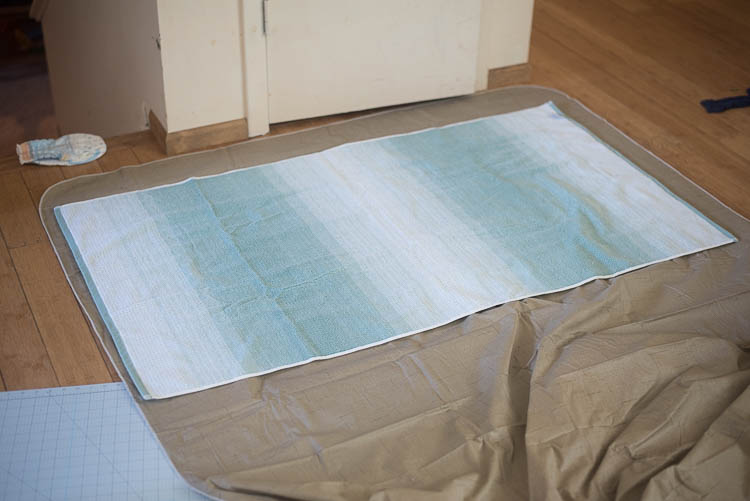
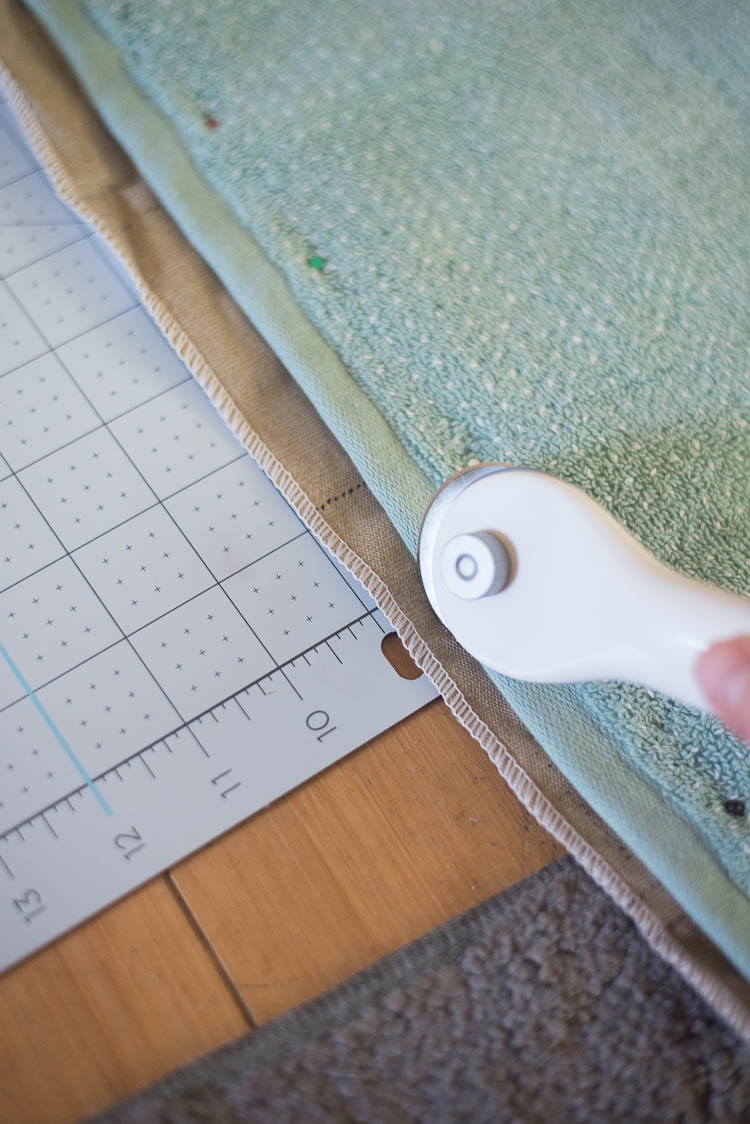
Carefully cut the tablecloth to be the same size as the towel using a rotary cutter and pin the sides together. I had trouble pinning the long sides, so I just pinned the short ones. But it’s much easier if you can pin everything.
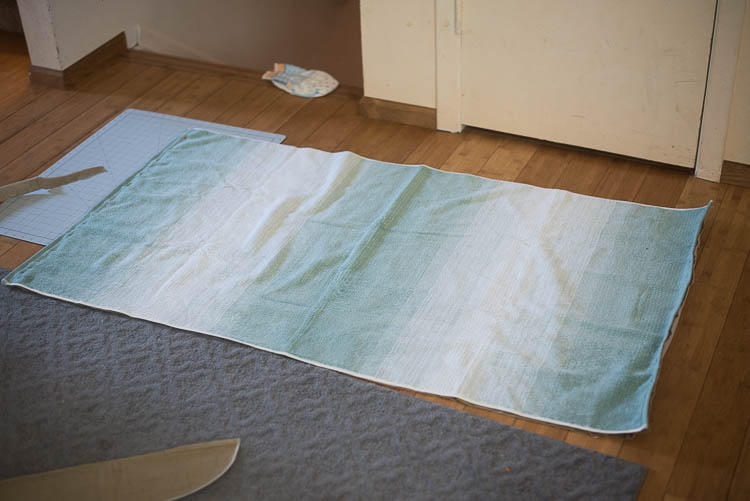
Sew around all the edges of the towel and table cloth, leaving a five inch space open at the end. Once you’ve sewn all the way around, flip the towel/table cloth right side out.
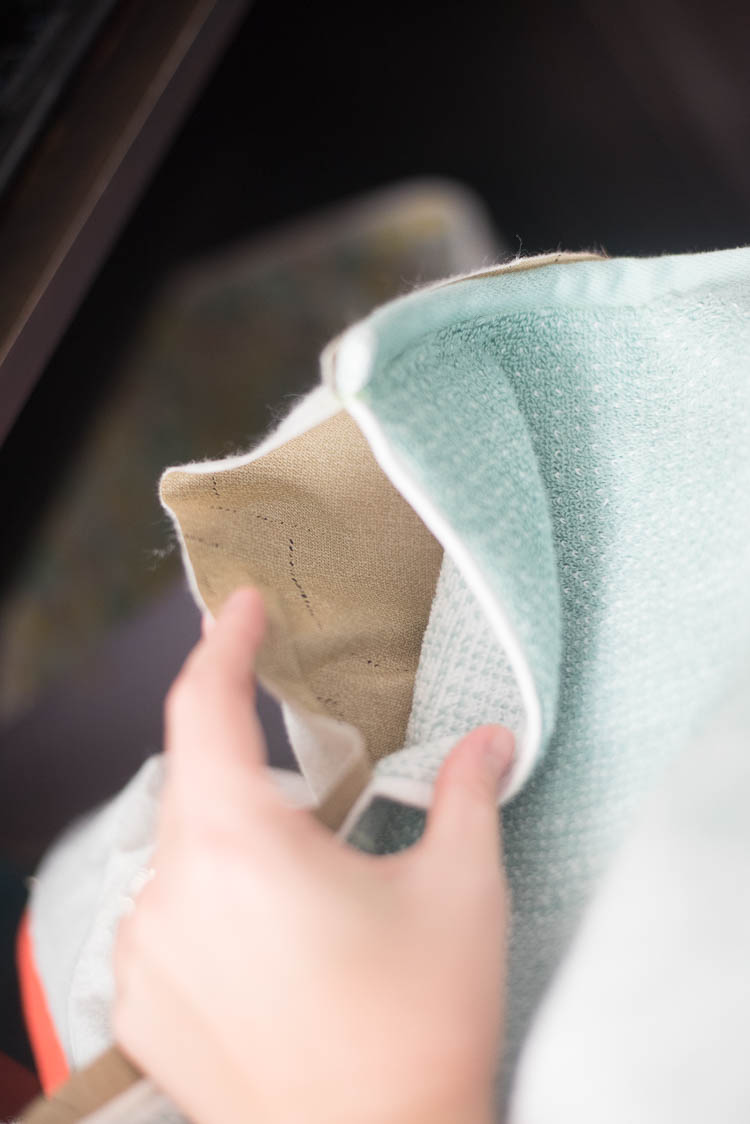 Fold the edges of the open side in and then sew shut
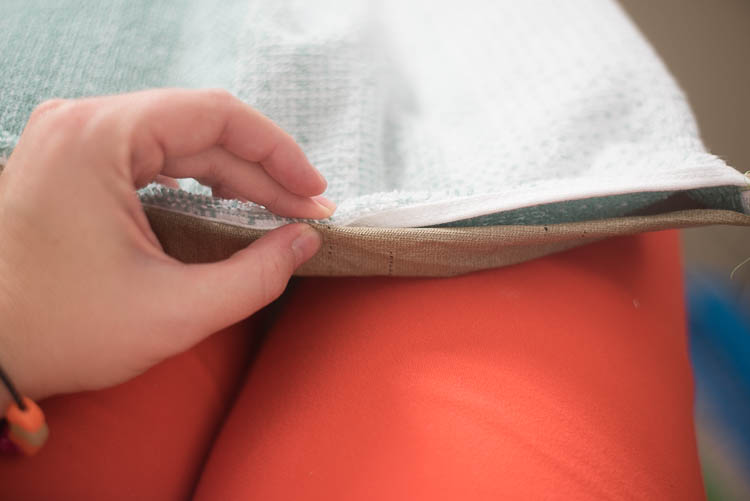
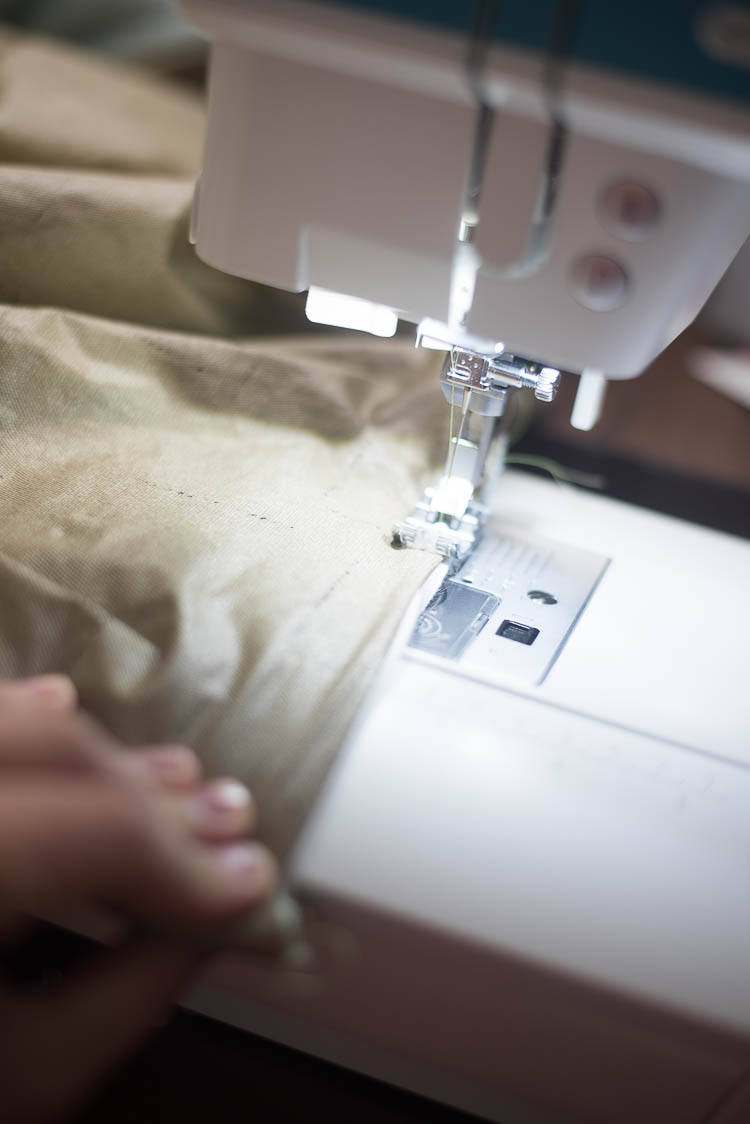
Lay the towel with the towel material up on the ground. Place the pillow at the top center of your other towel, facing down into the towel. Pin into place.
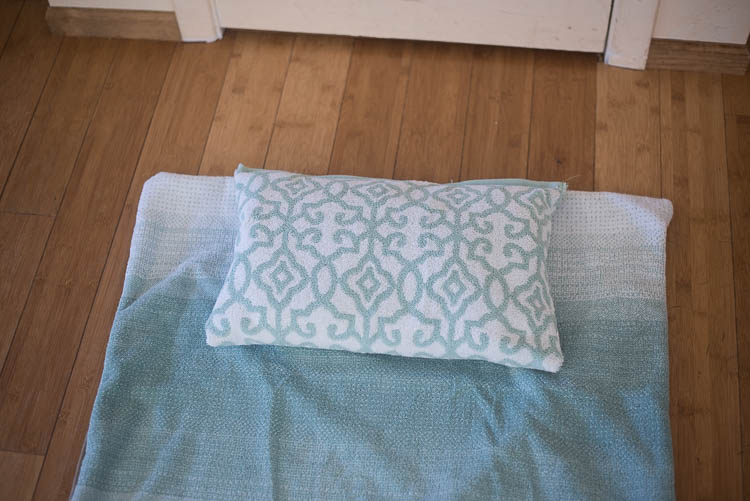
Sew the pillow along the edge, and then flip up so it’s in the right place.
Now you will cut out the pocket, the straps, and the vinyl. This is where I used my Cricut Maker. If you are using a Cricut Maker, read the next steps. If not, read the alternative steps after this section.
CRICUT INSTRUCTIONS:
Open this design in Design Space. Please note that the “The Beach is Calling, and I Must Go” decal is $1.99.
Press “Make it” and go to the cutting settings. The first item to cut will be the vinyl decal.
Place the iron on vinyl face pretty side down onto a standard grip mat (check out this post for how to use iron-on vinyl). Cut using your fine point blade. Weed out the excess and set aside.
Next, you will cut out your pocket. If you are using excess from the towel, select the setting for heavy settings. You will need to send it through probably 3-5 times. If you are using cotton, use the cotton setting. For both, you will need to the rotary blade.
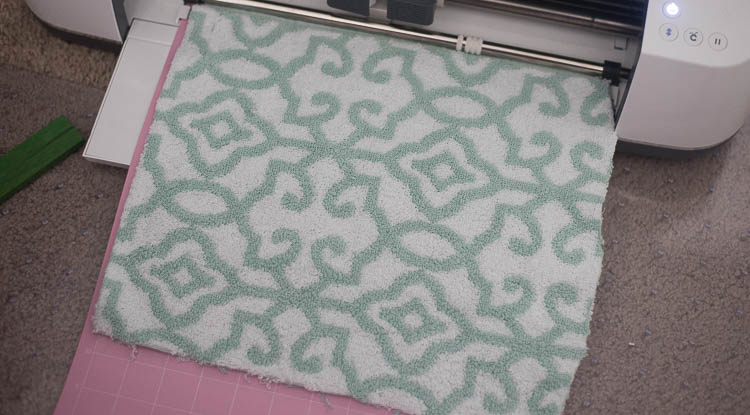
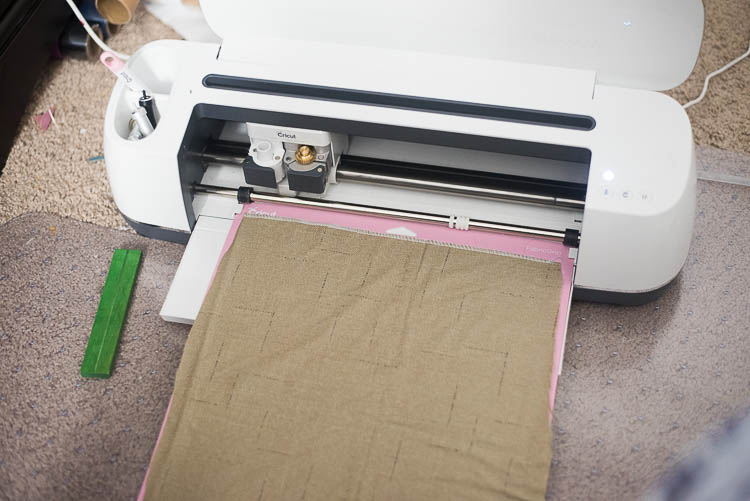
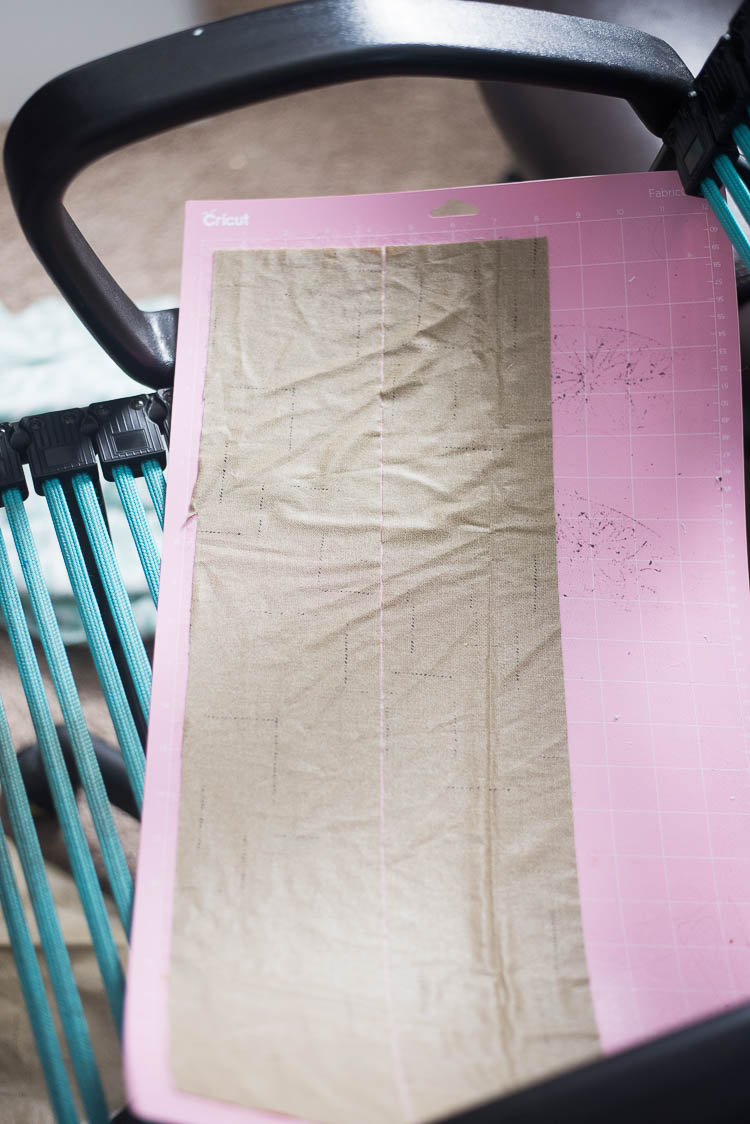
Next, you will cut out the straps for your bag. I just used the setting for medium weight fabrics, and it cut out perfectly.
ALTERNATIVE INSTRUCTIONS:
Draw a pocket shape on the material you want for the pocket and cut it out.
Draw two long rectangles that are 4×24″ long. Cut them out.
Assembly of bag
Here is how you will fold the towel into a bag once it’s finished. You need to do this in order to complete the following steps as well:
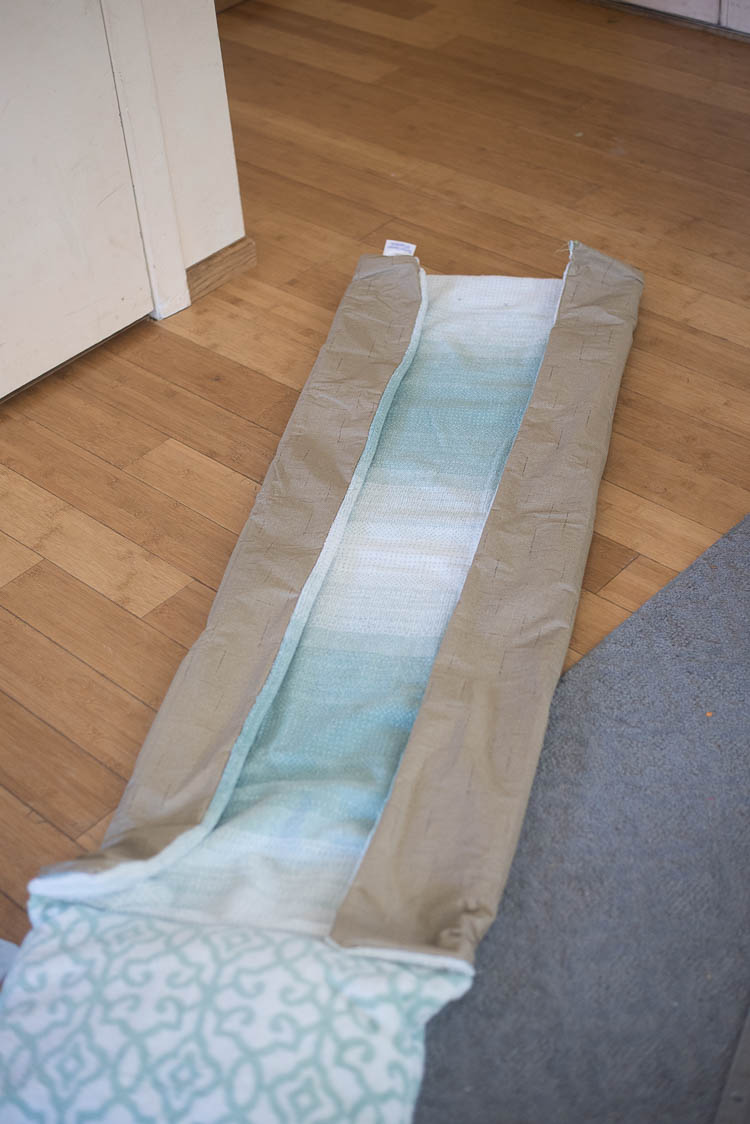
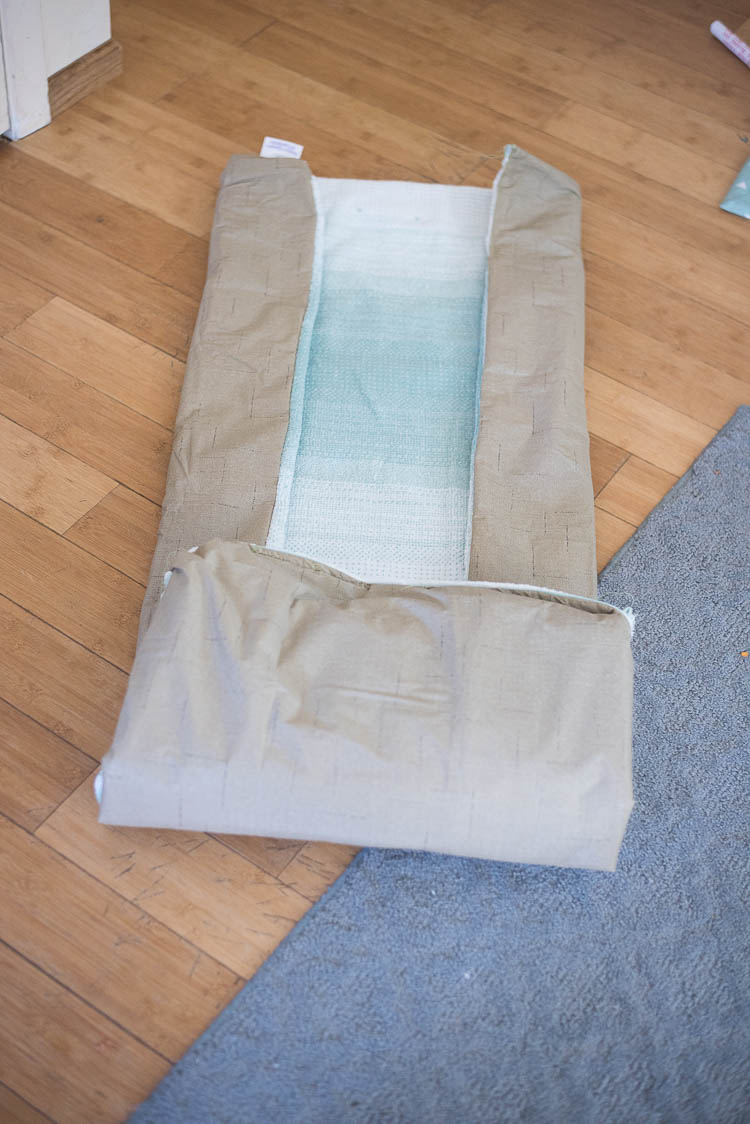
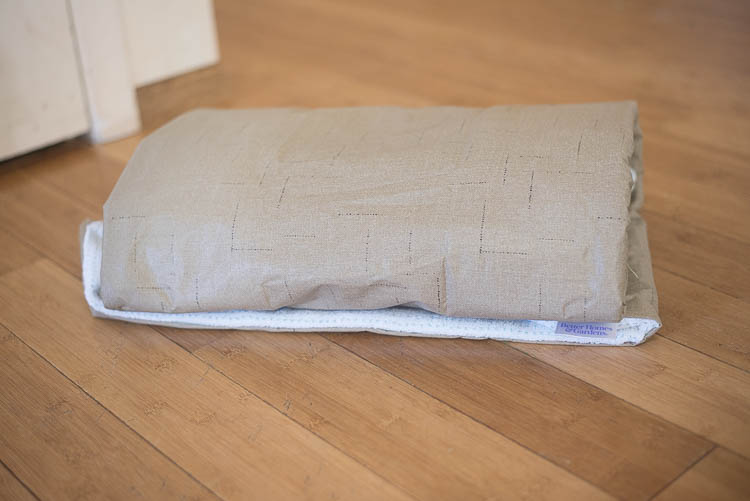
Fold the straps – right sides together – into a long skinny rectangle. Sew around three of the edges, leaving one of the short edges open.
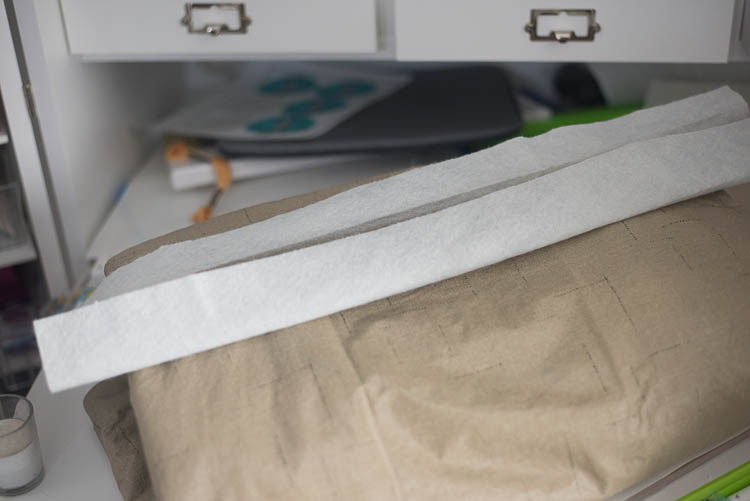
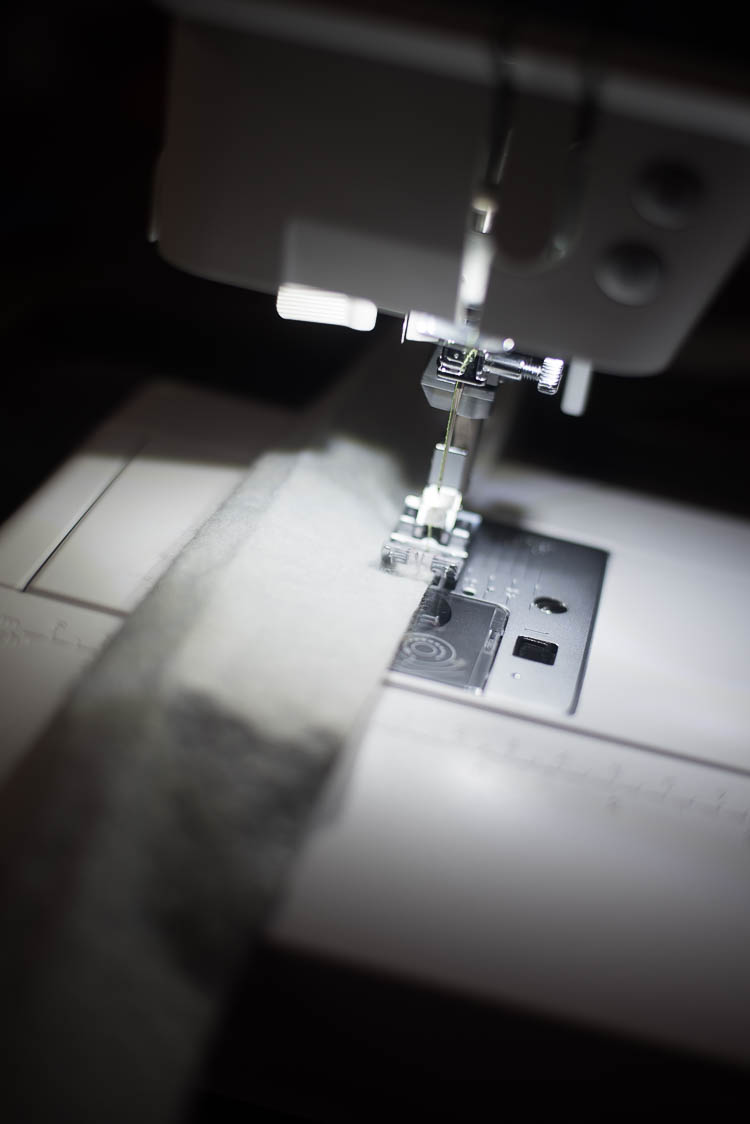
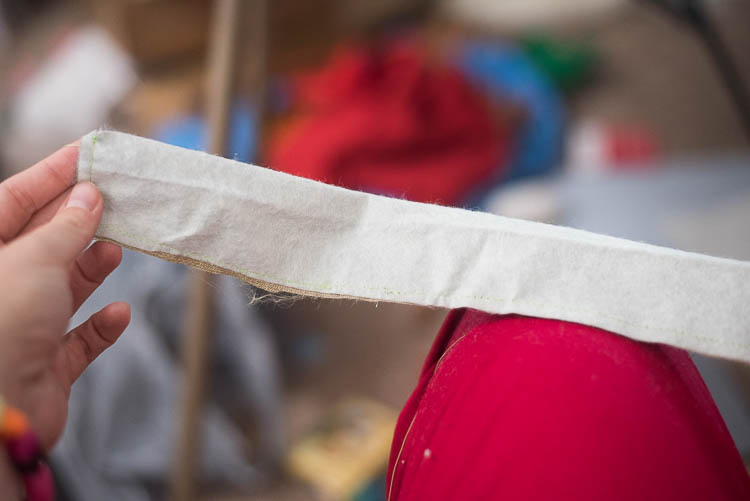
Flip right side out, and sew the open side. Repeat with the other strap.
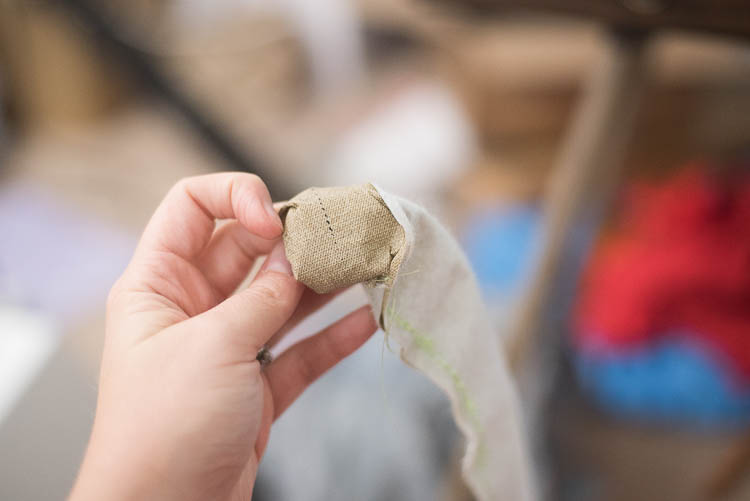
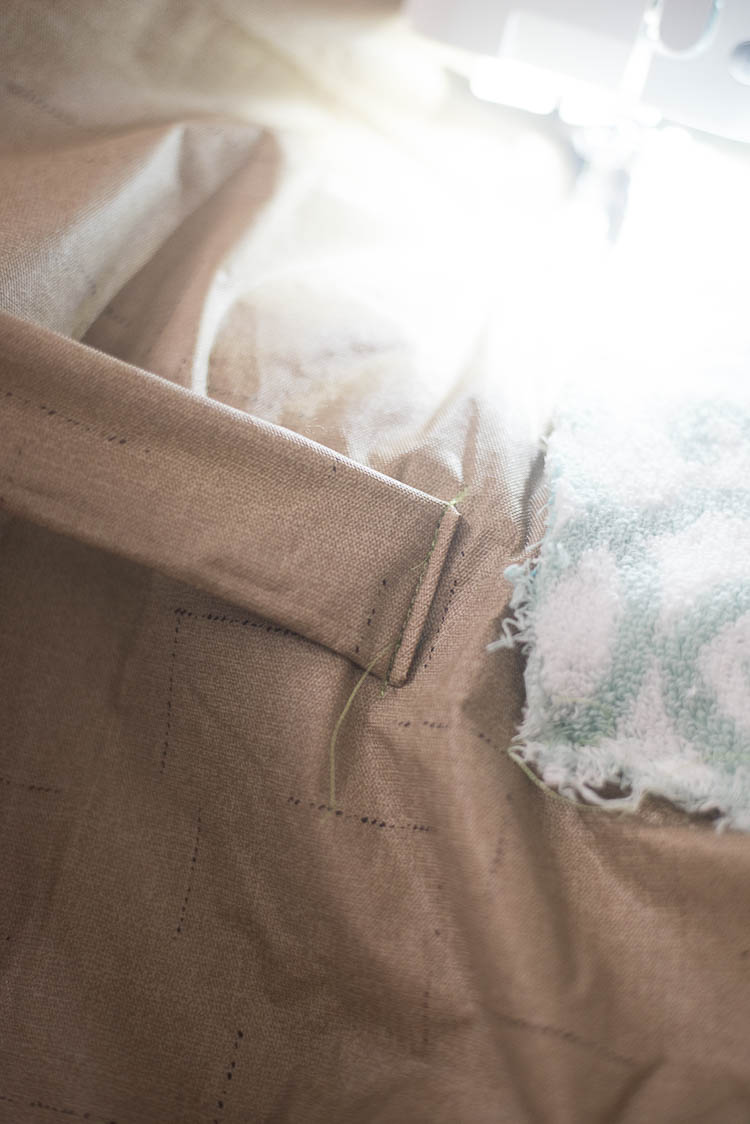
Making sure that the towel is folded up, place your pocket where you want it. Draw around it using a washable fabric pen or chalk.
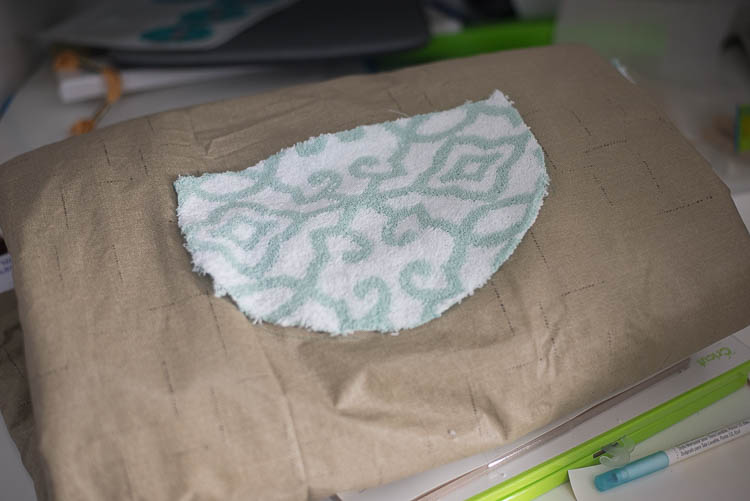
Mark a spot above the pocket for where you want one side of the straps to hit. Mark a spot on the other side of the bag for the other sides of the pocket.
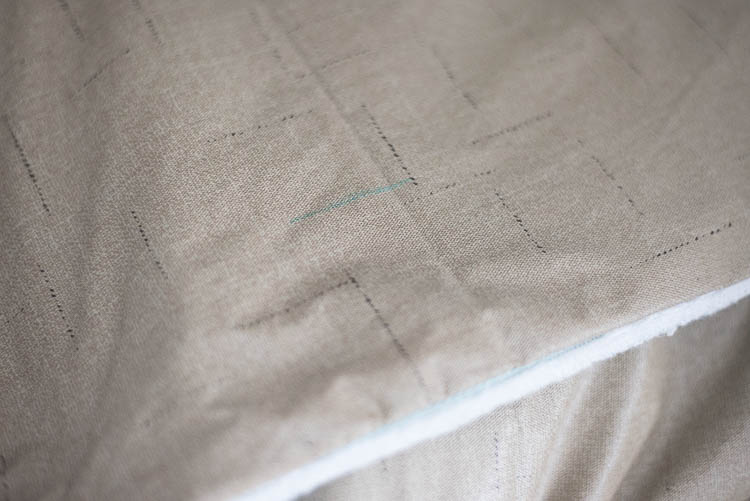
Unroll the towel, and sew your pocket in place.
Sew one side of each strap to the side of the bag on the marked spots. It doesn’t matter which side. The other side will have velcro.
Place the velcro on the other side for the straps, and place the other side of the velcro on the ends of the free straps.
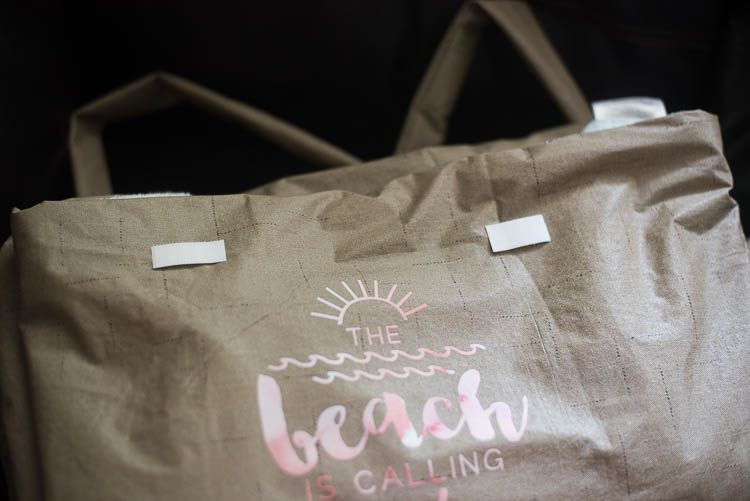
If you want to put the vinyl decal on, now you will do it! If not, you are done.
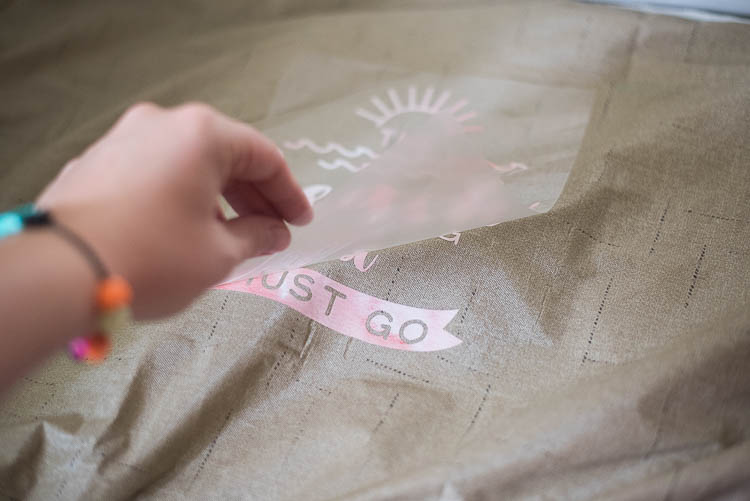
I wasn’t totally confident that I could iron on the decal without melting the tablecloth, but I was successful! I set my EasyPress iron to 210 degrees (the lowest it goes).
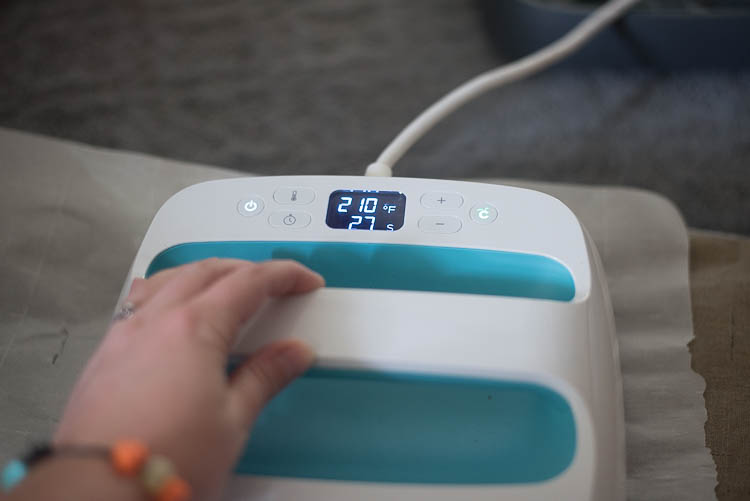
Then I placed a piece of parchment paper over the decal, and I pressed it in place for about 45 seconds.
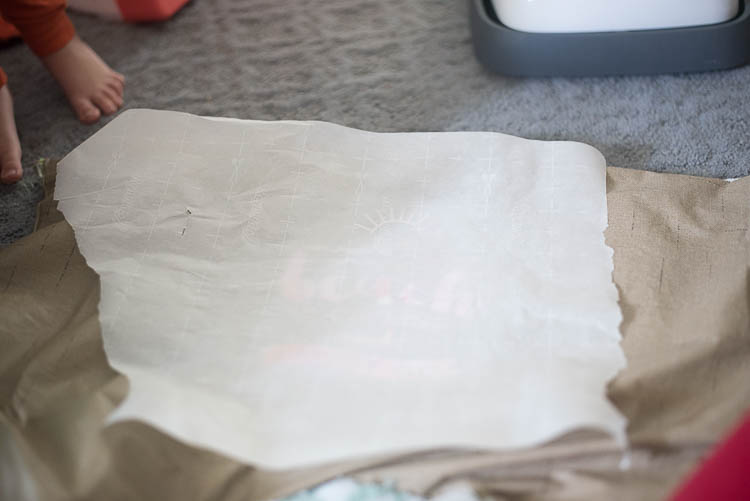
I let it cool for ten seconds, then I carefully peeled it back. It turned out great!

Other Sewing Tutorials You May Enjoy:
Other Cricut Posts You May Enjoy:
- 10 Easy Cricut Maker Projects (Using Less than Five Materials!)
- 40+ of the BEST Cricut Home Décor Projects
- How to Use Cricut Iron-on Designs

I have a Cricut EasyPress, and love it. Love all of your posts. Thank you so much for sharing.
Thank you, Deborah! I appreciate your comment 🙂
This is such a cute and mega smart idea!! Thanks for the detailed tutorial!