DIY Chalkboard Table Tutorial
An easy DIY chalkboard table tutorial using an inexpensive table and chair set.
This is a sponsored post written by me on behalf of Gladiator GarageWorks for IZEA. All opinions are 100% mine.
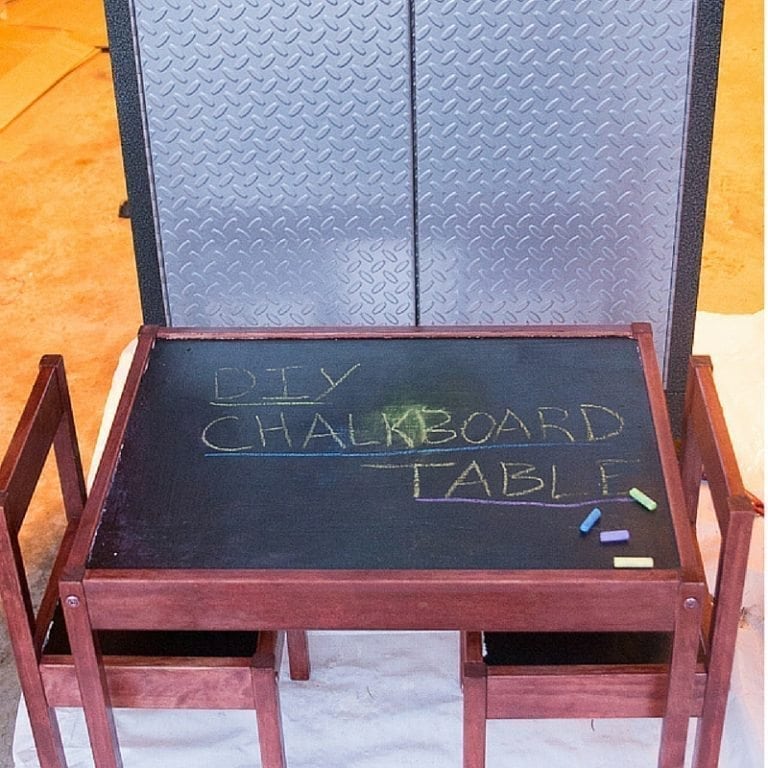
It’s spring time, which means two things.
Time to get organized and time to work on all the DIY projects I’ve been putting off. Or maybe spring just means that for me! I mean, don’t get me wrong, I’ve had plenty of DIY projects that I’ve been doing indoors, but we have a lot that need to be done outside that I’ve been itching to do (like our DIY Cornhole board).
One project I’ve been dying to finish is a DIY Chalkboard Table. We purchased this cute table and chairs about a year ago, and I always wanted to turn it into a chalkboard table. Then I had Oliver, and the weather got cold, and life just got busy…and it kept getting pushed to the side.
Fortunately, Jack is pretty persistent, and because the weather was finally nice, he convinced us to finish it. I’m so glad he did!
Most of our tools and crafting supplies are scattered around the house and garage, so we took this as a good time to organize our garage a little bit. I never like to get rid of things, so we’ve been trying to find the best ways to organize our home. We recently were sent the highly rated Gladiator GarageWorks Tall GearBox, and it’s perfect for storing our power tools, other tools, paint, and other products that we use for DIY projects done outside.
It came just in time, because it justified me keeping some of our products, and it helped everything be a little more organized. 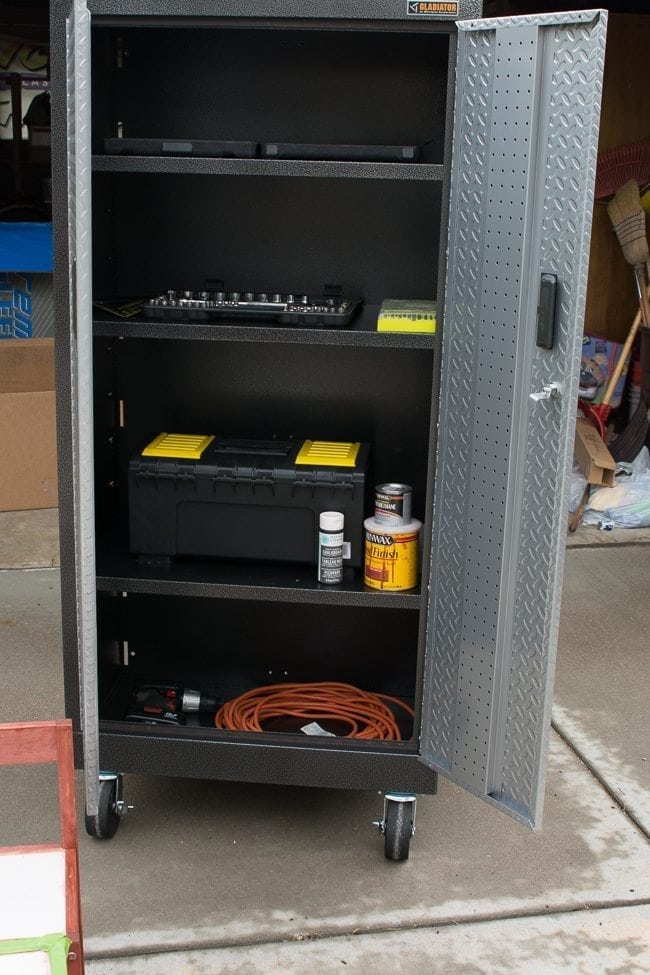 It’s awesome for storing our different tools because it can be wheeled around to wherever we need it. Forrest thought it was great to have as we worked on this DIY chalkboard table because he was able to easily access everything without scattering it on the ground. I also am not a fan of keeping paint or stains inside our house, but I get nervous just having them sitting around in the garage as well, so the Gladiator GearBox has been a great solution for us.
We recently got back from vacation, and the resort home we stayed in had three of them set up in the garage! You can see some more of their awesome home products on the Gladiator GarageWorks Facebook.
It’s nice to have more space cleared up in our garage thanks to this Gladiator GearBox – more room for us to do our DIY projects! I can now justify keeping a lot more of our crafting and DIY supplies now that we can more easily store them in here. And speaking of…on to our DIY chalkboard table!
Materials:
Sand paper
Table and chairs (we used a set that is about $20 from IKEA)
Chalkboard paint (We used Martha Stewart Brand)
Chalk
Minwax Wood finish (we used the Minwax Sedona color)
Minwax Wood protective finish
paint brushes
paint tape
Instructions:
Here is a video with a brief overview. The full tutorial follows.

Sand the table and the chairs. 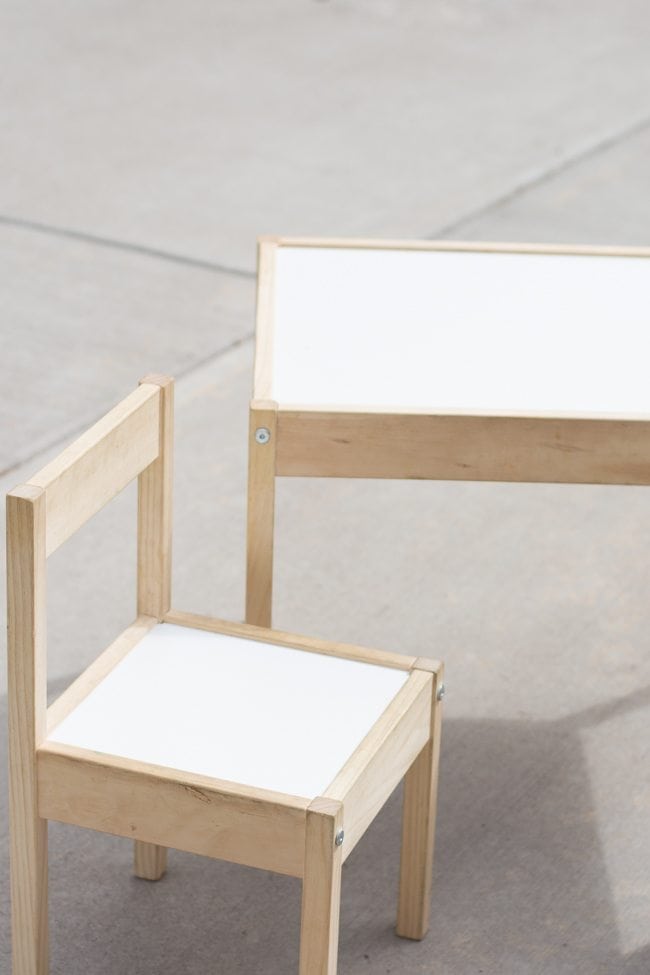 Using the stain and a paint brush, stain the wood of the table and chairs. Repeat as many times as necessary and let dry according to stain instructions. The more coats you do, the darker the color.
 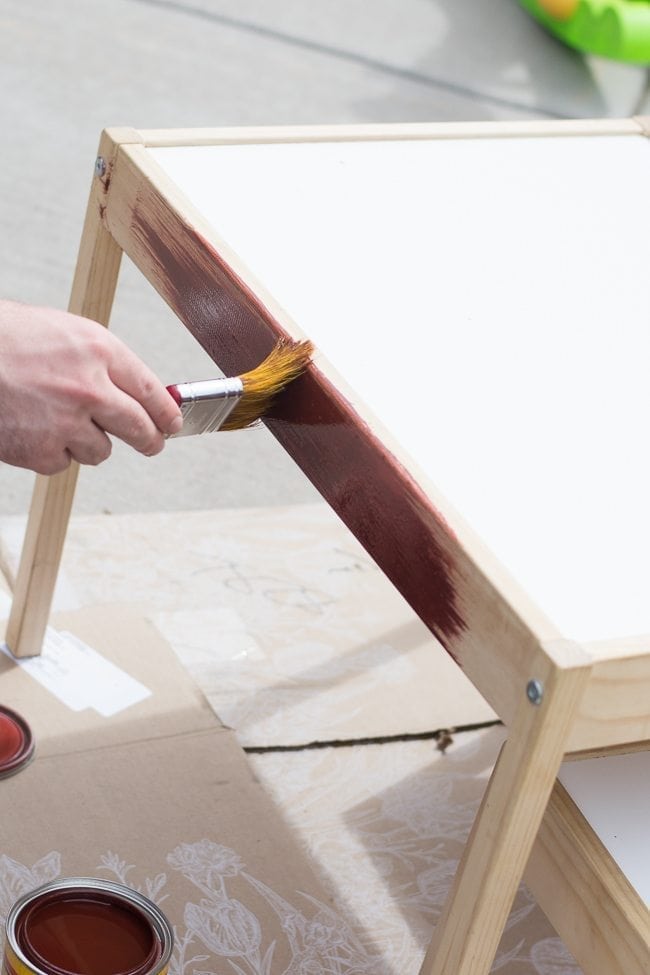 Use the clear protective finish on the wood. Put down painters tape around the edges of the top of the table and the chairs so you don’t get paint on the wood.
 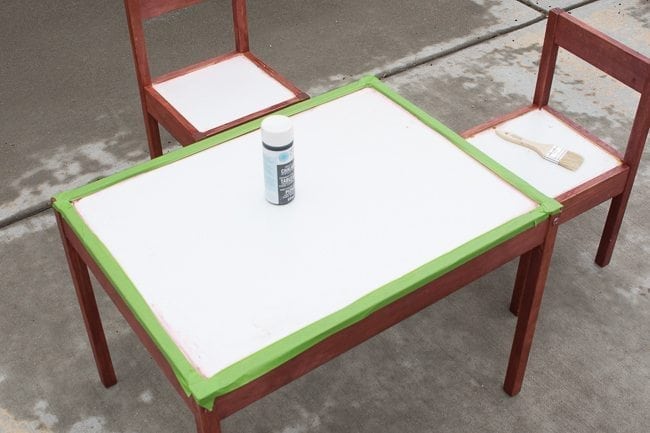 Paint one coat of the chalkboard paint on the tops of the table and chairs. Let dry, repeat again after an hour. Let dry 24 hours.
 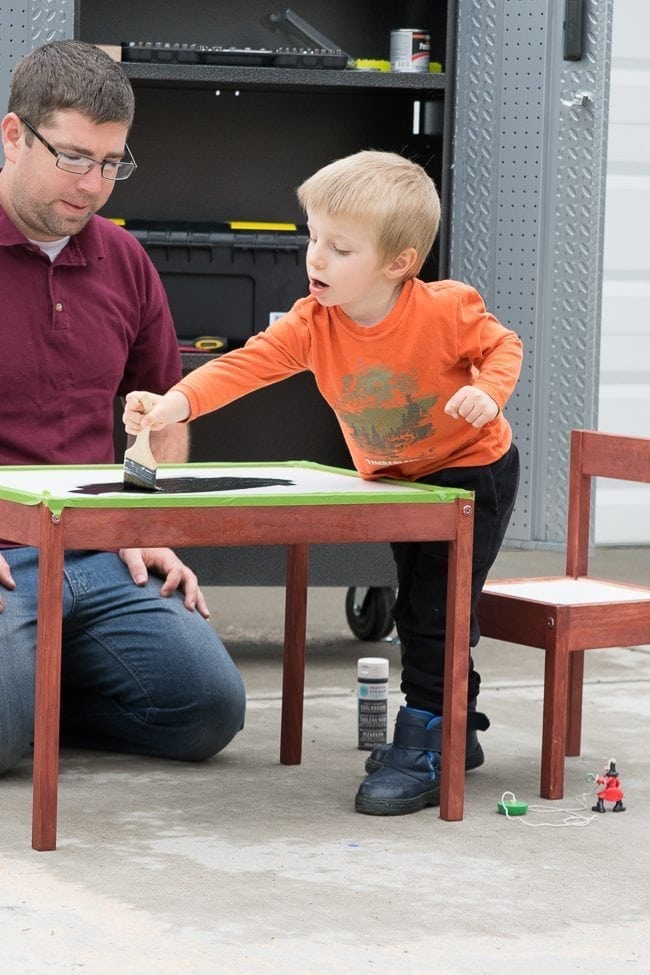 Draw with a piece of white chalk all over the chalkboard 24 hours after it has dried. Clean off with a chalk board eraser. Enjoy!
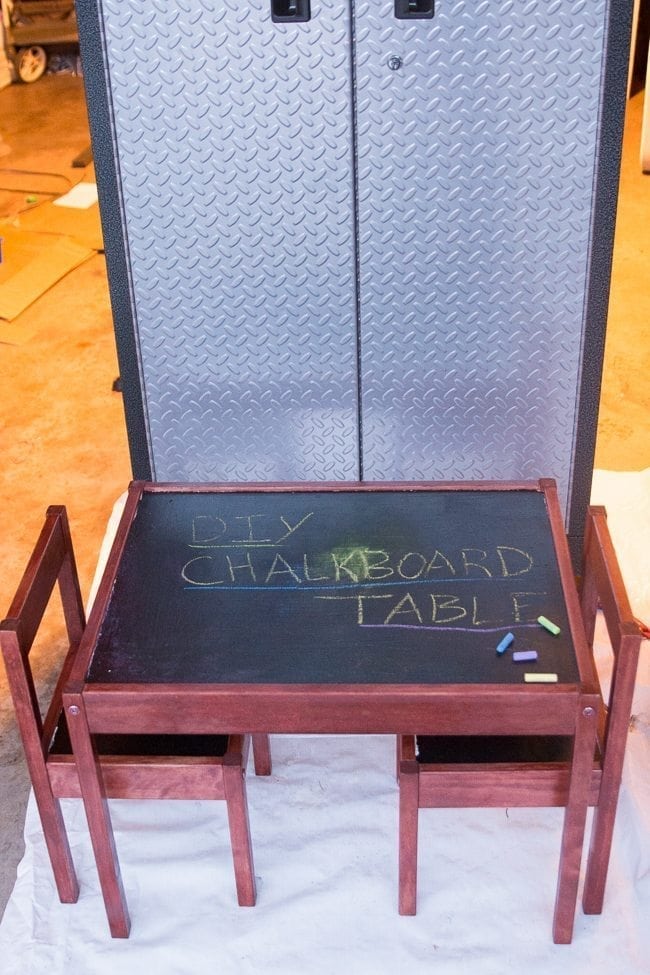




It looks so great! I love that you let Jack help, too! I just used spray paint chalk on the glass of a frame and it turned out so good! It’s so fun having a place to color!
He always loves to help so we try to let him whenever we can! That’s a great idea to try it on a picture frame! I will have to try that out!