DIY Colorado Flag Wooden Sign
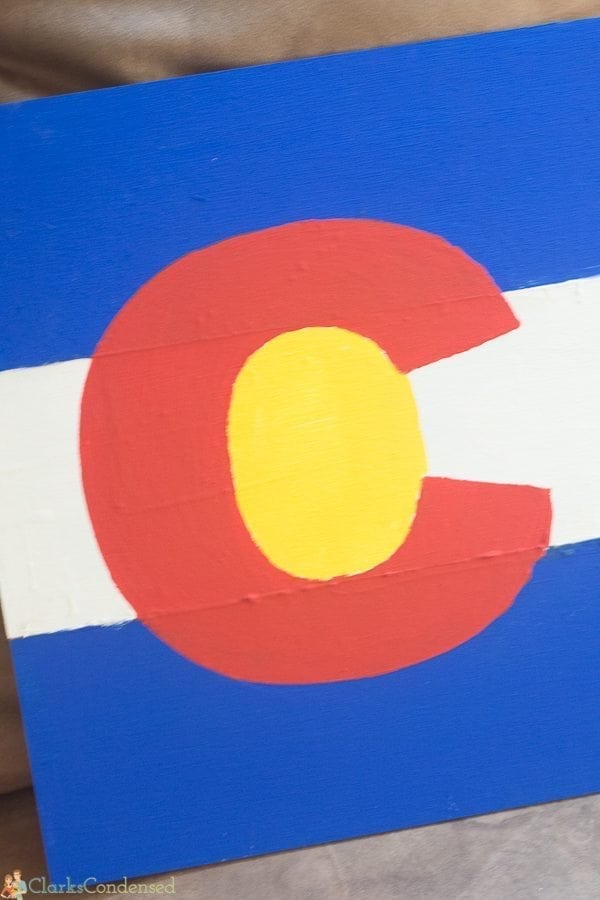
A few weeks ago we went on a fun weekend vacation to Breckenridge, Colorado. Forrest and I invited my mom, dad, and brother to come along, which made it even more fun!
One of the things that is fun to do in Breckenridge is walk down the main street and visit all the little shops. We did that a few times, mainly after we finished eating at one of the many yummy restaurants there. Since my little brother was getting ready to leave to go to BYU in Utah, he wanted to try and find something to put in his dorm room to show is Colorado pride!
Unfortunately, we had a hard time finding anything beyond t-shirts. He was a little disappointed, and he mentioned he wished that they sold wooden signs like the ones we had seen earlier this summer at a local farmer’s market.
Well, the more I thought about it, the more I realized it wouldn’t be too hard to make something like he was describing. Thankfully, the Colorado flag is very easy to replicate, and I didn’t think I’d need more than a few materials to make it. So, I went to Michael’s and picked up the materials and got to work on this going away present.
It really was a pretty simple project, and I think all the materials were about $6 – not too shabby (especially because products we’ve seen similar to it go for between $20-40!)
I know that not all of our readers are from Colorado, but in case you are and you are wanting to make a wooden Colorado flag – here’s a tutorial on how to do it. This is a great going away present for college students, or for someone who just loves the state!
Forrest and I spent a lot of time picking out the right shades of colors for the flag when we were at the store, so the exact brand and colors I list below are what we recommend!
Materials:
Craft Smart Peacock Blue Acrylic Paint
Craft Smart Bright Red Acrylic Paint
Craft Smart White Acrylic Paint
Craft Smart Bright Yellow Acrylic Paint
Three rectangular pieces of wood (we used pieces that were about 1/4″ thick. If you use thicker wood, you may need to put reinforcements on the back like we did)
Square wooden rod – we used a smaller one for the reinforcements on the back
Foam Paint Brushes
Wood Glue
“C” Stencil – I made mine with a Silhouette machine, but you could easily print off a giant “C” onto cardstock and cut out your own stencil.
Something to attach to the back so it can hang on the wall – we chose to use wooden rods, but if your wood is thick enough, you can probably get away with a hammer-on picture hanger!
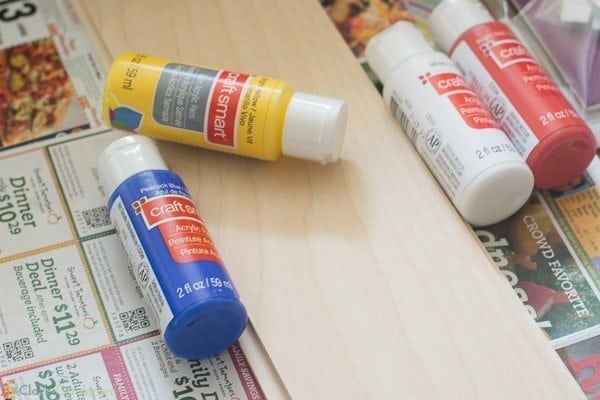
STEP ONE:
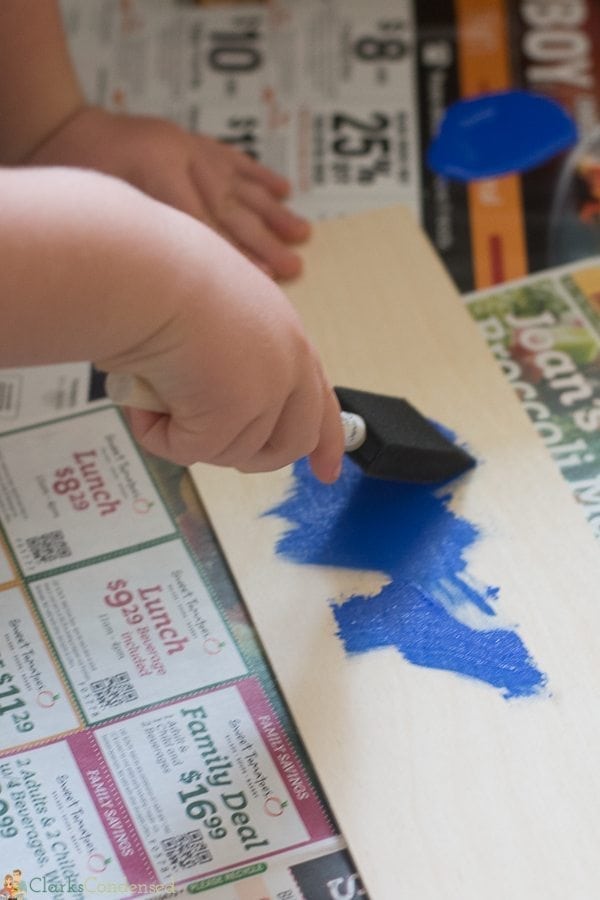
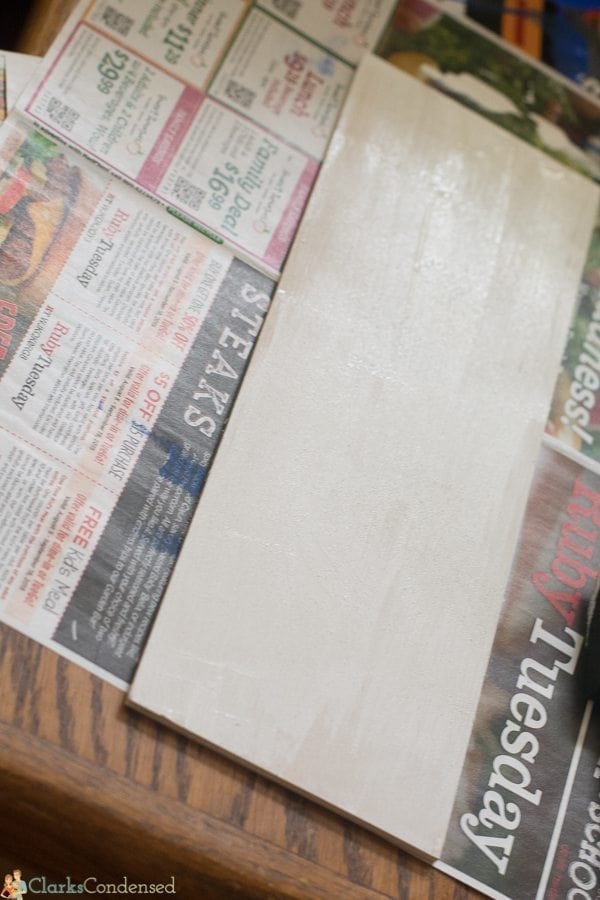
Paint two boards blue and one board white. Let them dry completely and then paint with another coat. You may want to do an additional coat after that just for good measure.
STEP TWO:
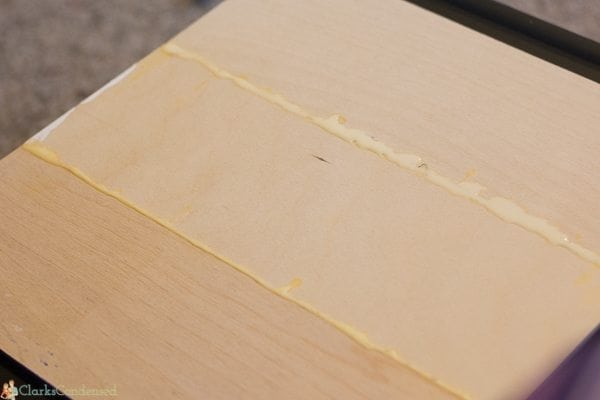
Using wood glue, glue the three pieces of wood together. Be careful when doing this that the glue seeps through as little as possible to the painted side. I would just glue two pieces together and then add another one.
STEP THREE:
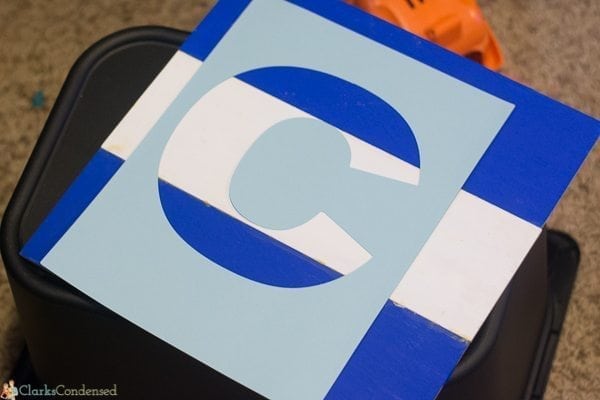
Create a stencil of a “C”. I did this using my Silhouette machine and a piece of cardstock. I believe I used Arial Font in the Silhouette Studio, but I would just go through whatever program you are using and type a “C” with a different font until you find one that looks good. You can easily make a stencil in Microsoft Word (or something similar) as well – you’ll just have to cut it out yourself!
STEP FOUR:
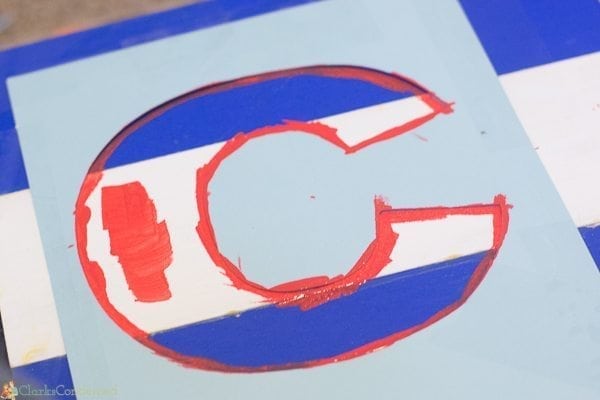
Tape the stencil to your wooden boards and paint the “C”. This was the most nerve-wracking part for me if I’m being honest! When you paint around the “C”‘s edges, you need to hold down the paper so the paint doesn’t bleed underneath. You also need to do about 5-7 coats before it really covers up the white and blue.
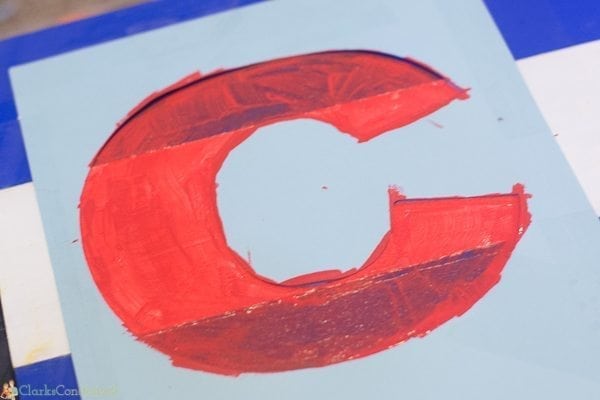
STEP FIVE:
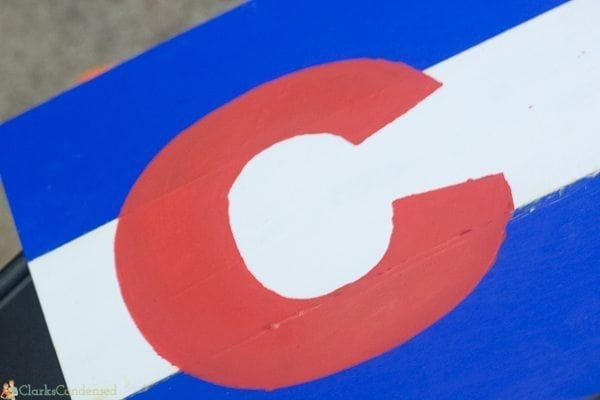
Once the last coat of red has dried, carefully remove the paint and tape.
STEP SIX:
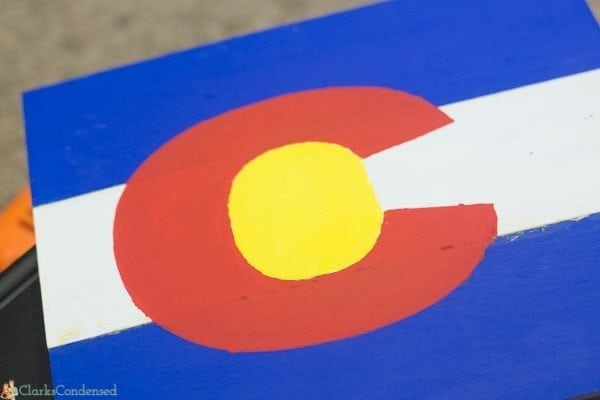
Carefully paint the yellow into the center of the blue. In this picture, I paint straight down so it wasn’t as rounded, but then I ended up rounding the yellow part off so it was more ovalish – you can see this in the finish product.
You may need to touch up some of the other paint at this point.
STEP SEVEN:
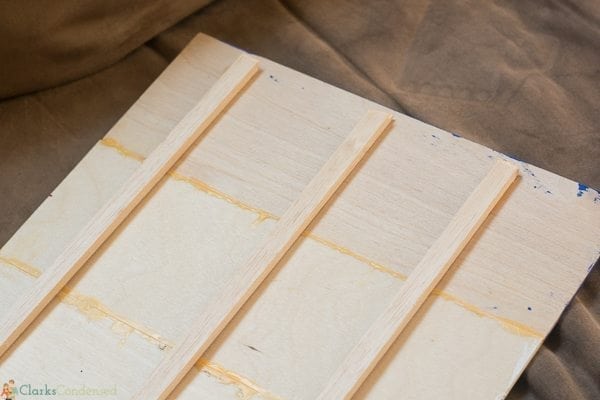
After the paint completely dried, we added this three pieces of wood to the back of the board for reinforcements. This may or may not be necessary if you use thicker wood. At this point you can also add something to the back to make it so it hangs up or stands up.



This is so cute! I love the way it turned out! Colorado pride!
Thank you!