DIY Conversation Heart Garland (No Sew)
DIY Felt Garland
I’m so excited to announce a new series I am hosting with my friend, Amber, from Amber Simmons!
We both are big fans of Cricut, so we thought it would be fun to join with some of our other Cricut blogger friends to do a mystery material challenge each month.
Basically, we send out the material to the participants, and then we all come up with a fun project and tutorial using it.
Welcome to the first Create with Cricut Challenge 2018!
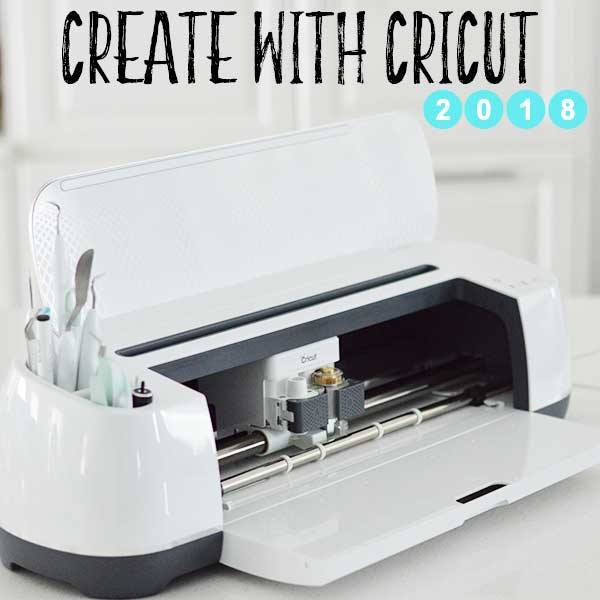
We decided that for the first month, we would go with an easy-to-find material that everyone always wants to make projects with…
FELT!
I don’t know why I felt the need to make that pink. Haha! Seems fitting.
First off, I am going to share my project. And then at the end, you’ll be able to see a collection of other felt-inspired projects to help you get your craft on.
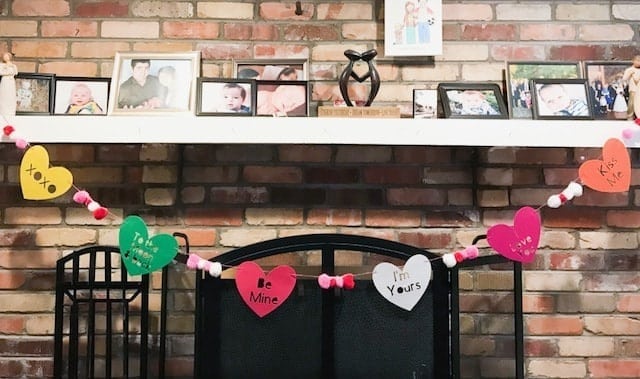
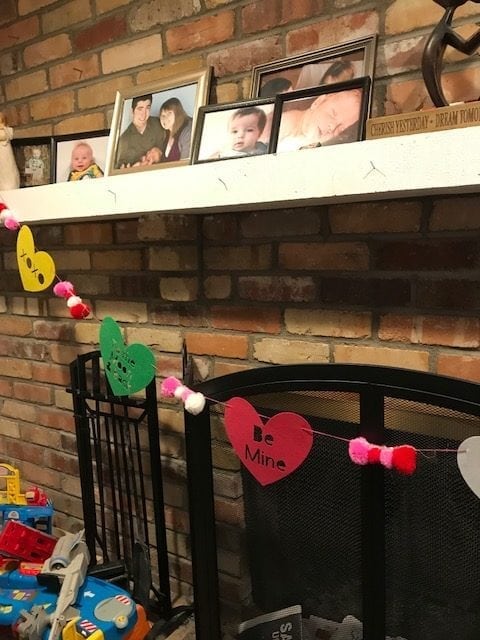
Since Valentine’s Day is coming up, I’ve been wanting to make a cute banner to hang over our fireplace. Awhile back, I had the idea to make a conversation heart banner, and I thought this was the perfect opportunity.
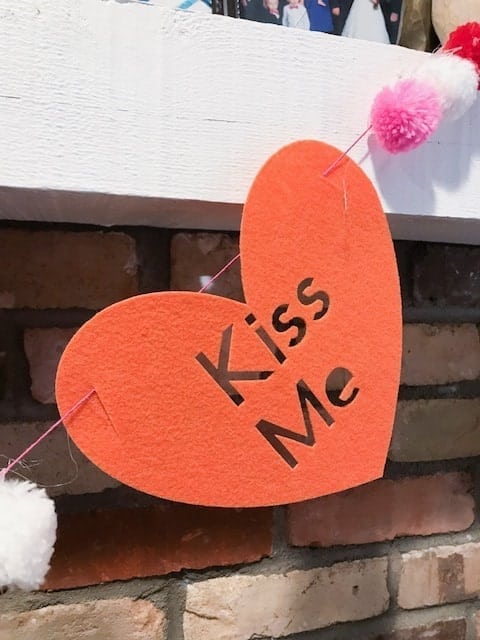
I thought it was going to be a simple project but that thought always seems to be the kiss of death when it comes to projects. By the time I was finished, I wanted to throw my Maker out the window…but alas, I didn’t want to spend $400 on another machine, so I held back 😉
Anyways, the problem I had with cutting the felt is that I went with a much thicker and stiffer felt than I would normally use (and let’s just say the preset setting for thick felt barely made a dent in it!)
In the end, I ended up using the Rotary Blade and cranked the settings up super high.
HOWEVER, if you don’t use the super stiff felt I used (I got it at JoAnn’s Fabric), you can definitely make this project with the Explore Air 1 or 2. I had messed up the white and pink felt I had bought, so I ended up using some of the Cricut branded felt that I had in my office, and it worked perfectly.

The Cricut felt was the perfect midway point between the floppy 39 cent felt at JoAnn’s and the stiff felt I had bought. It was stiff enough that it didn’t flop around on my banner…but thin enough that it cut beautifully with the fine point blade.
So I highly suggest getting the Cricut brand of felt. I’m not a huge brand name person when it comes to materials (though I am a big cheerleader for Cricut), but with this project, I really found that their felt was the perfect compromise. I bought a package of multi-colors for less than $10 at Michaels (but you can always buy it on Amazon, Cricut.com, or Walmart – they even had same day pickup at my store!)
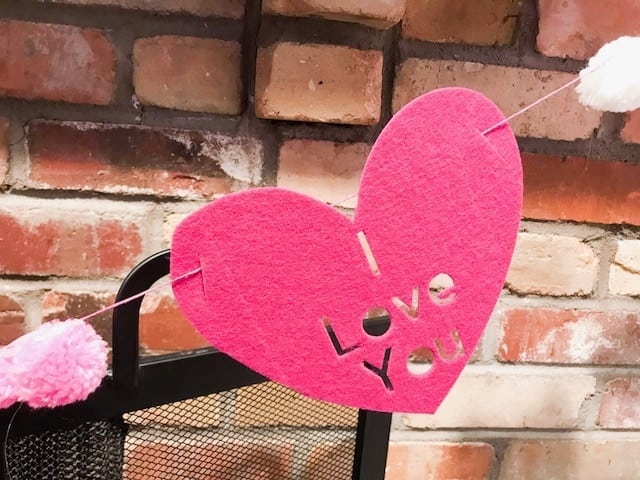
Anywho, after I spent an hour messing around with the settings and ruining far too much felt, I was able to make this super cute banner. I also added some little pom poms (though that’s entirely optional).
So if you do as I say and not as I do, you can definitely do this project in less than an hour. I will be sharing the Design Space file so you can just plug in your machine and go!
Oh, and check out Amber’s simple heart banner. I wasn’t totally sure how I was going to go about stringing the hearts, and I saw that she did this cute banner and showed how to string it. So credit to her for that portion of this tutorial 🙂 It’s a really cute project, too.
DIY CRICUT HEART GARLAND
Materials:
6 sheets of 12×12 craft felt in a variety of colors (like I mentioned above, I highly recommend Cricut brand. If you have the Maker, you can use the thick and stiff kind from the craft store. If you use a floppier kind, I recommend using a stabilizer)
Cricut Explore Air 1 or 2 or Cricut Maker
Fine Point Blade or Rotary Blade (for Maker)
PomPoms (optional)
Hot glue (only if you use the PomPoms)
Directions:
Open this project in Design Space. Feel free to change any colors that you want (this is mainly so you can visualize what they will look like and to arrange the mats).
If you’d like to make another heart with a different phrase, make a heart that is 7.5″ x 6.682″. Place the text box inside the heart, write out the phrase, select both the heart and font, and then press “slice” in the tools panel. To get the cut lines, just go to the image library and search for “line” and place them in a similar spot to where I have them.
Send your project to cut. If you are using Cricut felt, just use the default felt option. If you are using a stiffer felt, use the rotary blade and create a custom material. You will want to say it’s for the rotary blade with a pressure setting of 2974.
After your felt is cut, lay the baker’s twine on the ground the length you want it to be and place the hearts on it to visualize how you want it to be space.
String the hearts onto the baker’s twine through the cut lines.
If you want to add pom poms, glue together random bunches using hot glue, and then glue them to the baker’s twine.
Hang and enjoy!
Cricut Felt Project Ideas
And now for all of the other super creative and wonderful ideas from fellow Cricut Bloggers. Make sure to hop around and give them some love. Make a few of these projects yourself!
‘);


