DIY Cricut Christmas Matching Game

My son absolutely loves matching games – and I love them, because they are easy for us to play together.
We’ve accumulated a few over the years, but last year, I made this Halloween matching game, and it’s been a family favorite ever since.
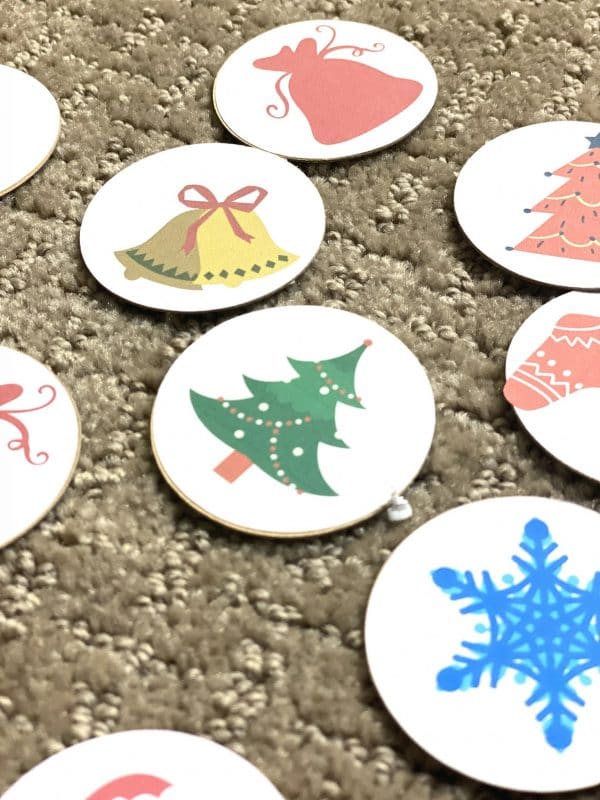
This year, I decided to make a Christmas version, and I am so thrilled with how it turned out! It’s a very easy project to make, and I hope you all enjoy it as much as I do.
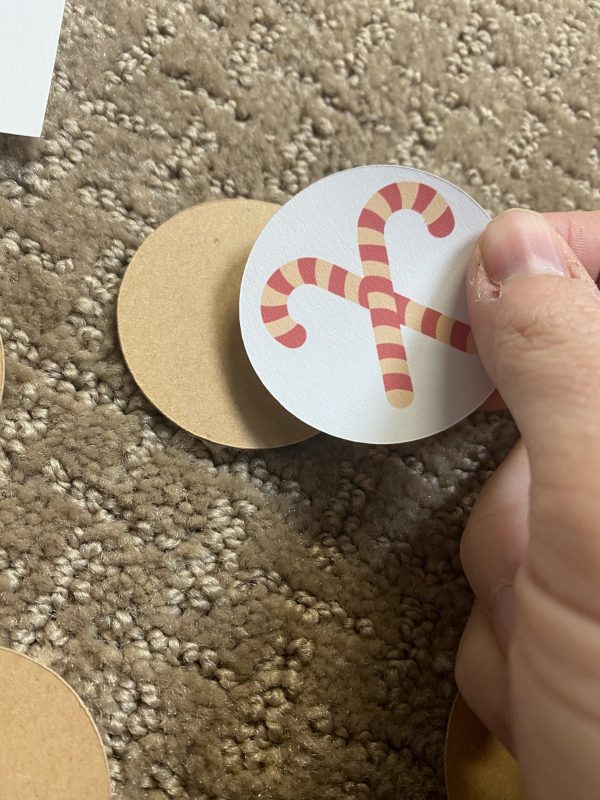
For more details on making and designing your own matching game, you can click here. But if you want to duplicate my project, just open up the file below, follow the instructions, and you will be good to go!
This project uses Print then Cut – if you are unfamiliar with this technique or have trouble with it, click here for everything you need to know.
What You Need:
When I originally made my matching game, I used chipboard. It made for very sturdy pieces, and it’s lasted really well.
However, it takes a LONG time to cut. So this time, I decided to use Kraft Board. It is a bit thinner and slightly less sturdy, but it took a lot less time and still looks great. It’s entirely up to you, though!
- Cricut Maker or Explore Air
- Fine Point Blade (or if you are using thick chipboard and a Maker, you will want to use the Knife Blade)
- Medium Grip Mat
- Sticker Paper – I LOVE the Staples Brand sticker paper. It works SO well!
- Printer
- Chipboard or Kraft Board
Design Space File:
For the Design Space file – which includes 30 images and 30 circles to be cut – click here!
If you’d like to customize it and change the images, you will need to unflatten and then detach the image you are changing. After you’ve selected a new image, make sure you attach the image to the white circle and then flatten.
Instructions:
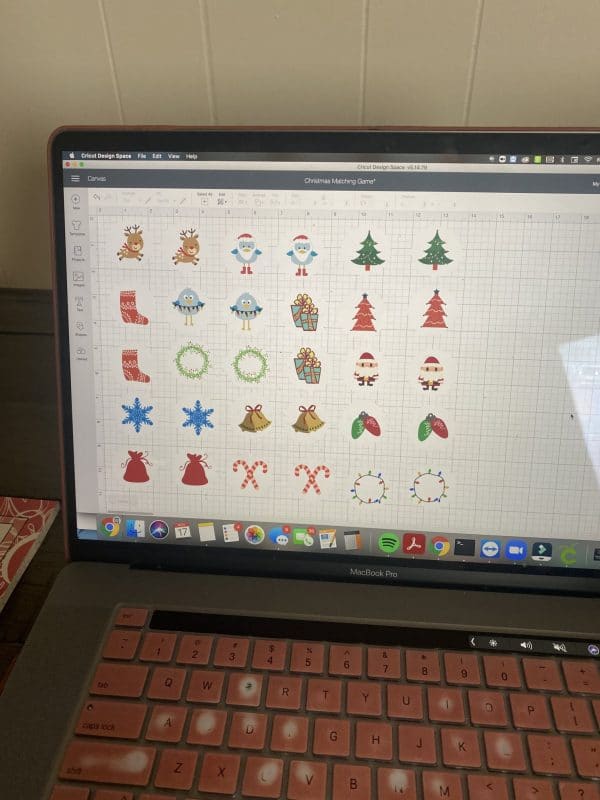
Open file in Design Space.
Press Make It – make sure everything is fitting on the mats in the correct way. I sometimes have to rearrange the circle pieces (not the stickers).
Print your stickers to your printer.
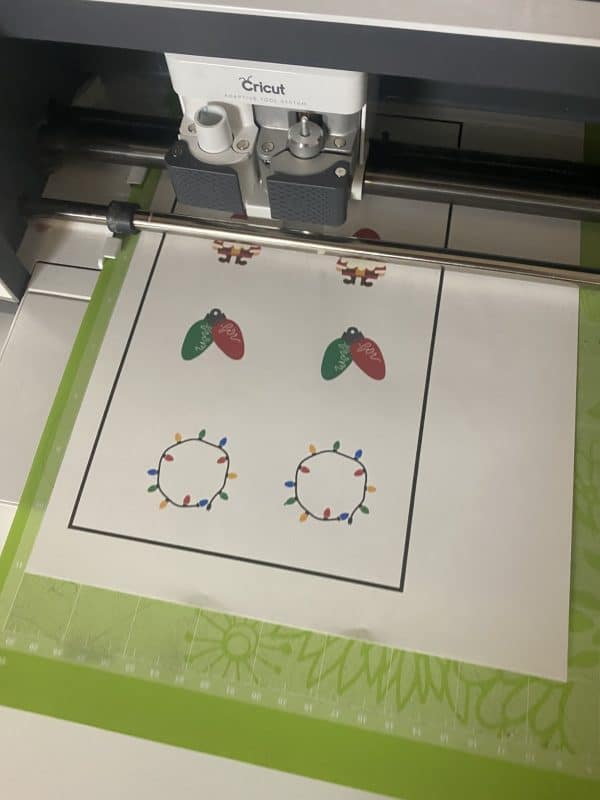
Place on a mat and have your Cricut cut it out.
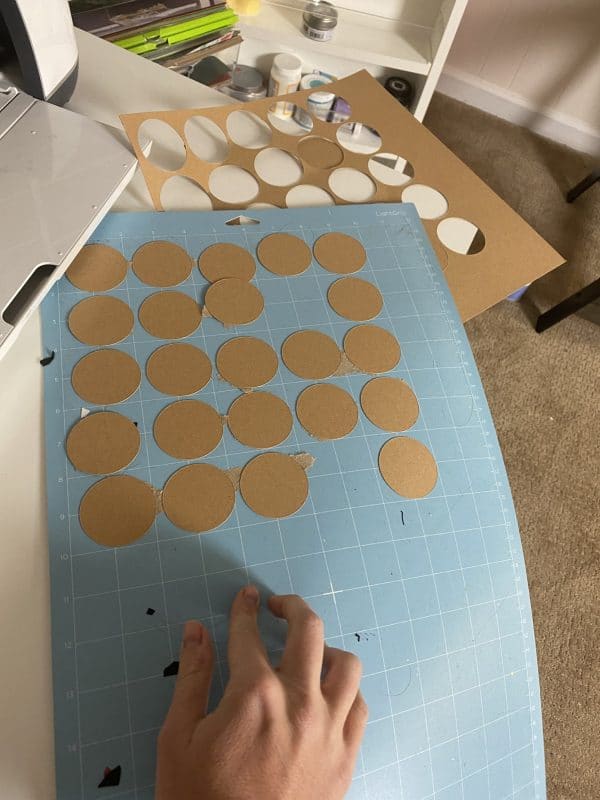
Now, place your chipboard or kraft board on the cutting mat and continue the prompts in Design Space to cut these out.
Remove from mat.
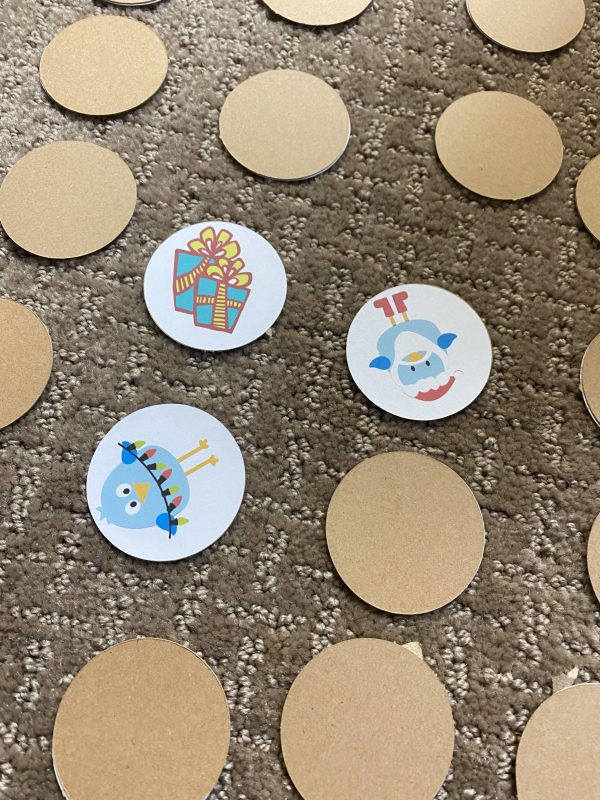
Once everything is cut, place one sticker on each circle and you are done! We store ours in ziploc bags.
More Cricut Christmas Projects You May Enjoy:
- 30+ Easy Cricut Christmas Ornament Ideas
- 50+Cricut Christmas Projects for All Levels
- EASY DIY Christmas Stocking
- A Cricut Christmas Gallery – Free Design Space File
- DIY Baby’s First Christmas Ornaments – Three Fun Ideas!
