DIY Custom Socks – Free Design Space Templates!
Being a wife and mother is something I looked forward to from the time I was a little girl.
Sometimes I have to pinch myself when I look at my loving husband and two beautiful children and think, “Is this really my life? How did I get so lucky?”
Because there really is nothing better than being a mother.
However, it can be exhausting, heart wrenching, and really, really hard at times. I’d be lying if I tried to deny that!
My family is my life’s work – but that doesn’t mean I should neglect myself! And that’s something I’ve been trying to be better about.
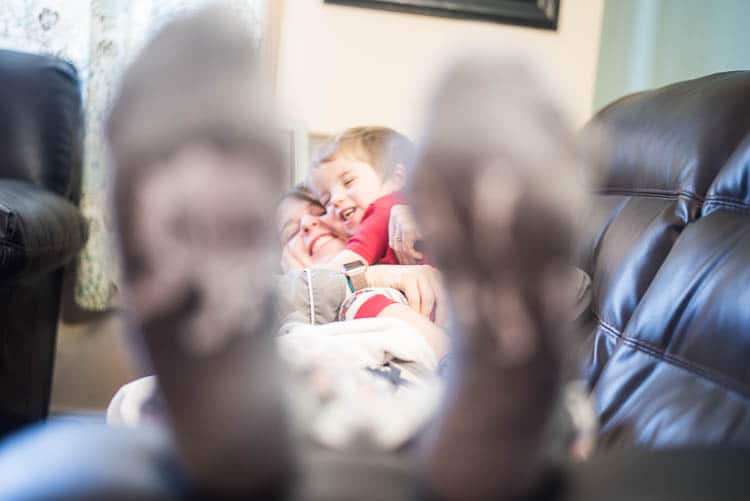
Whether it’s just turning off my computer a little earlier at night so I can watch a TV show, or kicking up my feet, putting on some socks and my robe, and cuddling with my boys – sometimes it’s important to just take a step back and enjoy life.
So when I was presented with the opportunity to be a part of the Cricut Self-Care Tour, I was ALL over it. All of us were asked to create a fun “self-care” project and share it.
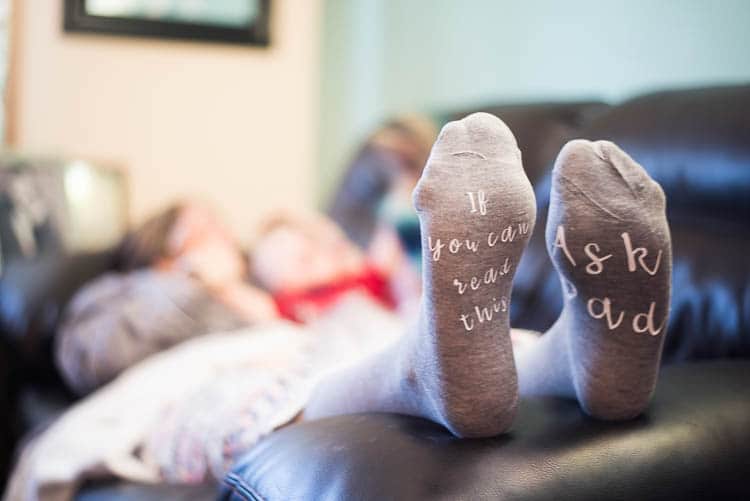
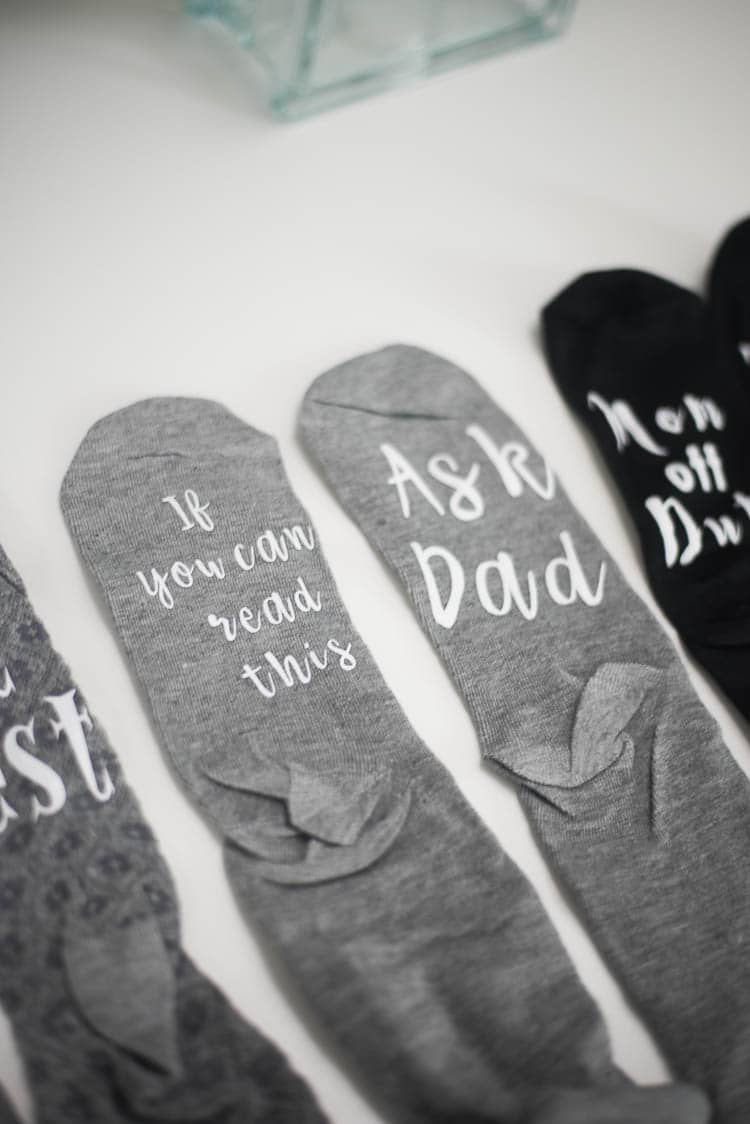
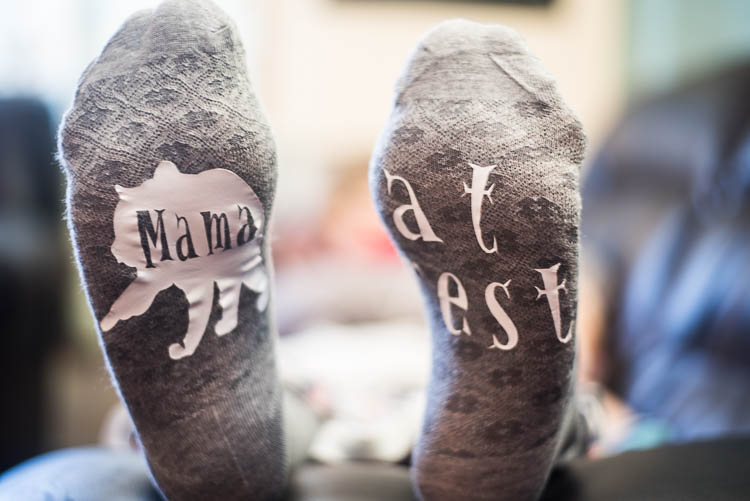
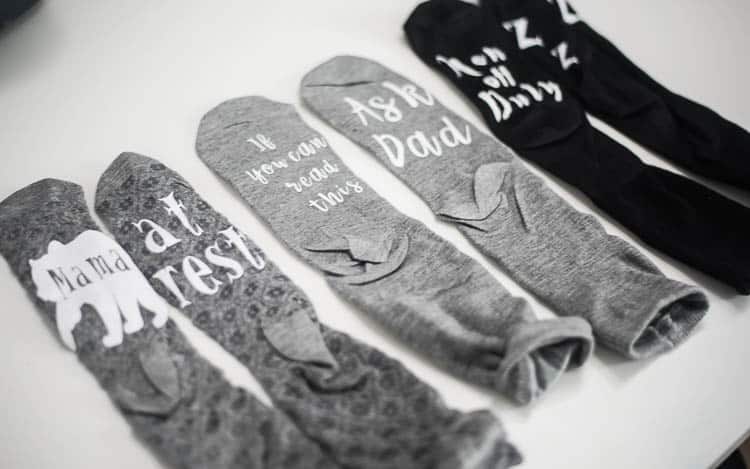
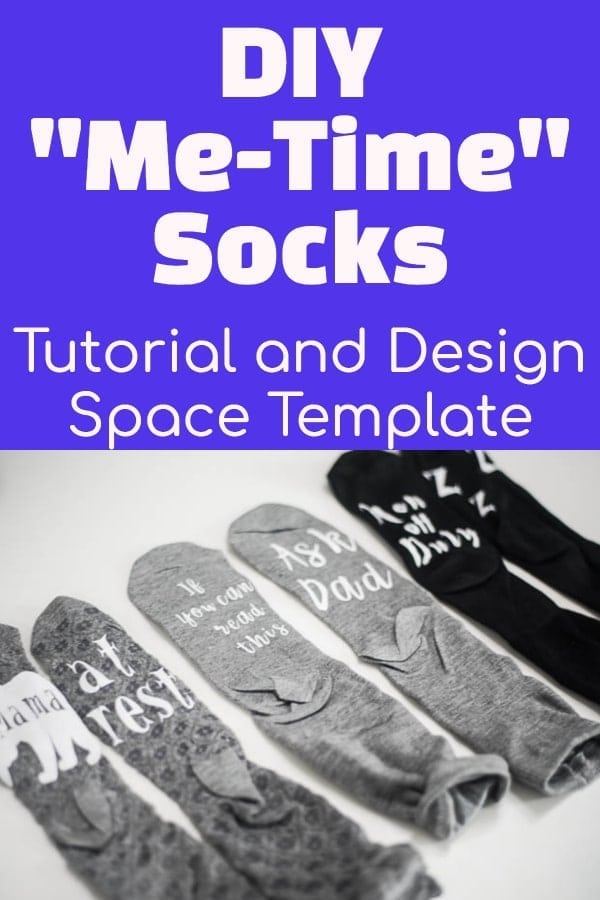
Today, I’m sharing how to make “Me-Time” socks with fun phrases. These are really popular right now, and they always make me laugh.
Here is the set that I made – and you can get the templates for free in Design Space!
Materials:
Socks
HTV/Iron On Vinyl. I recommend the new SportFlex Iron on from Cricut since socks are stretchy! I didn’t use that on my socks originally, and I wish I had!
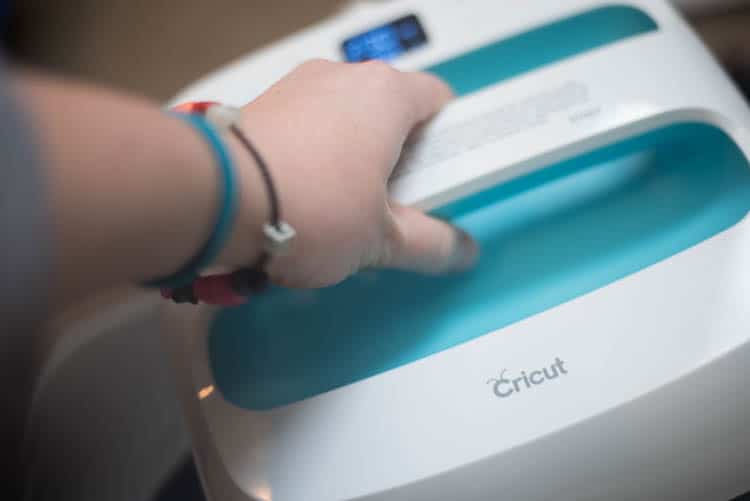
EasyPress or Iron
Instructions:
Step One:
Create your design in Design Space or use our pre-made templates. You will want to put one of your socks on your foot so you can measure what you want the width and height to be for your words/pictures.
Step Two:
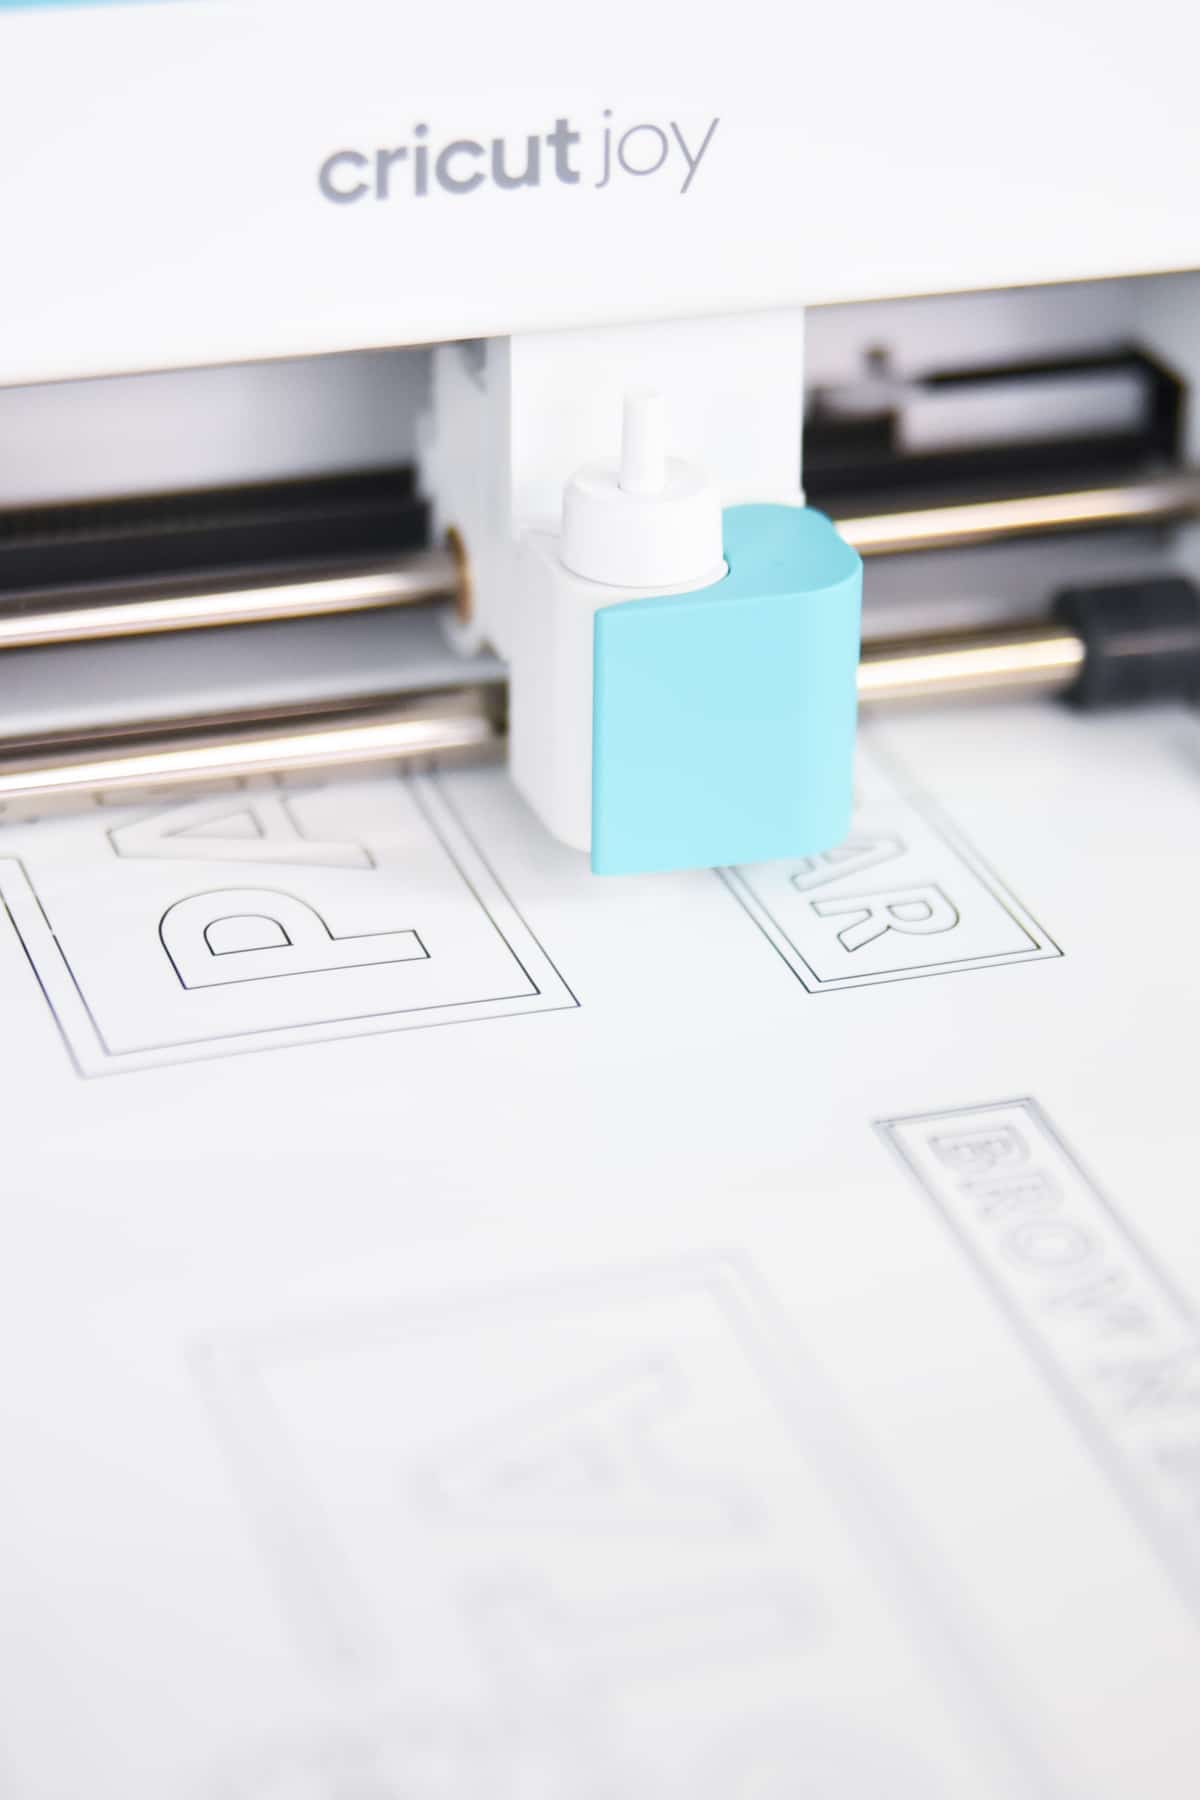
Send the design to cut. Make sure you mirror the design, select the correct settings for the HTV you are using, and insert your fine point blade.
Step Three:
Once your material is cut, weed out any excess. Trim down the plastic as much as possible.
Step Four:
Place the decal on the bottom of the socks. This can be a little tricky, so just take your time.
Step Five:
Using your EasyPress or Iron (heat to the recommended temperature for the materials of your socks), adhere the HTV to the sock. Let it cool about 30 seconds and then slowly remove the plastic.

Now go check out all of the rest of the projects in this Blog Tour – and take care of yourself, too 🙂
Self Care with Cricut Blog Tour
3/19: DIY Adult Onesie with Sassy Drop Seat // DIBY Club
3/19: Matching Robe and Slipper Set // Not So Cli-Shéa
3/20: Custom Sleep Masks // See Lindsay
3/20: Mother of the Bride HTV Tote // Dragon Fly and Lily Pads
3/21: Mug Rug and Custom Coffe Mug // Sally’s Angelworks
3/22: Peppermint Scrub and Container // Practical and Pretty
3/22: Me-Time Custom Socks // Clarks Condensed
3/23: Personalized Throw Blanket // The Quiet Grove
3/24: Felt and Fabric Bookmark // Crafting in the Rain
3/24: Adult Coloring Book // Jordan’s Easy Entertaining
3/25: Ice Cream Cozy // Pattern Revolution
3/25: Bow Pencil Case // Sook Ee Designs
3/26: Manicure Mitts // Intrepid Thread
3/26: Mantra Banner // Albion Gould
3/27: Knit Headbands // Lily Shine Creates



Thanks for sharing this Article with us. Great Keep it up.
Thank you for the DIY tutorial about how to make socks with fun phrases.