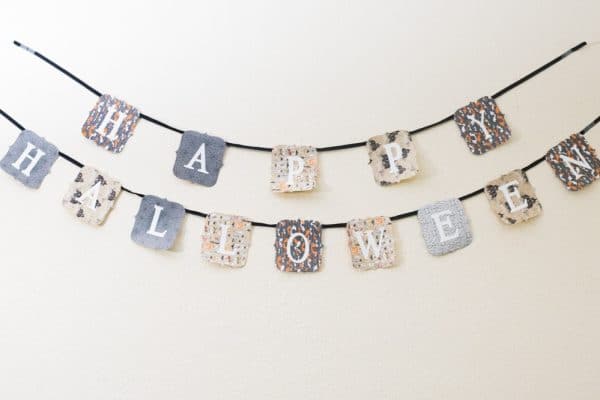
DIY Happy Halloween Banner – Free Design Space File
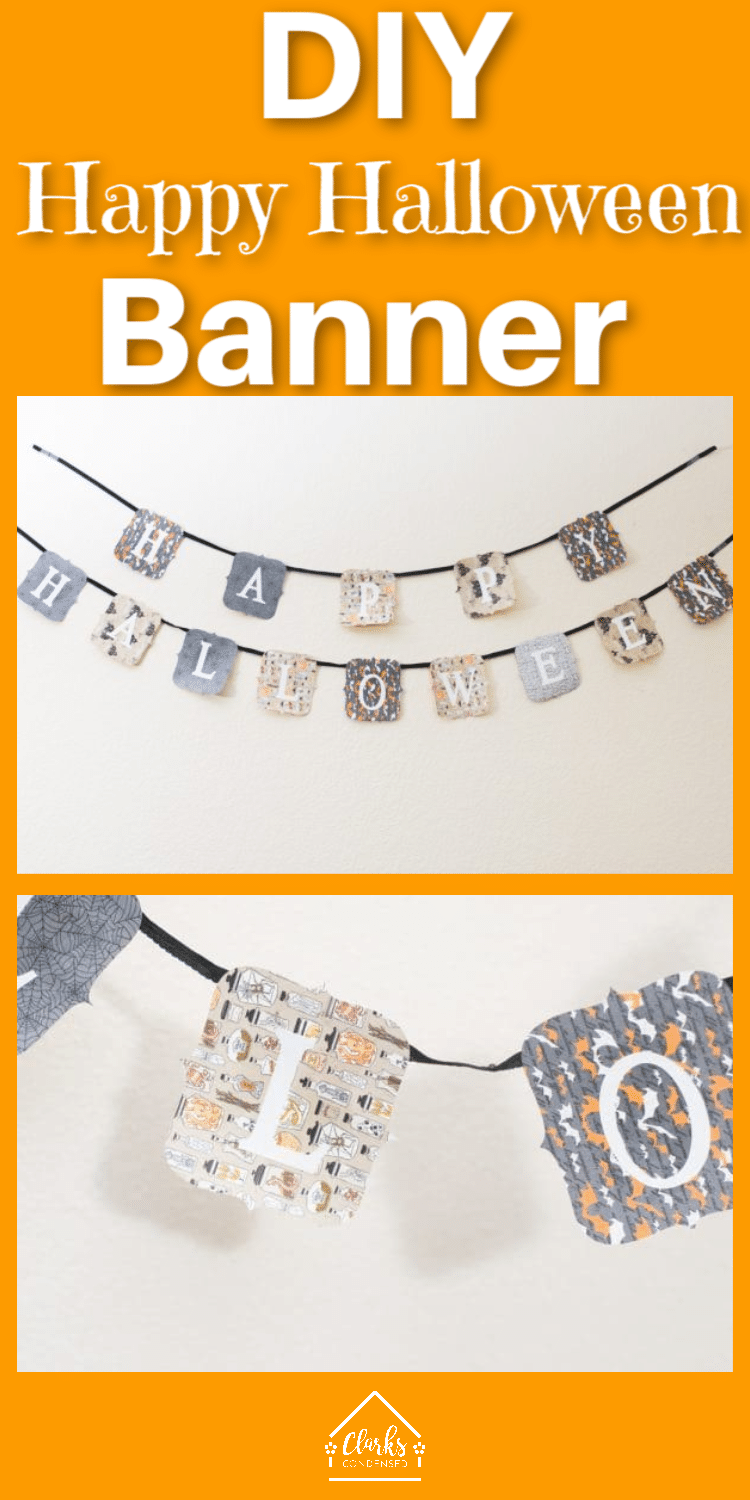
This easy-to-make Happy Halloween Banner is the perfect project to make with your Cricut this Halloween season!
As the second project for the month done in collaboration with Stampin’ Up, I decided to make a fun “Happy Halloween” banner.
Really, I think all holidays need a banner in your house – and Halloween is no exception.
I was really pleased with how this one turned out – and it was so easy to do.
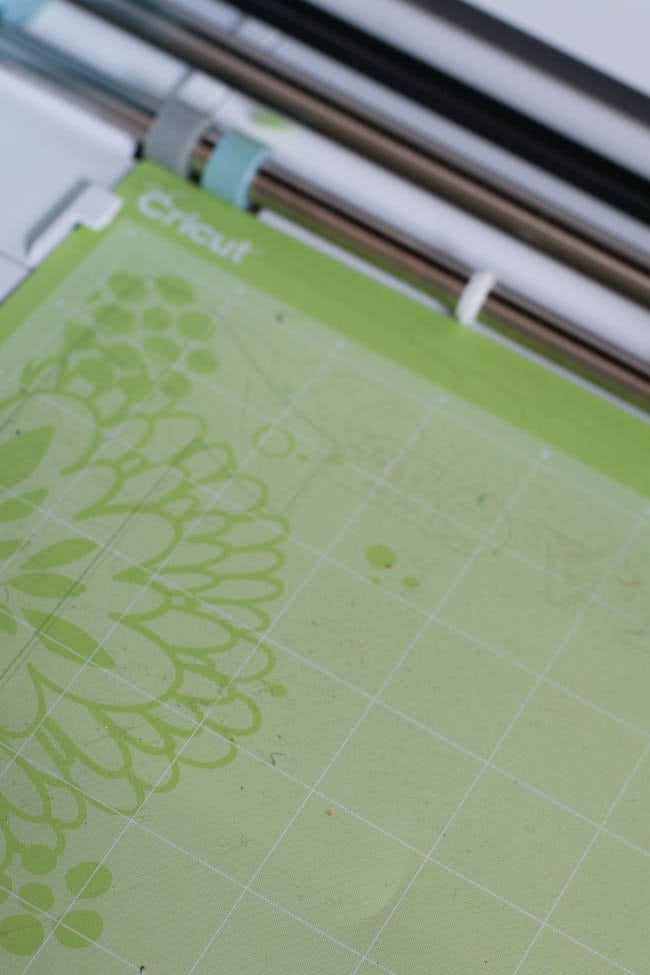
I made it using my Cricut, but you could cut the shapes and letters out yourself if you don’t have a Cricut or other die-cutting machine.
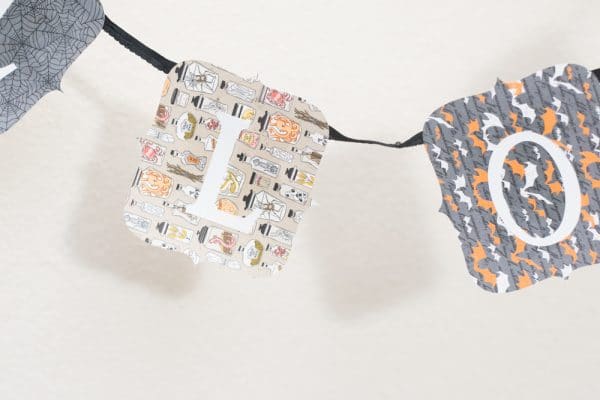
For this project, I used white cardstock, the Monster Bash Designer Series Paper from Stampin’ Up (which is SO fun), as well as the Basic Black Scalloped Edge Ribbon from Stampin Up’ as well.
Basically, I cut out the shapes for the background using different pieces from the Monster Bash paper set, and then I cut out all the letters using white cardstock.
Then we hot glued the ribbon to the back, and in no time at all, we had an awesome Happy Halloween banner to put in our house!
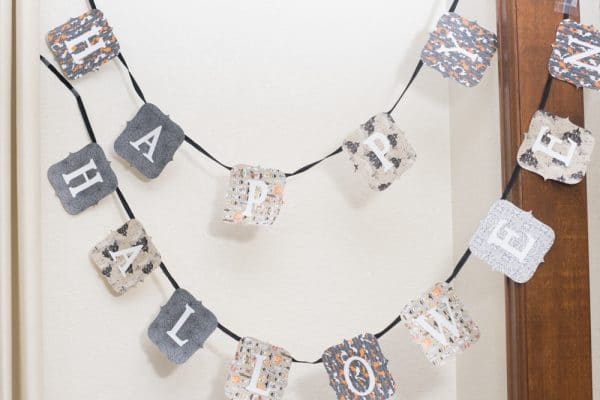
I do wish I could figure out how to take better pictures of banners! I don’t think I was able to make it look as cute as it looks in person…so just trust me on that!
Be sure to check out our other project with Stampin’ Up this month – DIY Halloween Luminaries.
Here’s how to make it!
Materials/Supplies:
- Design Space File
- Monster Bash Designer Series Paper (I used four different patterns. If you use different paper, just have it be medium thickness)
- White cardstock – 1 sheet of 12×12
- Basic Black Scalloped Edge Ribbon
- Glue Stick
- Hot glue gun with glue
- Cricut Maker or Cricut Explore Air 2
- LightGrip Mat
Instructions:
Open up this design in Design Space.
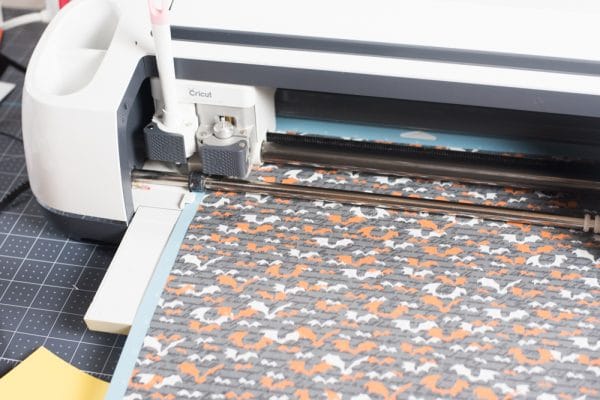
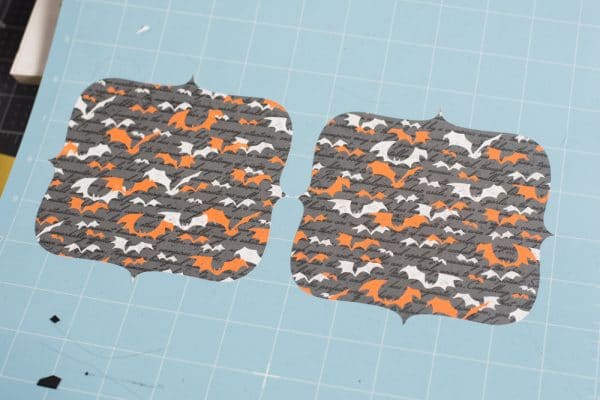
Cut out all the pieces according to the prompts.
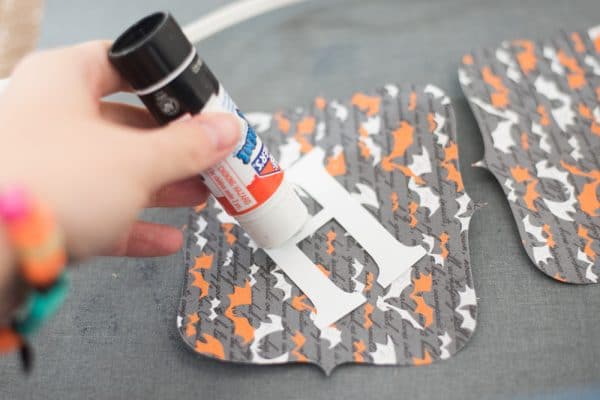
Glue one letter onto each back piece using a glue stick.
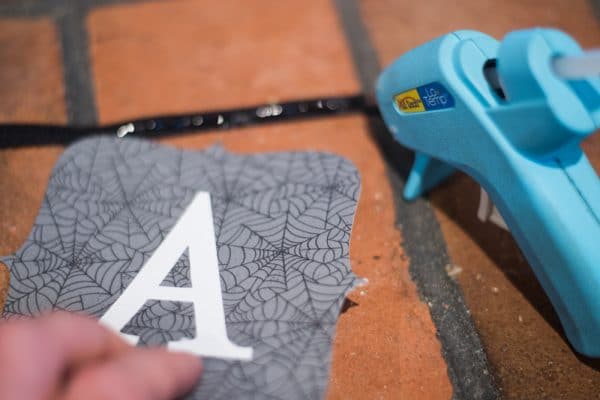
Using a hot glue gun, glue the pieces (evenly spaced) to the ribbon. The ribbon is best placed at the top of each piece.
Enjoy!