DIY Magnetic Chore Chart
DIY Magnet Chore Chart with Cricut
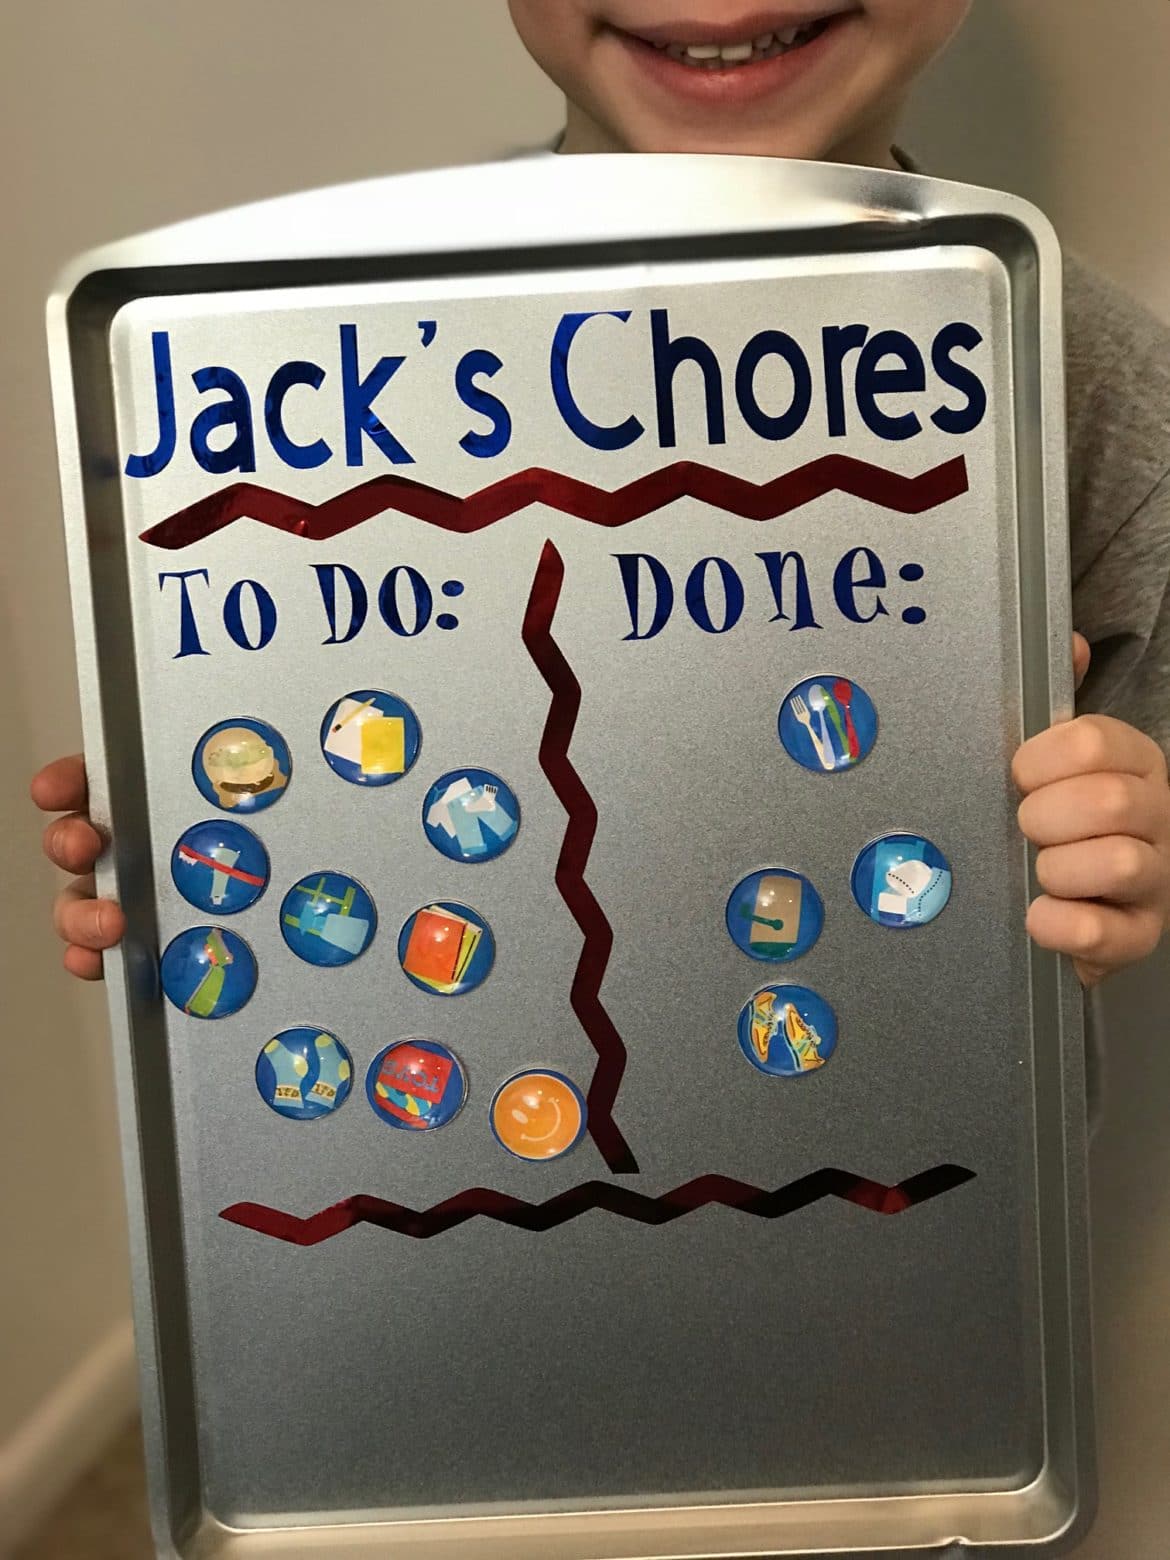
For awhile now, I’ve been trying to come up with an effective chore chart that was easy for my kids to understand (and that I wouldn’t forget about or lose).
I had seen magnetic ones in the past, and I thought it was a cute idea and something that the boys would enjoy.
Click here for age appropriate chore ideas.
I decided that it seemed like something I could easily make with my Cricut Maker, so I got to work gathering the materials, and I LOVE how it turned out.
Jack really, really likes his. He loves going and changing the chores from “To Do” to “Done” and since he can’t really read yet, the pictures on the magnets are really helpful.
Because I’m sure I’m not the only person out there wanting to make this type of chore chart, I thought I would share my tutorial using my Cricut Maker (this can be done with the Cricut Explore Air 1 or 2 as well). I will also share the Design Space project to make this even easier for you!
For my magnets, I chose to put a flat glass marble on them top so they were easier to move and manuever (plus, I think they look more fun!) but that’s entirely up to you!

Materials:
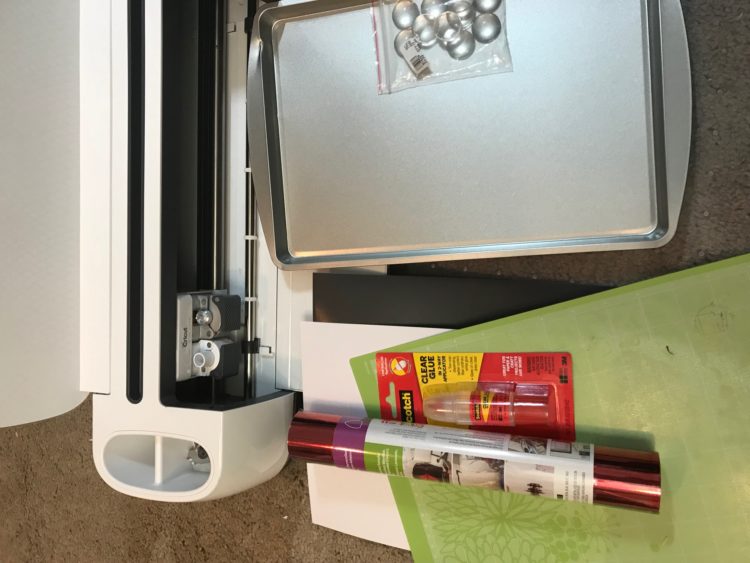
Cookie Sheet (I used this two pack – perfect size!)
Clear glass marbles with flat edge – 1″ (I used this brand) This is optional – if you just want to do stickers on magnets, that’s fine, too.
If you are using marbles, you will need some kind of clear adhesive.
Adhesive Magnet Paper (just make sure it’s thin enough to be cut by your machine.
Adhesive Vinyl or Adhesive Foil in color of choice
Design Space Project for Magnets and Vinyl
Instructions:
Step One:
Open up the Design Space Project and select to customize it. You can change the name, font used, etc. in this file before we get started (or add different chores).
Step Two:
Follow these instructions for how to make magnets with Cricut. You can skip the part about creating them and go straight to step four. If you want to add new chores that I didn’t include, you can follow the first steps to see how I did that.
Step Three:
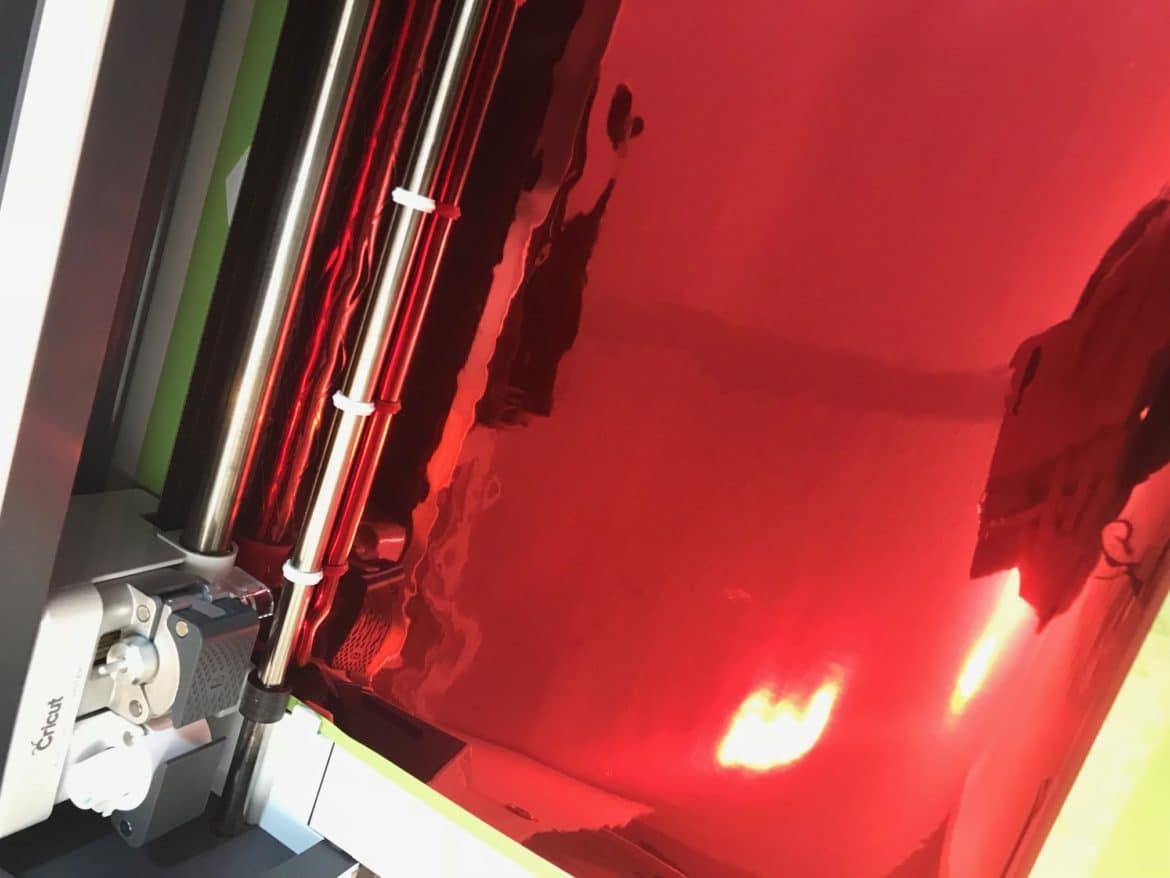
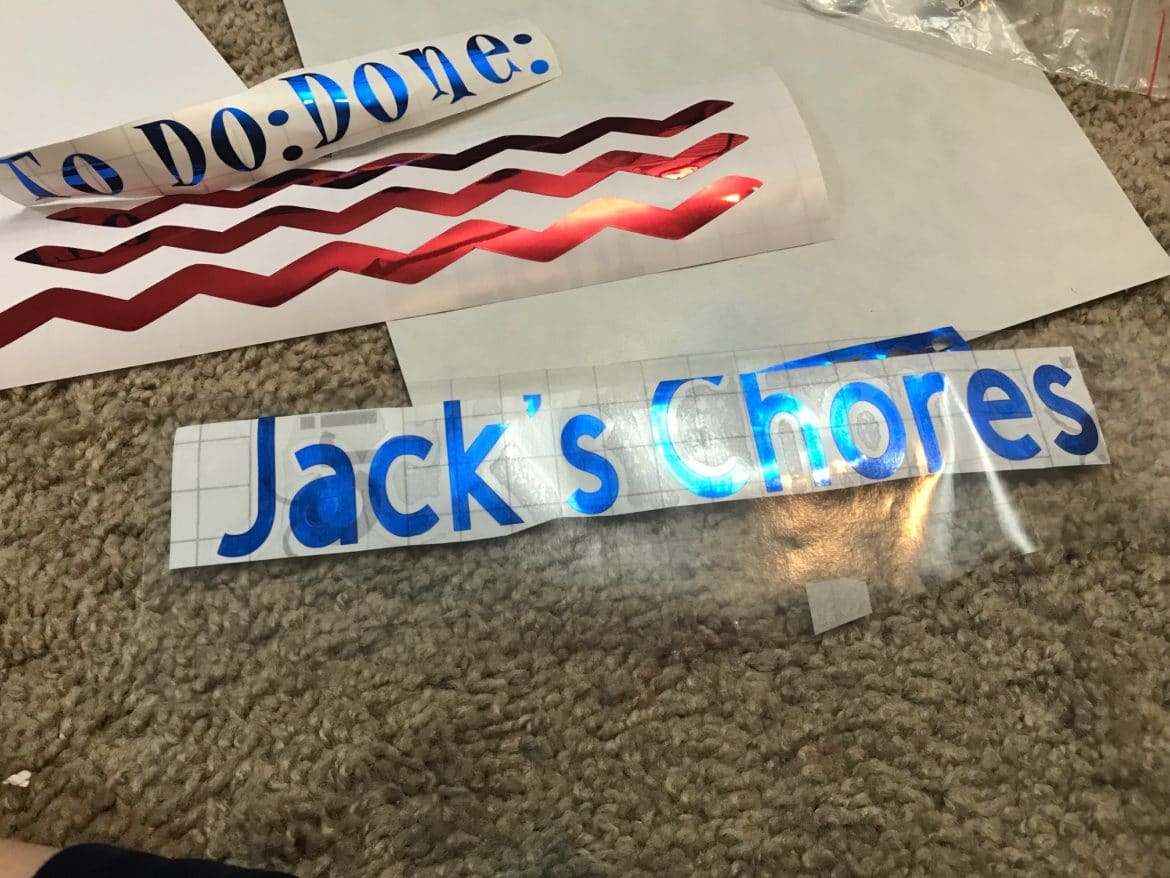
After you cut out the magnets, you will then cut out the rest of the project with vinyl or adhesive foil using your fine point blade.
Step Four:
Once the materials have been cut out, weed out the excess material
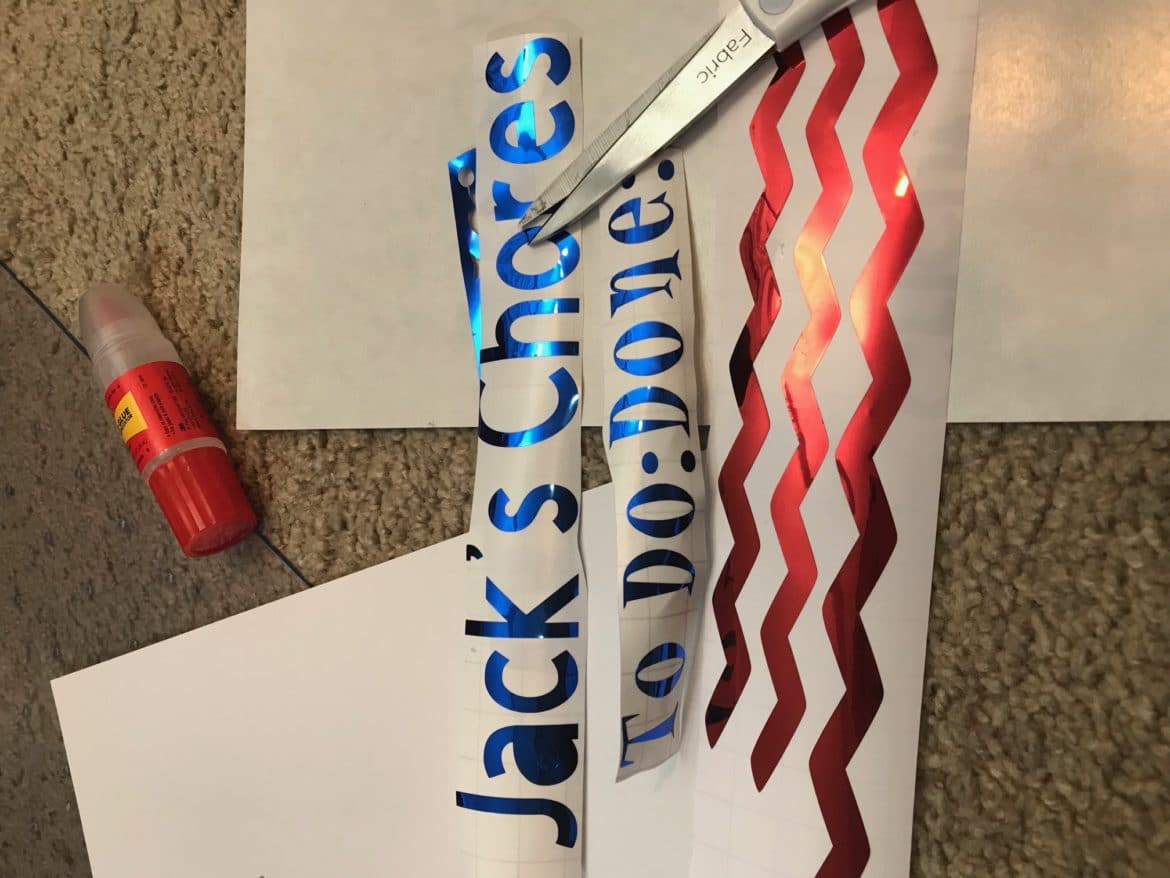
and, using transfer tape, transfer the material to your cookie tray.

And now, you’re done!




Cute! This is such a great idea, especially for young kids who can’t read yet!
I’m not seeing pictures of the finished product. This sounds super fun to do for my 3 yr old grandson. He loves helping mommy ❤️
This is a great project for your grandson! Do you see any images on this page? The finished product should be here 🙂