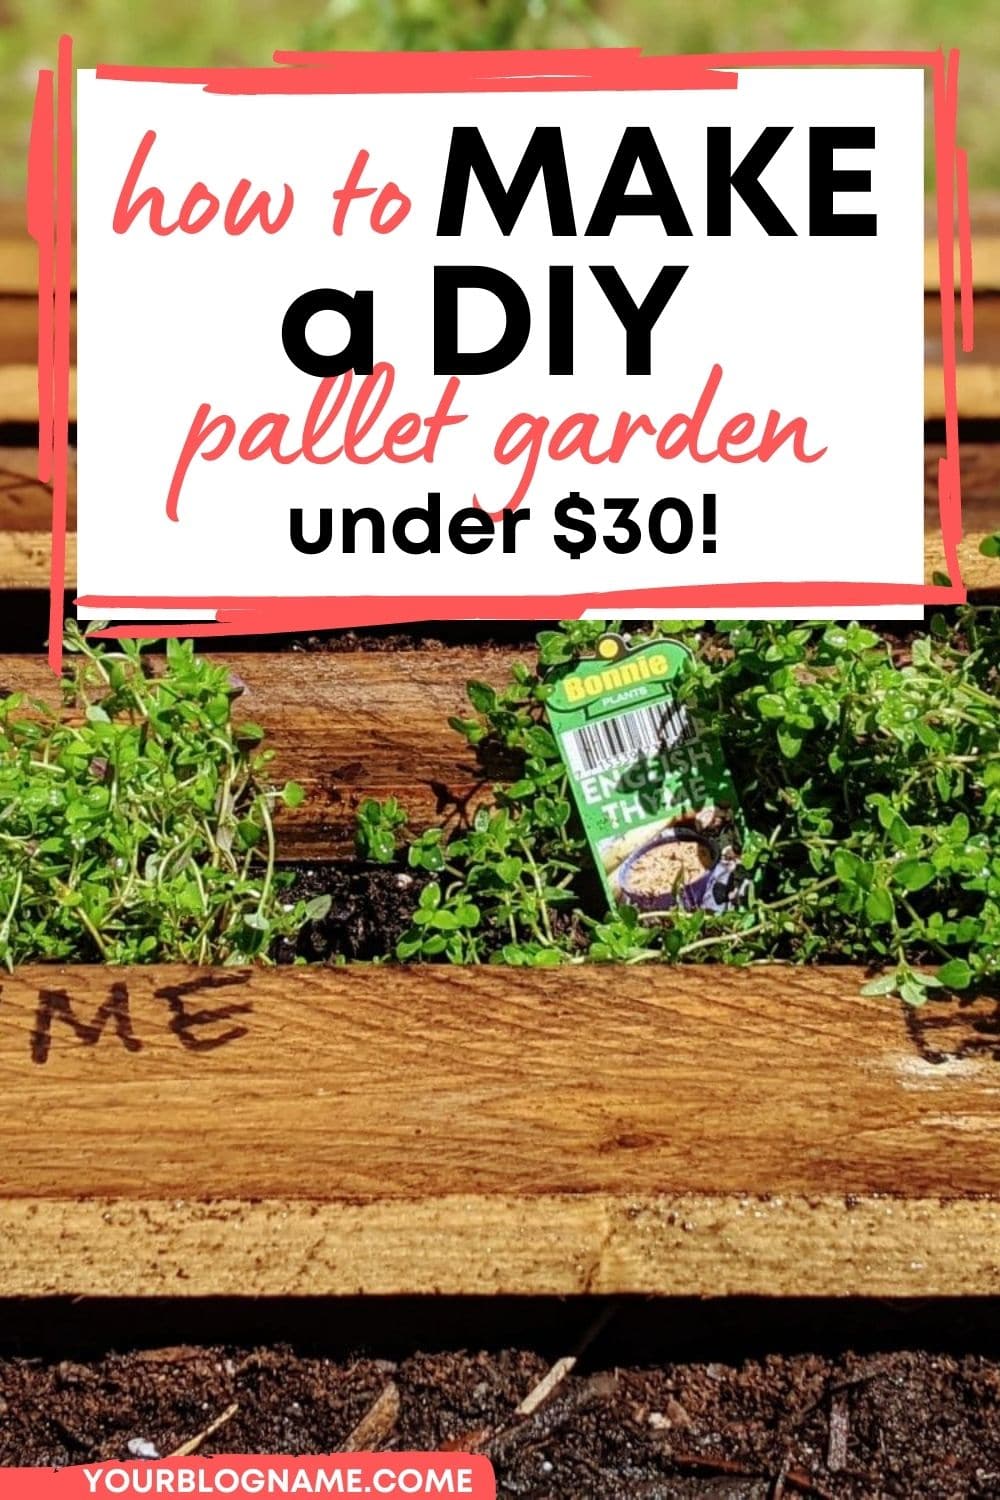
How to Make a DIY Pallet Garden Bed for Under $30
Pallet gardens are all the rage – and they can be made fairly easily and inexpensively. This tutorial takes you from start to finish on how to make your own pallet garden – along with common questions answered!
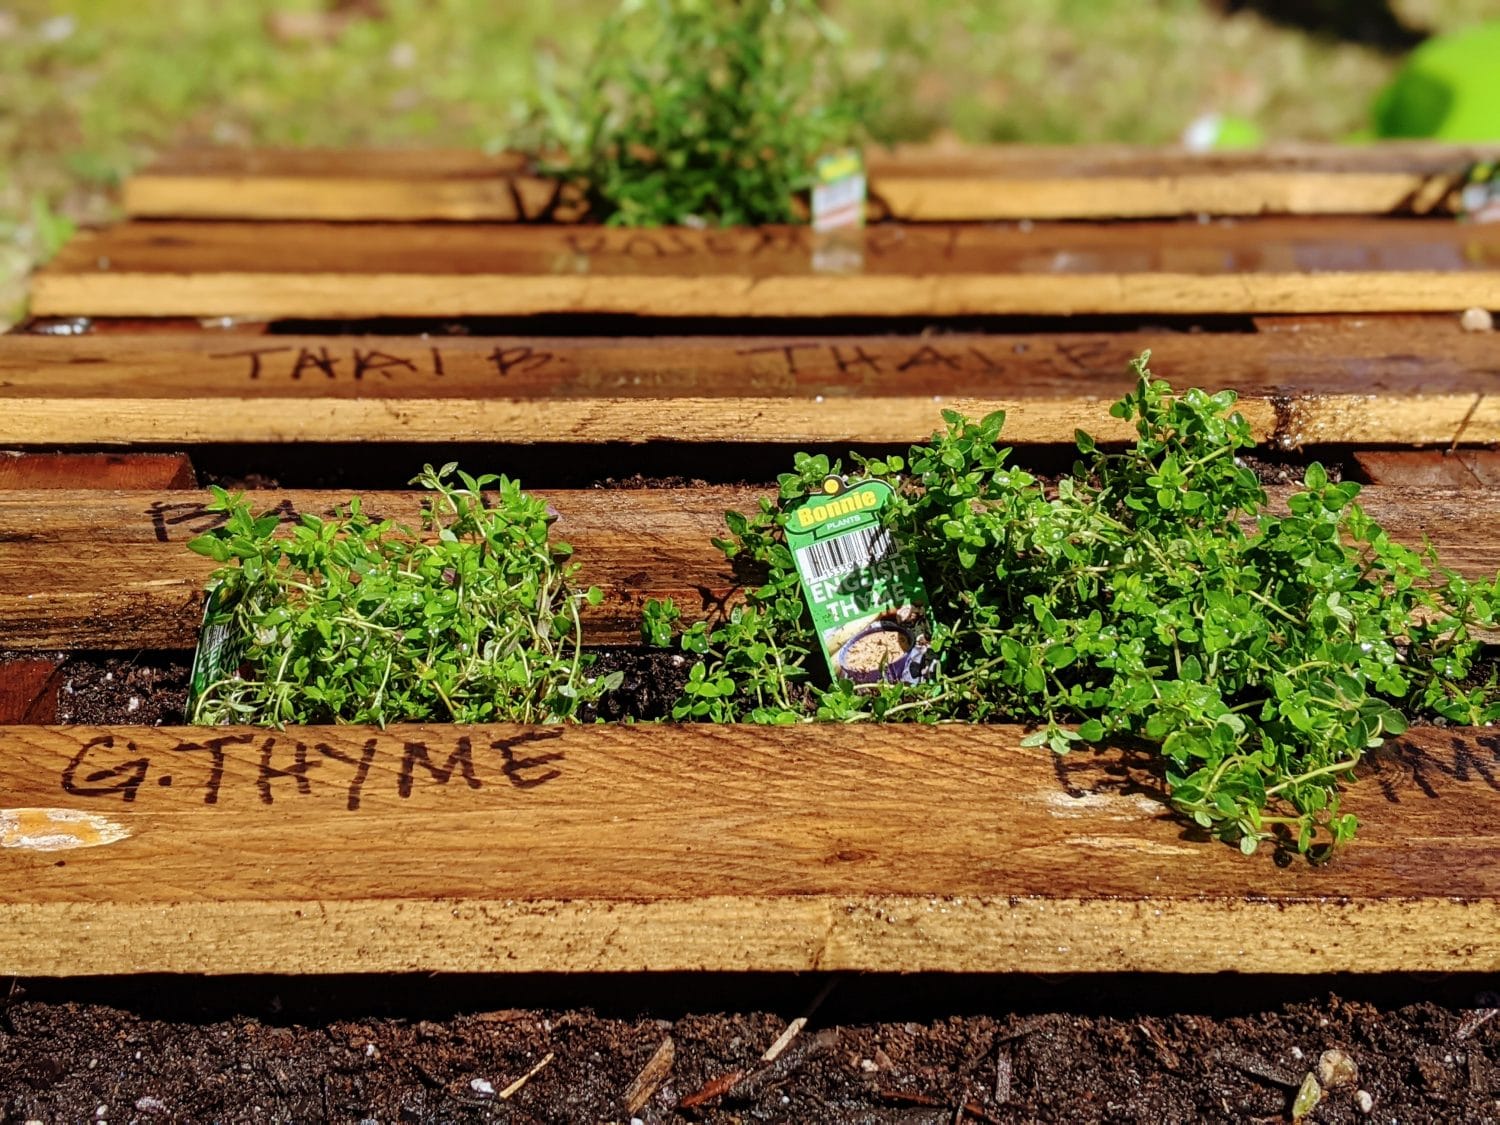
Pallet gardens are all the rage these days; and for good reason! They are easy, inexpensive, and only take about two hours to complete. Honest. It’s a very easy project to complete in one weekend or two evenings. Whether you’re a new gardener or have a well-established green thumb, a pallet garden is an ideal small-space, low-maintenance garden.
Here is a list of what you need, plus five essential and easy steps to follow to make your own pallet garden. At the end, I’ve included a few tips that will guide you along the way.
What you need to make a pallet garden
- A pallet (info on how to get one is below)
- A heavy-duty staple gun
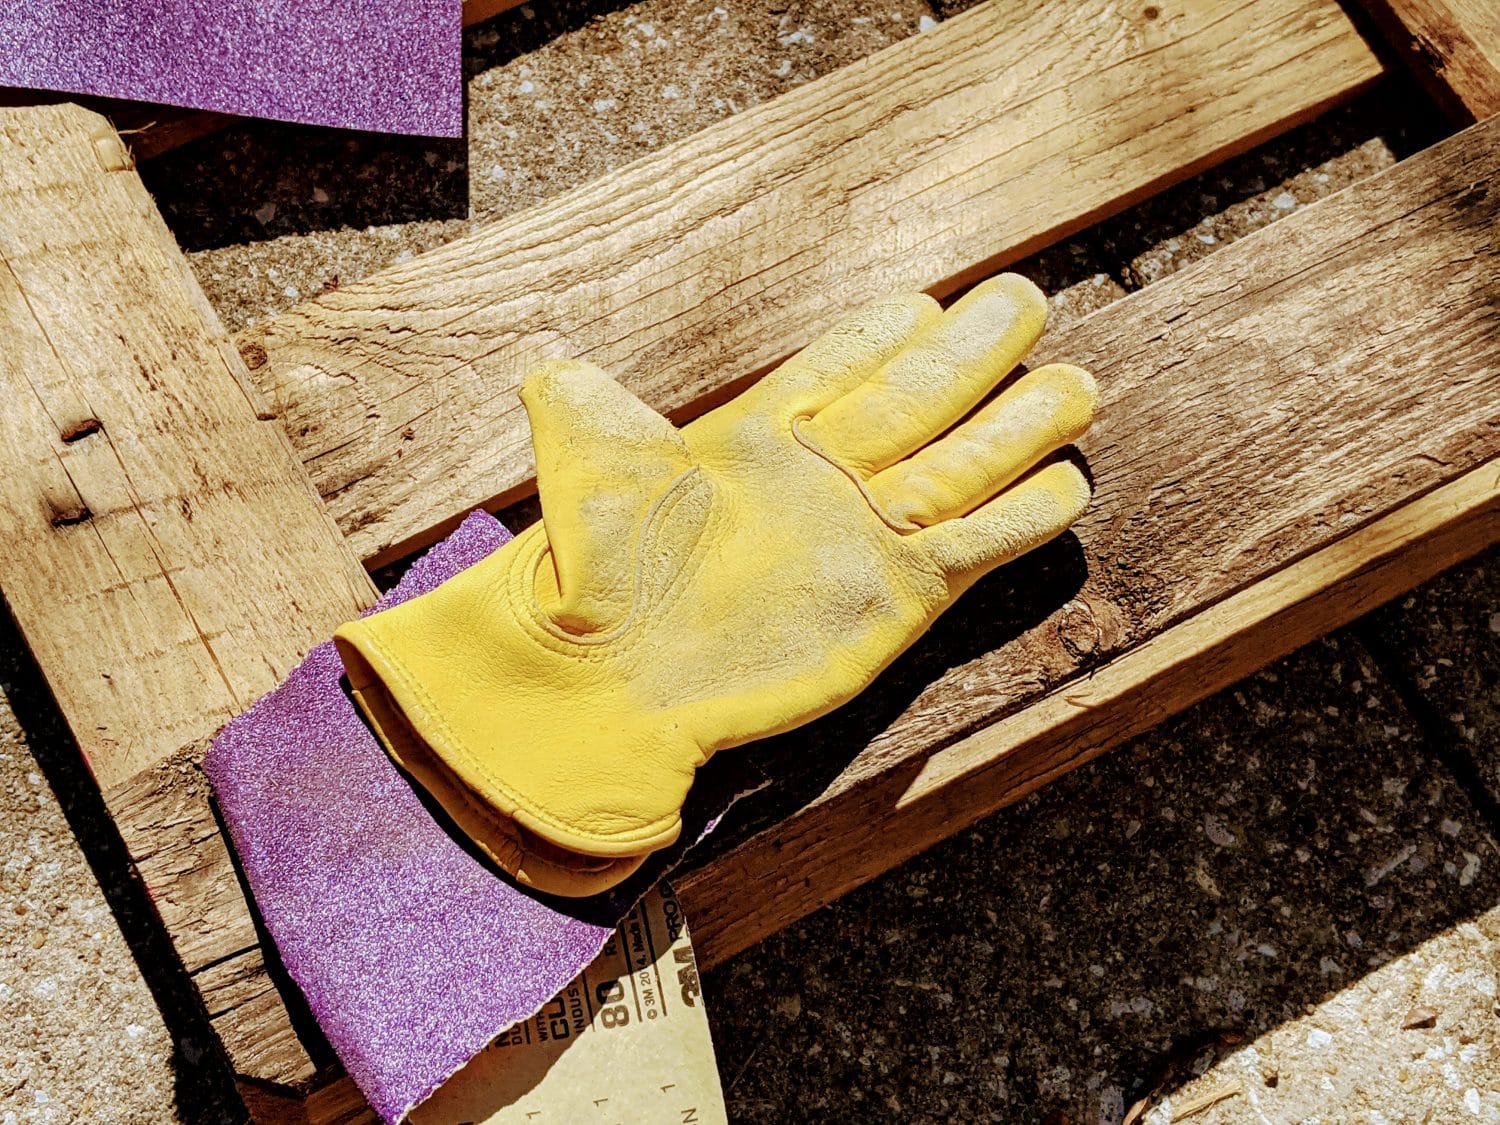
- Work gloves
- Sandpaper
- Landscaping fabric
- Potting soil (do not use garden dirt or topsoil)
- Seeds or starter plants
How to Make a Pallet Garden
Step 1: Make sure your pallet is safe
Pallets are designed to be sturdy, cheap, and disposable. That’s why it’s so easy to find a free or cheap pallet. But there are many kinds of pallets, and only one kind is safe for your garden.
Pallets that are clearly marked as heat treated are the only safe pallets for use in your garden. Heat treated pallets are exposed to high temperatures, rendering them more resistant to damage from water, bugs, and the elements. These pallets have a clear label burned into one side for easy identification.
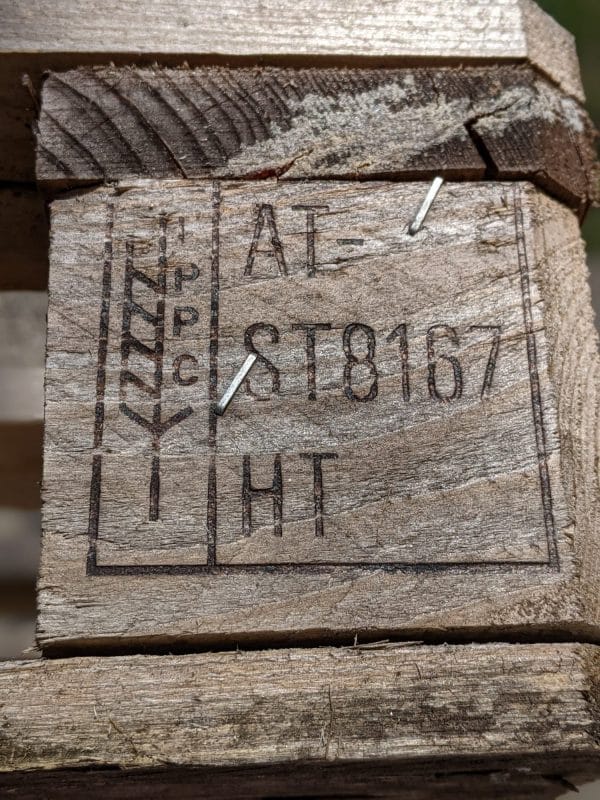
Don’t use a painted pallet, unlabeled pallet, pressure-treated pallet or chemically-treated pallet. Each of these poses health and safety risks. Unlabeled and painted pallets are often reused multiple times, making them worn out and likely to break down on you. Pressure and chemically-treated pallets are treated with extremely toxic products that can harm you if ingested, or even with direct contact to your skin.
A pallet garden is supposed to be easy, fun and safe. Don’t take any unnecessary risks by using an unsafe pallet!
Step 2: Wash and sand the pallet
Pallets are designed to be sturdy, not pretty. Therefore, the pallet you get will probably be full of splinters and covered in dirt. The pallets I got had been used at a home improvement store, so they were very sandy. A solid spray of every angle with a high-pressure hose took care of most of the sand. The stuck-on stuff came off with a wipe of a rag.
Let the pallet dry a few hours or overnight and then sand all the exterior sides with a rough grade sand paper, then with a finishing grade on all exterior surfaces that won’t be covered by soil or landscaping fabric. It’s a good idea to rinse the sandy dust off, to keep everything clean. It doesn’t have to be perfectly smooth; after all, it’s going to be exposed to the elements in your garden.
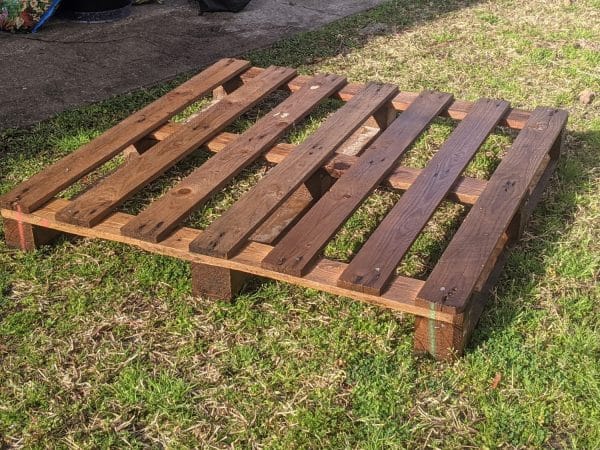
If you want to paint the pallet, now is the time do to so. Use an exterior-grade paint that won’t break down quickly and leach into the plants you want to grow, and eat.
Step 3: Cover with landscaping fabric
Landscaping fabric, or weed barrier, or black fabric, is used on the bottom and exposed sides of the pallet to keep the soil in without keeping in too much water. It can be purchased at any home improvement or gardening store. Measure the length and width of the pallet, and don’t forget to include the sides when calculating how much you’ll need.
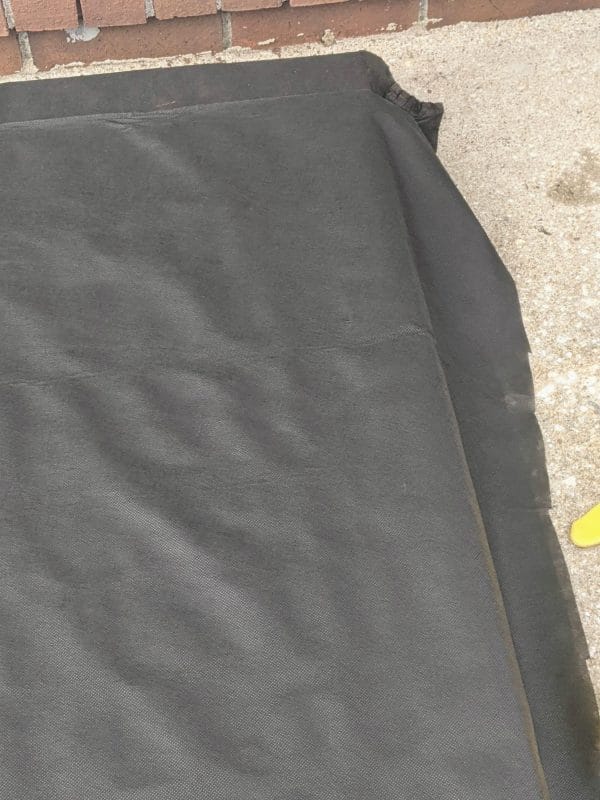
My pallet was 48″ long by 40″ wide, and 5″ deep. My fabric came in 48″ wide lengths, so I double layered my fabric, and made sure it overlapped at the area that would be the bottom of my pallet.
Pull the fabric up the side to ensure the entire base is fully covered. Use a staple gun on the corner of one end of the pallet (the end where you trimmed the fabric and have two layers, not the side where you may have only one layer). I folded over and tucked in the fabric so it looked a little cleaner, but it doesn’t need to be perfect. Then go to the other side of that end and pull tight, and staple. Complete the end by stapling every six to eight inches.
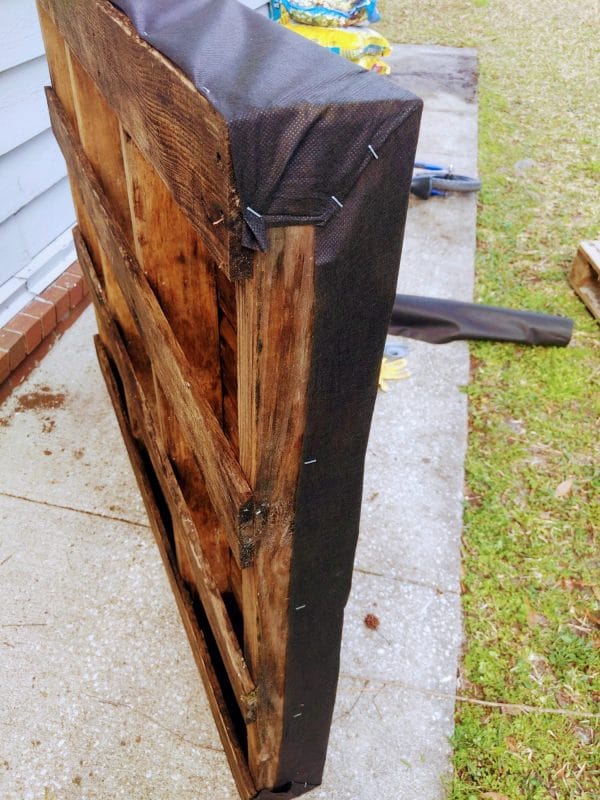
Do this to the other end, and then do both sides. Because the fabric comes up the sides, it doesn’t need to be perfect, but you should do it securely so the soil doesn’t leak out any cracks or gaps in the pallet.
Step 4: Move pallet to final destination
This is a simple step, but it must be done before you fill the pallet with soil. They are awkward to move even when empty, and weigh 30-50 pounds dry and empty. Be sure to position the pallet where you want it to be, and make sure the ground is stable and flat underneath before filling it.
Step 5: Fill with potting soil and seed
Regular dirt is not ideal for pallet gardens. It will not retain and drain water properly. Potting soil is recommended because it has better drainage and is lighter, so the roots will not be crushed as the soil compacts. Potting soil has the added advantage of being a carefully curated blend of organic matter that is high in nutrients and minerals that promote plant growth.
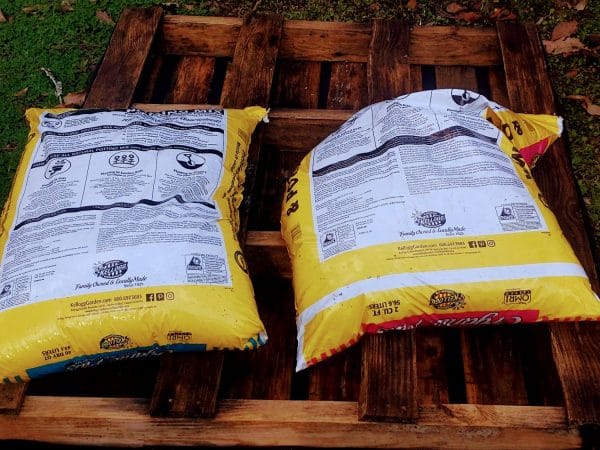
Pallets size varies, but they are usually close to 48″ by 48″. This equates to about two cubic feet, plus a little extra. My pallet took about 2.5 cubic feet, or 75 liters, of potting soil. There are online calculators that you can reference to find the correct amount for your pallet. Also, the labels at most home garden stores tell you both the cubic feet and liters of each product.
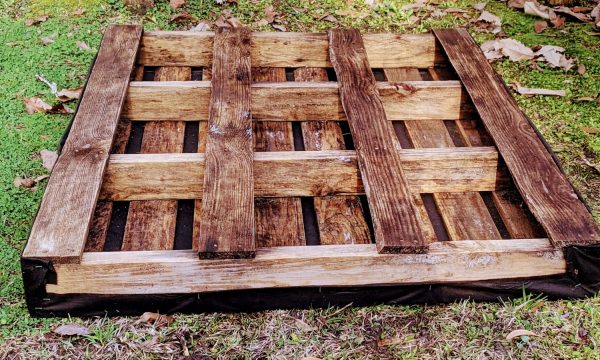
Fill the pallet to the top, being sure to spread the soil around evenly, even under the wood slats. The soil needs to be even to start, or things will shift once water is added.
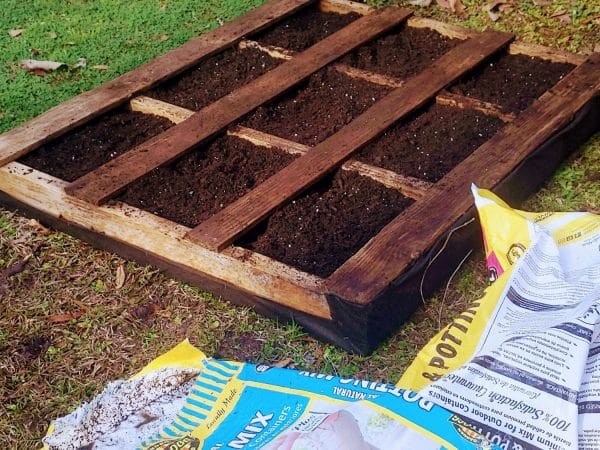
Wet the soil thoroughly. Then add more soil as needed to ensure it’s full to the top after settling. Once you’ve topped off the soil, you’re ready for planting! Because the pallet is divided with wood slats, you can easily segment your garden into sections, and you won’t have to weed it much because they won’t have much room to grow!
Five Tips for Making Your Own Pallet Garden
Tip 1:
To get a pallet, you can look around on a local Facebook or other social media buy/sell/trade site. Businesses including gardening and home improvement stores, or construction companies, have them in bulk and will give them away to people who ask. Look online or call around, and you’ll find one sooner than you know it!
Tip 2:
If you want to paint your pallet, be sure to use an exterior paint designed for wood, and be sure to go the extra mile on sanding the pallet and cleaning it after sanding. If you don’t get it smooth, and very clean, the paint will not adhere properly. One thing you really don’t want is wood chips disintegrating into the soil, especially if you want to eat the produce from the garden.
Tip 3:
Don’t use wood or an impervious barrier on the bottom of a horizontal pallet. The soil needs to be able to drain, otherwise it will be too wet and the plants will not survive.
However, if you are building a raised or vertical garden, you’ll want to use a wood backing. Black fabric is not sturdy enough to keep the soil from shifting to the bottom of the pallet, making a dirty, messy disaster. If you do use black fabric, make sure you secure it extremely well on all sides, and in multiple places on the back of the pallet.
Tip 4:
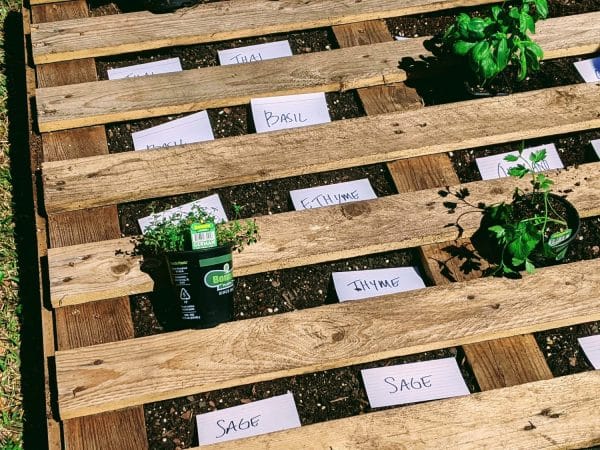
Plan the layout of your pallet garden before you start planting. Make sure your plants or herbs have enough space between them to grow. It’s easy to get excited and overfill a garden, but plants need lots of room, and their roots need room too! Follow the instructions on the seed or plant packaging to ensure optimal growing.
I actually used note cards to lay out my pallet garden. This way, I made sure I didn’t miss anything important, and had everything in the right place. As I planted seeds or starters, I could remove the note card and label the wood.
Tip 5:
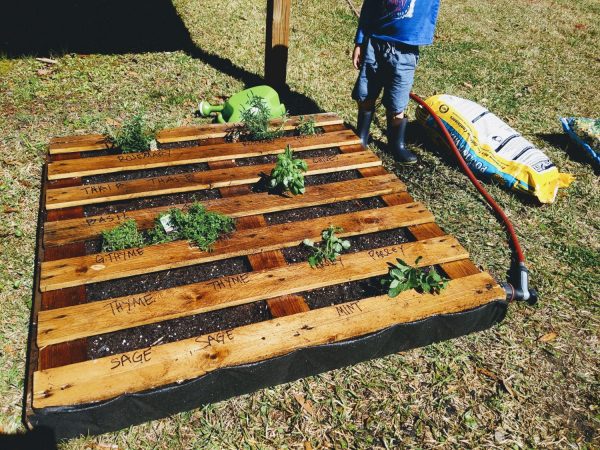
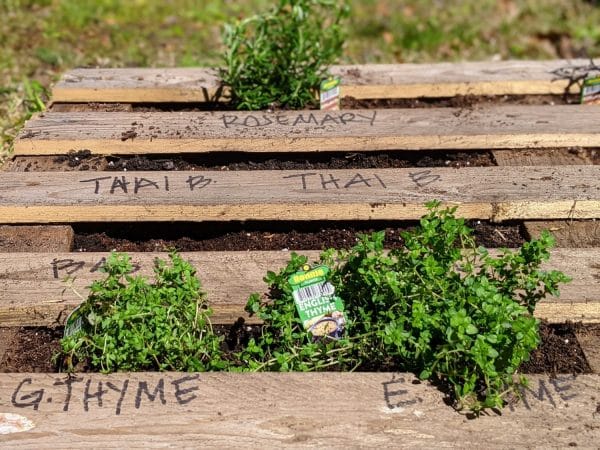
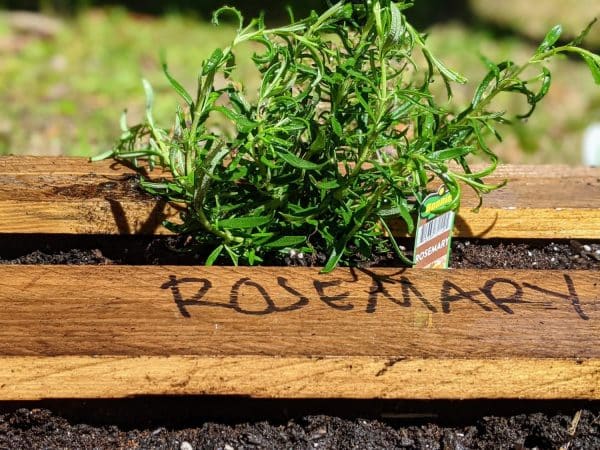
Label your pallet with paint pencils or labels on sticks, or another water and weather resistant method. That way, you can keep track of things, especially if you’re not an expert gardener. And it gives your garden a little more curb appeal.
Questions, Answered
How much does it cost to make a Pallet Garden?
If you get your hands on a free pallet, the total cost for a pallet garden will be about $25, including soil. I spent $17 on soil, about $5 on landscaping fabric, and used about $2 worth of sandpaper, which I already had on hand.
Seeds or starters will cost additional money, and don’t forget to fertilize!
How do I find a pallet?
Ask around on your community Facebook page, or on a local gardening site. Call around to local hardware or garden stores, or a grocery store. Just be careful not to take an old or worn out one, or one that’s painted or doesn’t have the HT label.
Where should I put my pallet?
Put your pallet on a flat surface (or carefully prop it up if you do a vertical garden). Don’t put it on a hill or uneven surface as you’ll have soil shifting and drainage issues.
Don’t forget to make sure your pallet will have plenty of exposure to sunlight. Depending on what you intend to plant, you need to plan for six to ten hours of sunlight a day. Watch the intended area throughout the day to ensure it will get adequate light for several days before committing to a location.
What should I plant?
Herbs are optimal for pallet gardens, as are strawberries, and space-saving varieties of squash, beans, and peas. But not all plants are fit for a pallet. Some plants, like watermelon and pumpkin, and peppers and tomatoes, need lots of root space that make them less than ideal for a small pallet.
First, decide what you would actually eat if you could grow it. If you spend a fortune on fresh basil, invest in growing that. If you don’t like rosemary, leave it out!
Second, consult your neighbors or your state’s university extension program to find out what grows in your area. They know a great deal about the climate, insects and other variables that will impact your harvest. Seed packets and Google will help you out, but the extension office (which has tons of info online) will be where you get the most reliable, accurate information for your area.
Hopefully, this information is helpful as you set out to start your own pallet garden. May you have sunny days, gentle rains, and a bountiful harvest!
More Backyard Posts You May Enjoy:
- Gardening for Beginners: What You Need to Get Started
- The Best Gardening Supplies from the Dollar Tree
- 10 Lessons Learned During My First Summer Gardening
- The Best Camping Games for Family Fun (FREE PRINTABLES)
- The Best Yard Games for Adults
- Easy DIY Backyard Ice Rink with Boards
