DIY Paper Boutonniere with Cricut
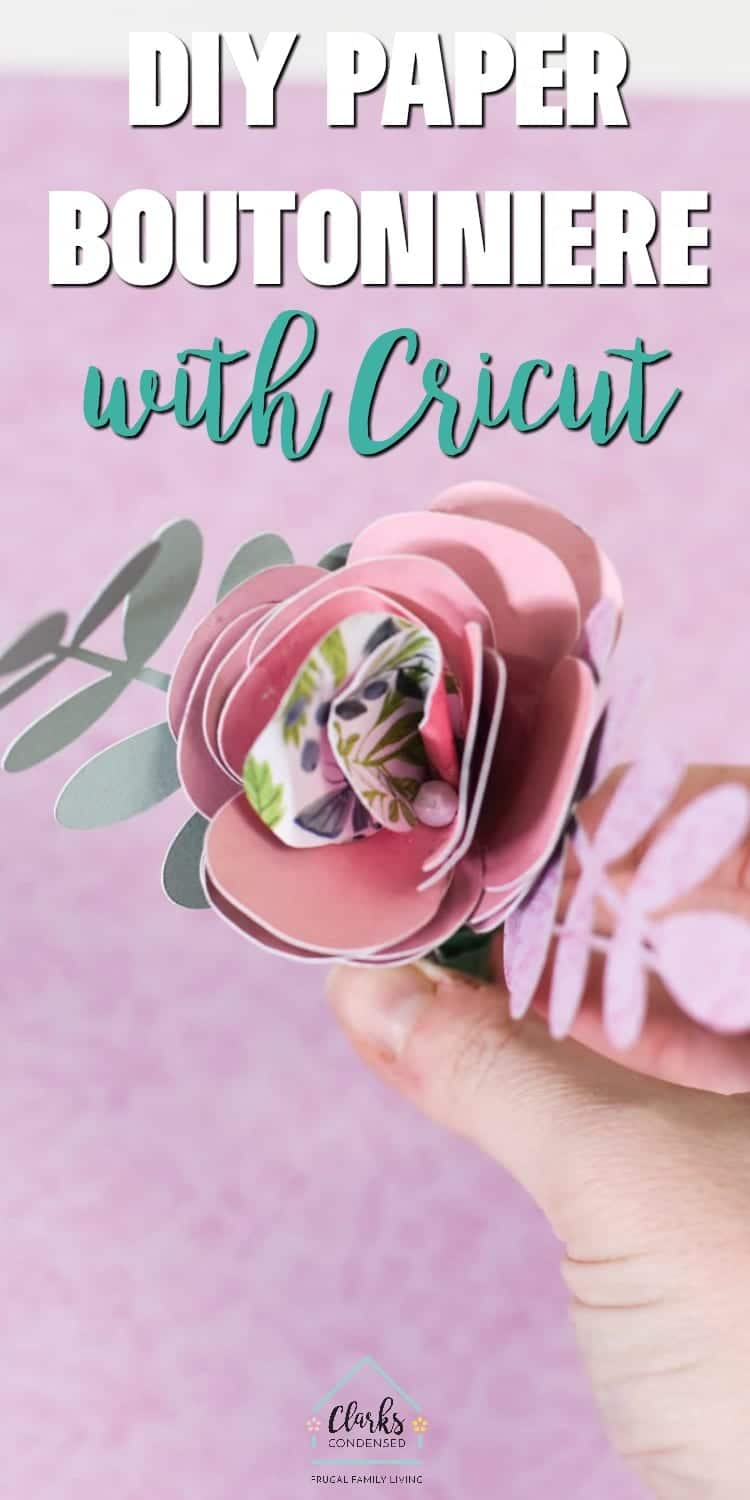
Make your own paper boutonniere easily with your Cricut!
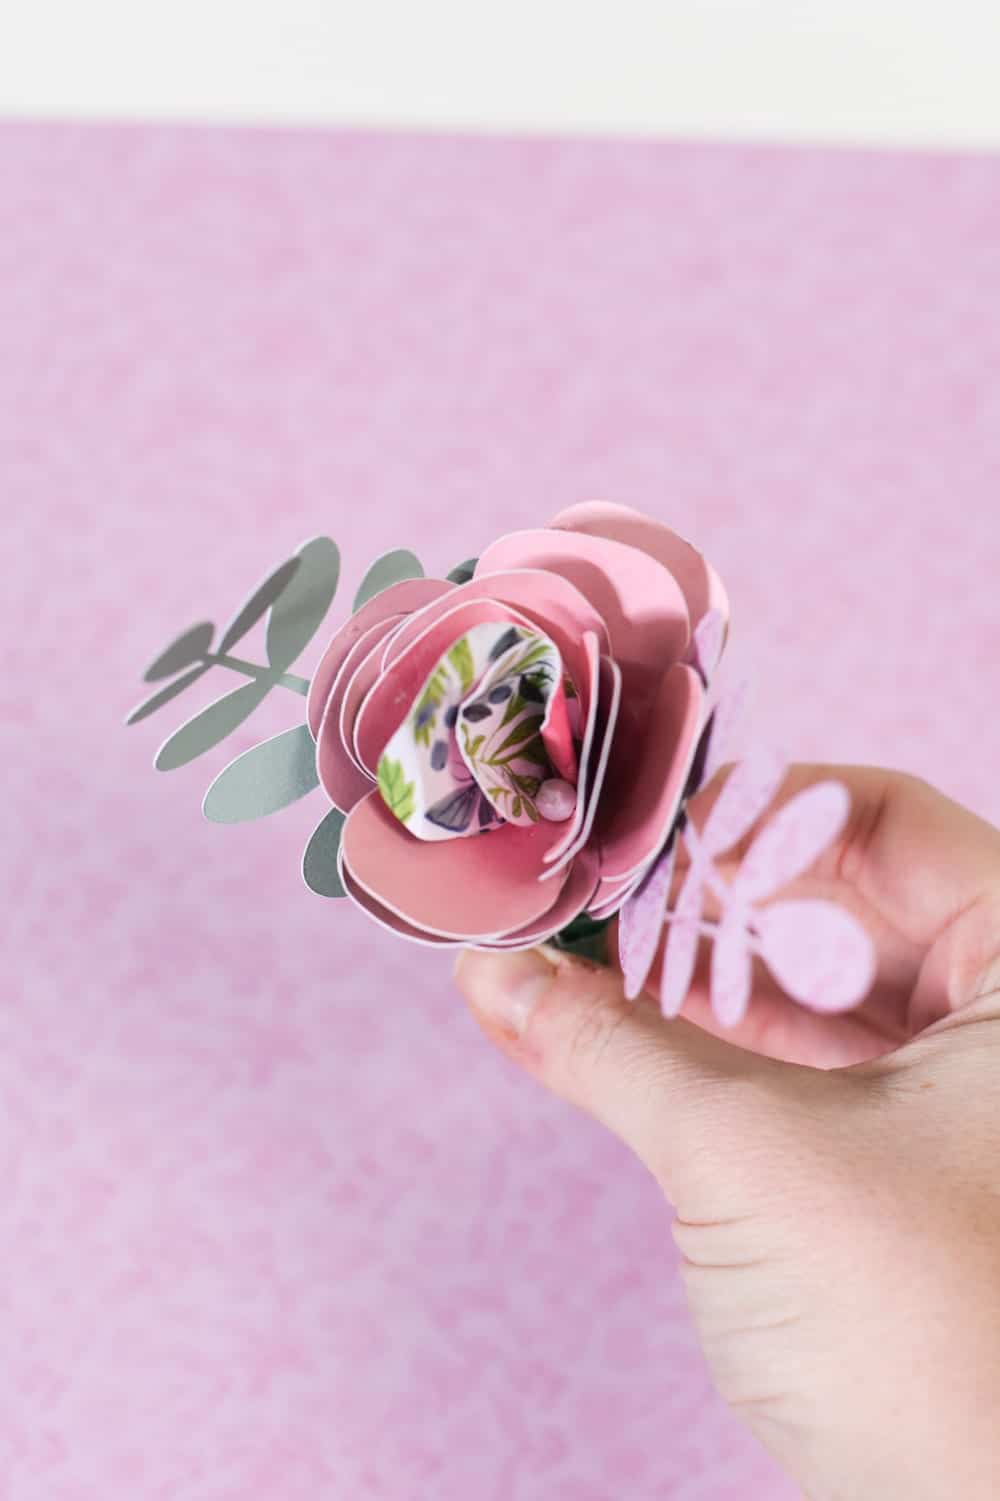
Make Your Own Paper Boutonniere
Back when we first started Clarks Condensed, I wrote quite a few wedding posts.
In fact, I think I called it, “Wedding Wednesday.”
Creative…I know.
Over time, I traded wedding posts in for writing about diapers and breastfeeding – but I still LOVE talking about weddings and helping people plan a wedding on a budget.
I sometimes think about how much I wish I’d had my Cricut when I was planning my wedding – oh, the things I could have made!
Though I think I may have done even worse that semester in college had I tried to make things for my wedding, so maybe it’s a blessing in disguise!
Anyways. As I mentioned in my DIY Menu Board tutorial, I’ve recently partnered with Cricut and Joann Fabric and Craft to create fun and inspiring content for people using the new Wild Rose Cricut Explore Air 2.
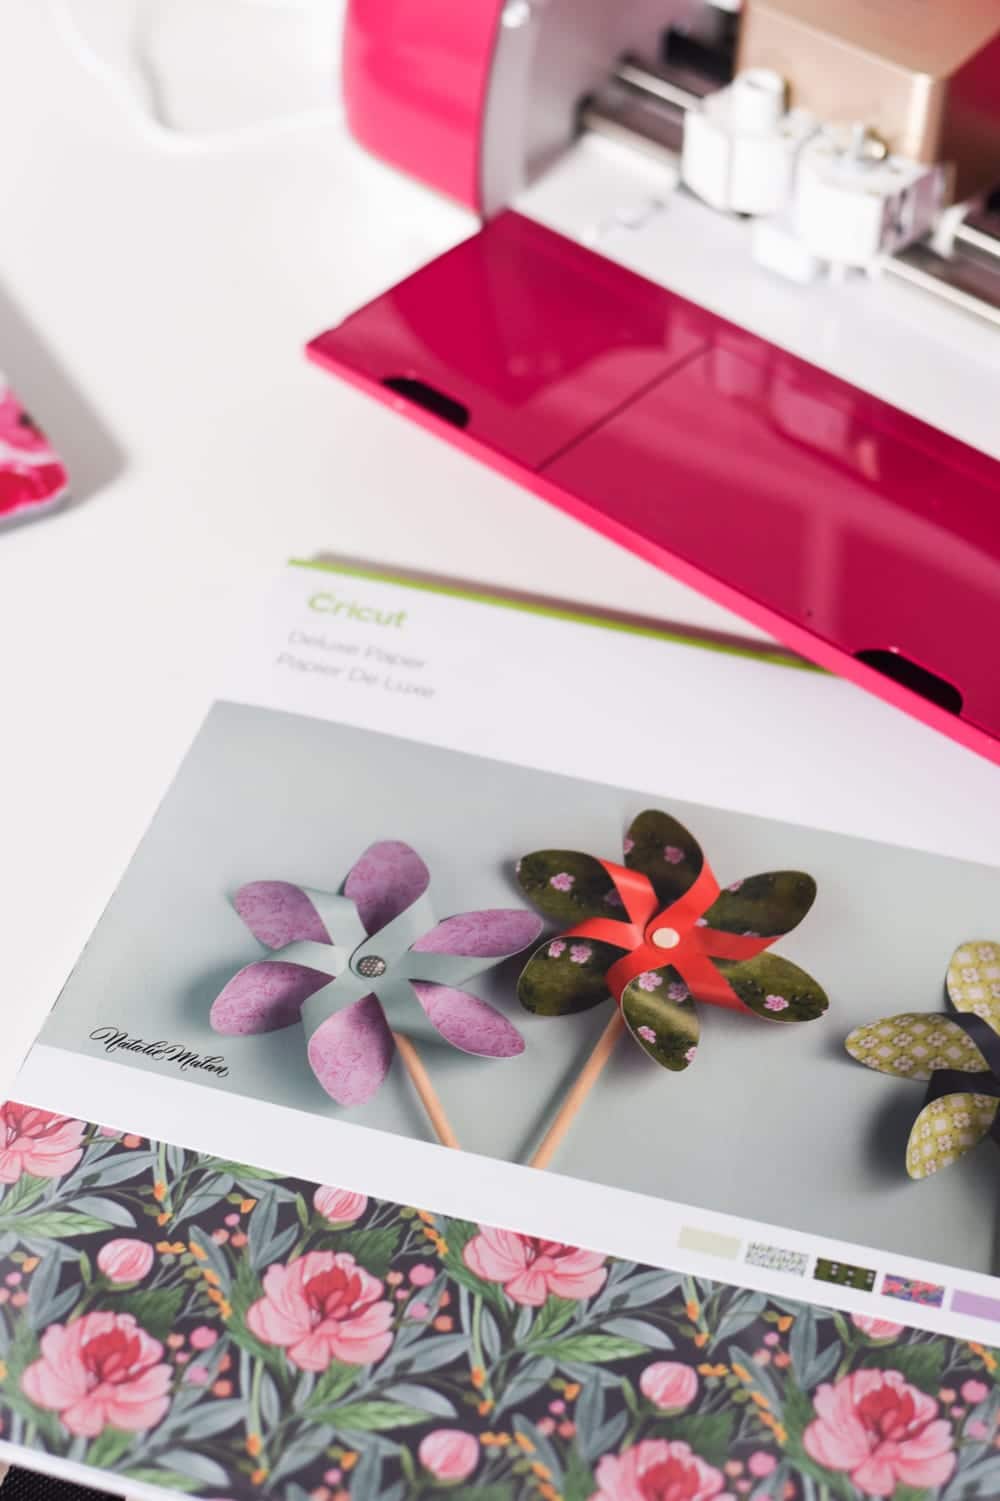
Along with the machine, we were sent beautiful materials that were designed by some very talented women to incorporate.
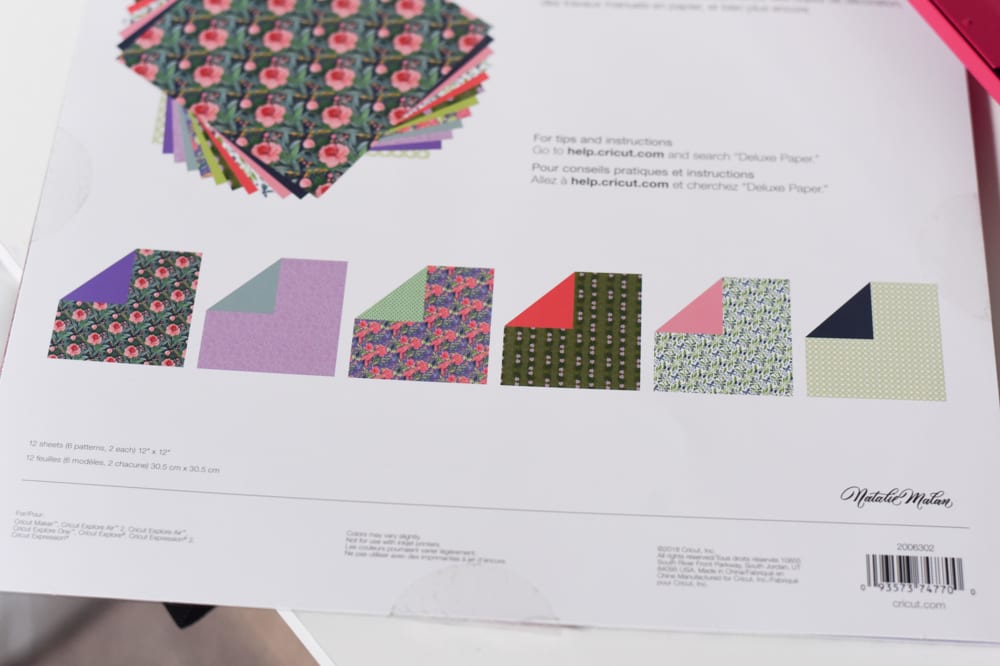
One of those designers is Natalie Malan. I have always loved her designs – especially on patterned iron on – so I was thrilled to get a box full of designs created by her.
When I pulled out the Cricut Deluxe Paper, I thought it would be so fun to make some paper flowers. I recently did a survey in my Cricut Support Group about what wedding content I should create, and EVERYONE asked for a bouquet.
Well, we are in the middle of moving, and I didn’t have time to make a bouquet (I did by some materials to do so in the near future), but I DID make a boutonniere.
A long time ago, I created a post about how to make a fresh (or fake) flower boutonniere, so I thought a paper boutonniere would be a great way to show off this beautiful paper from Natalie Malan – as well as create something that would be perfect for a DIY wedding – or even for a prom date!
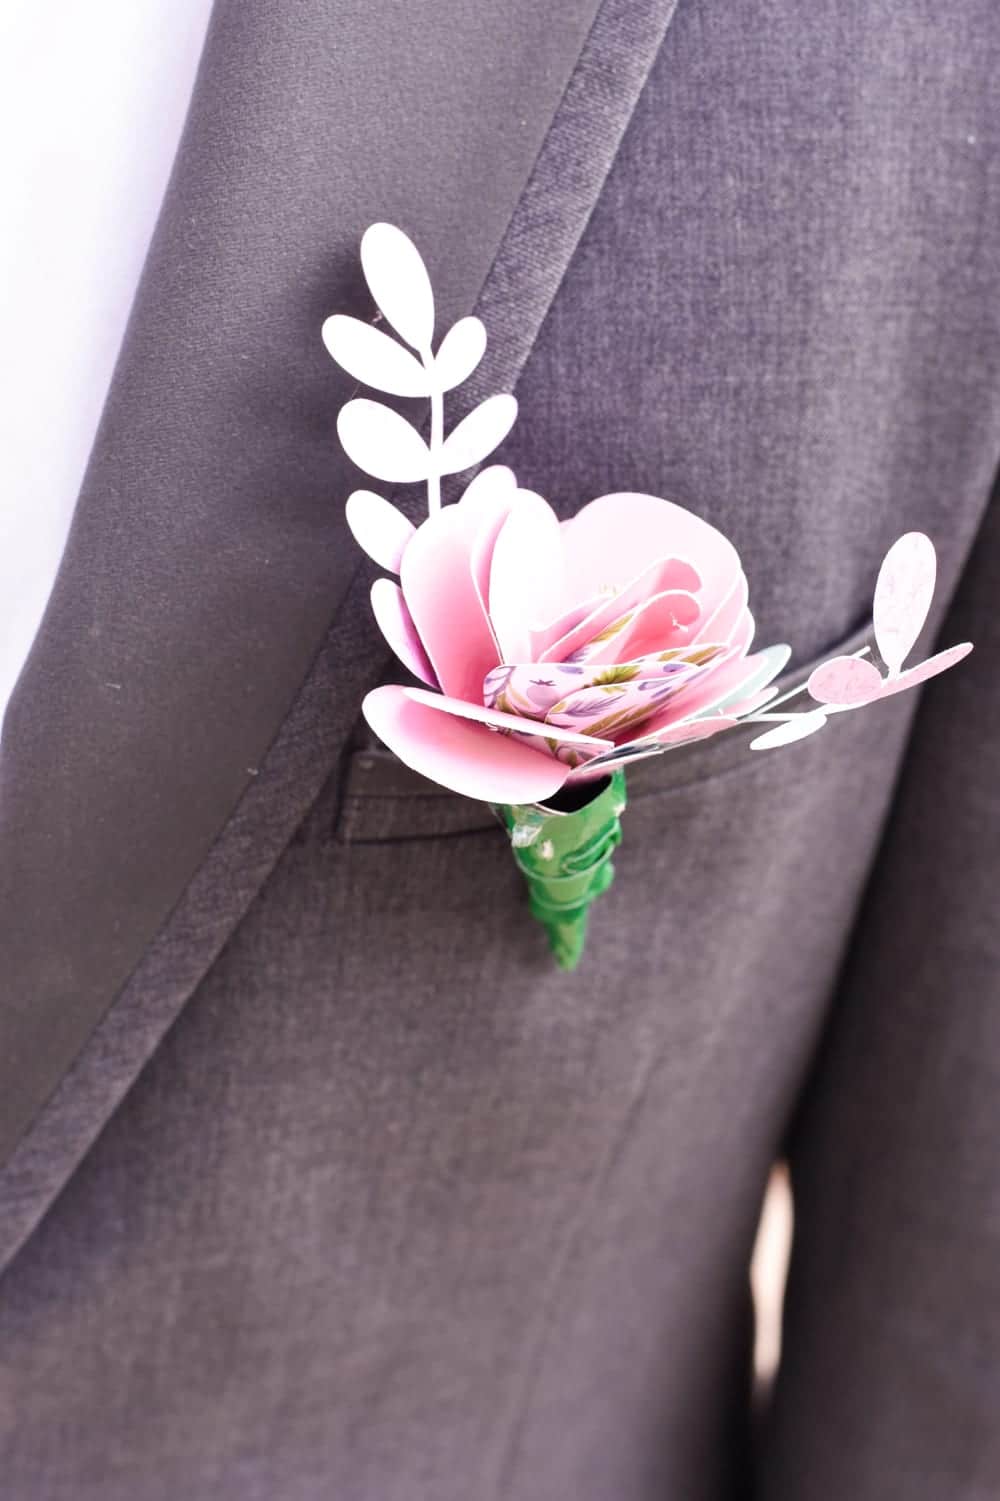
One thing you should know – I am not a very good paper crafter. I struggle to get things folded right, and I just don’t have the patience for intricate crafts.
So please be forgiving to my less than perfect looking flower – I’m sure many of you will create something even more gorgeous and perfect by using the same template. The purpose of this post is to give you inspiration of what YOU can do!
With that said, despite my imperfections, I think it turned out pretty cute – which I can give credit to the Cricut Explore Air 2. I knew that the pieces that were cut out were perfect – had I attempted to cut mine out myself, it would be have been a disaster!
So another testament that the Cricut can make less than perfect crafters just a little bit better 🙂
Materials:
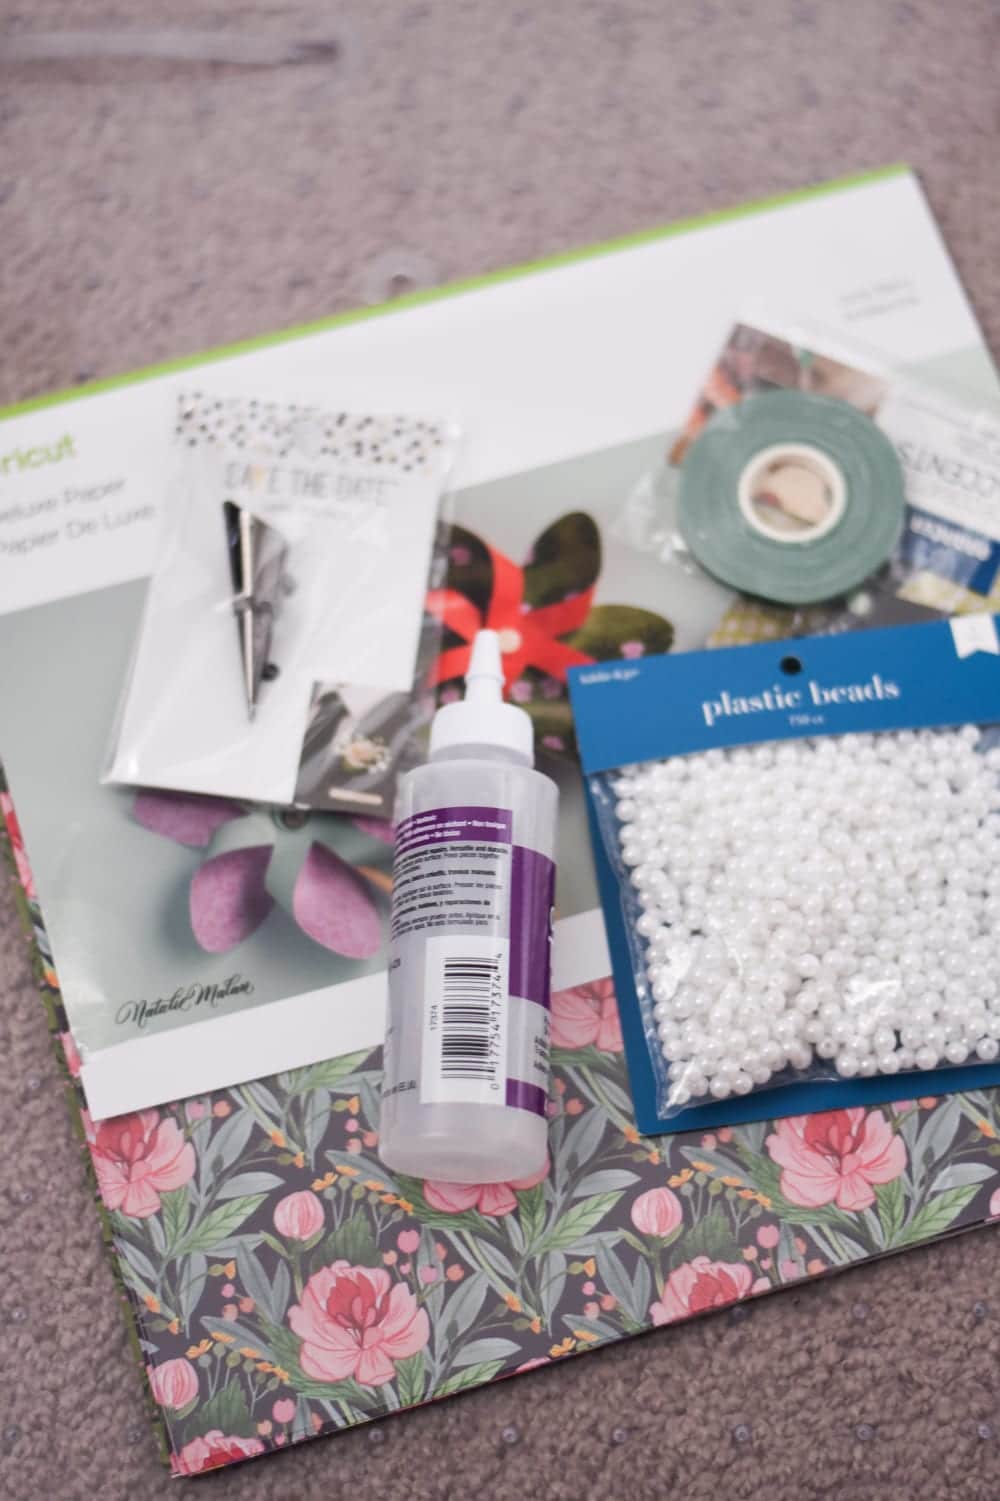
Natalie Malan Deluxe Paper – or other paper in desired colors. For the leaves, you may want to pick a paper that is green on both sides.
- Scissors
- Hot Glue
- Wooden Skewer
- Boutonniere Pin
- Floral Tape
- Plastic Pearls
- Fine Point Blade
- Blue LightGrip Mat
Instructions:
For this boutonniere, it really just requires a few things:
- One folded paper flower
- Boutonniere pin
- Paper leaves
You can choose any 3D flower that you want from Cricut Design Space. There really is a large variety!
For the boutonniere pictured here, I used the Lia Griffith Water Color Roses (Image #M11A512). These are designed to be print and cut – however, I changed them to cut since I was using the Natalie Malan Deluxe Paper.
I used Image #MB534C9C for the leaves.
I will be using these as the examples for this tutorial.
Once you have your flower option in Design Space, make sure you size it correctly. Here is what the different paper pieces look like when I do the mat preview:
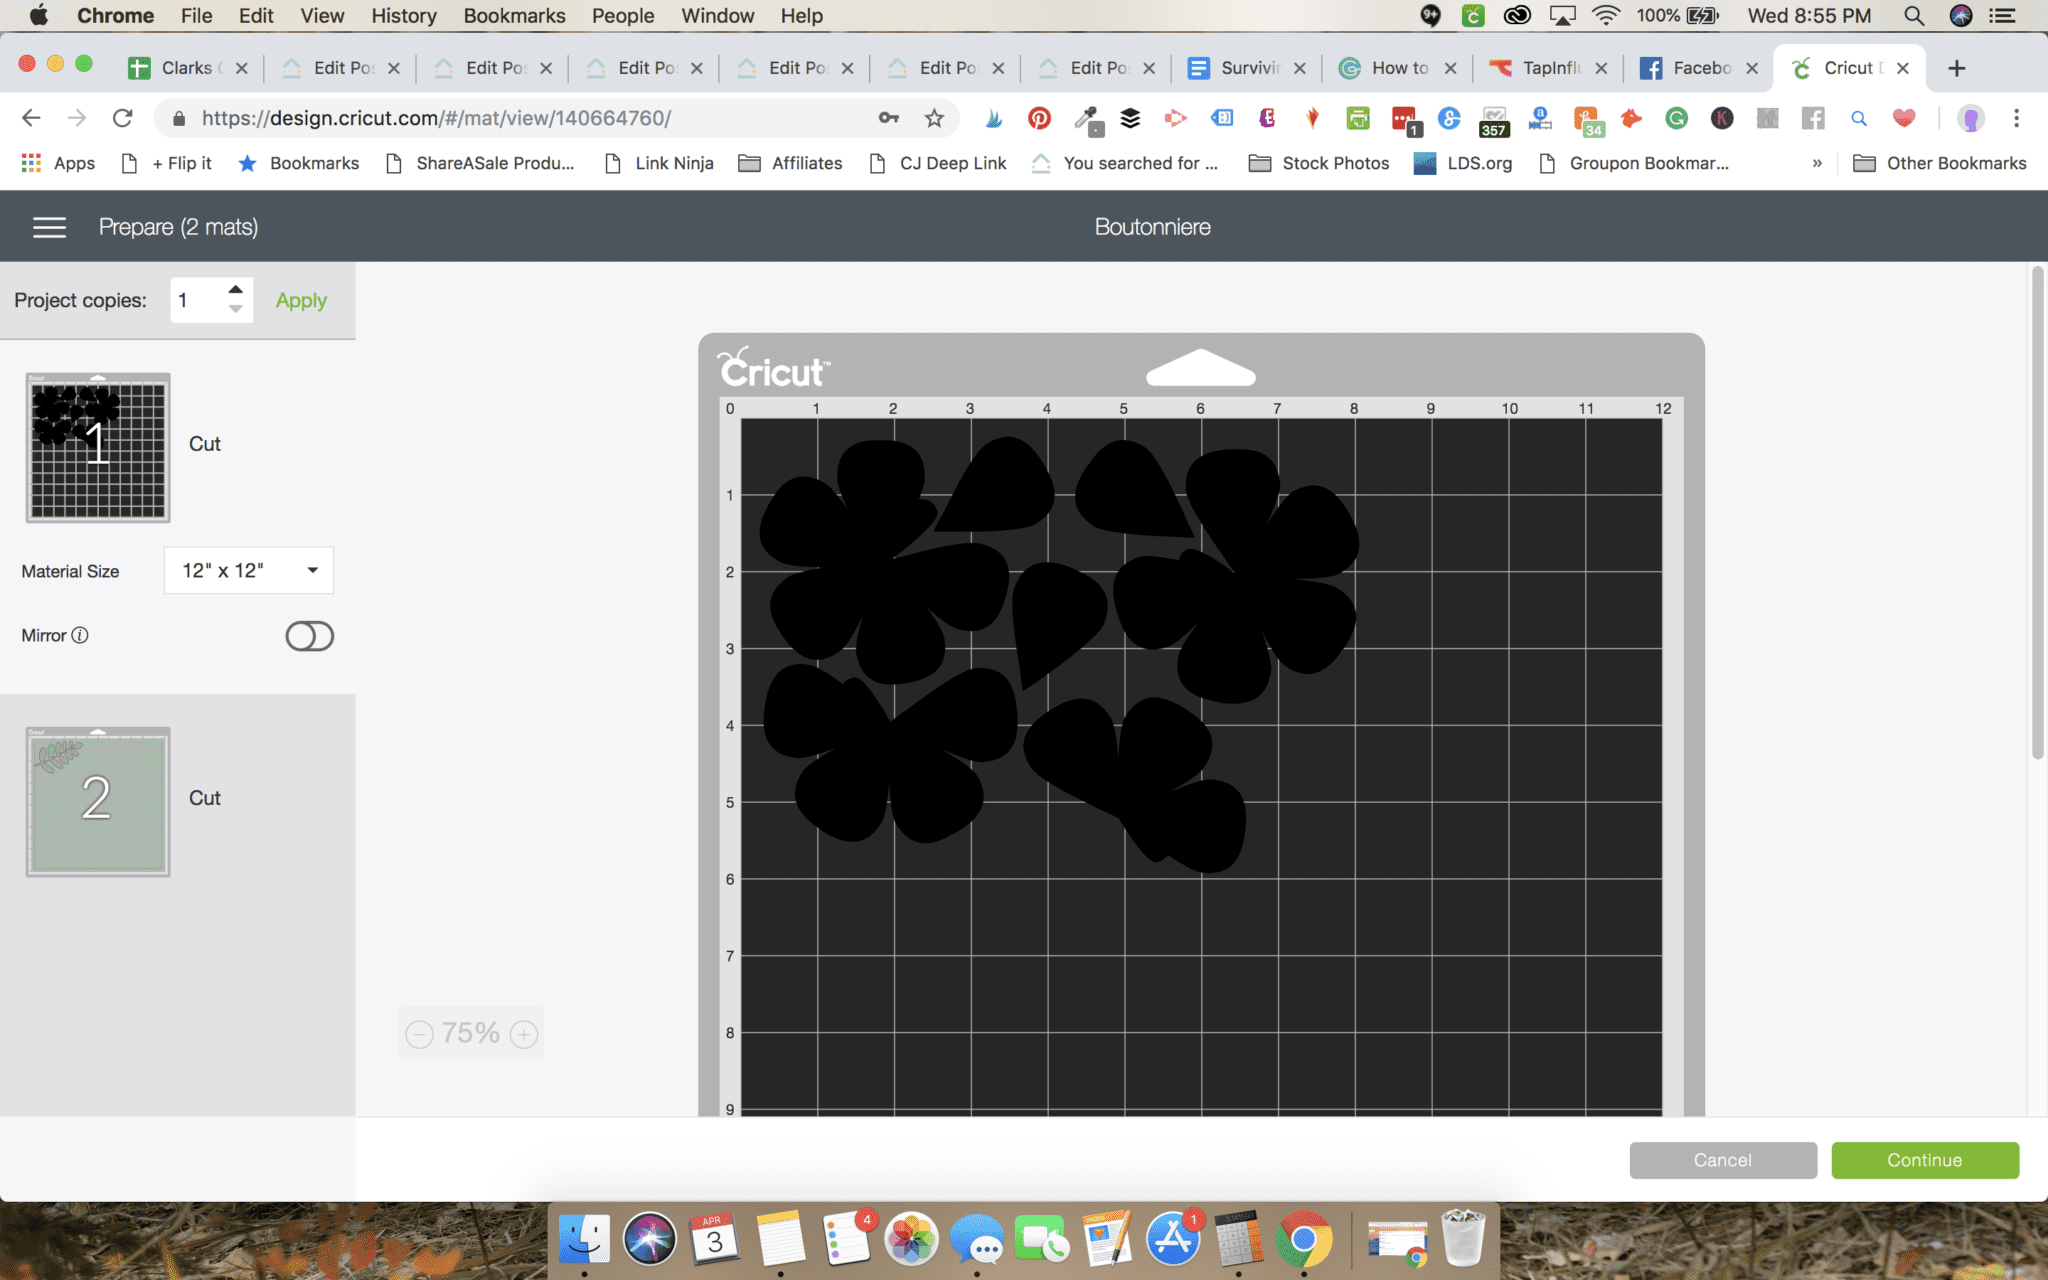
If everything looks good, press continue. Select the correct paper options, place the paper on the mat, and load it into your machine.
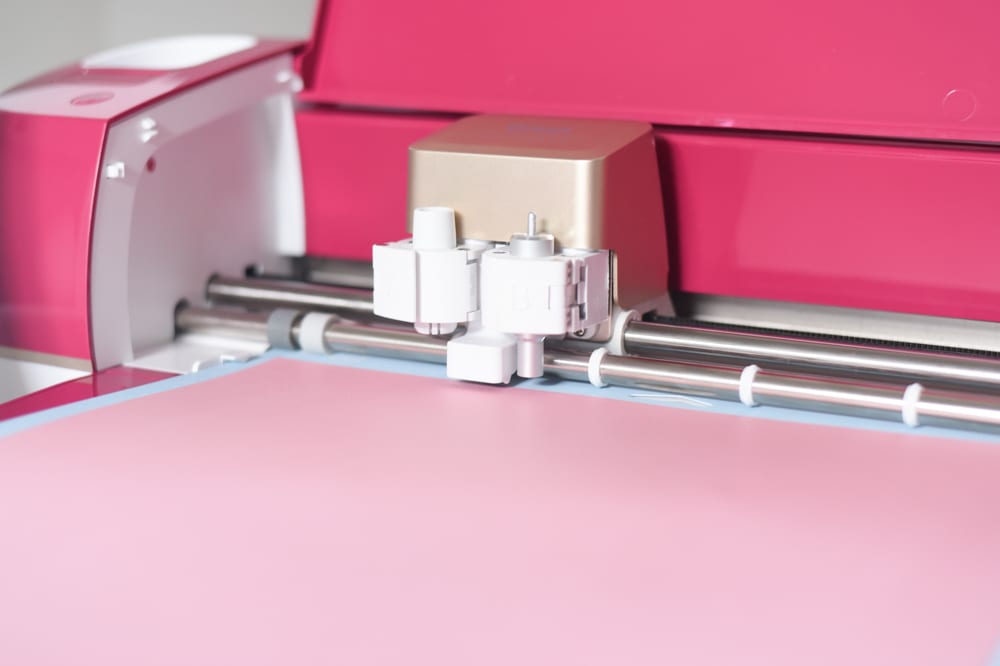
Once both sheets are cut out, carefully remove the excess paper.
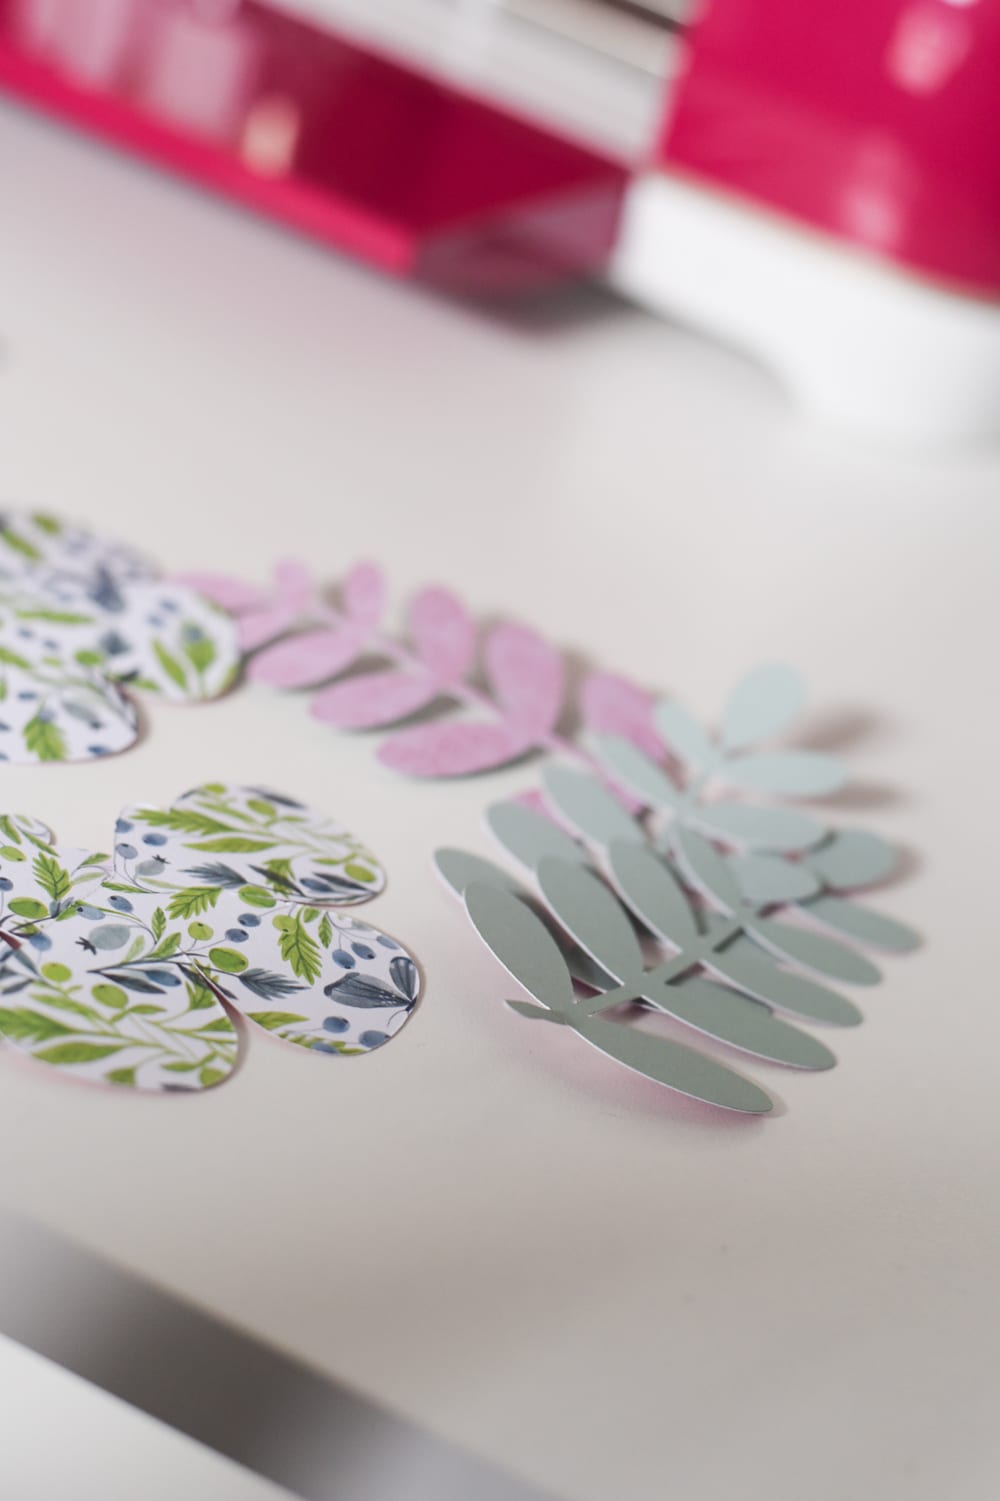
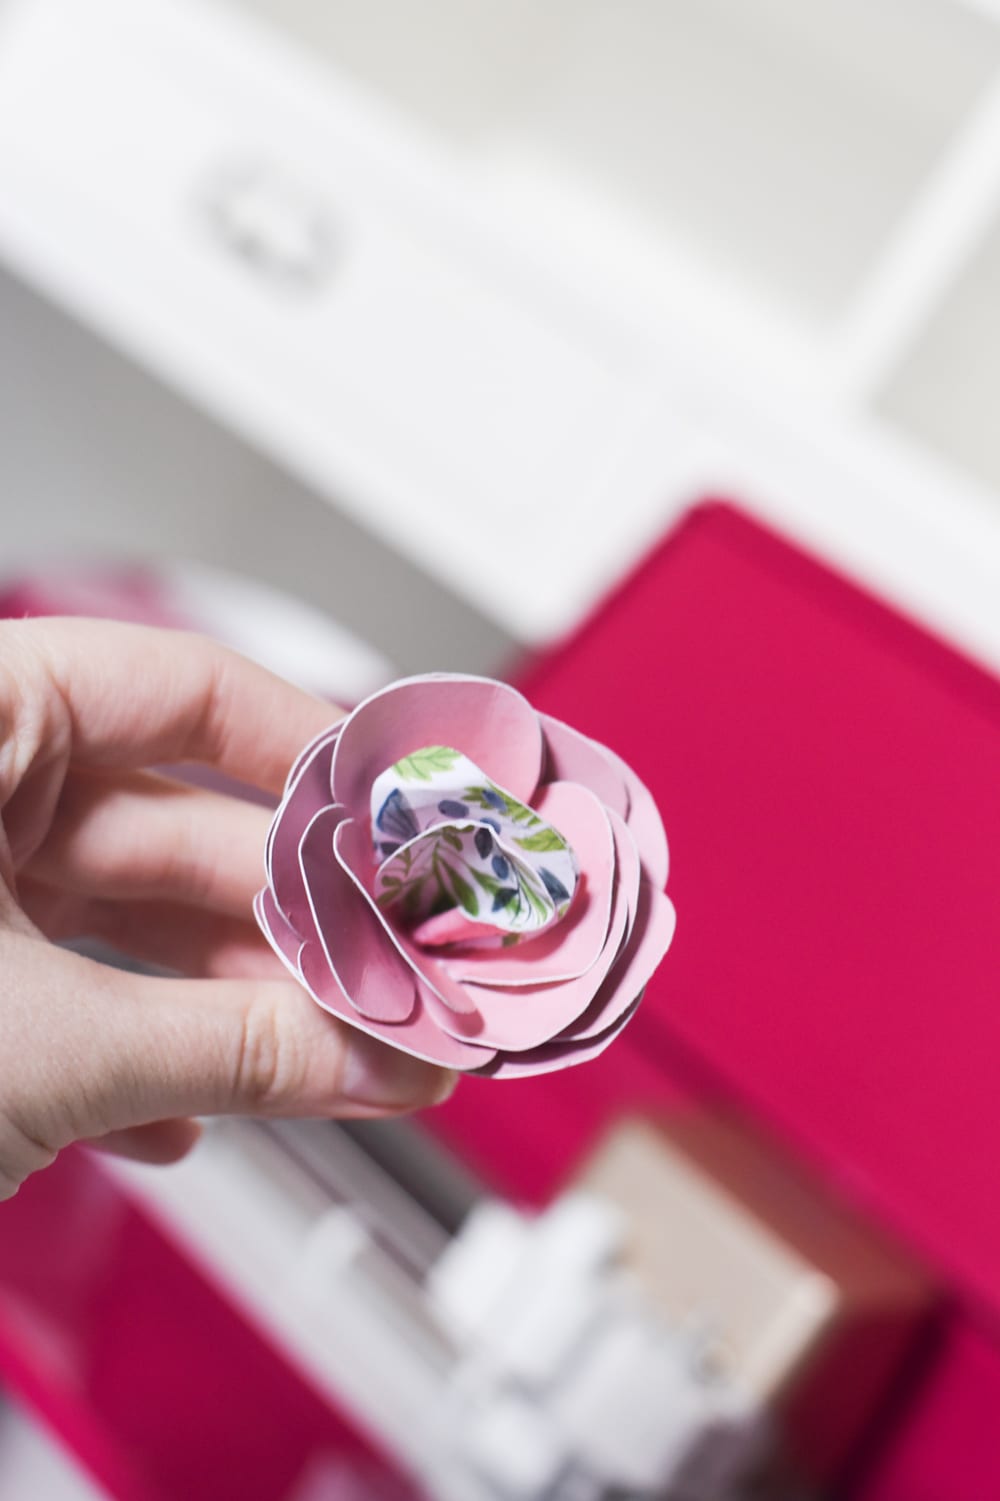
Now this is where I am going to turn you over to a professional. The flowers used here are from Lia Griffith – she has an awesome tutorial about how to use these flowers in a bouquet.
In that tutorial, she has a video that specifically shows how to make one of these single roses, which is what I followed to make the single flower for this boutonniere. So I’m going to share that video here, because it does a better job than I could ever attempt myself!
The flowers look beautiful in the end, and I can’t wait to attempt them again.

Okay! Now that you’ve created your rose, it’s time to make the boutonniere.
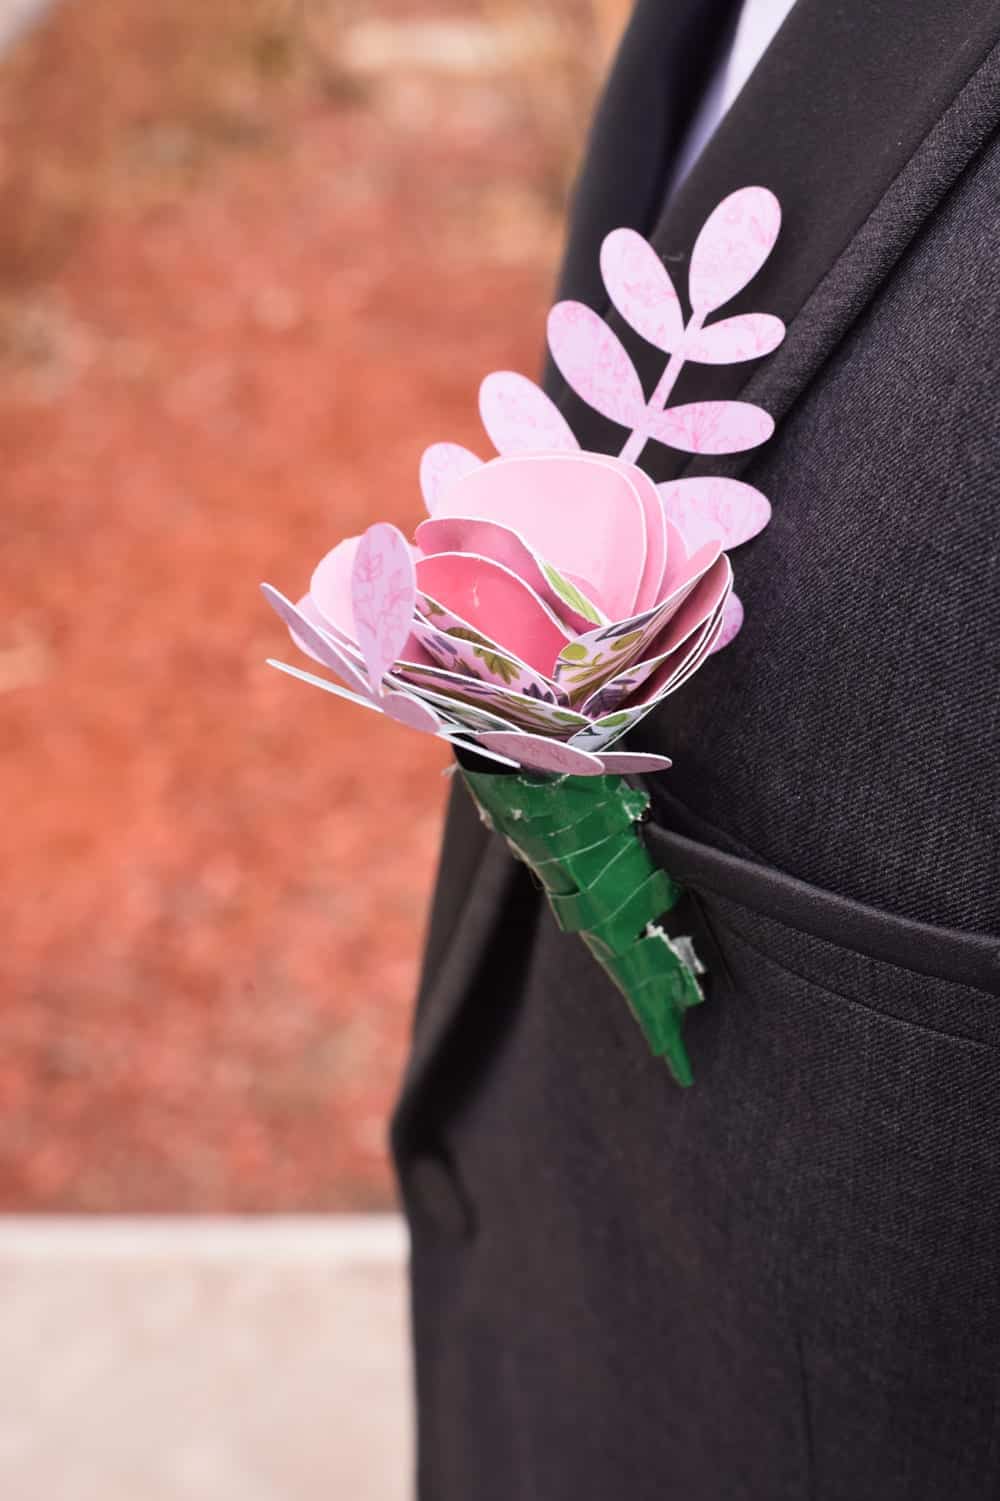
I had gotten some little boutonniere pin cones from Joann Fabric and Craft from the “Save the Date” collection. I really like these, because it was an easy way to add the flowers.
With that said, I covered it in floral tape…and I’m not sure that I love that. I think I wish I would have left it plain. But that’s totally up to you!
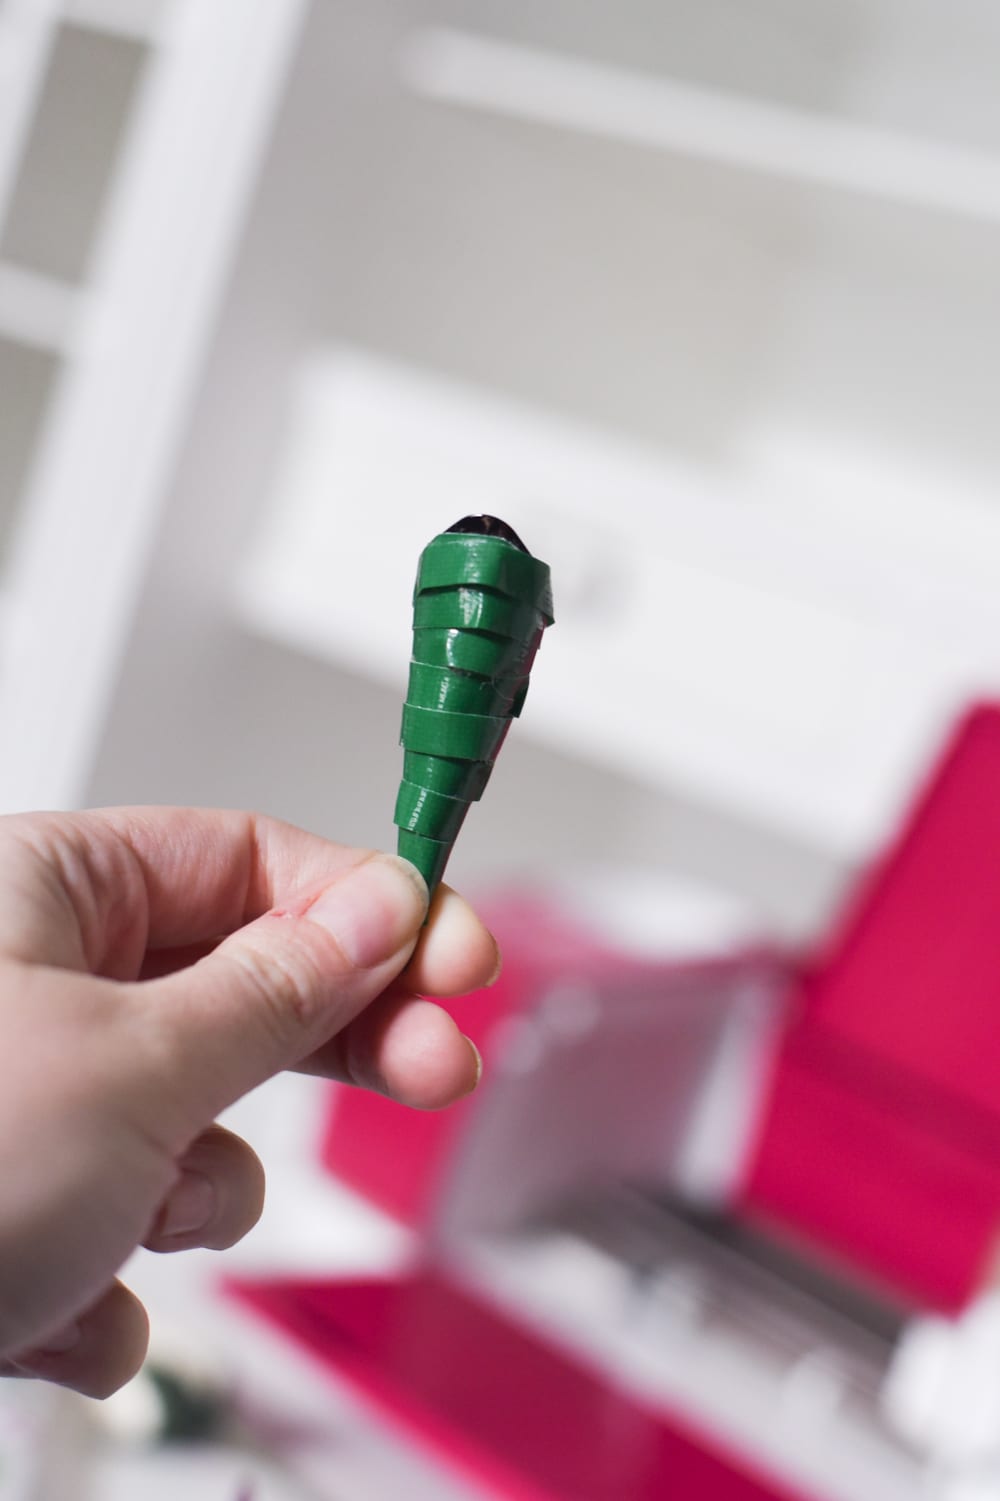
Place lots of glue into the cone – definitely use hot glue. Add the leaves on the side and then put in the flower. You will likely need to add some glue around the edges to the flower to get it to stay in place.
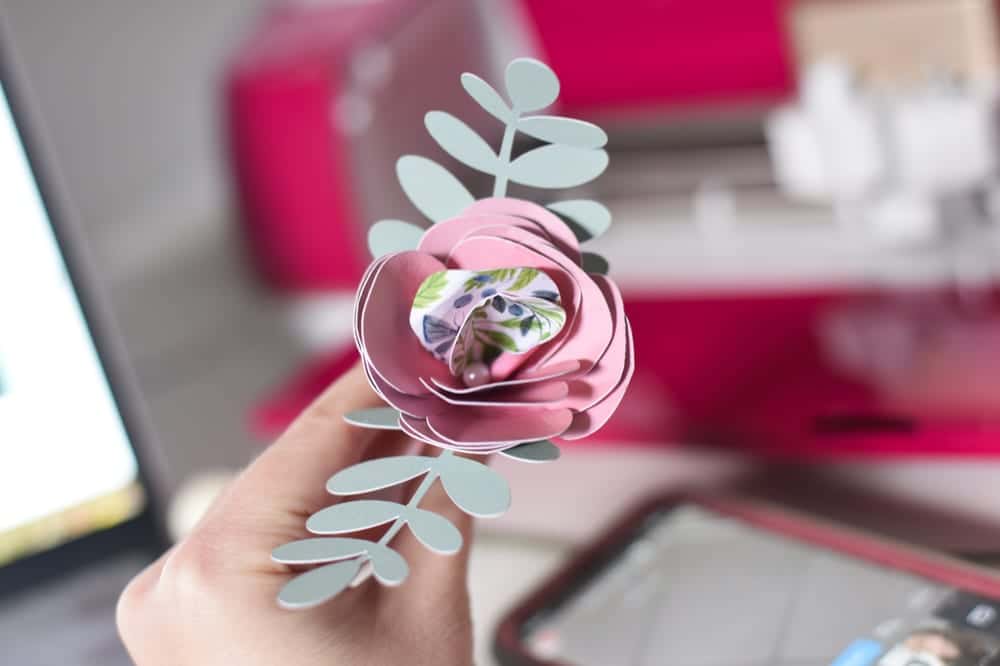
Add a little pearl in the center for style!
Other Posts You May Enjoy:
- DIY Beach Towel Bag with Pillow Tutorial
- DIY Magnetic Family Birthday Calendar: Easy to Update!
- The 5 Best Papers for Cricut Flowers
