Dollar Tree DIY Peppermint Wreath Tutorial
Making your own wreath is a great way to save money, and it’s also a lot of fun! This easy DIY peppermint wreath only takes a few supplies from Dollar Tree, and it’s perfect for the holidays.
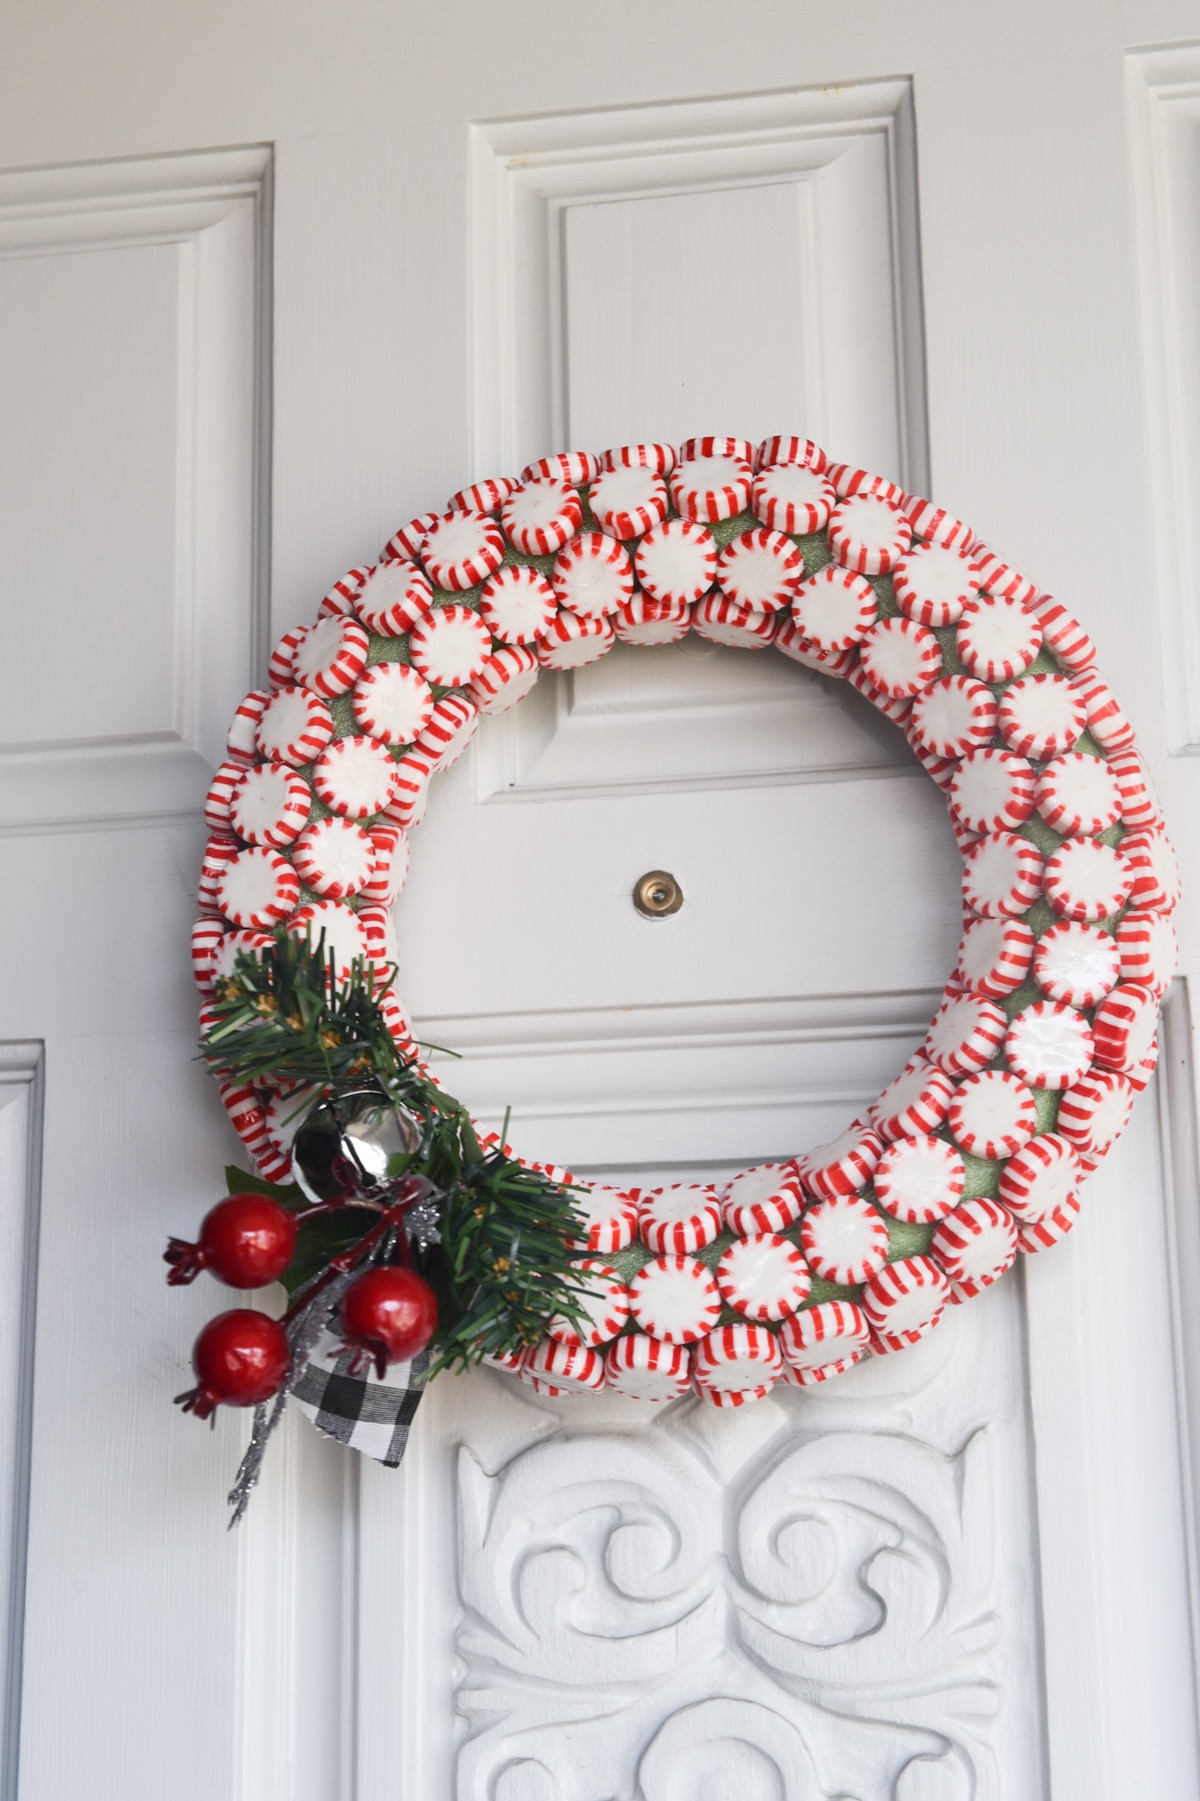
For the longest time, I have wanted to make a peppermint candy wreath. It always seemed super cute and fun for the Christmas season.
Well, this year was the year! I knew that I’d be able to get all the supplies at the Dollar Tree – though it took a couple of visits to get one of the green foam wreaths – they are very popular at our store!
This is definitely going on our list of my favorite Dollar Tree Christmas crafts. Our kids had so much fun helping me make it, and I loved that there was a job for everyone.
Supplies
- Green foam floral wreath
- 3-4 bags Starlight Peppermints
- Hot Glue
- Hot Glue Gun
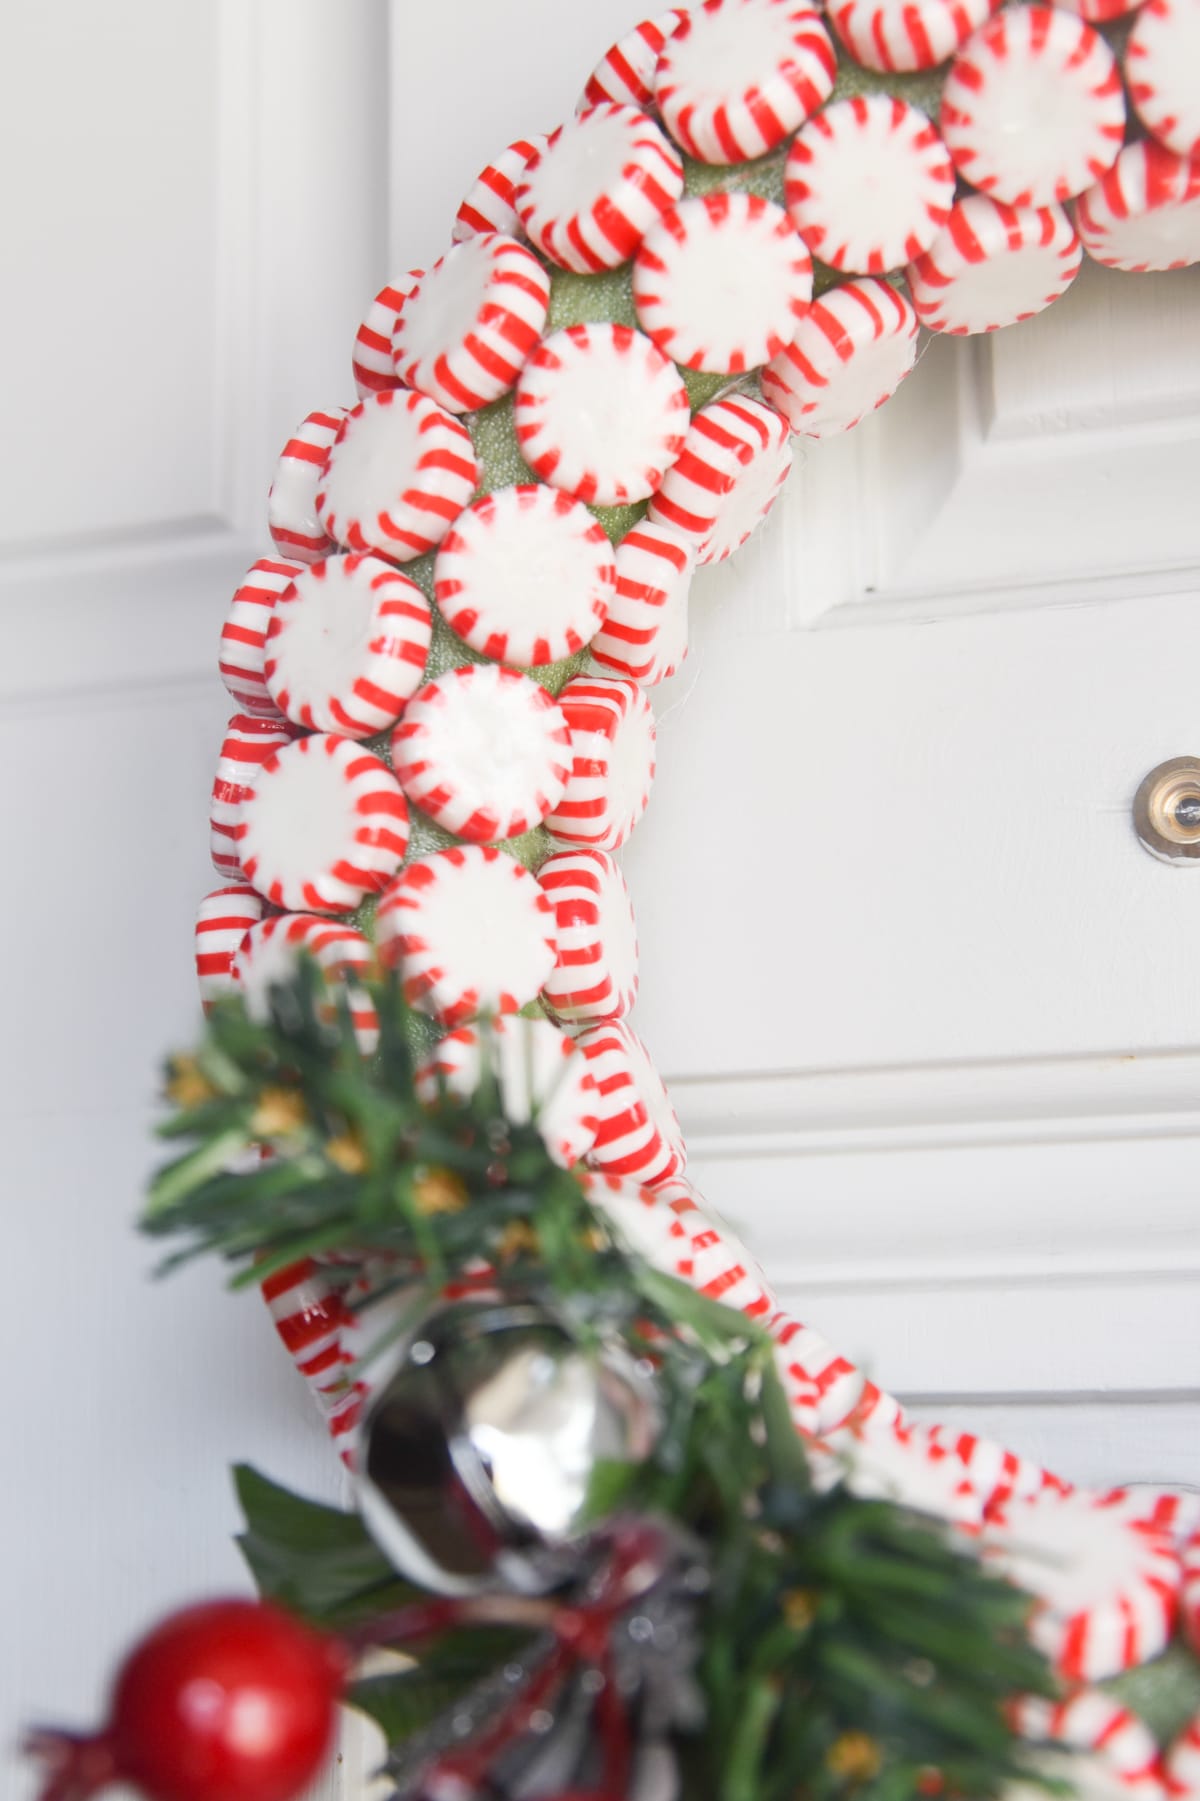
- Ribbons, bells, greenery, etc. for the bottom of the wreath
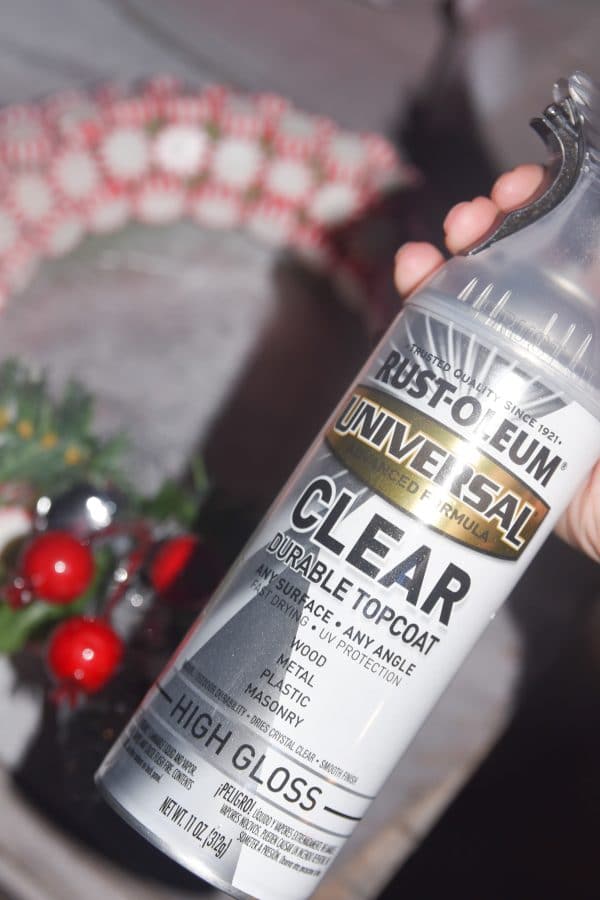
- Glossy Top Coat Spray
Instructions
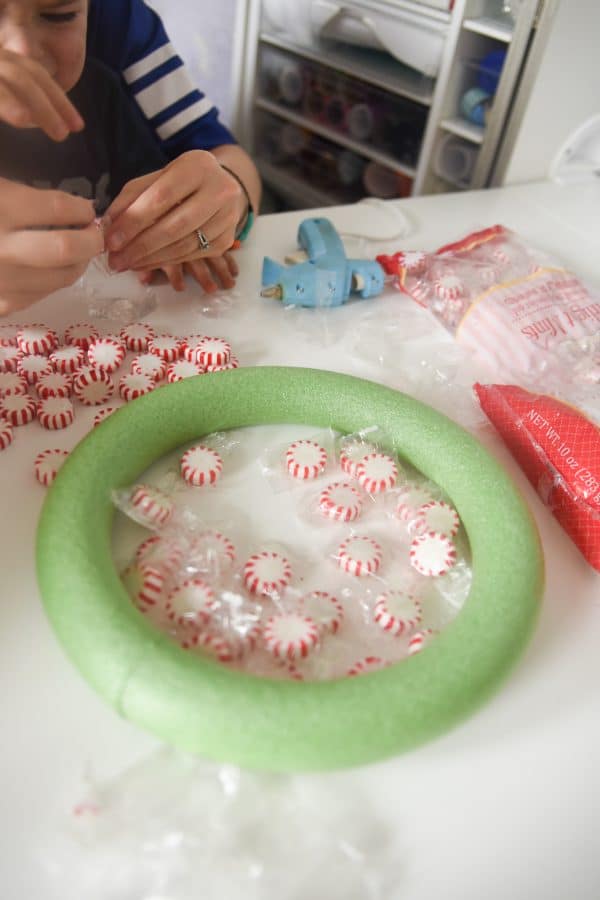
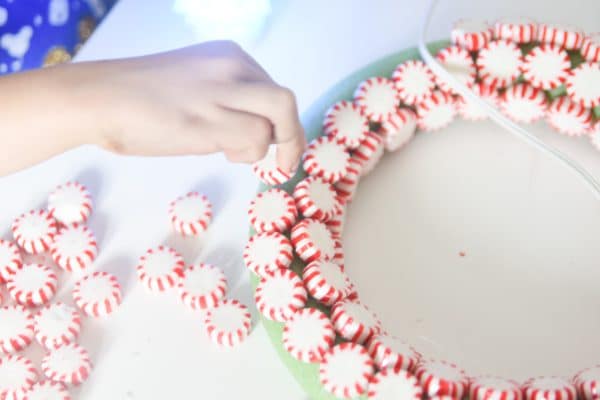
- Unwrap all your candy – this is much easier than doing one at a time (if you have extra, you can make some peppermint candy trays afterward!)
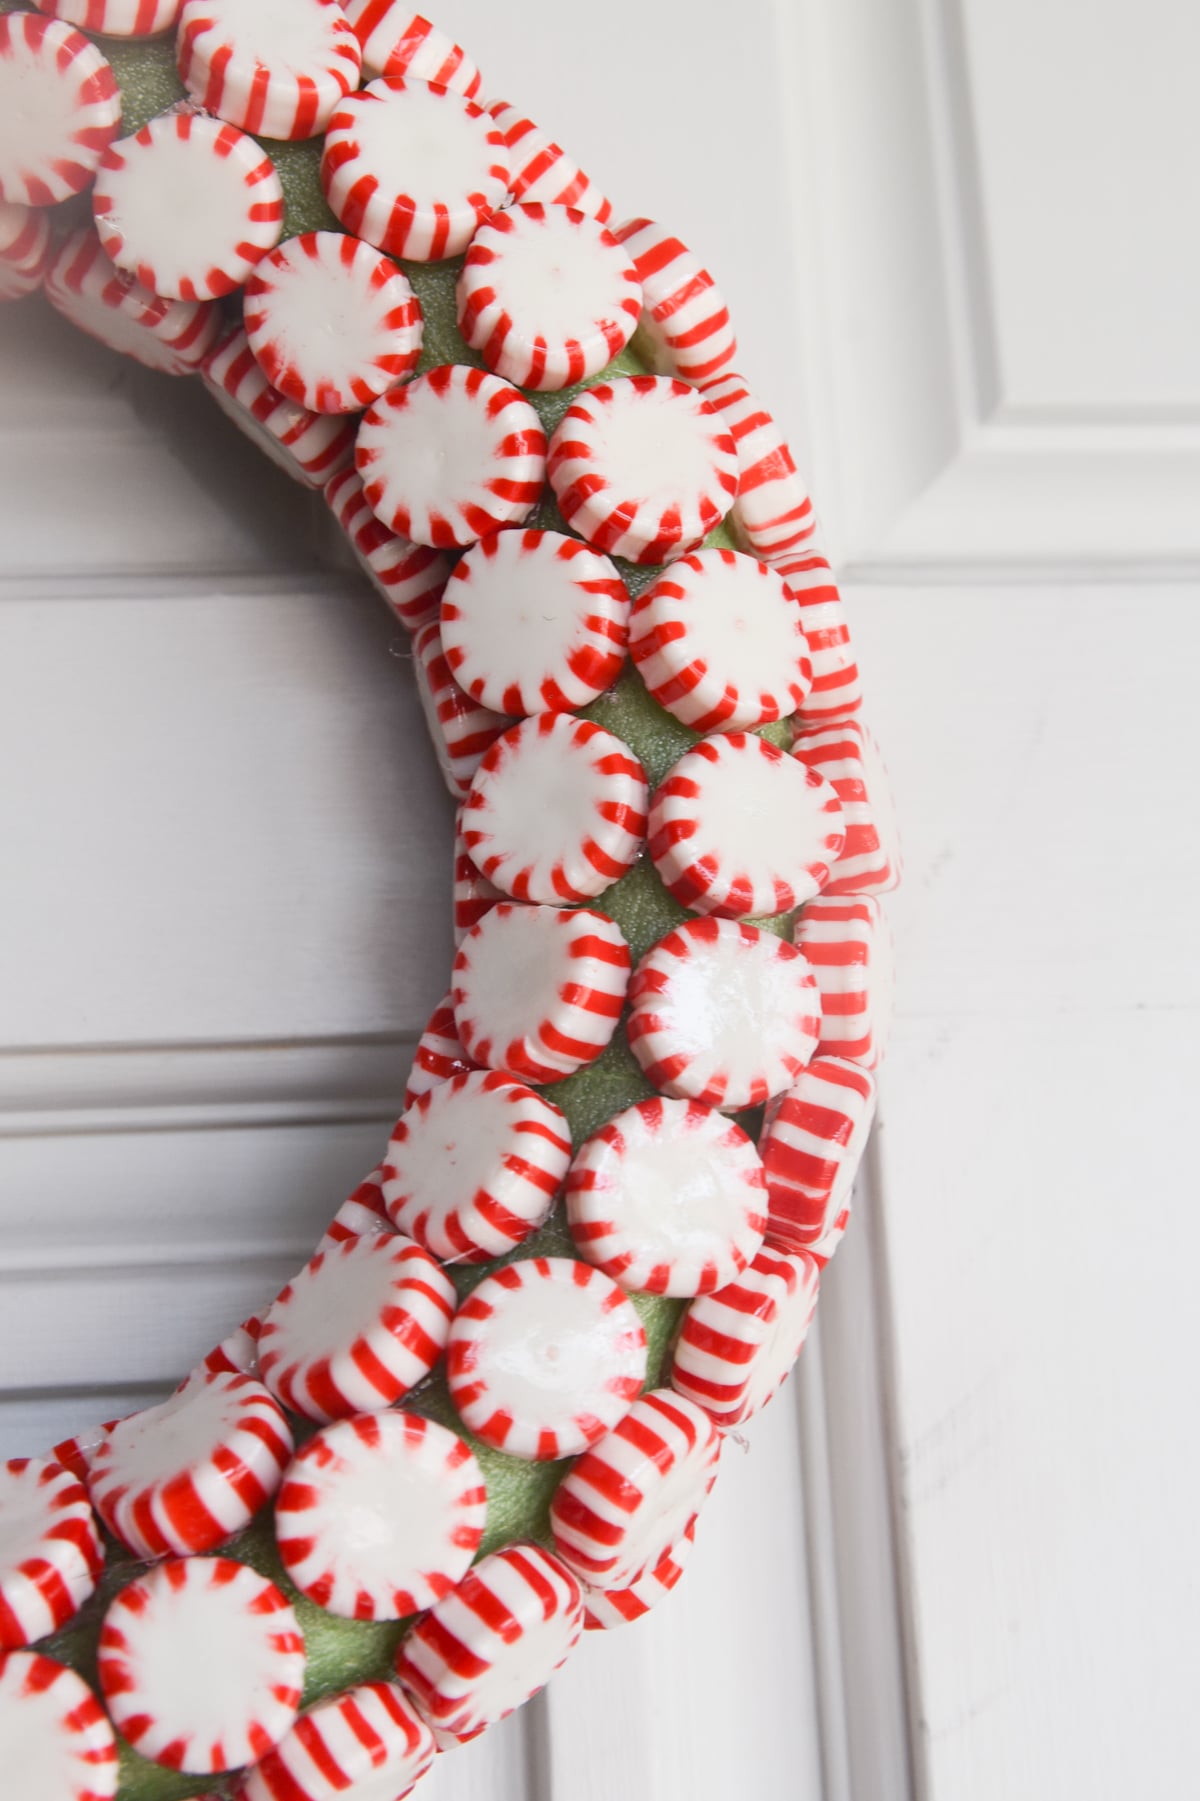
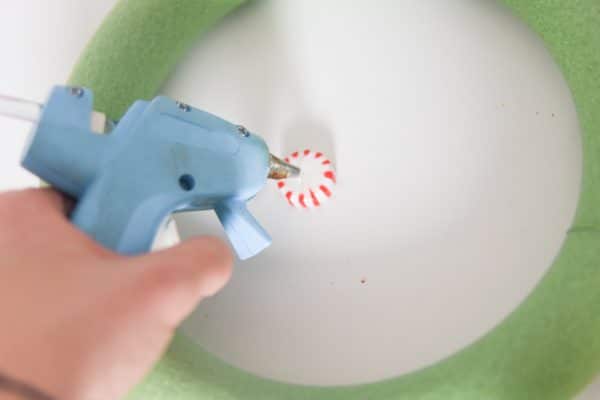
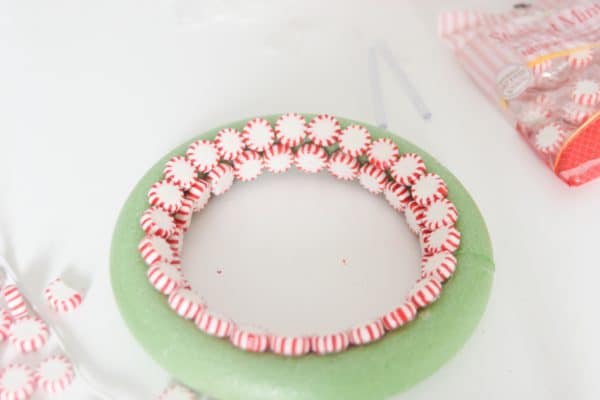
- Cover the backside of one peppermint with hot glue.
- Immediately place in the middle center of the wreath.
- Repeat until you finish the row.
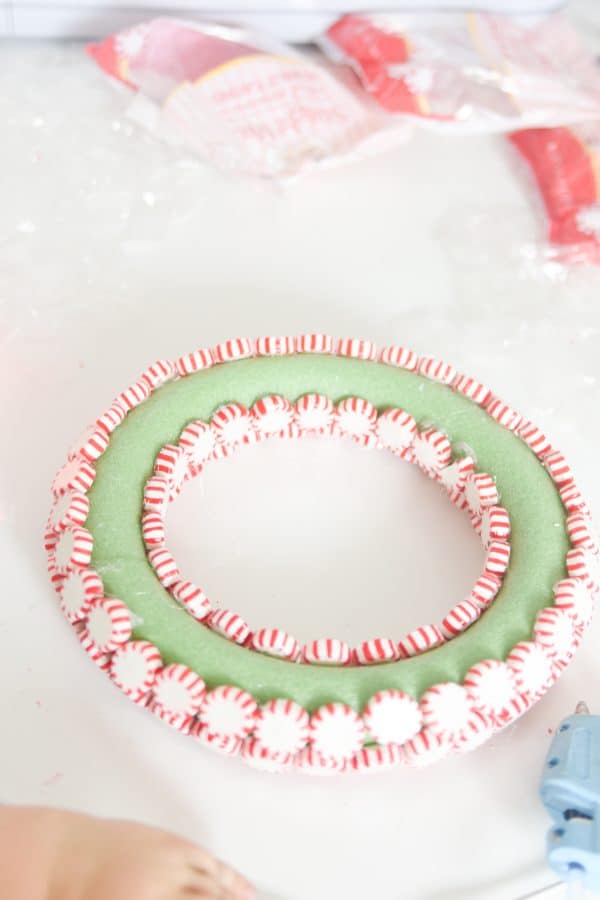
- Start on the next row and completely this process until the wreath is covered (except for the bottom. I recommend keeping that bare).
- Spray with a top coat and let dry
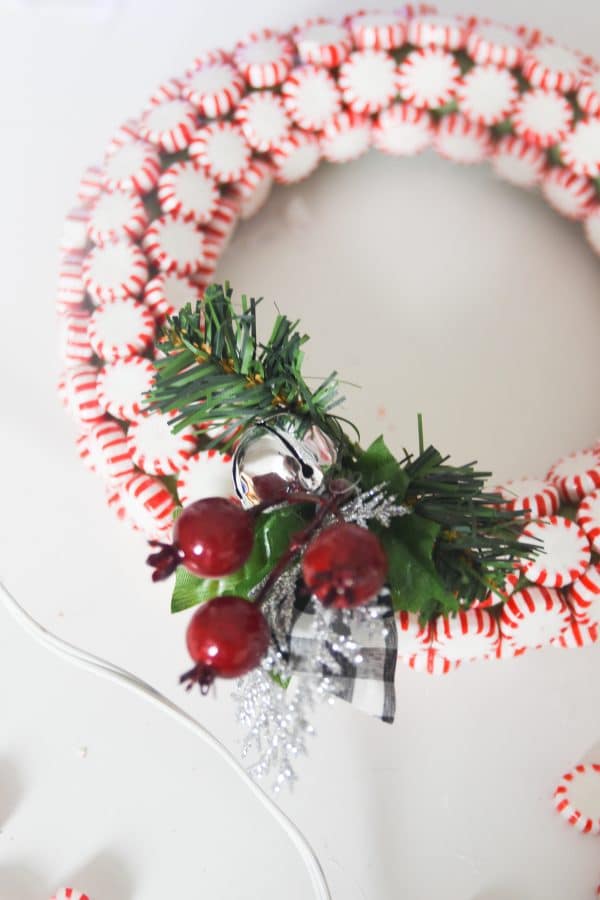
- Glue on any extra embellishments
How much does it cost to make the wreath?
You should be able to make this DIY peppermint wreath for about $5. I used three bags of Starlight mints ($3), a green wreath round ($1) and the greenery/ribbon ($1). I already had the hot glue gun, glue sticks, and the topcoat spray, but if you need to buy those, it will be an additional cost. The Dollar Tree does have glue sticks – and on their website, they have glue guns!
What colors of peppermints are at the Dollar Tree
The Dollar Tree typically carries red and green peppermints, both of which would be perfect for this wreath. I always find them in the candy aisle year-round.
Do I need to use a foam wreath form?
I would recommend using a foam wreath for this project. Using a wire wreath would be a little too difficult to get everything to stay in place. Here are more dollar tree project ideas that you can do with Cricut.
Will the hot glue smear the colors?
I used a lo temp hot glue, and this helped prevent smearing. I also would recommend making sure your hands aren’t super warm.
Can this wreath get wet?
Even with the topcoat, I would not recommend getting this peppermint wreath wet.
Do I have to use a top coat?
NOpe! You can totally skip this part. I do find it makes the wreath look nicer, and it’s more resilient.
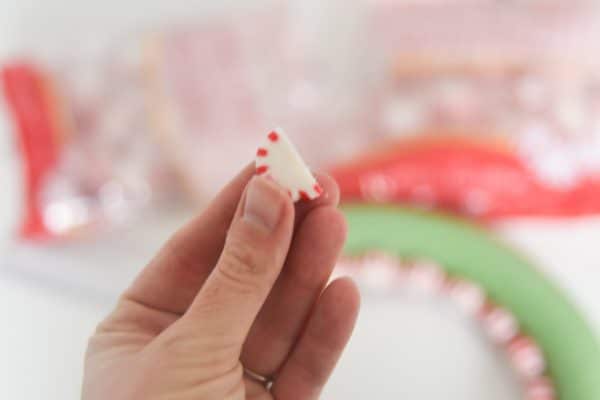
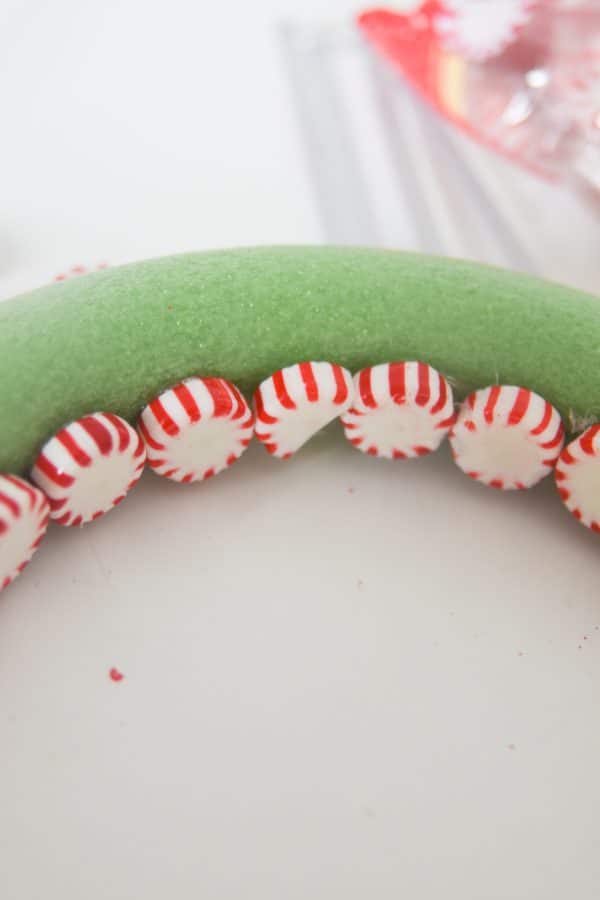
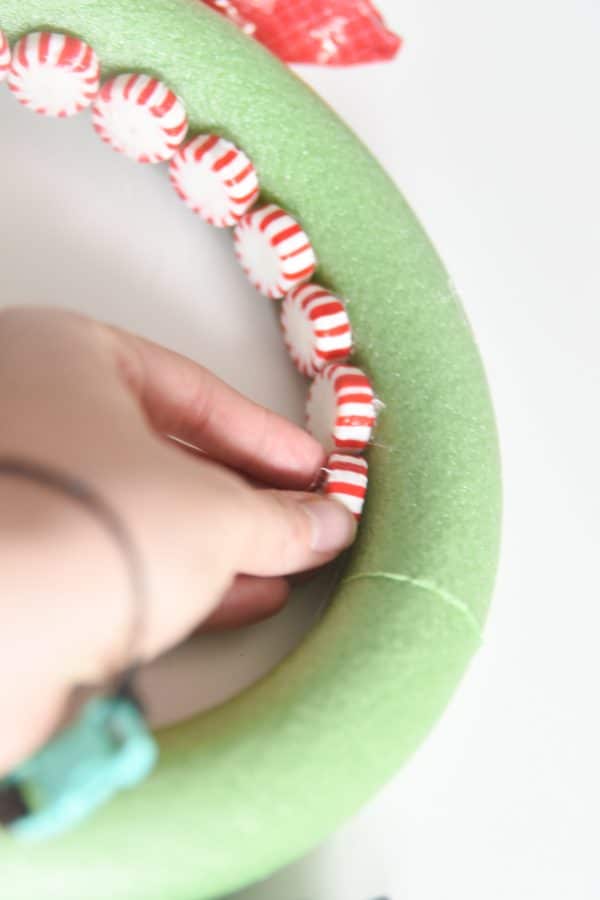
What if all the peppermints don’t fit in one row
This happens! When this happened to me, I just broke off the bottom part of the peppermint and positioned it down so it was less noticeable:
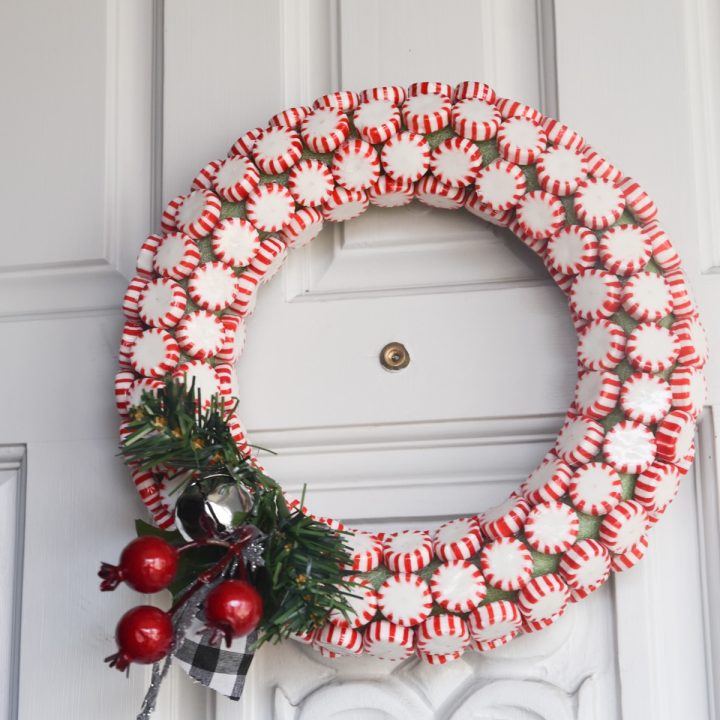
DIY Dollar Tree Peppermint Wreath Tutorial
A DIY Peppermint Wreath is the perfect DIY project to welcome people into your home. This tutorial will give you a step-by-step tutorial exactly on how to do it!
Materials
- Green foam floral wreath
- 3-4 bags Starlight Peppermints
- Hot Glue
- Ribbons, bells, greenery, etc. for the bottom of the wreath
- Glossy Top Coat Spray
Tools
- Hot Glue Gun
Instructions
- Unwrap all your candy – this is much easier than doing one at a time (if you have extra, you can make some peppermint candy trays afterward!)
- Cover the backside of one peppermint with hot glue.
- Immediately place in the middle center of the wreath.
- Repeat until you finish the row.
- Start on the next row and complete this process until the wreath is covered (except for the bottom. I recommend keeping that bare).
- Spray with a top coat and let dry
- Glue on any extra embellishments
If you’re looking for a fun, family-friendly craft to do this weekend that doesn’t cost much money or time, then be sure to check out our DIY dollar tree peppermint wreath. With only a couple of materials from the Dollar Tree and about an hour of your time, you can make a festive holiday decoration with great curb appeal! We’ve included all the instructions below so don’t forget to tag us on Instagram @clarkscondensed if you made it too! Happy crafting!
More Christmas Crafts You Might Enjoy:
- The 9 Symbols of Christmas and Their Meanings + Free Printable
- DIY Stovetop Christmas Potpourri Gift + Printable Tags
- 5 Easy Dollar Tree Cricut Christmas Projects
- DIY Christmas Nativity Ornaments with Free Cut Files
- DIY Ornament Christmas Tree + More Dollar Tree Christmas Projects
- Kid-friendly Christmas Tree