DIY Pregnancy Countdown Shirt with Cricut
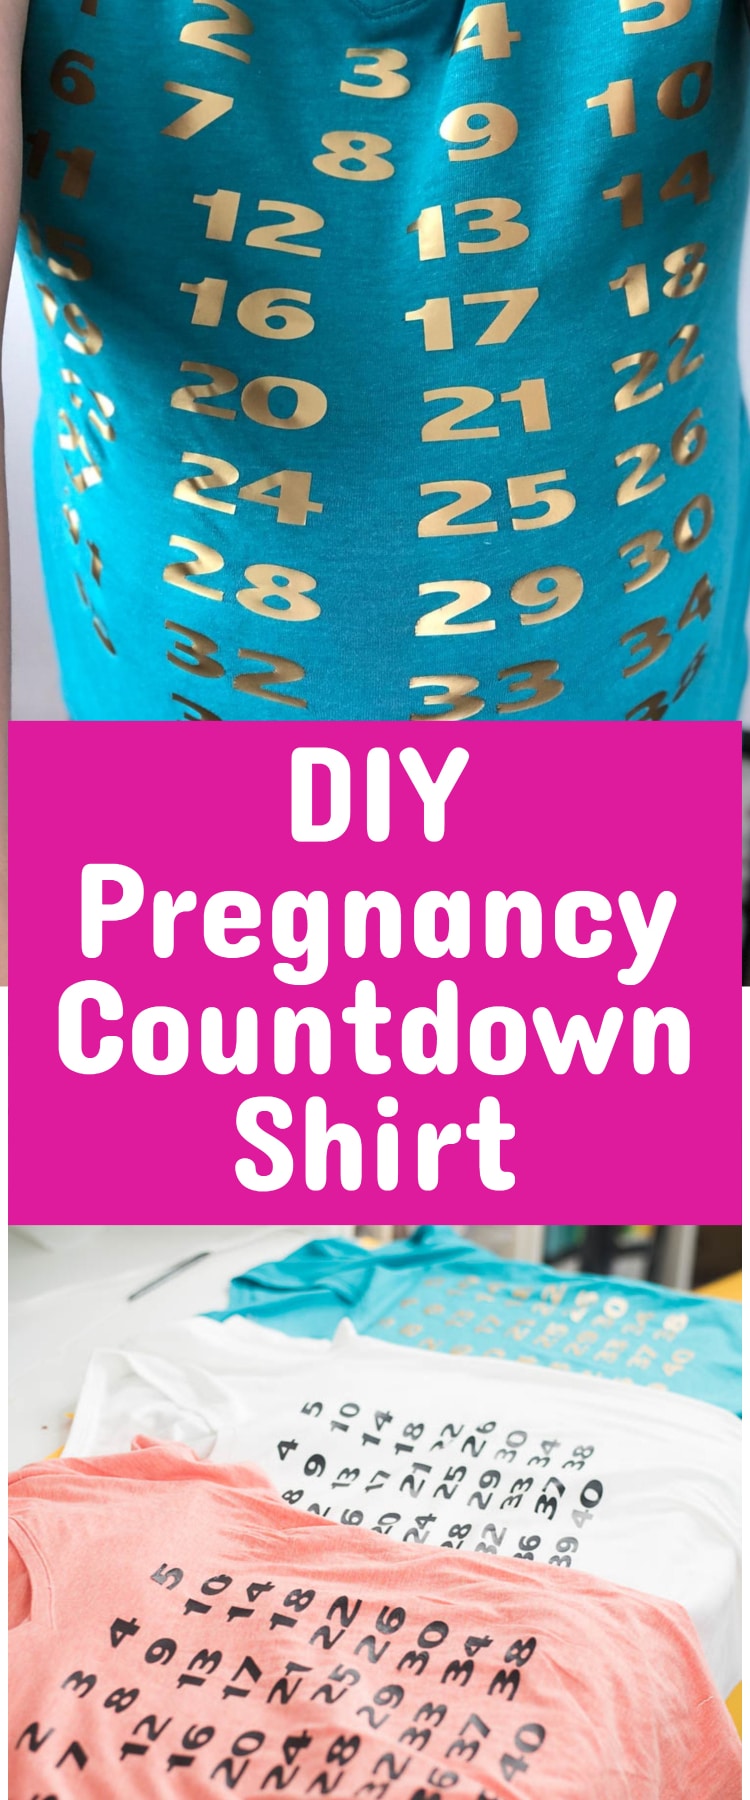
Make pregnancy a little more fun with this easy pregnancy countdown shirt – it’s great for those weekly belly pics!
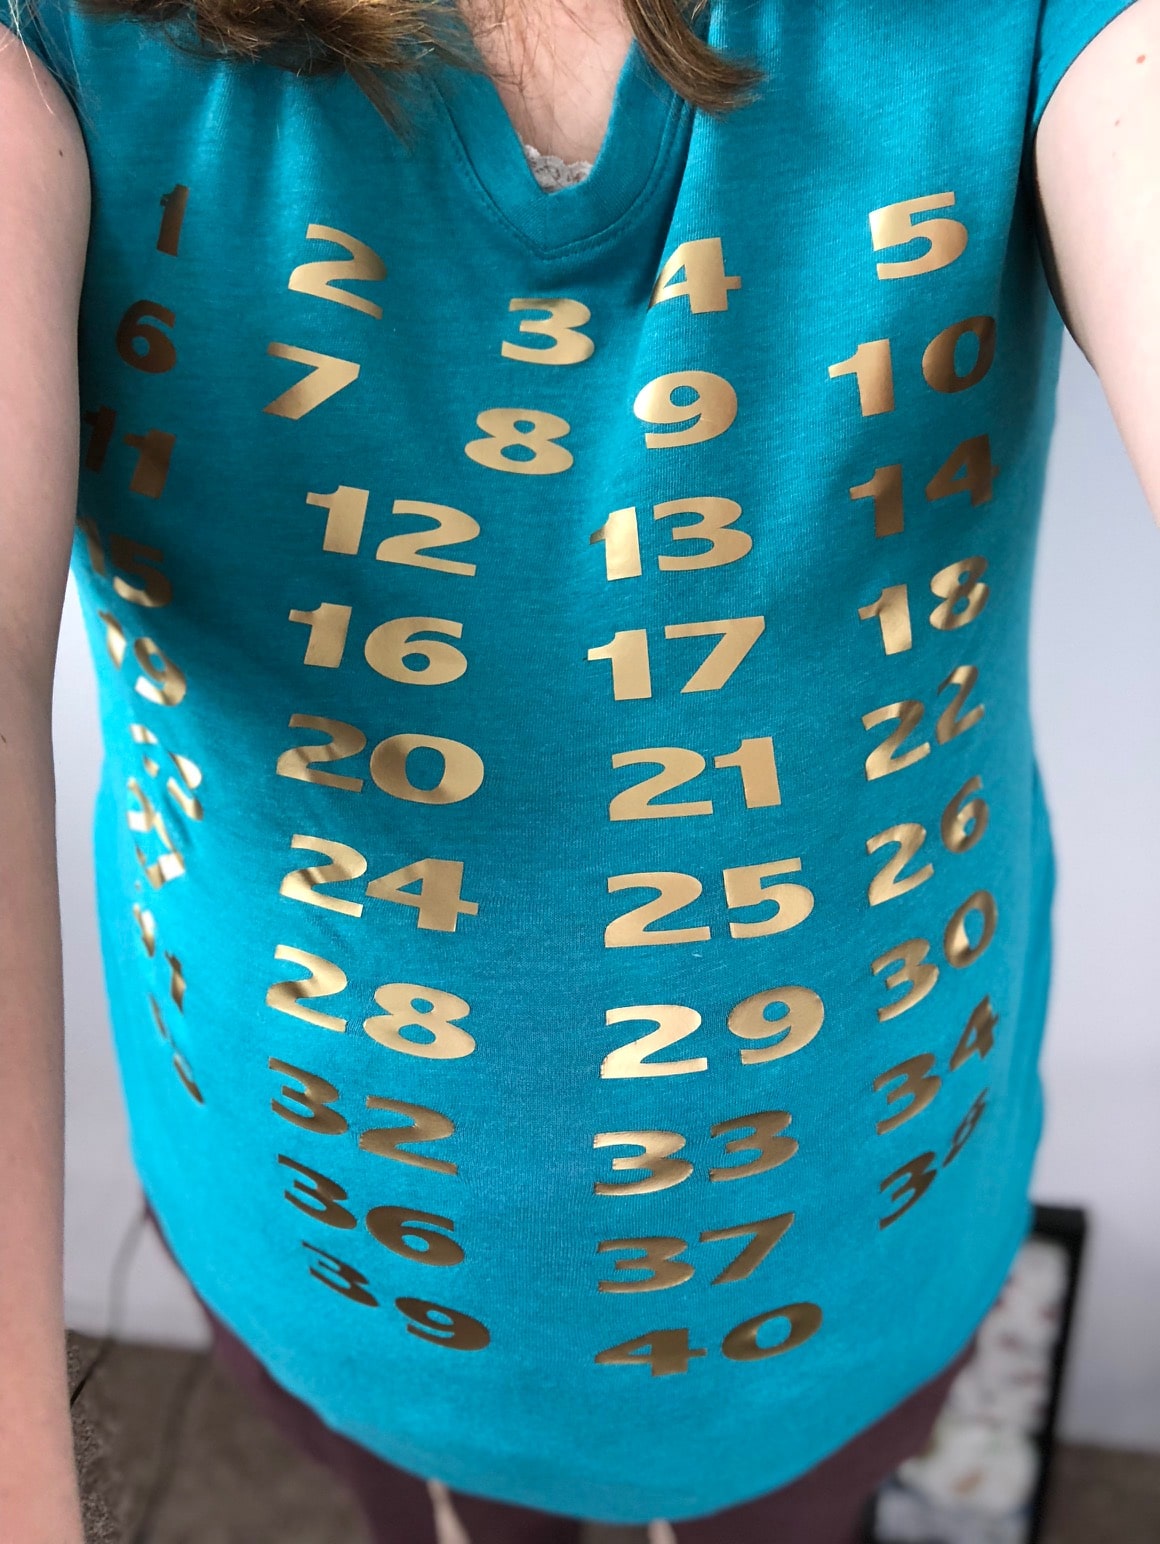
Pregnancy Countdown Shirt Ideas
Thank you to Cricut for partnering with us on this post.
Before I get started with this post, I want to make one thing clear.
I. Am. Not. Pregnant. (even though I pretended to be to take a few pictures).
Now that I’ve got that out the way…now I can share how to make a maternity countdown shirt 🙂
I don’t ever remember seeing shirts like this with my two pregnancies, but I think they are just so fun and perfect for weekly pregnancy photos!
So when I was asked to partner with Cricut to feature their NEW SportFlex™ Iron-On vinyl, I knew exactly what I was going to make – a countdown t-shirt!
I mean, this SportFlex Iron-On is perfect for maternity shirts, because your belly (and clothes) are going to be stretching like crazy during those long nine months.
I actually thought about doing a fun twist on the countdown shirts, but I didn’t get all the colors that would have been necessary (and let’s be real – it would have been time intensive), so I’ll save that for next time. However, this pregnancy countdown shirt is cute and easy to make. And I’m excited to share with you the tutorial.
I will say please be patient with the changes in shirt colors and SportFlex™ Iron-On colors throughout this tutorial. As with most things I do, it takes me multiple times to get it right (the first time I did the video I missed a step, the second time I didn’t remember to turn on the video camera, and, well, it’s true what they say about the third time – it’s a charm!) I actually love the blue and gold shirt the best.
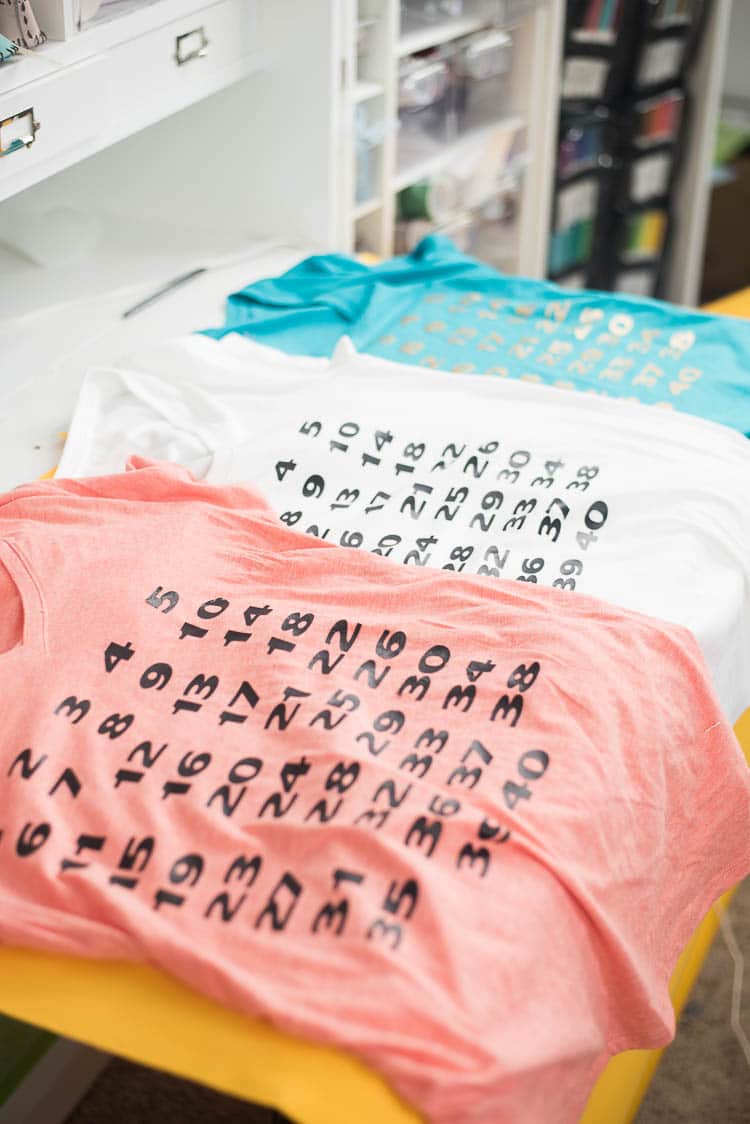
Oh, and I’m SO excited to also let you all know that Cricut has finally released their EasyPress mat. You guys – this thing makes using your EasyPress even easier – and I think it creates even sleeker and professional results.

It’s very thin and easy to use. I’ve been using another mat, which has been helpful, but this one is a game changer. I have used it quite a few times now, and it definitely has the official Clarks Condensed seal of approval.
Please make sure you read this post on How to Use SportFlex™ Iron-on before doing this tutorial. It will give you some great insight on how to use it!
How to Make a Pregnancy Countdown Shirt


Materials:
Maternity t-shirt (they have some great plain ones at Target for around $10)
Cricut Maker or Cricut Explore Air 1 or 2
EasyPress or Iron
Instructions:
Pre-wash your t-shirt.

Measure the height and width of the front of your shirt where you want the countdown to be (it needs to be less than 11.5×11.5″)
Open our “Maternity Countdown” file in Design Space.
Unlock the dimensions for the numbers and put the dimensions for your shirt in.
Press “Make it”
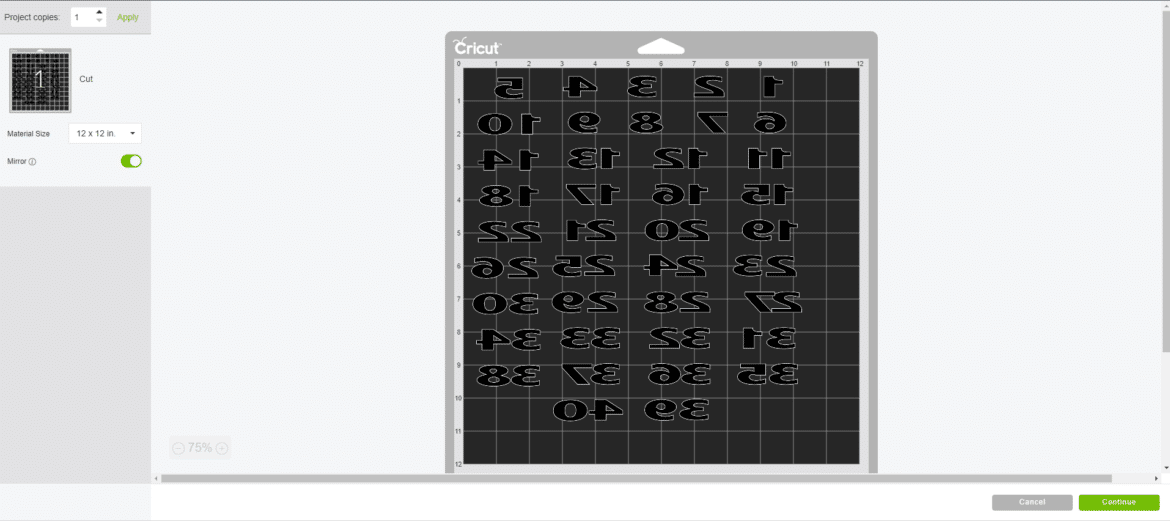
Make sure you mirror your image

Select “SportFlex™” Iron-On as your material.
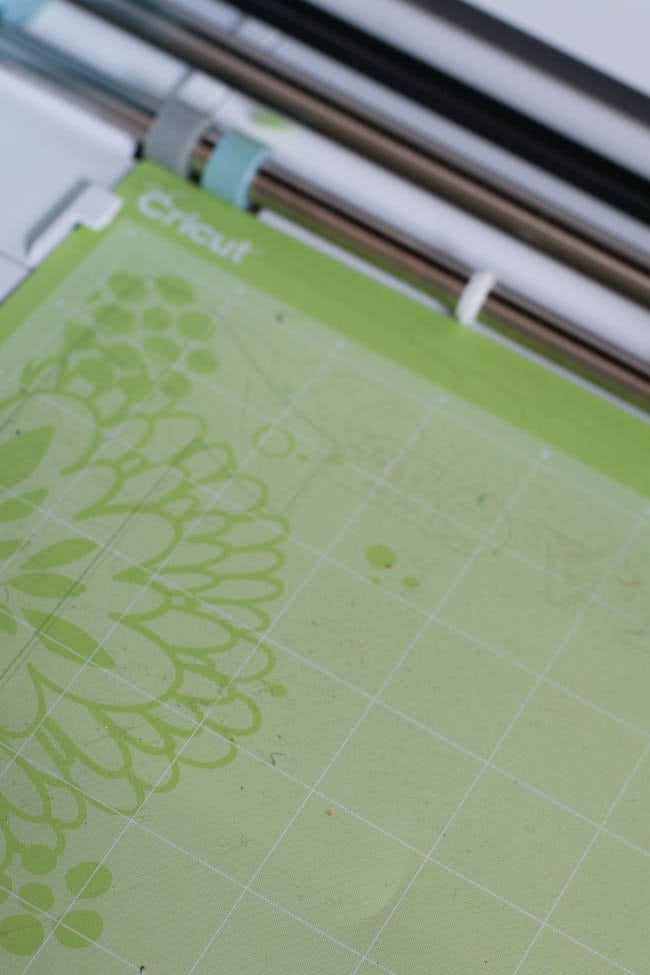
Place the SportFlex™ with the shinier side down (the bubblier side up) on a StandardGrip Mat

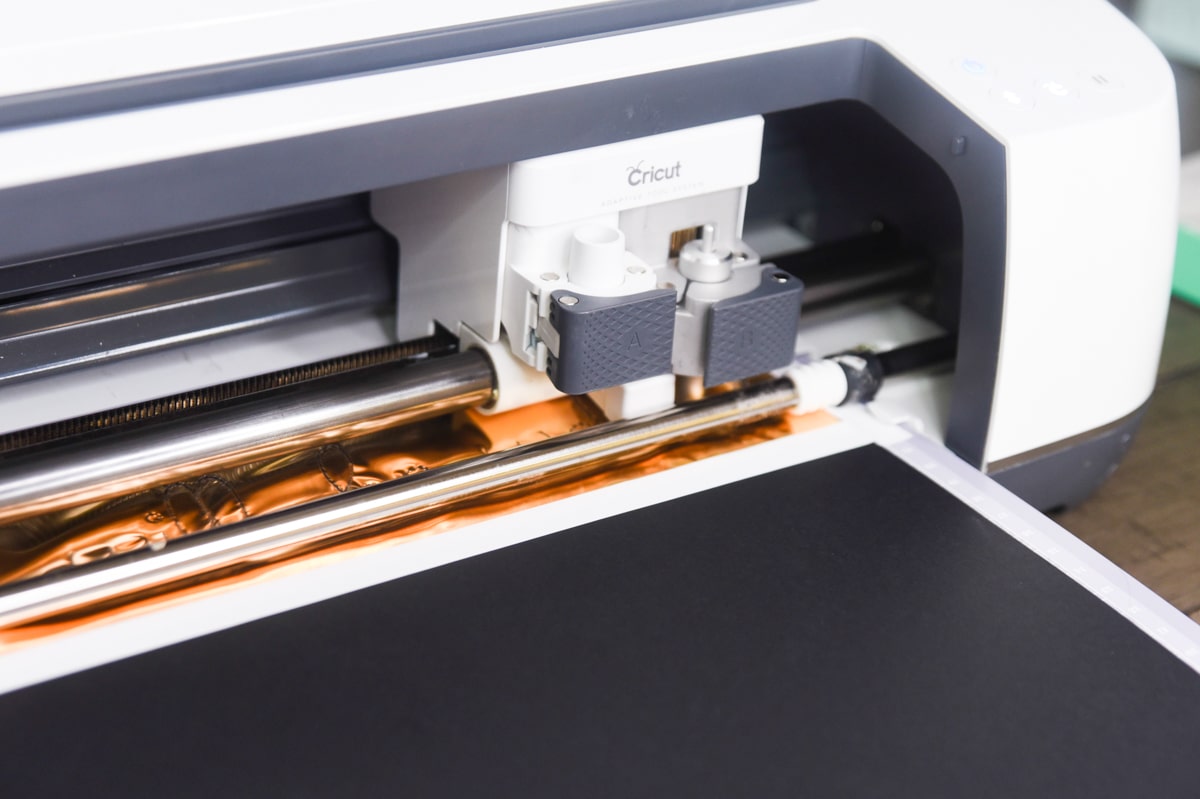
Make sure you have the fine point blade in place and press go.

After the material has cut, weed out all the excess material.

Cut into smaller pieces for easier placement and removal of the transfer plastic.
Pre-heat EasyPress to 305 degrees or your iron to the “wool” setting

Place your shirt on top of the EasyPress mat and pre-heat the front of it for about 15 seconds.

Place your the first portion of your design on the t-shirt.

Place your EasyPress or iron on top of design for 30 seconds.
Let it cool completely and then peel up the plastic carefully.
Repeat with remaining sections.
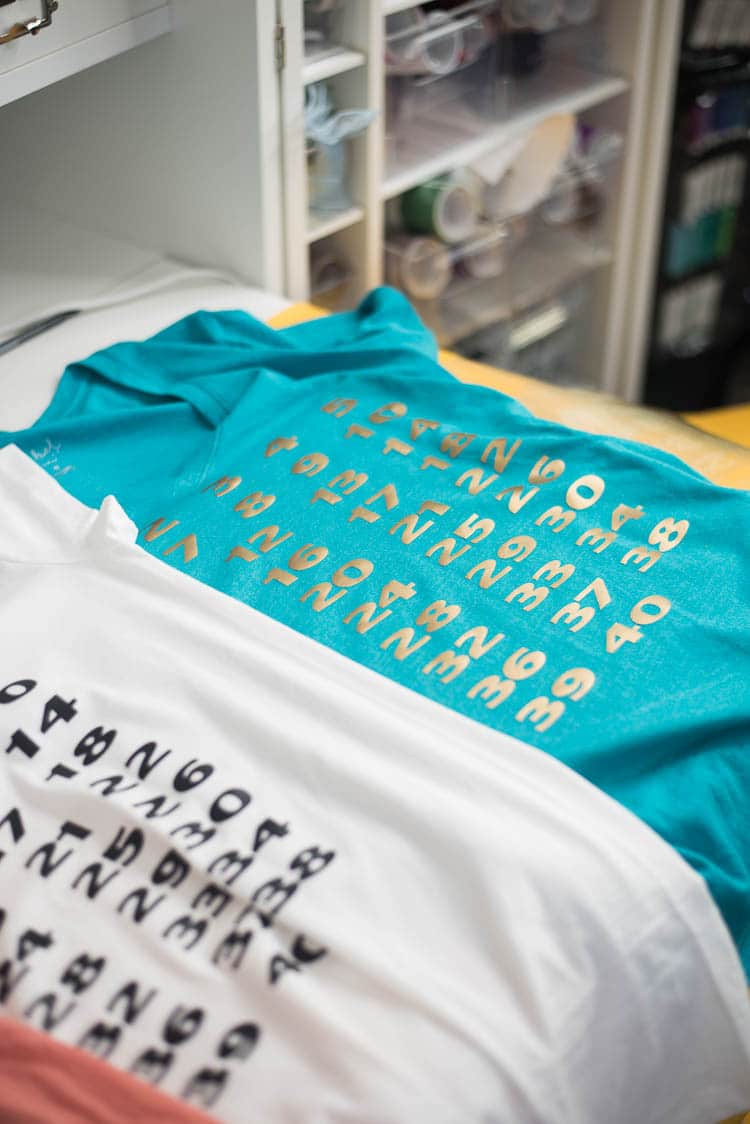
Wear and wash according to manufacturer instructions!



Yesssss! This is genius! What a great idea!!! I loved my countdown shirt that I had with my third pregnancy!
I’ve done the video missing a step a few times myself! This is such a cute idea for a maternity shirt!!
That makes me feel better!! Thank you! 🙂