DIY Valentine’s Day Games for Kids with Cricut
Four fun and easy Valentine’s Days Games for kids that you can make with your Cricut!
Kid’s Valentine’s Day Games
One of my favorite parts about Jack being in school is getting to help with the holiday parties.
Which makes sense – those were always the highlights of the year when I was in Elementary School!
While I have certainly run to the store last minute for some of the parties I’ve helped with (trust me – not a good idea. There’s nothing left!), when I give myself enough time, I like to put a little bit of extra time and effort to make the activities myself.
Of course, since I have my Cricut Maker, I feel like I can make just about anything that comes to mind. I was a little overly ambitious with this post, and I was kind of exhausted by the time I was done troubleshooting all the projects…but I think that there are some really fun ideas down below.
These Valentine’s Day games are best suited for younger children (probably 3-5), but you can easily adapt them to make them more challenging for older children. And really, who doesn’t love a rousing game of BINGO, anyways!?
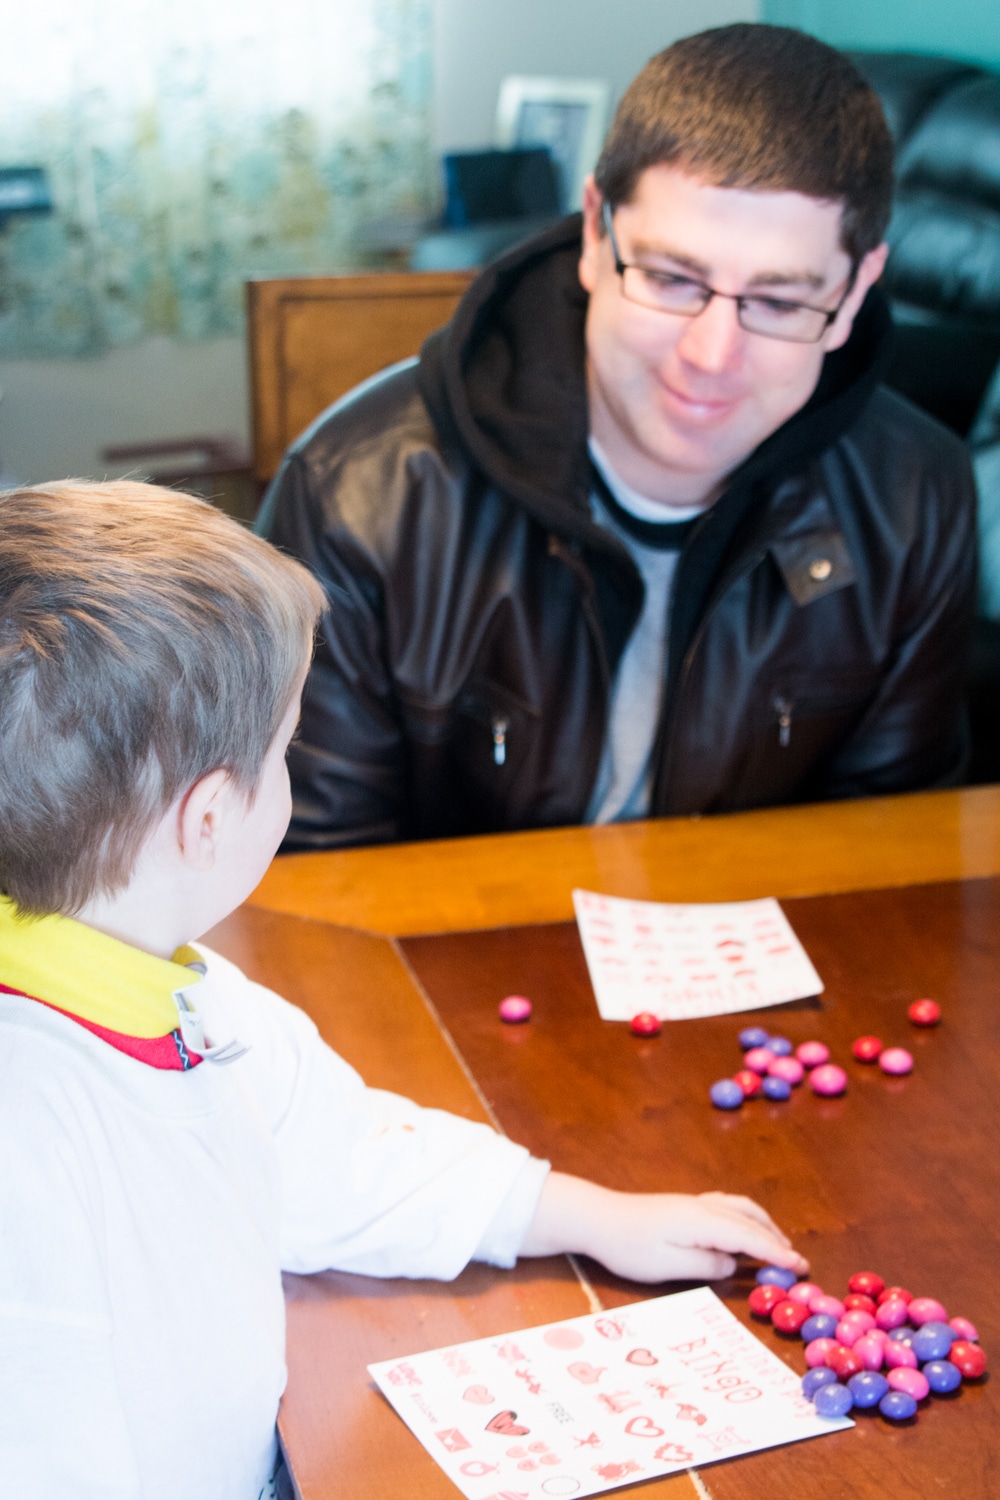
We had fun having Oliver try these games out. He thought they were all so entertaining and fun – so they definitely get our three-year-old’s mark of approval.
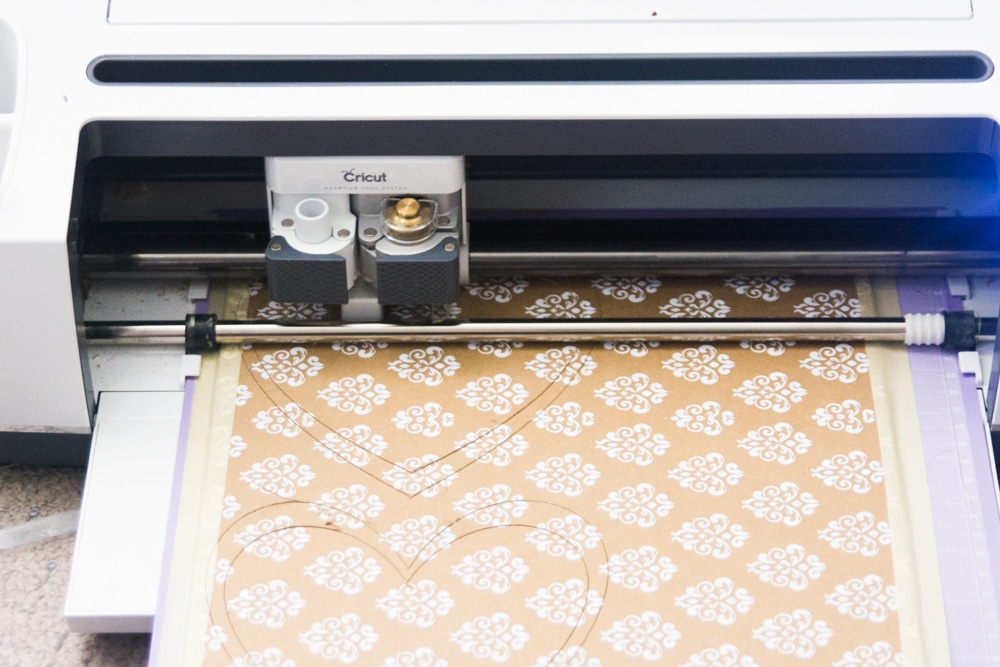
It was fun using a variety of materials for this games, which also required several different blades on my Cricut Maker. The versatility of this machine always amazes me!
You likely could replicate some of these games below if you don’t have a Cricut – it just makes it easier if you do 🙂
Each of the games below have the accompanying Design Space file. PLEASE keep in mind that these are only compatible in Design Space, so it won’t work with non-Cricut machines, or machines before the Cricut Explore.
And if you are looking for some other fun ideas, here are 30 DIY Valentine’s Day Ideas for Kids.
[the_ad id=”93378″]
BINGO
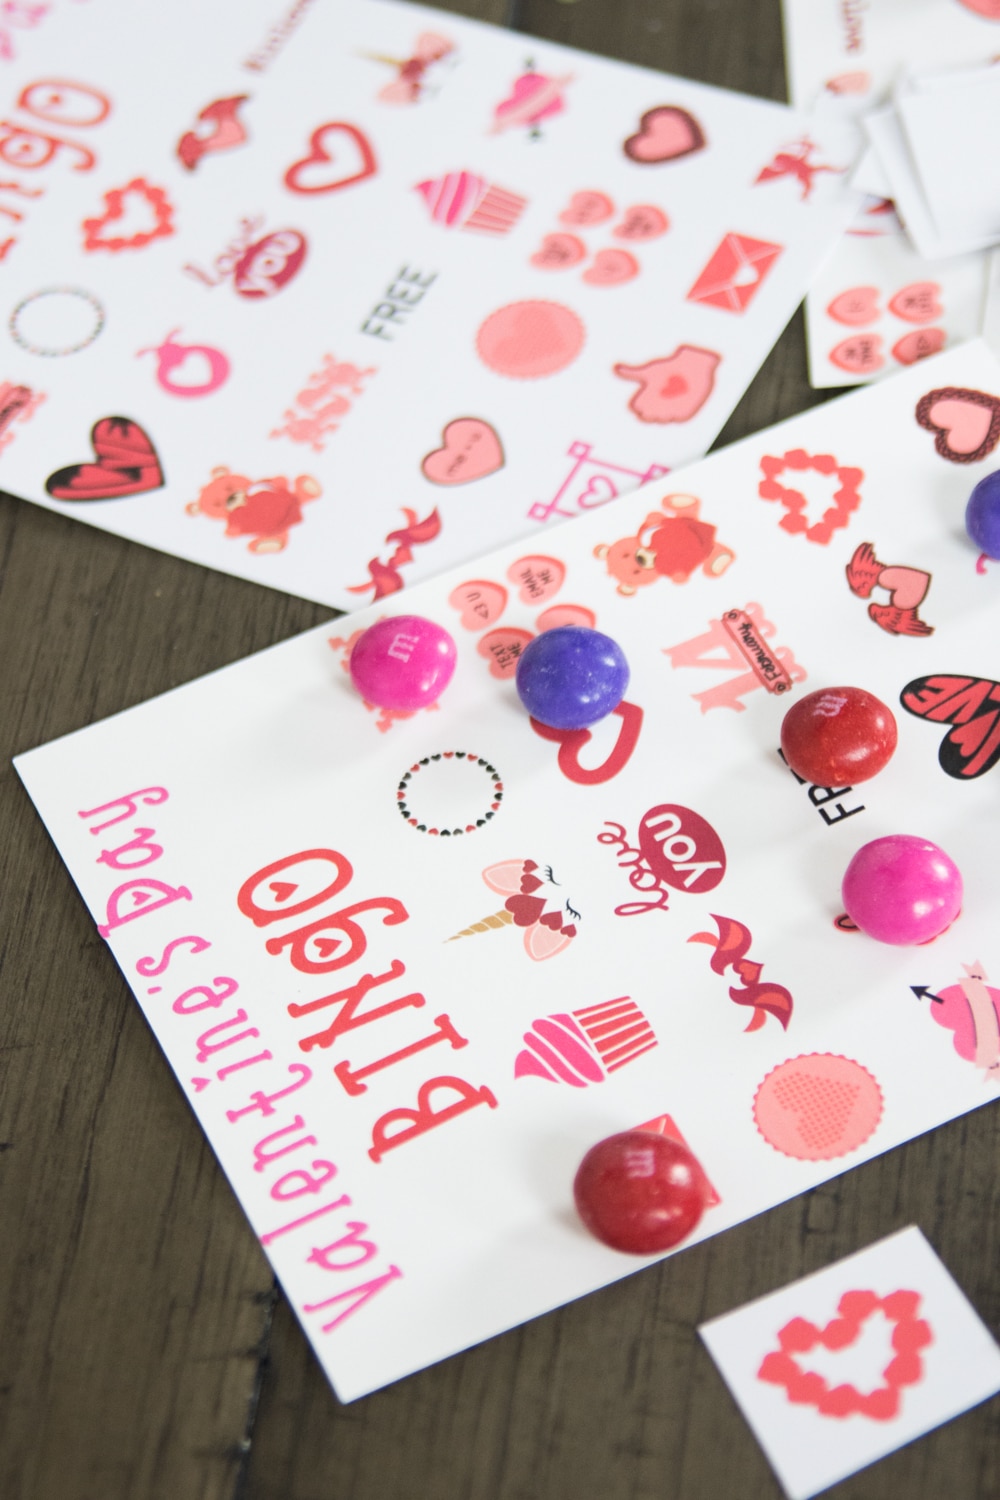
BINGO is so classic. You can really have a version for every holiday and occasion, and if you throw in some delicious candy as markers, you usually won’t have any complainers.
It’s always fun to have little prizes for the kids as they call BINGO, but that’s entirely optional 🙂
To help this game last longer, I would suggest laminating your BINGO sheets and the calling cards with a laminator. This is my favorite laminator – and it’s really affordable.
Materials:
White Cardstock – I prefer the sheets that are already sized for printing. I ran out, and I ended up cutting down some of the Cricut sheets to the right size using my portable trimmer.
Laminator with Laminator Sheets (optional)
Mat
Design File:
Here is the Design Space cut file. This set has four boards with different setups as well as the calling cards.
Techniques Used:
For this project, I did the “print and cut” feature using my Cricut Maker. This project can be done with the Cricut Explore Air 1/2 as well.
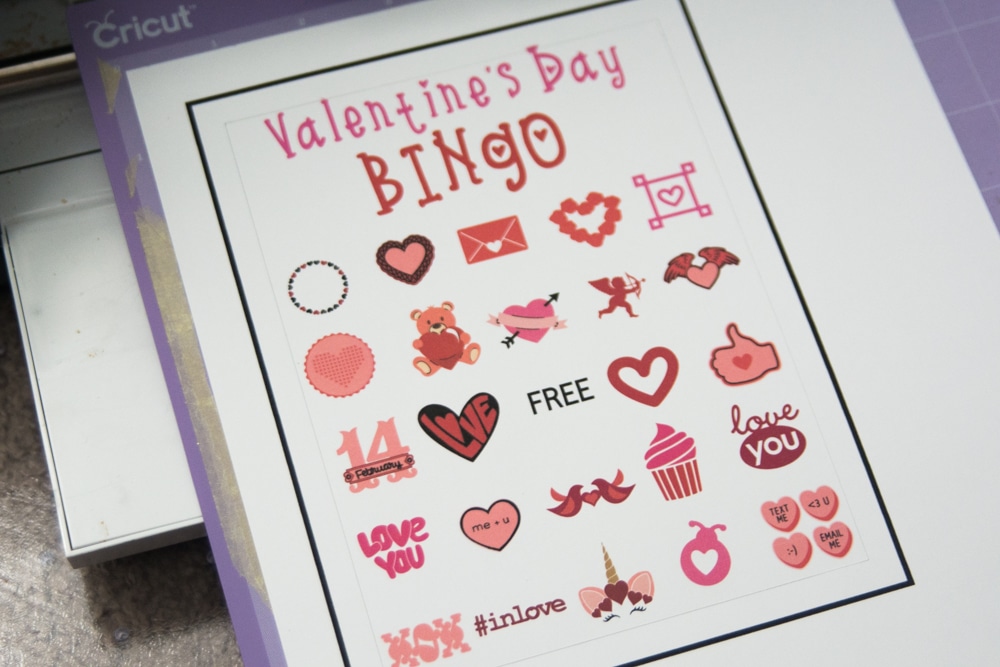
It will cut out each of the game boards, plus a sheet of calling cards. As I said above, I do recommend laminating these.
Conversation Heart Matching Game
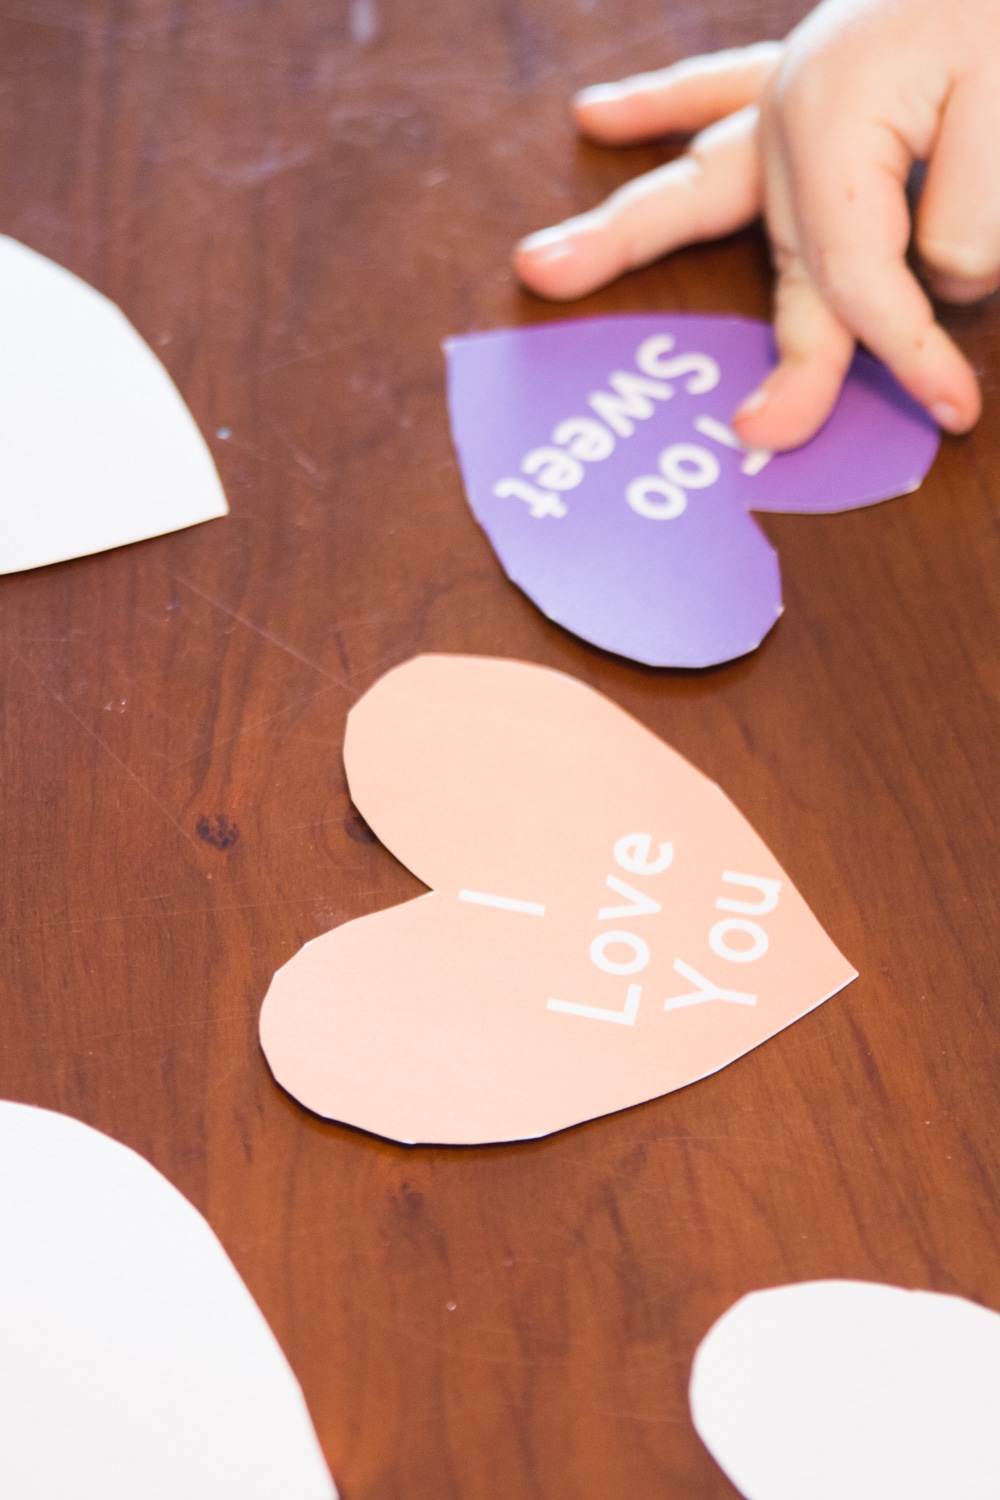
We love matching games around here – Oliver is at the perfect age for understanding how to play them. This matching game is based on our DIY Conversation Heart Garland.
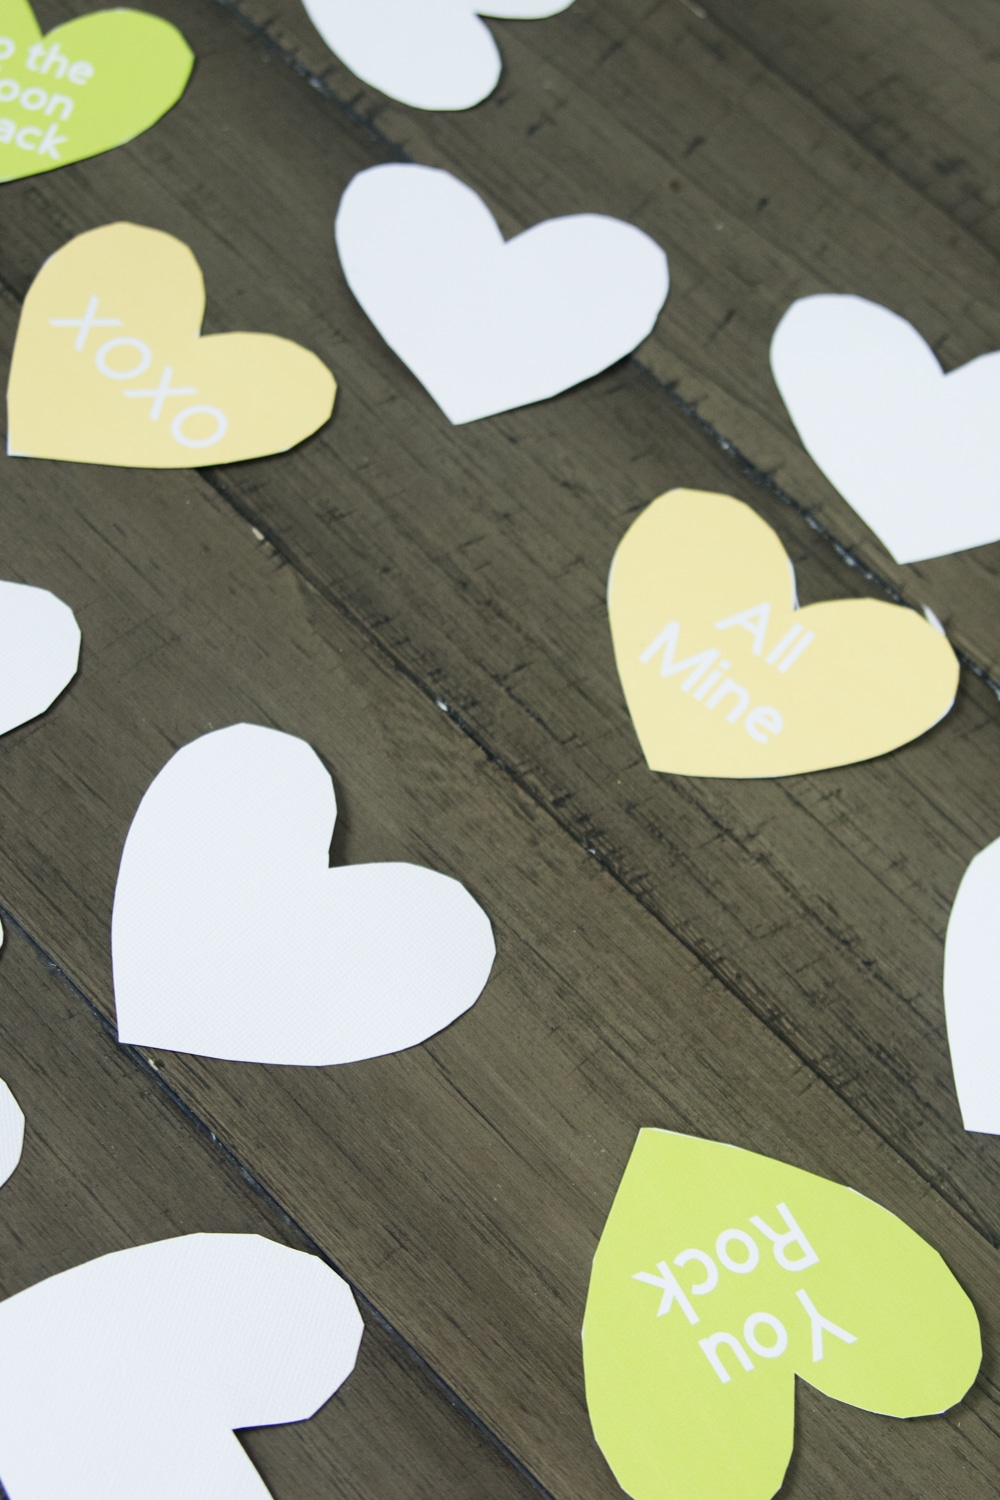
This game is geared toward children who don’t know how to read, so I made the game more about matching the color rather than the phrase. If you want this to be for older children, you can just duplicate the files to make multiple ones with phrases on it.
Materials:
Cut File:
Click here for Design Space file.
Techniques Used:
This project was done using Print and Cut.
Valentine’s Ring Toss
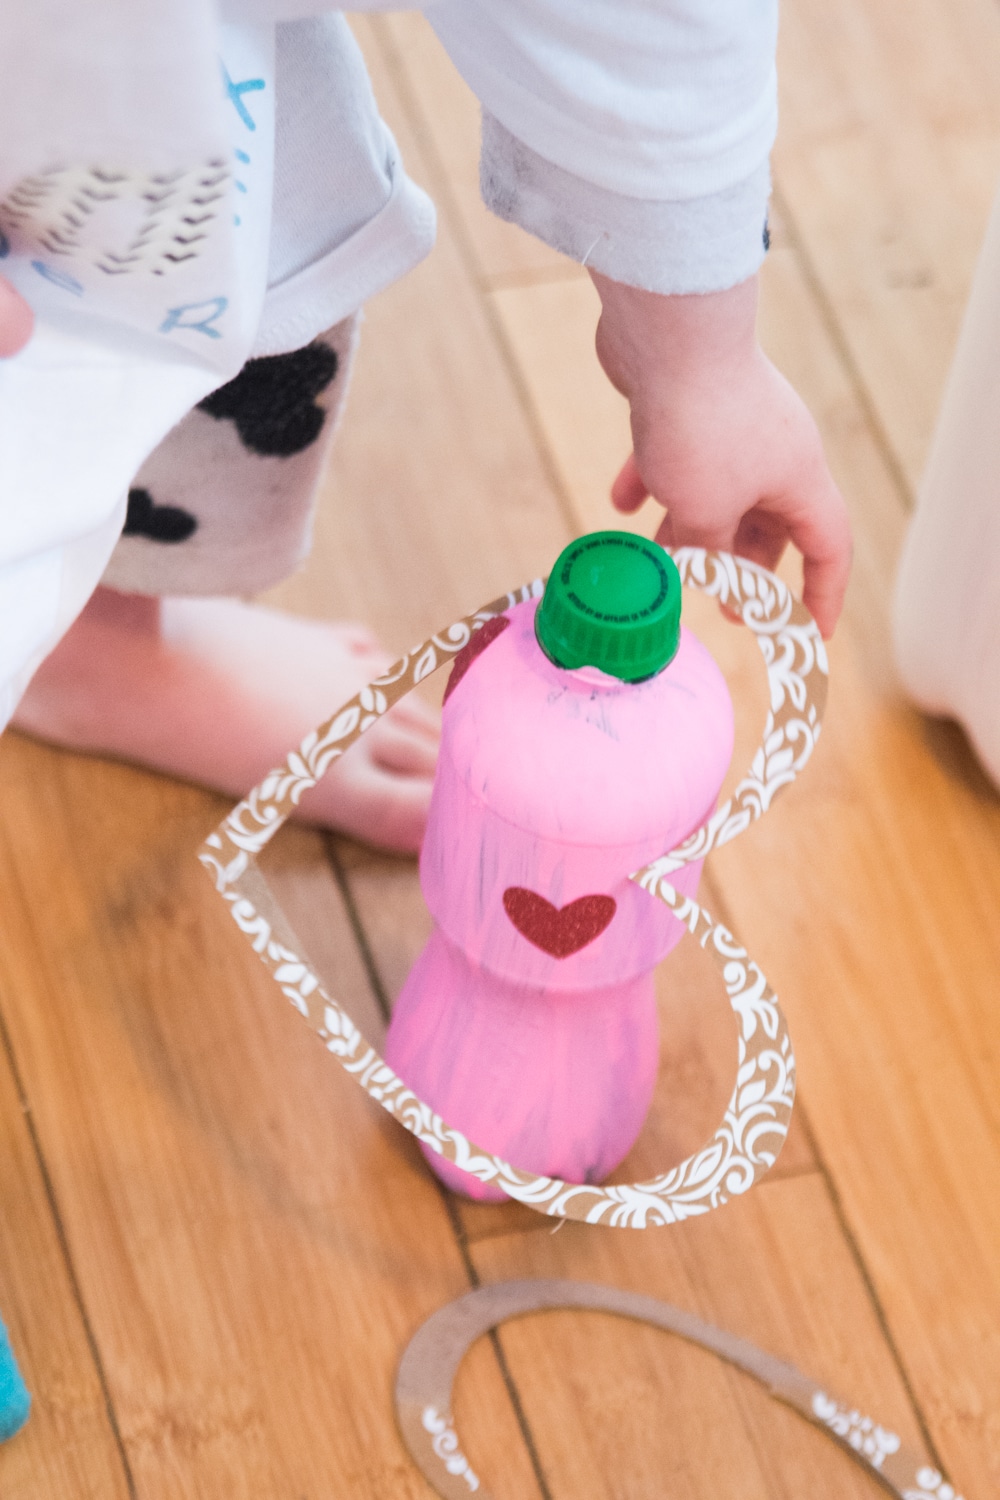
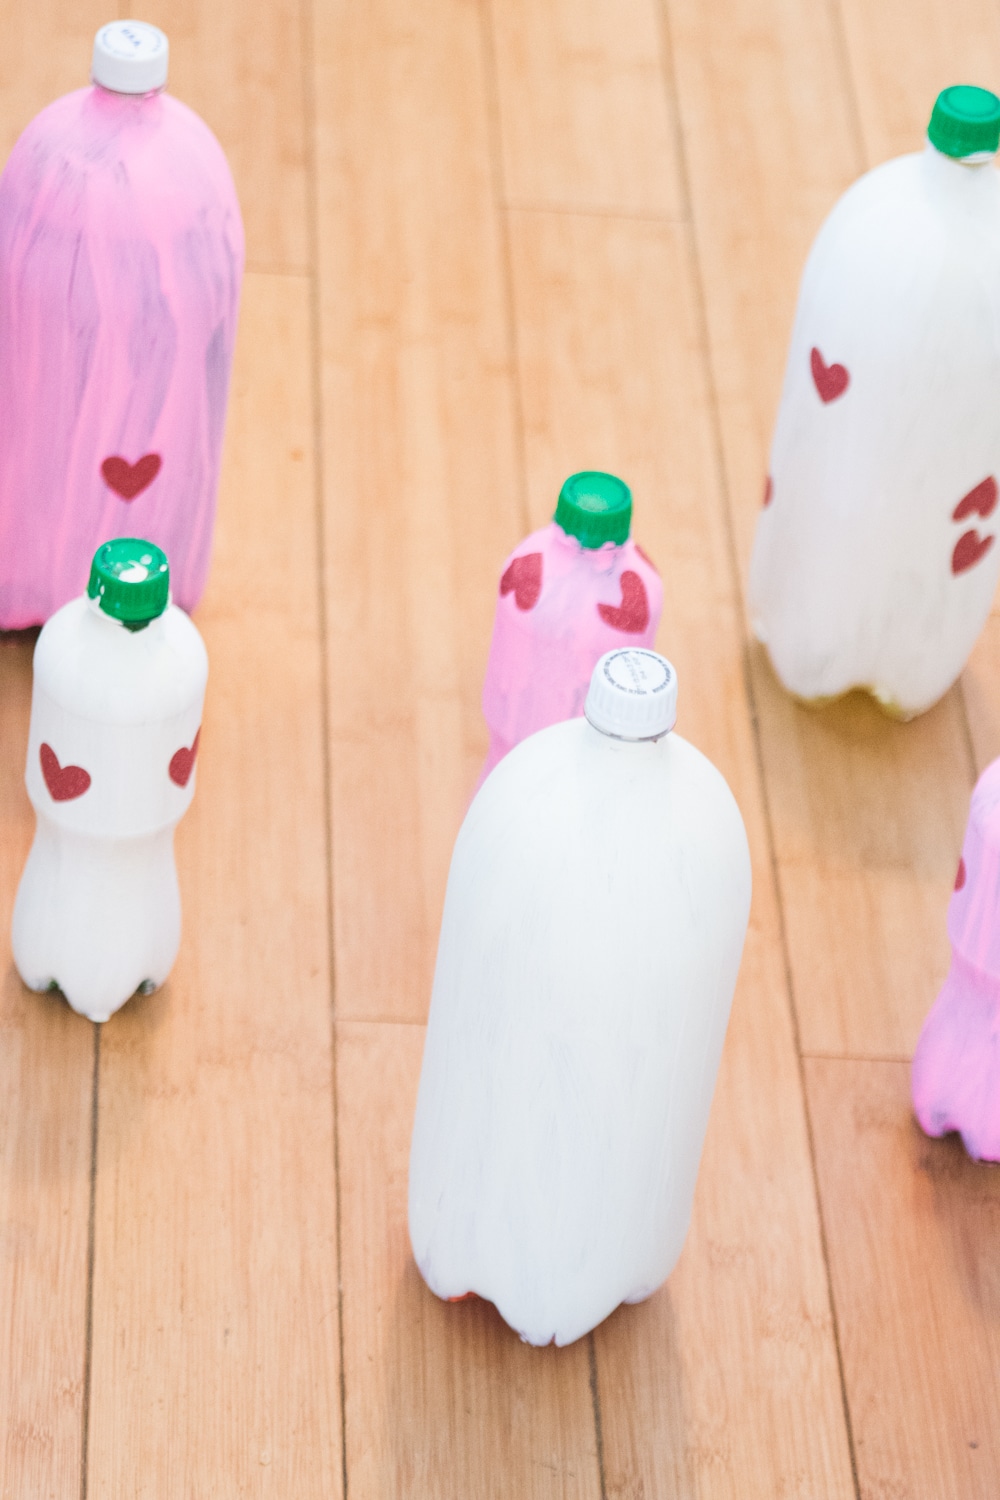
I saw lots of ring toss games on Pinterest, and I decided to make one myself. Originally, I was going to make the little posts…but I decided that was a little too ambitious, so I went with getting bottles of soda. We got them in various sizes, and then we painted them with red and pink acrylic paint.
I would highly recommend using pop bottles that still have soda in them. We primarily did this so we didn’t have to waste six bottles of soda pop, however, we realized it makes them just a little bit sturdier.
We thought that the little hearts were kind of fun to put on them, and they made it seem a little more Valentine’s Day-esque.
Materials:
Chipboard – We used Cricut Damask Chipboard to make them a little more fun.
Pop bottles
Acrylic Paint in Pink and White
Design Space File:
Click here for Design Space file.
Techniques Used:
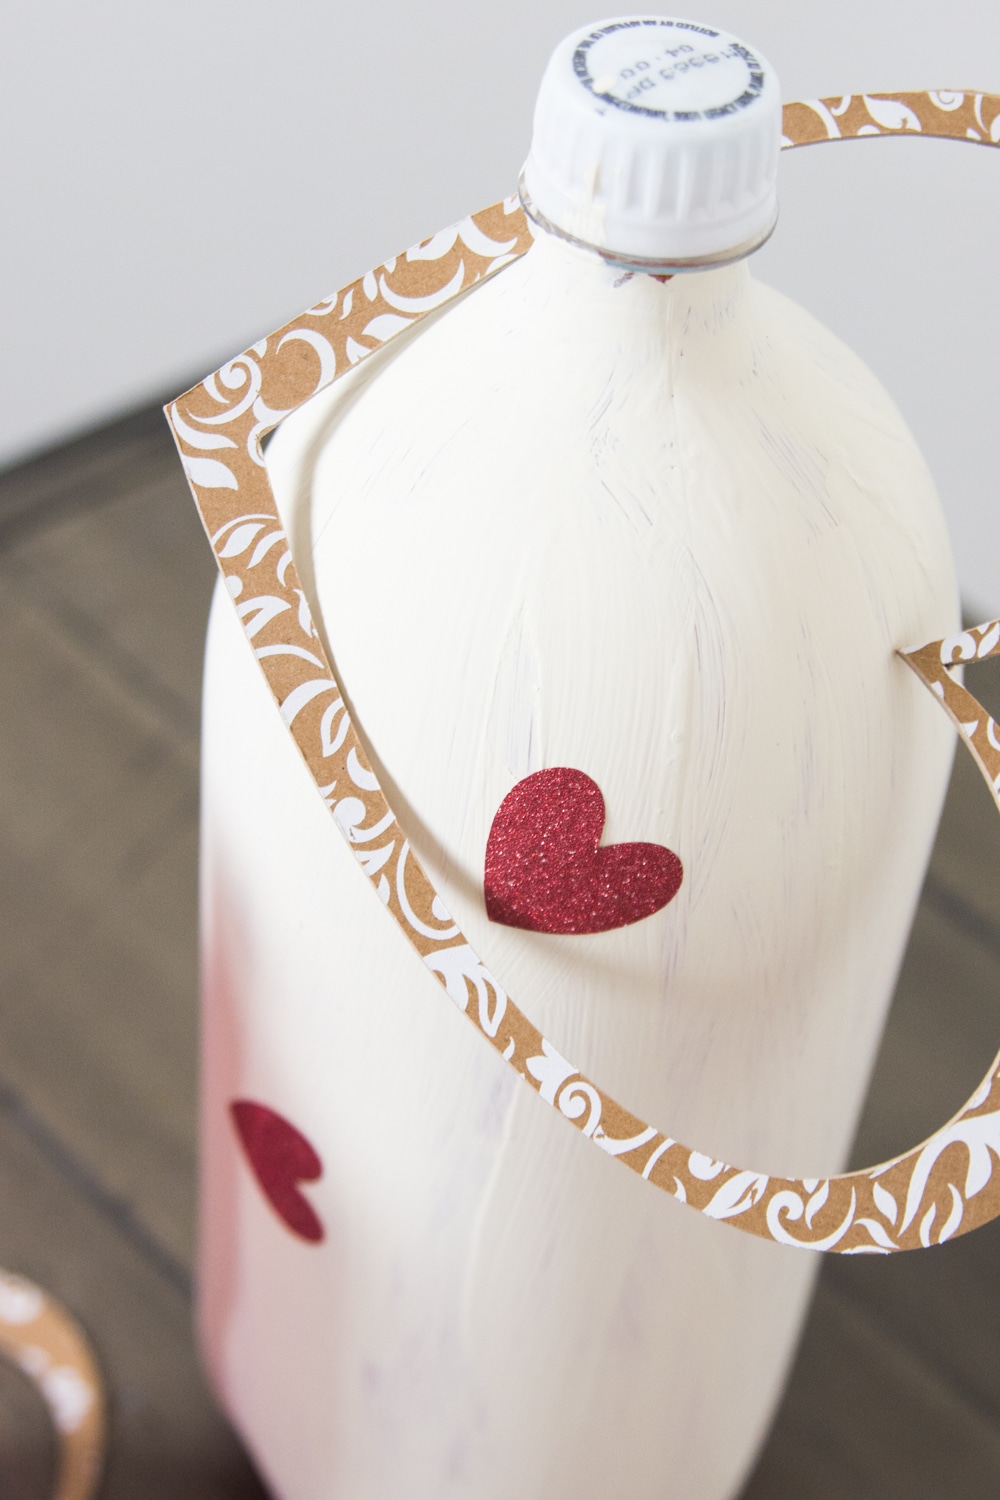
We used the Knife Blade to cut through the chipboard. We also used the fine point blade for the glitter vinyl.
I find that sometimes the Knife Blade doesn’t always cut through tight curves perfectly, so I used my TrueControl Knife to get through any areas that aren’t cut perfectly all the way through.
Arrow Tossing
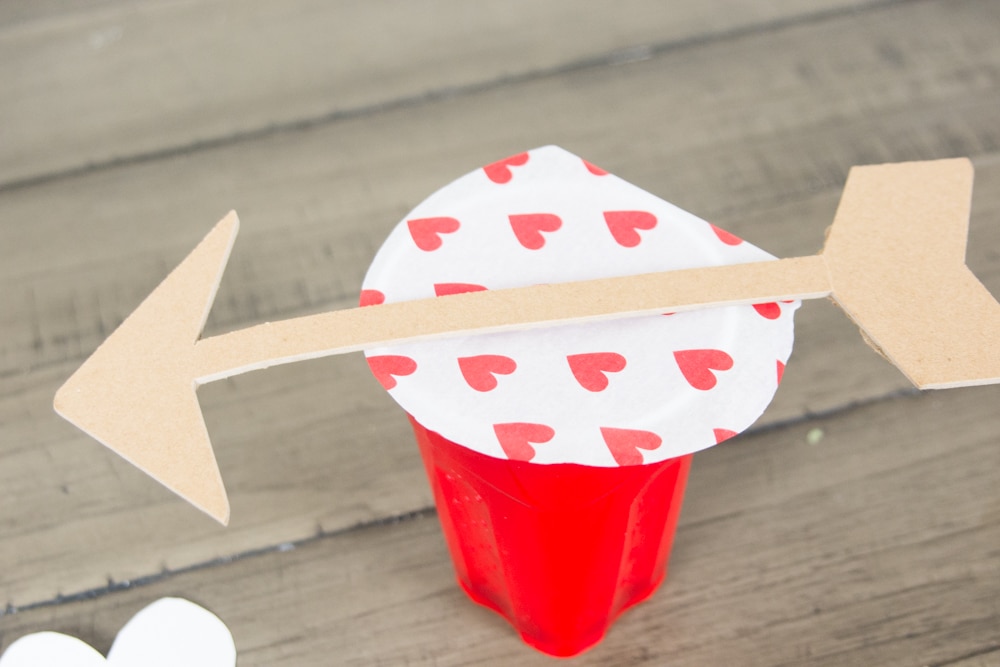
This game is based on this fun Valentine’s Day Punch Game from my friend, Tia! However, I thought it would be fun to make a little arrow that you could throw at the cups to break the tissue paper.
I will admit that I didn’t fully make this game because I didn’t really have somewhere to store it. But I have the cut file for all of the tissue paper for the cups, as well as the arrow, all ready to go!
I would suggest making sure the circles are the right size so they go down about 1″ over your plastic cups.
Materials:
Rubberbands
Little treats
Techniques:
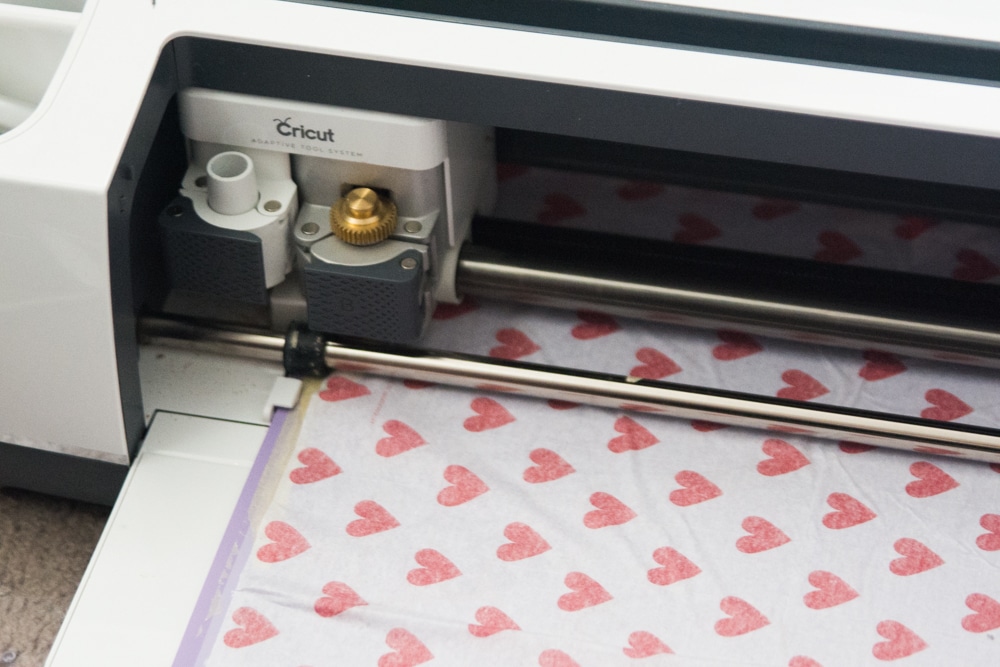
I used the Knife Blade for the chipboard and the Rotary Blade for the tissue paper. Make sure you use masking tape to secure your chipboard down! I used a purple mat for cutting the tissue paper, because it isn’t very sticky anymore. However, I would normally suggest using a blue, LightGrip mat.


These are perfect! I am planning my son’s class kindergarten party and this is so helpful! Thanks, Katie!