DIY Christmas Countdown Calendar
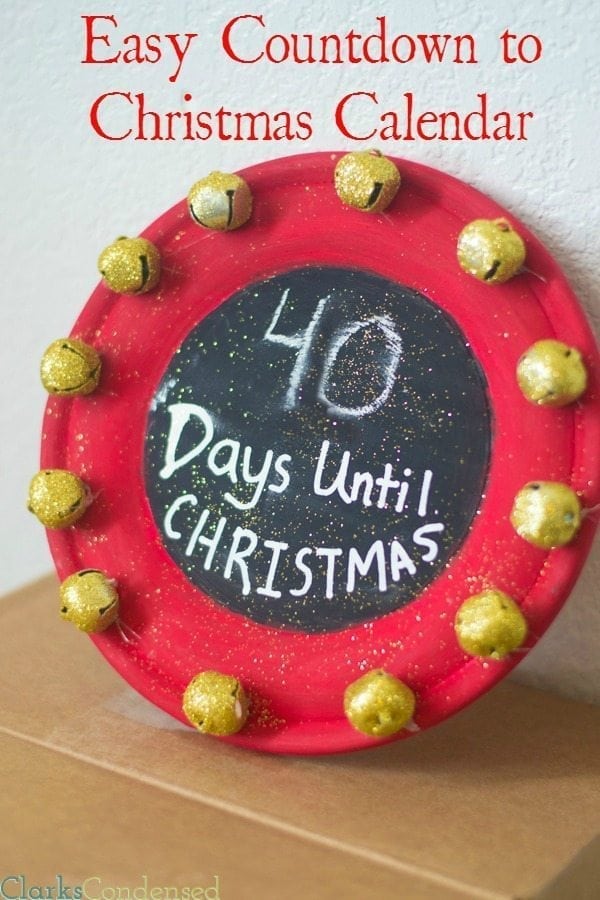
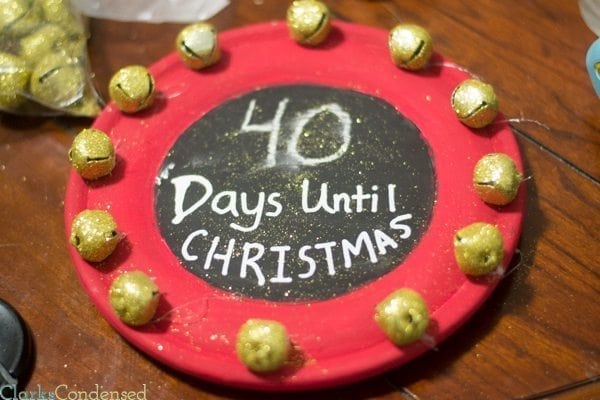
An easy Christmas Countdown Calendar charger plate that anyone can make and enjoy for the holidays
I was compensated for this project by ConsumerCrafts.com and SNAP Conference. However, all opinions and the idea are 100% my own!
Now I’m going to share with you a fun craft idea using some of the materials I bought a few weeks ago. I bought quite a few things, so it was hard for me to decide what to do first. However, knowing how much Jack loves to help when I do painting projects, I decided on making a DIY Christmas Countdown Calendar.
I don’t know if you could actually call this a calendar, but I’m not really sure what else I would call it. I mean, does DIY Christmas Countdown Plate sound very exciting? Probably not. So we’ll just go with calendar. Either way you look at it, this is a fun project that you can easily have for years to come.
Every Christmas season, my mom would hang an advent calendar at the bottom of the stairs. It was a felt sign, had 25 pockets in it, and a felt Christmas tree was on the front. I remember wanting to be the first person down the stairs in the morning so I could retrieve the tiny ornament and piece of candy from one of the pockets. It was really a treat when you got to do this, especially in a house with six children!
I’ve said it before, but my parents always made a special effort to make each holiday special, and their efforts never went unnoticed. I think there’s always room for a little more celebration in our lives! Even though Jack is only two, I already love trying to make each holiday special for him, so he has something special to look forward at different times in the year. We don’t do anything extravagant, but I think simple gestures and traditions go a long way. This countdown to Christmas calendar is something I hope he looks forward to seeing each year!
It’s really so simple to put together. As I said in my last post, I’m really not a super crafty person. So the more simple a project is, the better! This project really just took a little bit of paint, some sparkly bells, and some hot glue
Materials:
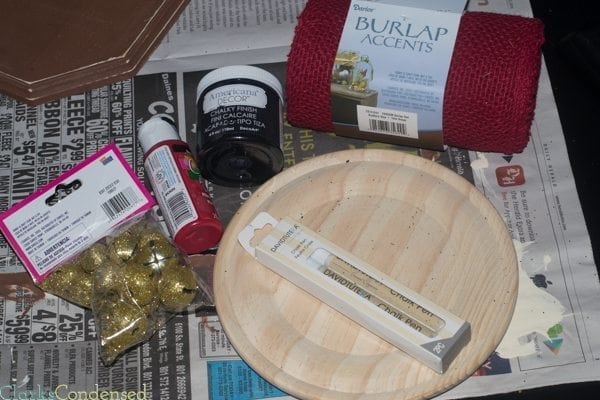
Fine Tip Chalk Pens
Step One:
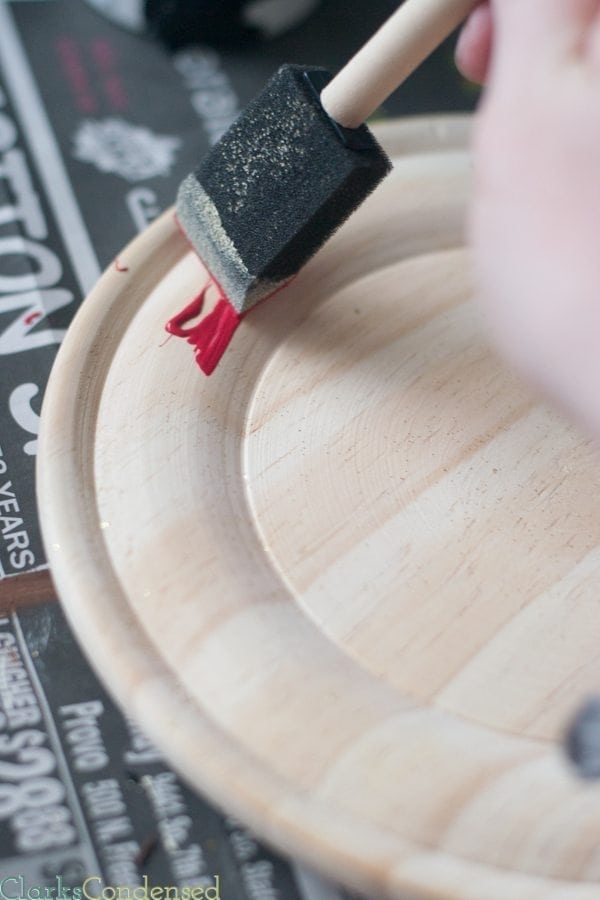
Carefully paint around the edges of the charger plate. You want to make sure you don’t paint in the center circle if possible. Let dry, and repeat for 1-2 more coats.
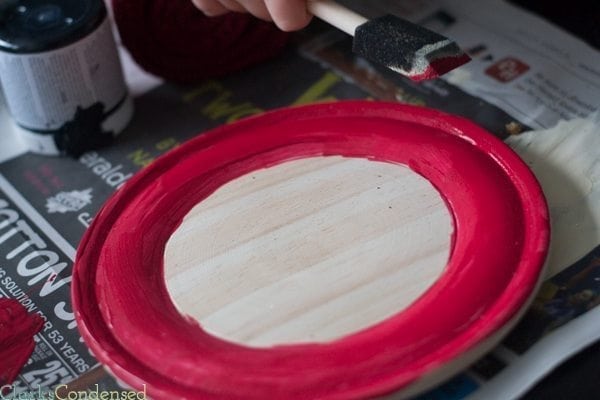
Step Two:
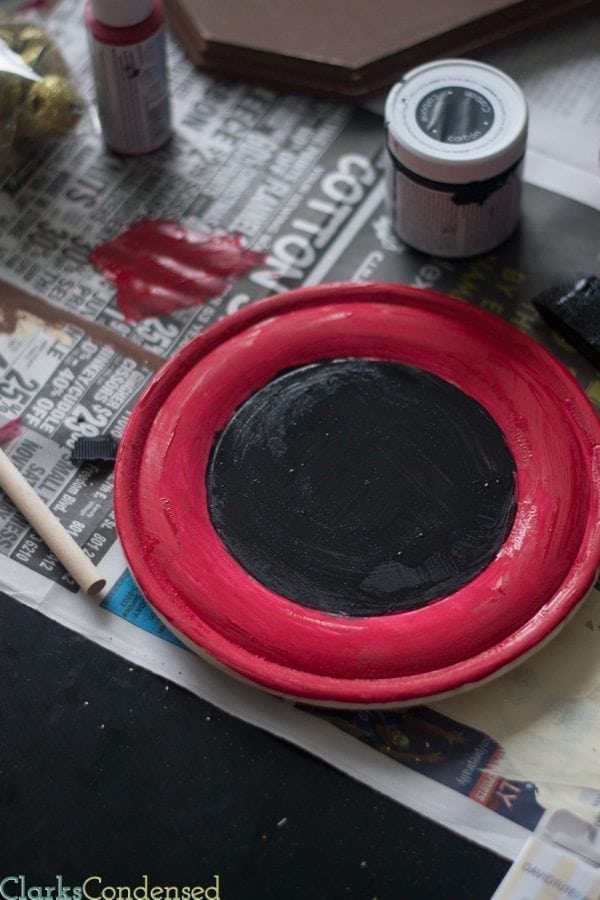
Paint the center with the black chalk paint. Let dry and repeat 1-2 times.
Step Three:
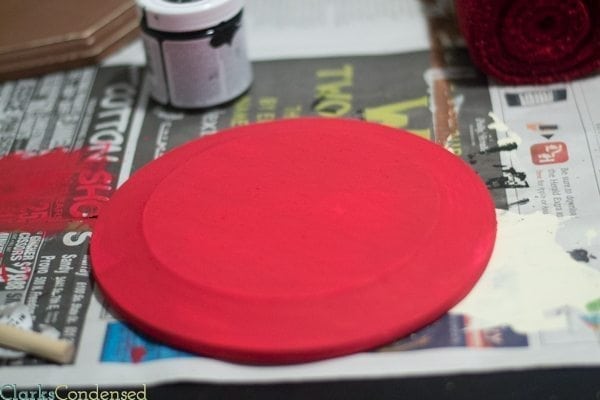
After the paint on the front of the charge plate has dried, flip the plate over and paint the back red. Let dry completely. Paint with one more layer.
Step Four:
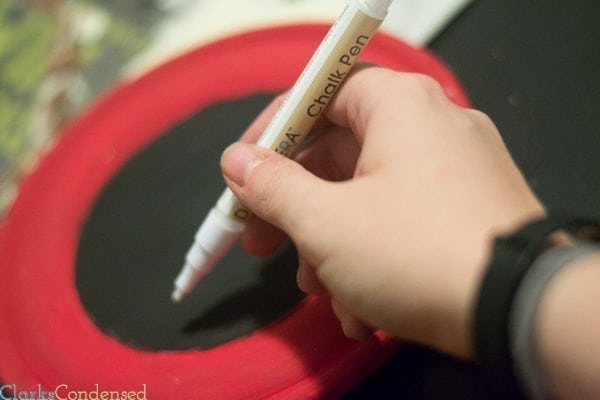
Using the white chalk paint pen, write “Days Until Christmas” on the plate. Let dry.
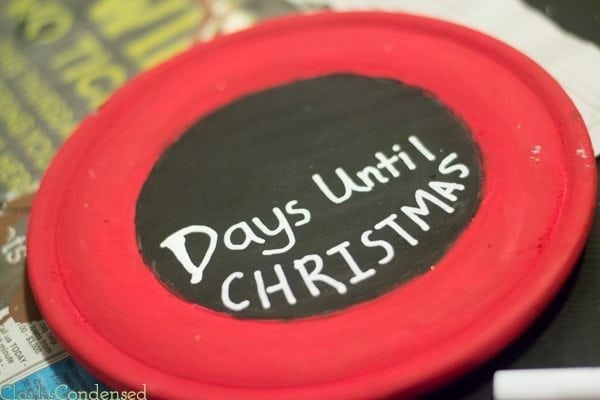
Step Five:
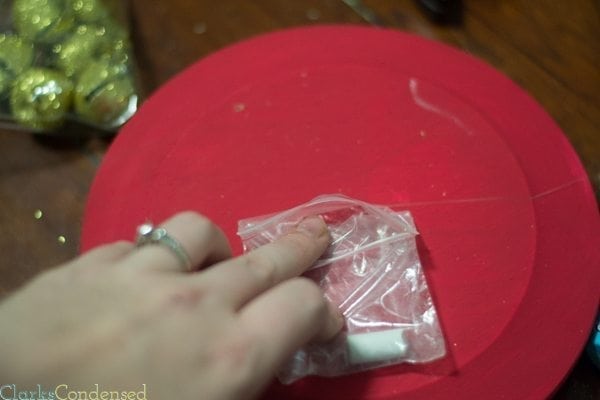
Turn the plate over and attach a small bag with a small dab of hot glue. Put a piece of chalk in the bag. Also attach the sawtooth ring hanger in the back of the plate.
Step Six:
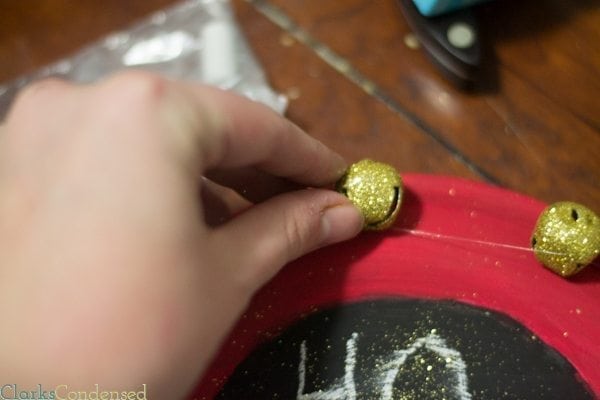
Attach bells around the edge of the plate with hot glue or super glue.
Enjoy!
Be sure to check out ConsumerCrafts.com catalog for more holiday ideas!
And now, you can enter the Rafflecopter giveaway!

