For this month’s “Create with Cricut” challenge, the mystery material was tissue paper!
If you are unfamiliar with these challenges, each month this year, we are joining with a bunch of other Cricut bloggers to work with a different material that the Cricut Maker is supposed to cut with.
I’m not going to lie – this material was tricky for me! The first time I used it, the material just tore, which was super frustrating.
However, after giving some advice from others, I was able to successfully cut my tissue paper, and it ended up working out beautifully.
I wasn’t sure at first what I should do for my project – all I could really think of that used tissue paper was a pinata! haha.
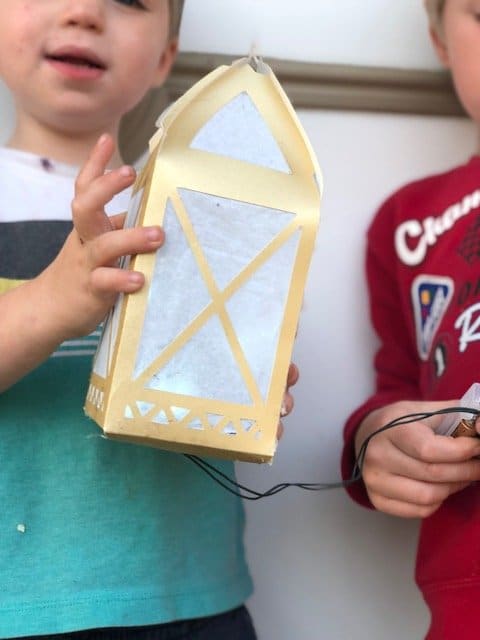
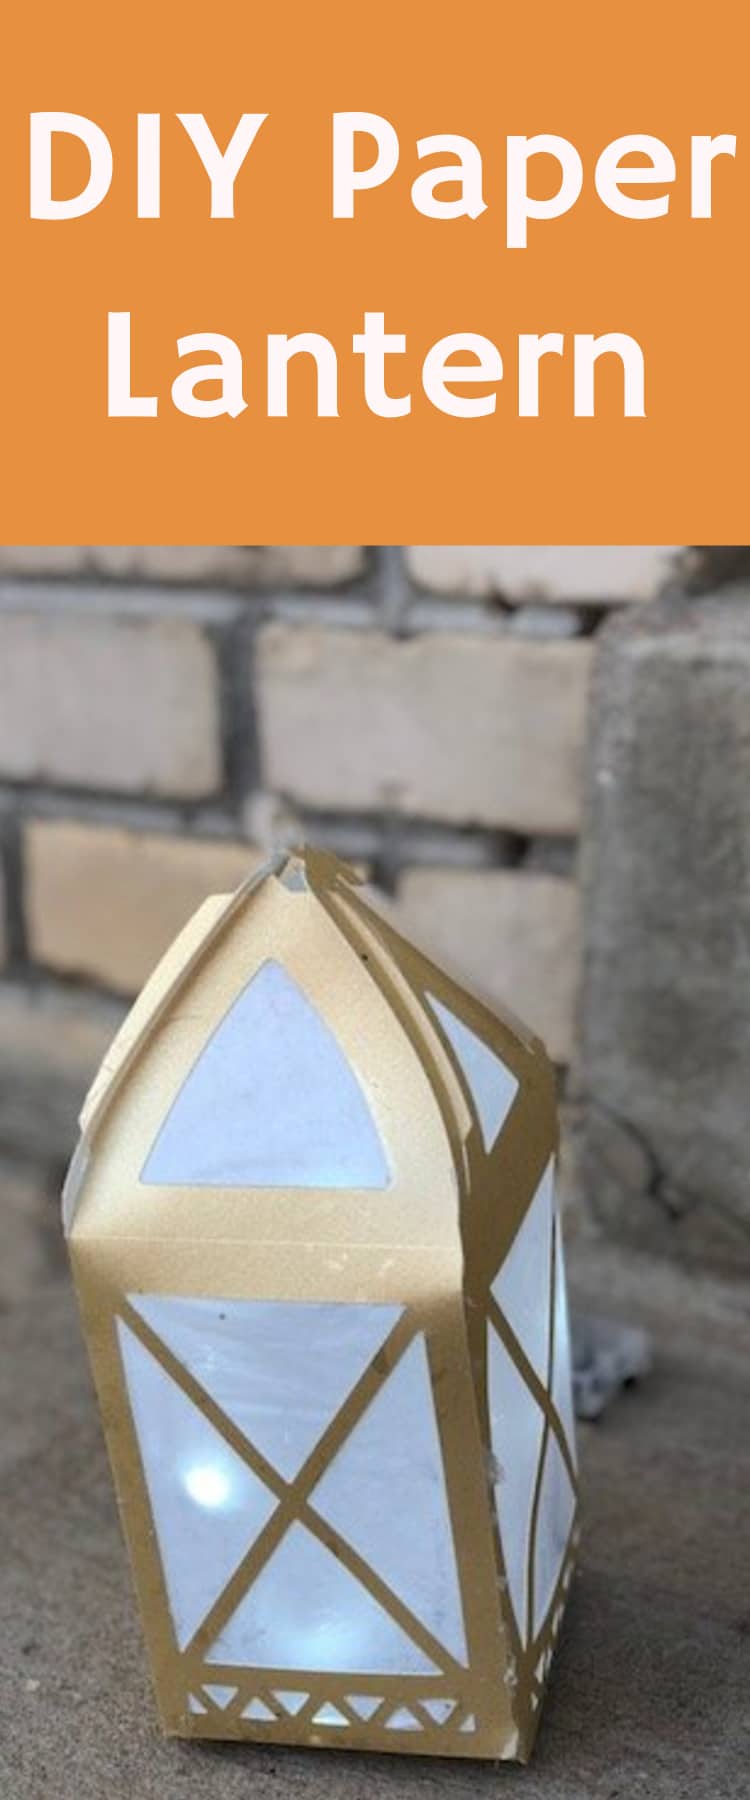
But then I started thinking of how you could use tissue paper for a wedding or party decoration, and I thought that making a paper lantern – with tissue paper as the “windows” for the light to shine through, would be a fun idea!
It ended up being a pretty simple project, and I loved the result. I used some battery powered lights from the Dollar Tree because that’s what I had, and they worked pretty well. You could also get an electric tea light to put underneath them.
I think this would be so pretty and elegant at a wedding or other party – using the battery powered lights makes them less of a fire hazard, but they just look so classy.
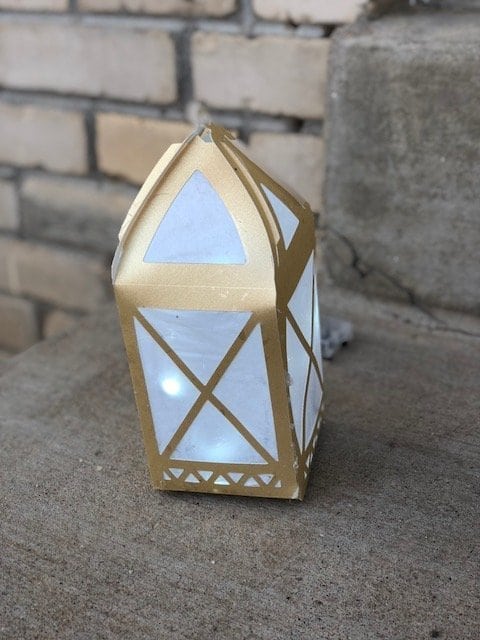
The process of cutting them out is the most time consuming part – each one took about 10-15 minutes to cut out. But assembly was a cinch.
I just used a lantern image from Cricut Design Space, and I cut the tissue paper for the little squares and triangles. It turned out so fun!
Tips for Cutting with Tissue Paper on the Cricut Maker
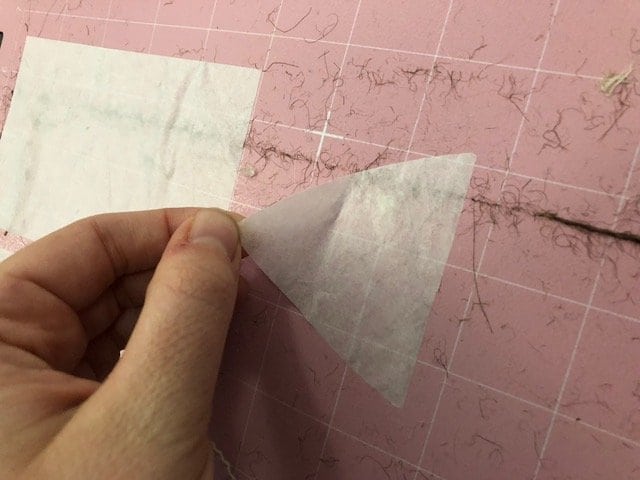
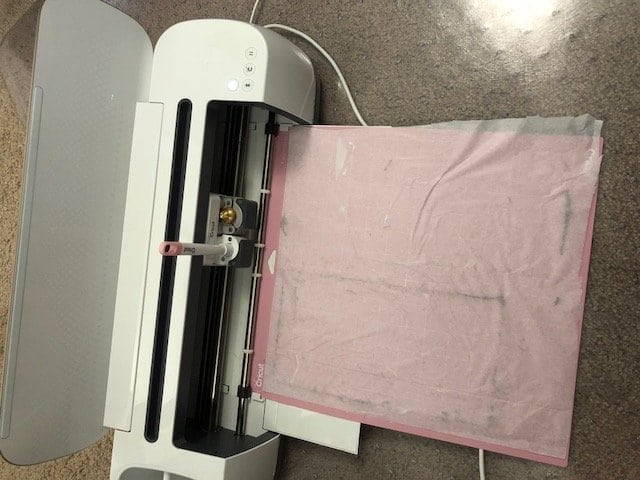
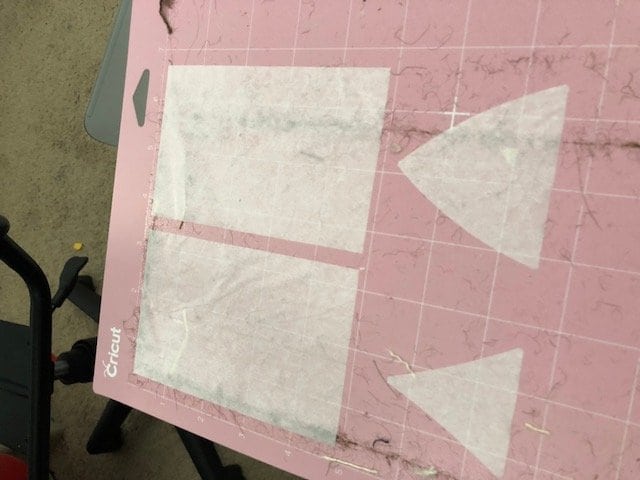
You really should be using a FabricGrip mat that is pretty well-used. If it’s super sticky, the tissue paper will stick. I tried using a green mat that was pretty well-used, and the rotary blade tore through the tissue paper. So I would stick with the FabricGrip mat.
As you can see, I used a mat that still had a bunch of fuzz from something I previously cut. It looks a little weird, but it worked well!
Be very careful as you peel it up. Even if that mat isn’t very tacky, it will still stick a little bit, so just handle with care.
Homemade Paper Lanterns
Materials:
Don’t forget to use CLARK10 for 10% off and free shipping on Cricut.com material purchases.
Image #MBE3180 in Design Space (I will link to the project below that already has this in it, sized to the size I made it).
Instructions:
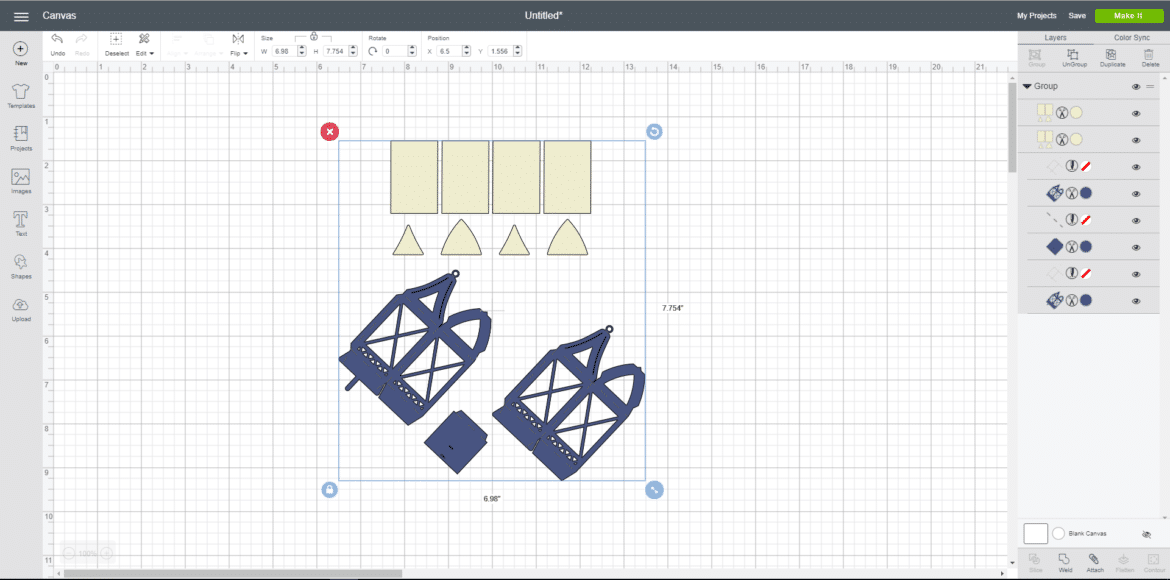
Open this design in Design Space. Originally, I opened a blank canvas and found Image #MBE3180. I put that into the canvas, and then I resized it to be the size I wanted the lanterns to be. If you like the size of mine (which I think are perfect for tables), no need to do any resizing! Keep in mind that if you don’t have Cricut Access, you will need to pay for it (it’s probably 99 cents to $1.99)
Make sure it is sized correctly, that the lantern parts are the same color and the pieces for the tissue paper are the same color (they should be in my design), and press the button to send it to cut.
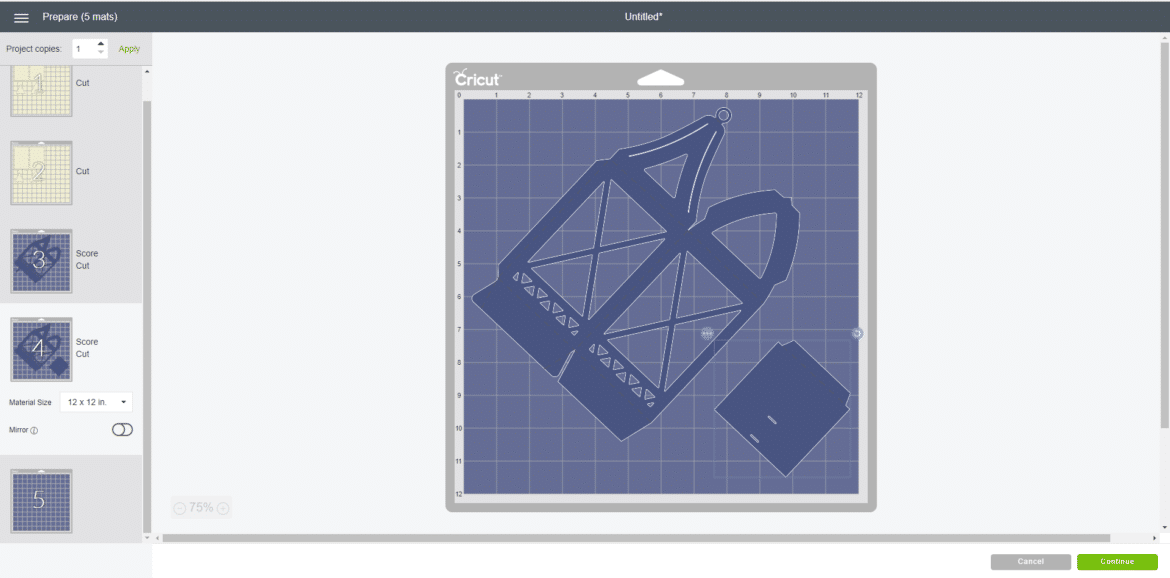
With the size I did, it made five mats with one square that didn’t seem to fit. However, I was able to move it over to one of the other mats with the lantern on it and make it fit. With that said, I didn’t use that square in the end for the creation of my lantern.
After verifying everything looks good on the mats, you can proceed to the next step. Make sure your machine is plugged in, and for the first cut, it will probably be the tissue paper cuts. You will put the tissue paper on a FabricGrip mat.
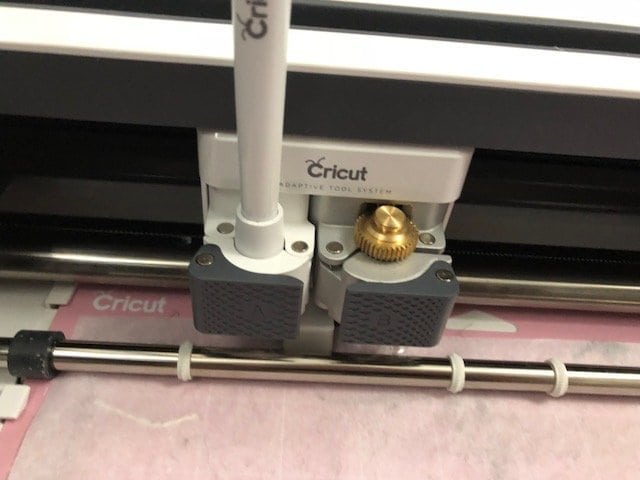
Select “tissue paper” from the list of materials and put the rotary blade in your Cricut Maker.
Cut both mats of tissue paper and carefully remove the cut pieces.
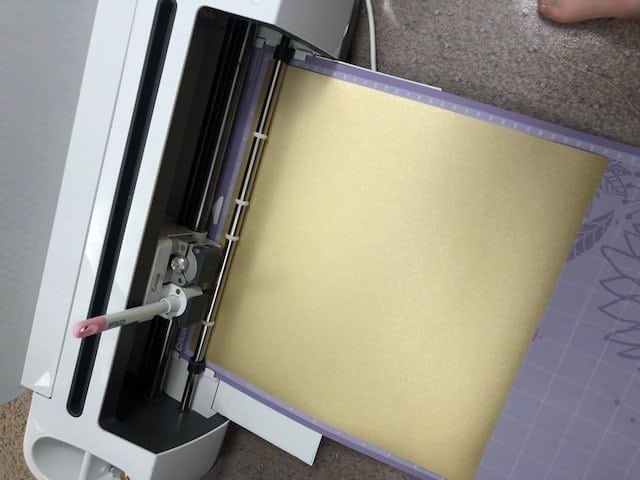
Now, cut the shimmer paper. I used the Cricut brand shimmer paper, so if you choose to use something else, I would do a test cut. I actually found that the shimmer paper did not cut all the way through using the shimmer paper setting, and I ended up adjusting the pre-set setting to be 3x cut instead of 2x cut. That worked well (my fine point blade is probably getting a little dull). You will also need to put in a scoring tool.
After everything is cut, it’s time for assembly!
Fold along the scoring lines first – I didn’t do this, and I felt like I had to be extra careful not to break the tissue paper – so fold those first.
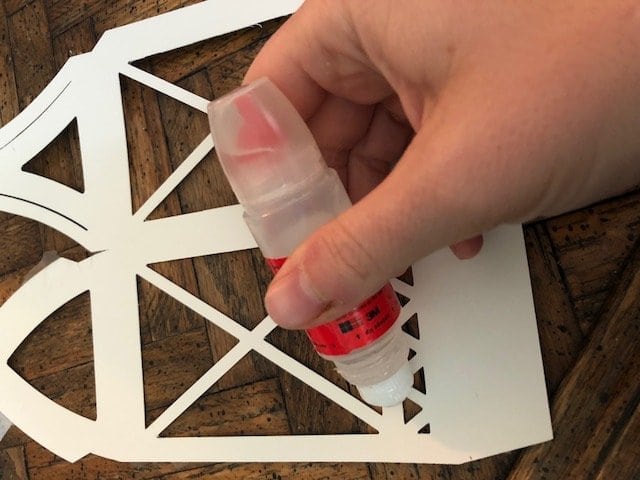
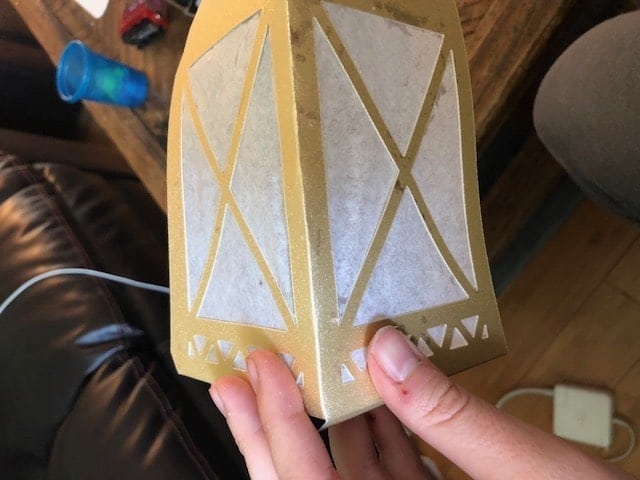
After you’ve folder along them, glue the tissue paper over the open spaces on the lantern. The tissue paper should be slightly larger than the windows. I just spread glue all over the year and put it on, and then I let it dry.
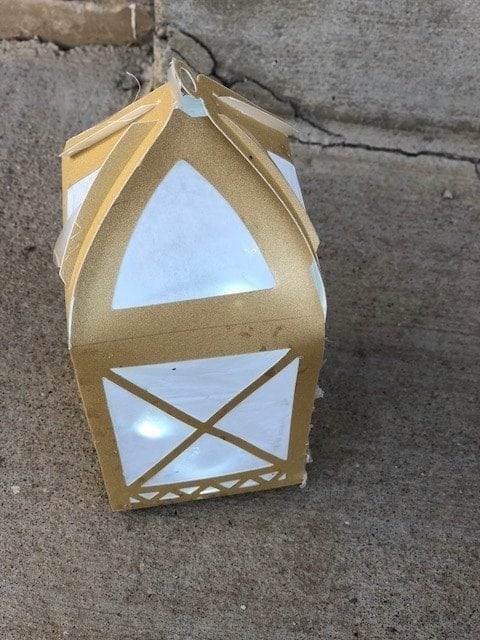
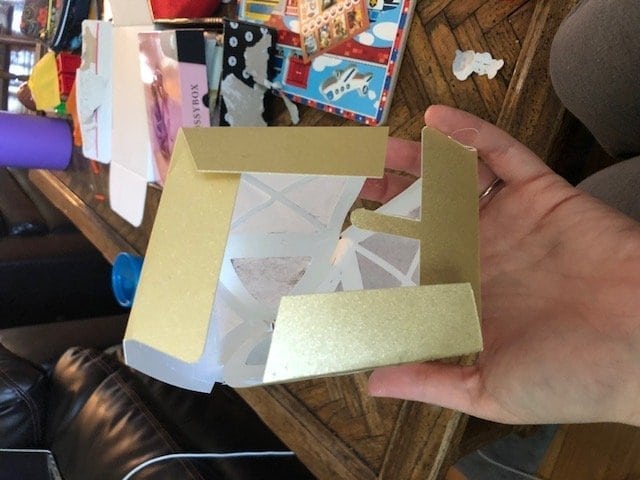
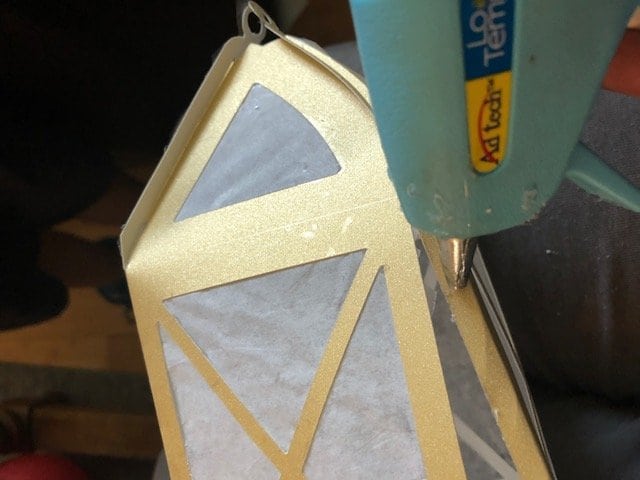
Now you will put the lantern together – the slots in the roof go together and shouldn’t need additional glue. However, for the rest of the parts of the lantern that need to be adhered together, use hot glue. I tried using regular glue, and it would not stay. Hot glue worked like a dream! You mainly have to glue the bottom and two of the sides.
And you are done! Let it dry, and then you can put the lights inside!
Katie is a Colorado-native, BYU graduated, and most importantly, wife to one and mother to three beautiful boys. She is passionate about sharing her experiences with others - especially about pregnancy, breastfeeding, cooking, and crafts. She is an International Board Certified Lactation Consultant. She loves spending time with her family and helping others find joy in family life.


Cool!!! This is awesome! I never would have thought that you could make a lantern with your Cricut! Genius!