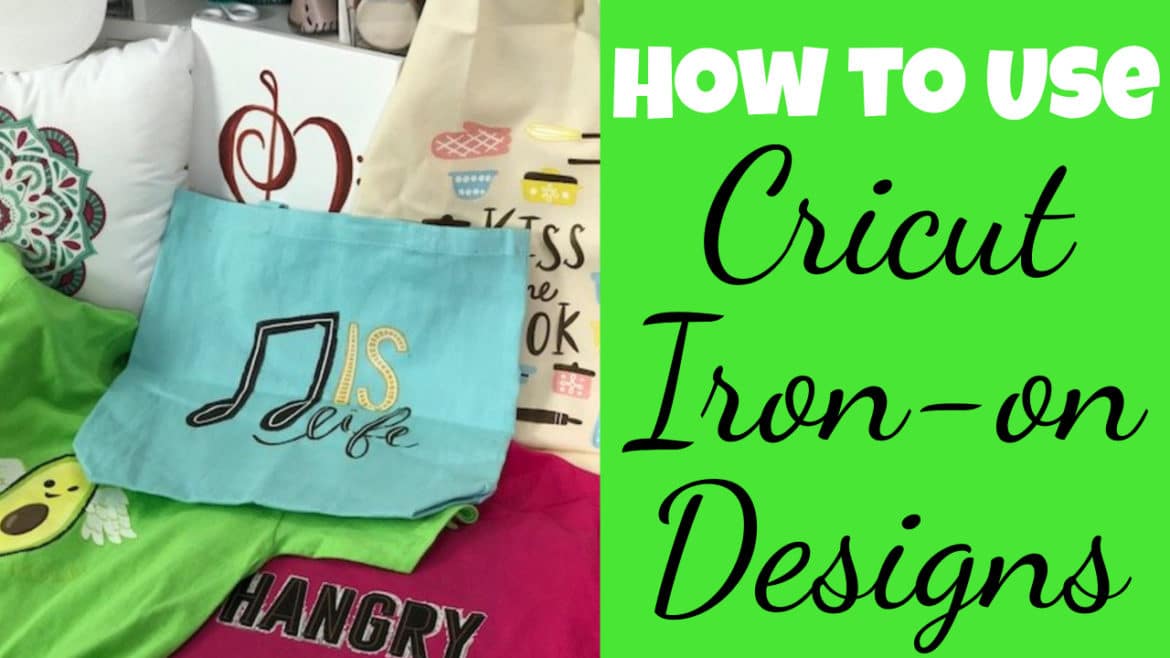
How to Use Cricut Iron-on Designs
Cricut’s latest product release – Iron-on designs – are beautiful, easy to use, and versatile! In this post we share how to use it to make your own custom products. Anyone can use them – you don’t even need a Cricut machine!
Thank you to Cricut for partnering with us on this post!
Cricut has been releasing one new product after the other these past few months!
I mean, they’ve released the Cricut Maker (of course!), the EasyPress, the BrightPad, and all sorts of fun new materials (such as the patterned iron-on and SportFlex iron-on).
And their latest product – Iron-on Designs – are SO fun!
They are perfect for those of us who enjoy more complex designs…but don’t really enjoy piecing together 10 million different colors of vinyl.
Because let’s be real – whenever I do that, it turns out to be a disaster if I use more than two colors.
But I digress – today I’m SUPER excited to be sharing with you all lots of details on just how to use these Iron-on designs. You don’t even have to have a Cricut machine to be able to use these, which is kind of fun!

They have tons of different categories, including:
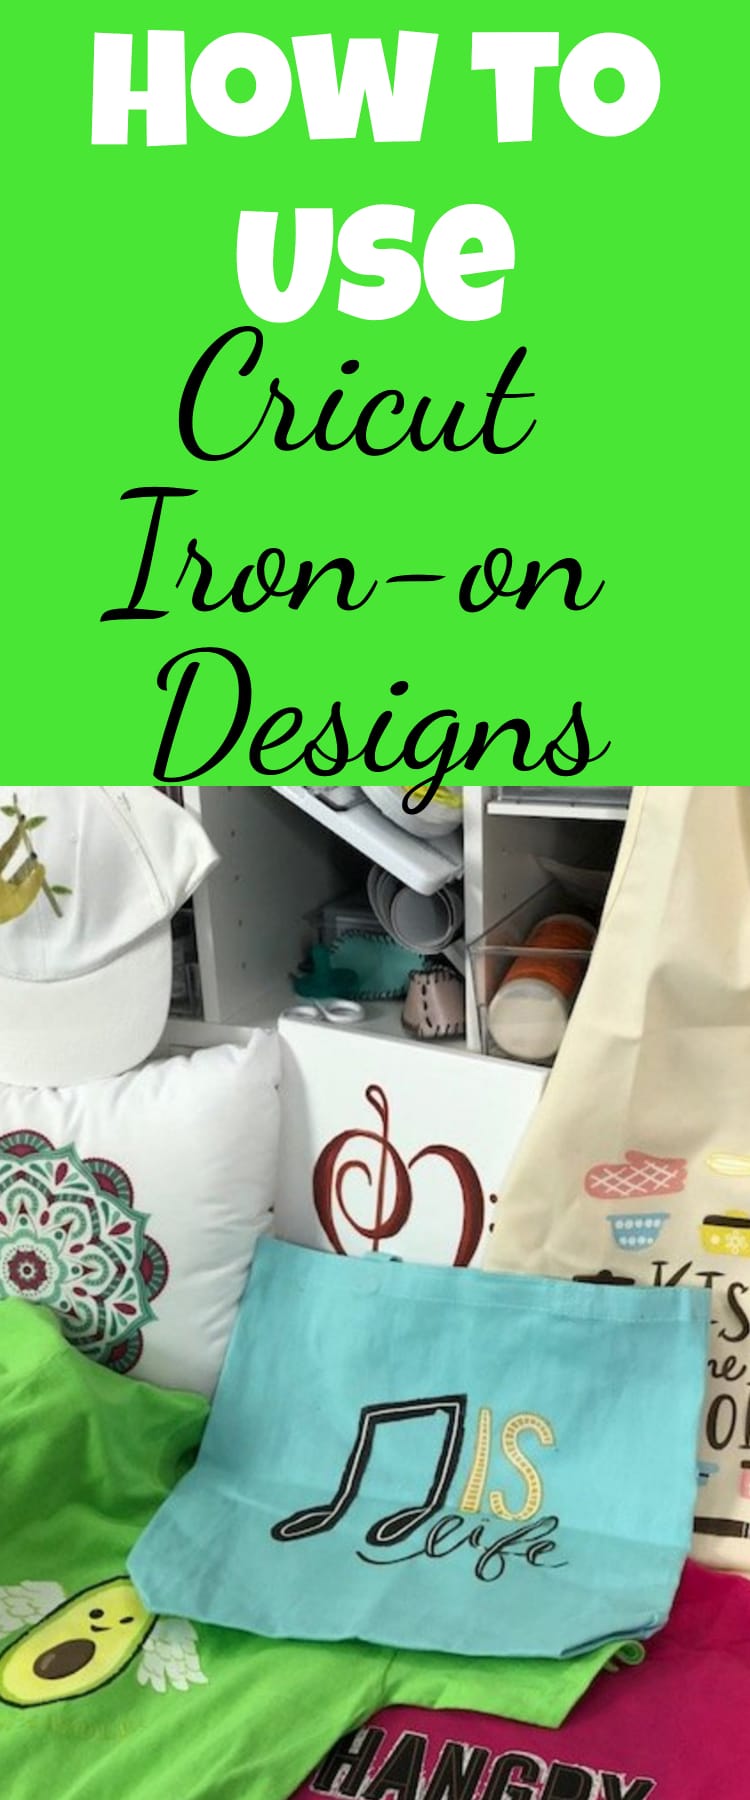
I was sent a variety of their new designs, and I thought it would be fun to try them out on different canvases so you could get an idea of all the different ways you could use these designs.
Basically, if you can use iron-on vinyl on it, you can use the Iron-on designs! Here are a few fun ideas to consider:
- Pillows and pillow cases
- Canvases
- Tote Bags
- Backpacks
- Hats
- Hoodies
- Kitchen Towels
- Beach Towels
- Luggage
- T-shirts
- Storage containers
- Sports uniforms
- Sports bags
- Laundry bags
- Cosmetic bags
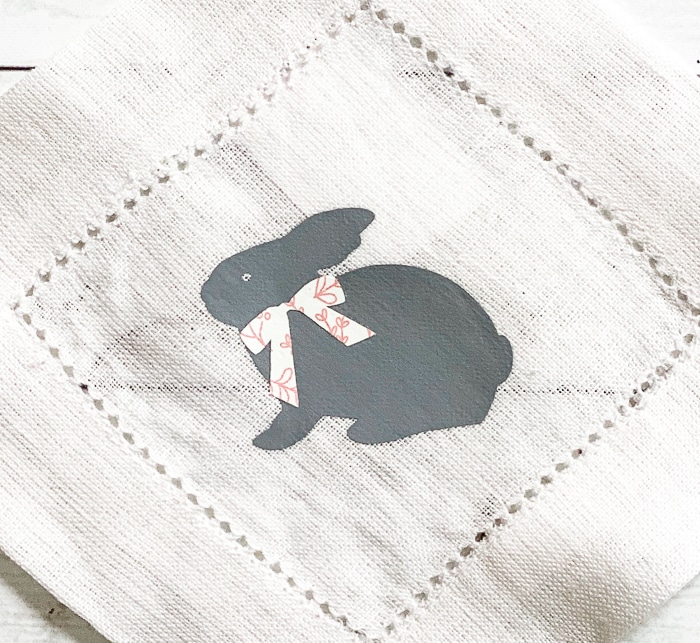
And that’s just tipping the iceberg. Here are some of the creations we came up with:


I will say, the shoes were not a success! Ha! I ended up melting the rubber – oops! I do think it would work well if you had a small design and used an iron instead of an EasyPress.
But now, on to how to use the Iron-on designs. You can use either your EasyPress or an iron. As usual, I prefer using the EasyPress over the iron, just because I feel like it gives a more smooth application, but you can really use either.
I also used my new EasyPress mat, which I just love. If you don’t have one, you should most definitely get on ASAP!
How to Use Iron-On Designs
There are different recommendations based on if you’re using the EasyPress Mat or a towel to protect your surface. Click here to read these recommendations.


Heat your EasyPress to 340 degrees Fahrenheit or set your iron to the Cotton/linen setting.
Preheat whatever you are putting the iron-on design on for about 15 seconds.

Carefully place the iron-on design on top of your project. The smooth side will face up, and the part with the design on it will be placed down.

Press or iron the design for 50 seconds using medium pressure.

Flip whatever material you are working with over and press for 15 seconds.

Let cool for about two minutes.

Carefully peel up the plastic – and voila, there is your design!

CARE INSTRUCTIONS:
-
Allow 24 hours after application before washing.
-
Wash and tumble dry inside out.
-
Do not bleach.
-
If you need to iron, only iron on the backside of the garment.
You also may enjoy:
Be sure to pin this post for later if you enjoyed it! We appreciate your shares!
