DIY IKEA LEGO Table with Free Labels
Do you have a LEGO lover in your house? Then you can understand how messy they can get! Here is our DIY IKEA LEGO Table – along with free printable LEGO labels so you can create your own solution in your home.
LEGO Storage Organization
I have a love-hate relationship with LEGO products.
But don’t most parents?
It’s safe to say Jack has been a LEGO fanatic for a few years now.

With every birthday or Christmas, his wish list is primarily filled with LEGO-centric ideas.
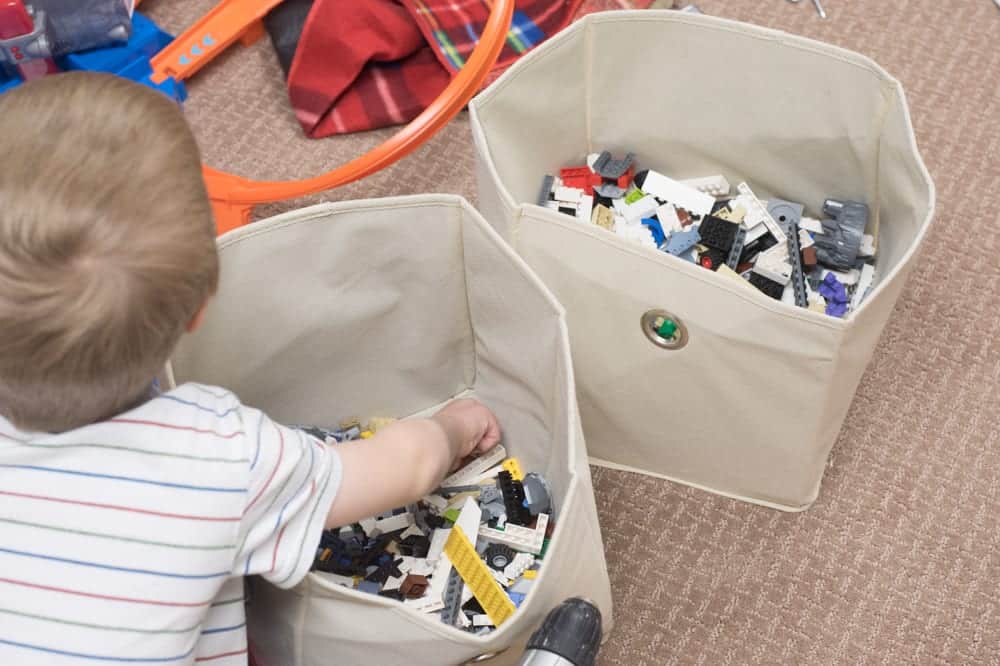
But boy oh boy, do they get EVERYWHERE.
It seems like no matter how many times I ask him to pick them up, they always end up all over the place again.
Let’s not even talk about how many times I’ve stepped on them (and yes, they really do hurt, if you’ve never had the pleasure of experiencing it).
Regardless – I really feel like it stretches his creativity, and he’s really quite good at putting them together. He will play with them for hours, which makes all the hurt feet worth it.
Since we are moving soon, I am taking this as a good time to figure out the best way to organize his LEGO blocks in a way that is easy to maintain. Our new home has a lot more space – including a finished basement – which we are hoping to keep the toys contained to (fingers crossed).
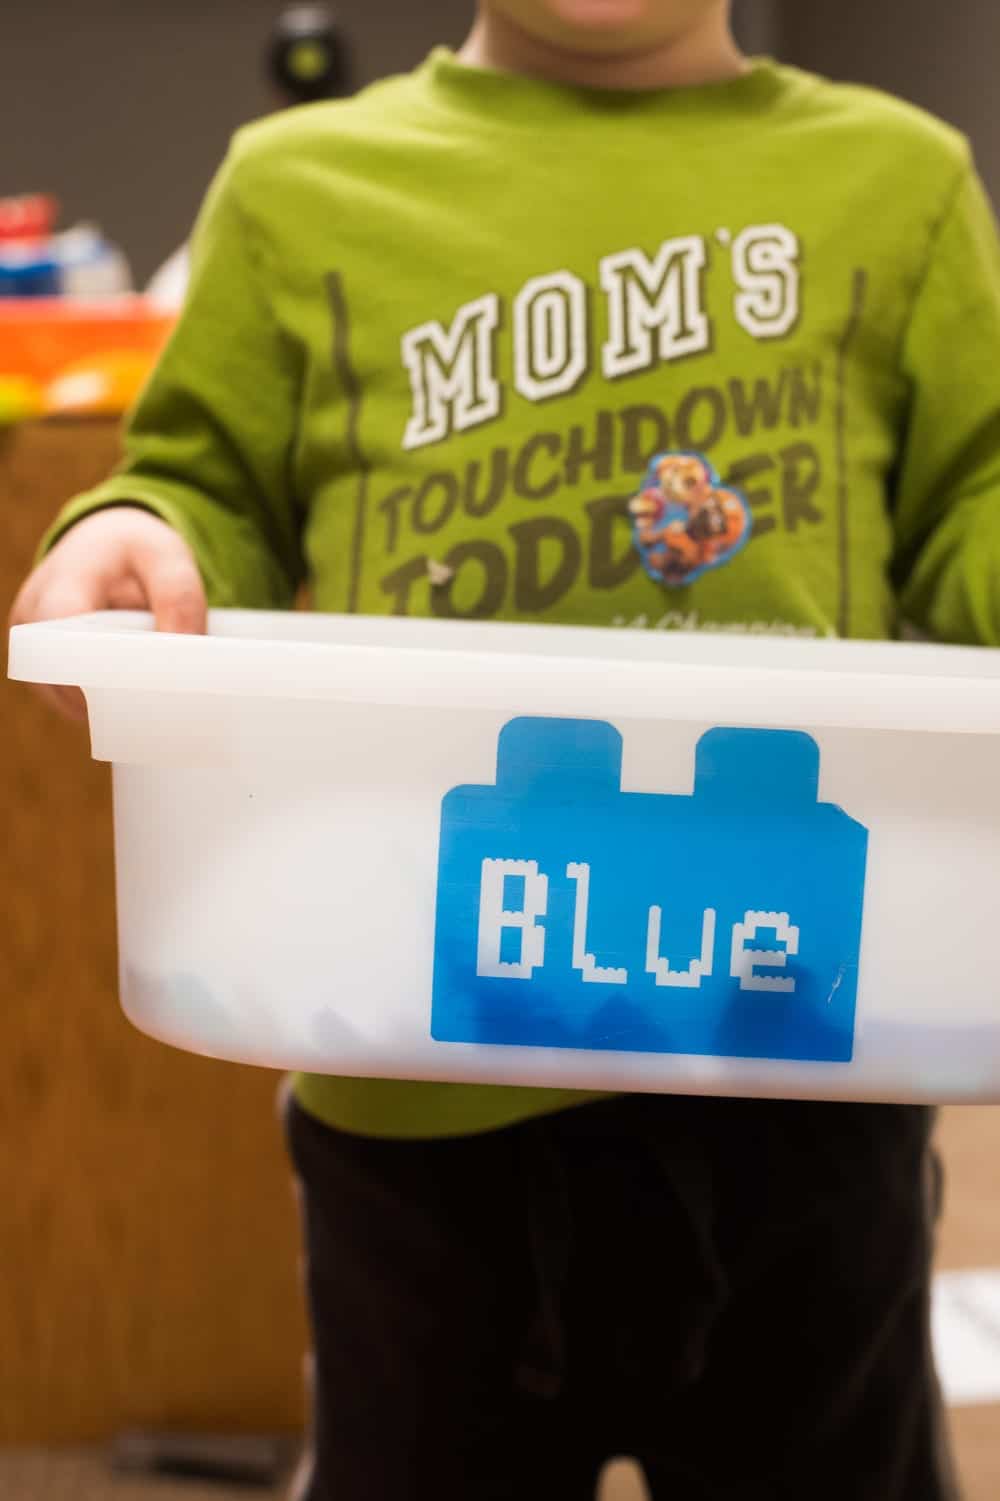
When Cricut approached me about creating a couple of organizational posts, I knew that I had to do one about toys. Initially, I was going to make labels for all our toys – but since we are still in the middle of moving…that wasn’t going to happen.
So I decided to focus specifically on Jack’s LEGO blocks and figurines, because, really? They are the biggest source of mess in our house.
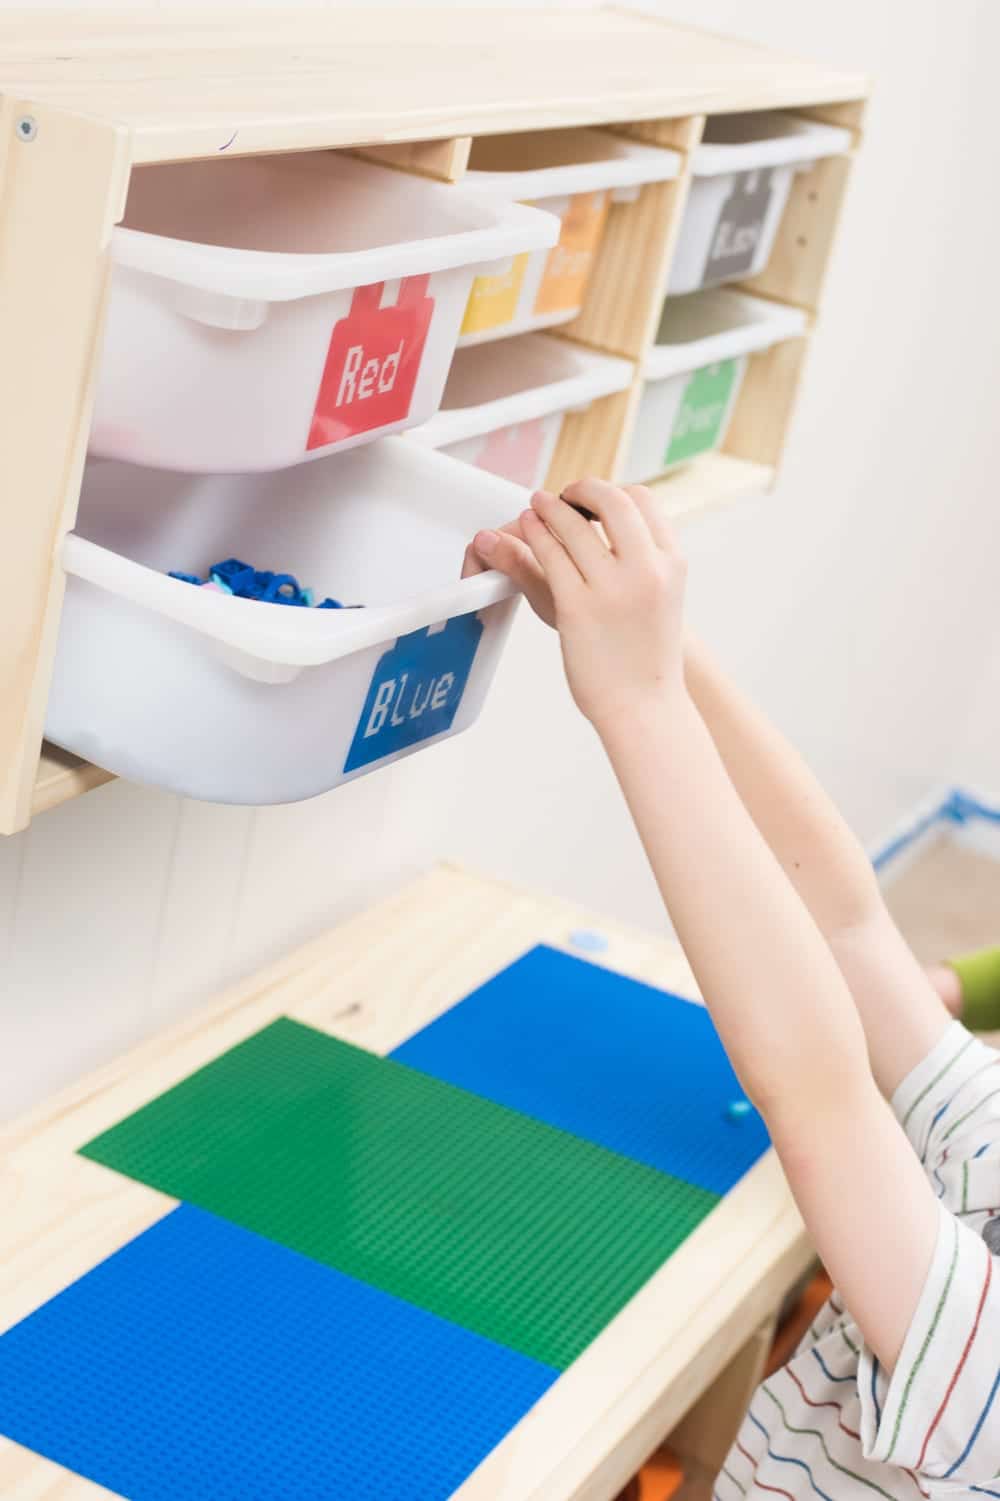
Below you will find our new LEGO organization system – which you can easily do yourself!
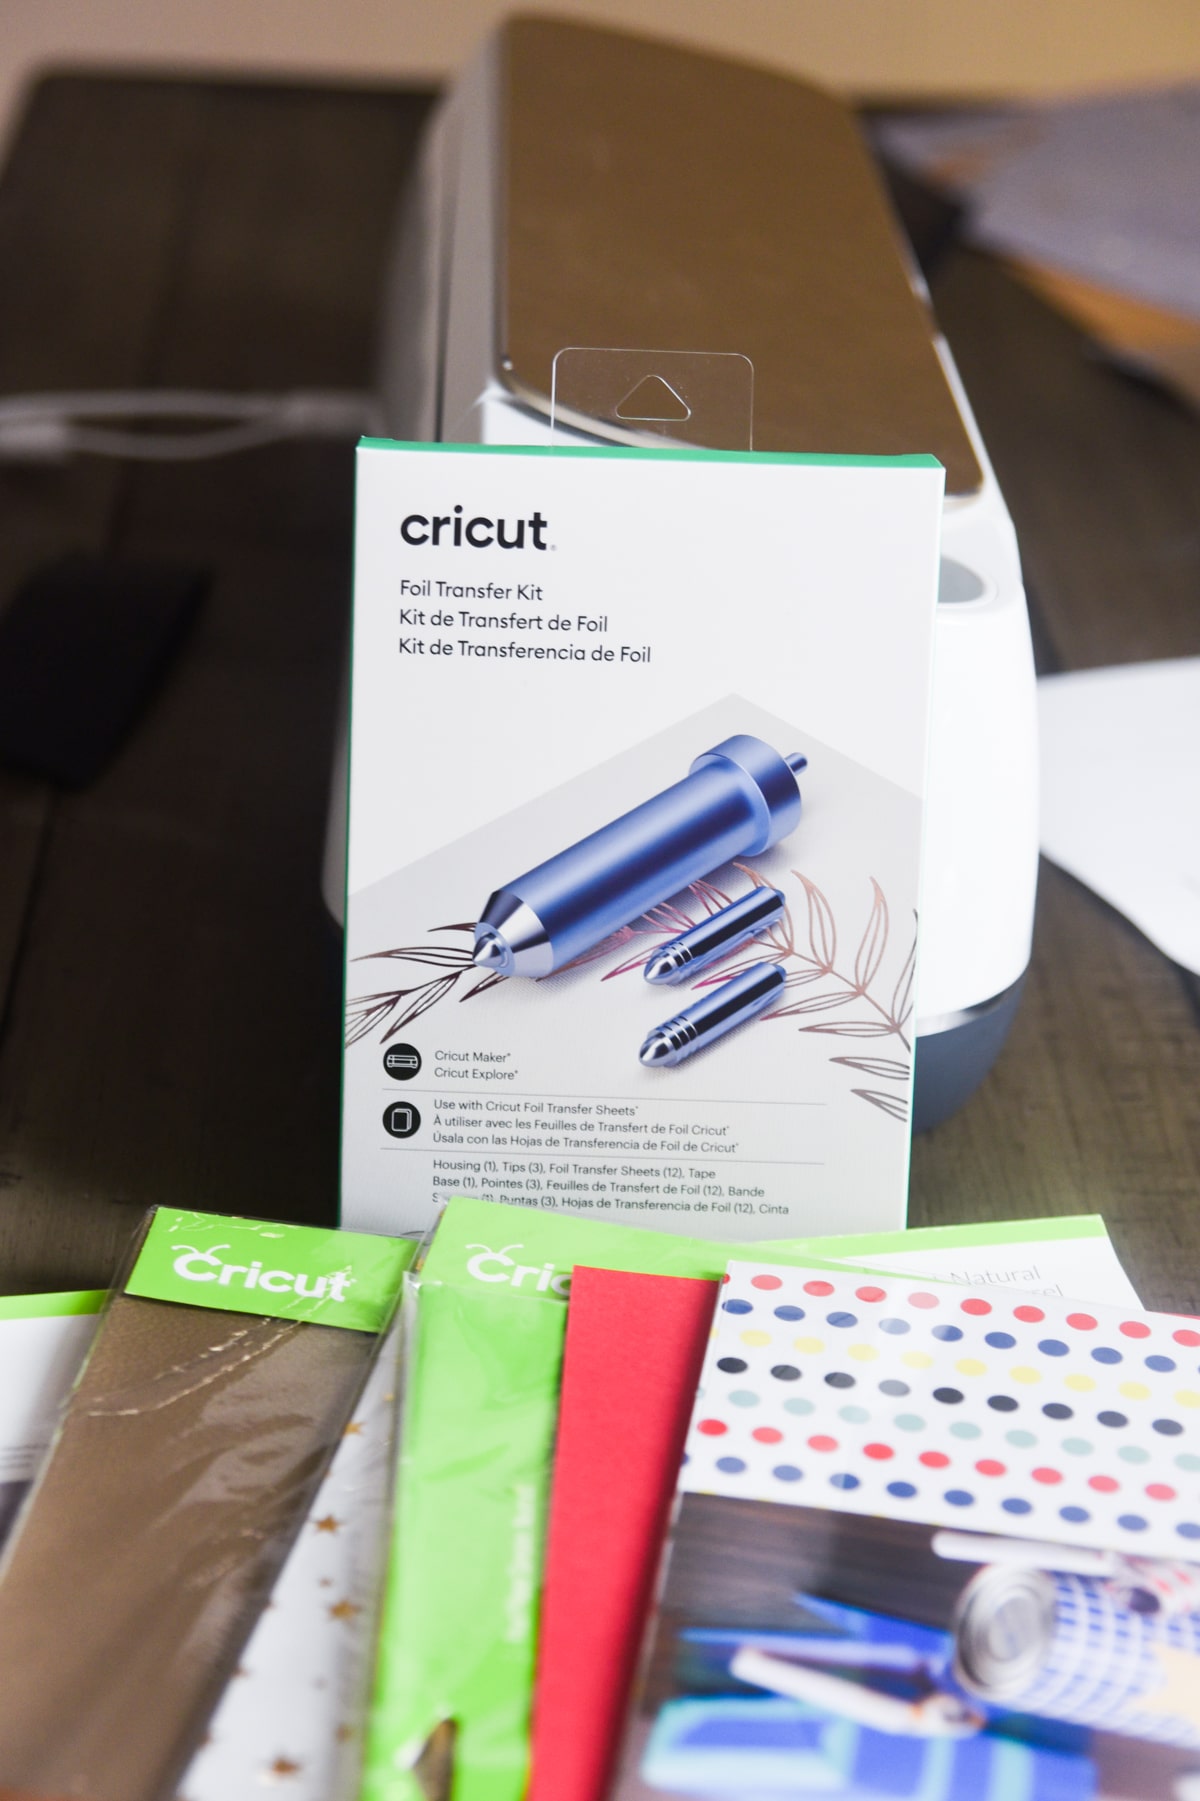
I love making labels with my Cricut Maker – you don’t have to be confined to a certain size or shape because it can cut out any shape you want. It was so fun making a super custom label for our LEGO storage containers.
LEGO Organization with IKEA Storage
Although IKEA is one of my least favorite places on earth, I knew we would be heading there for our LEGO storage. They have pretty reliable and less expensive storage solutions, and I had seen some things in the past that I thought would work well there.
I tried to think of the best way to create an organizational system that wouldn’t be too hard to maintain, and colors seemed like the most logical choice. We’ve been spending a lot of time sorting everything into the right colors!
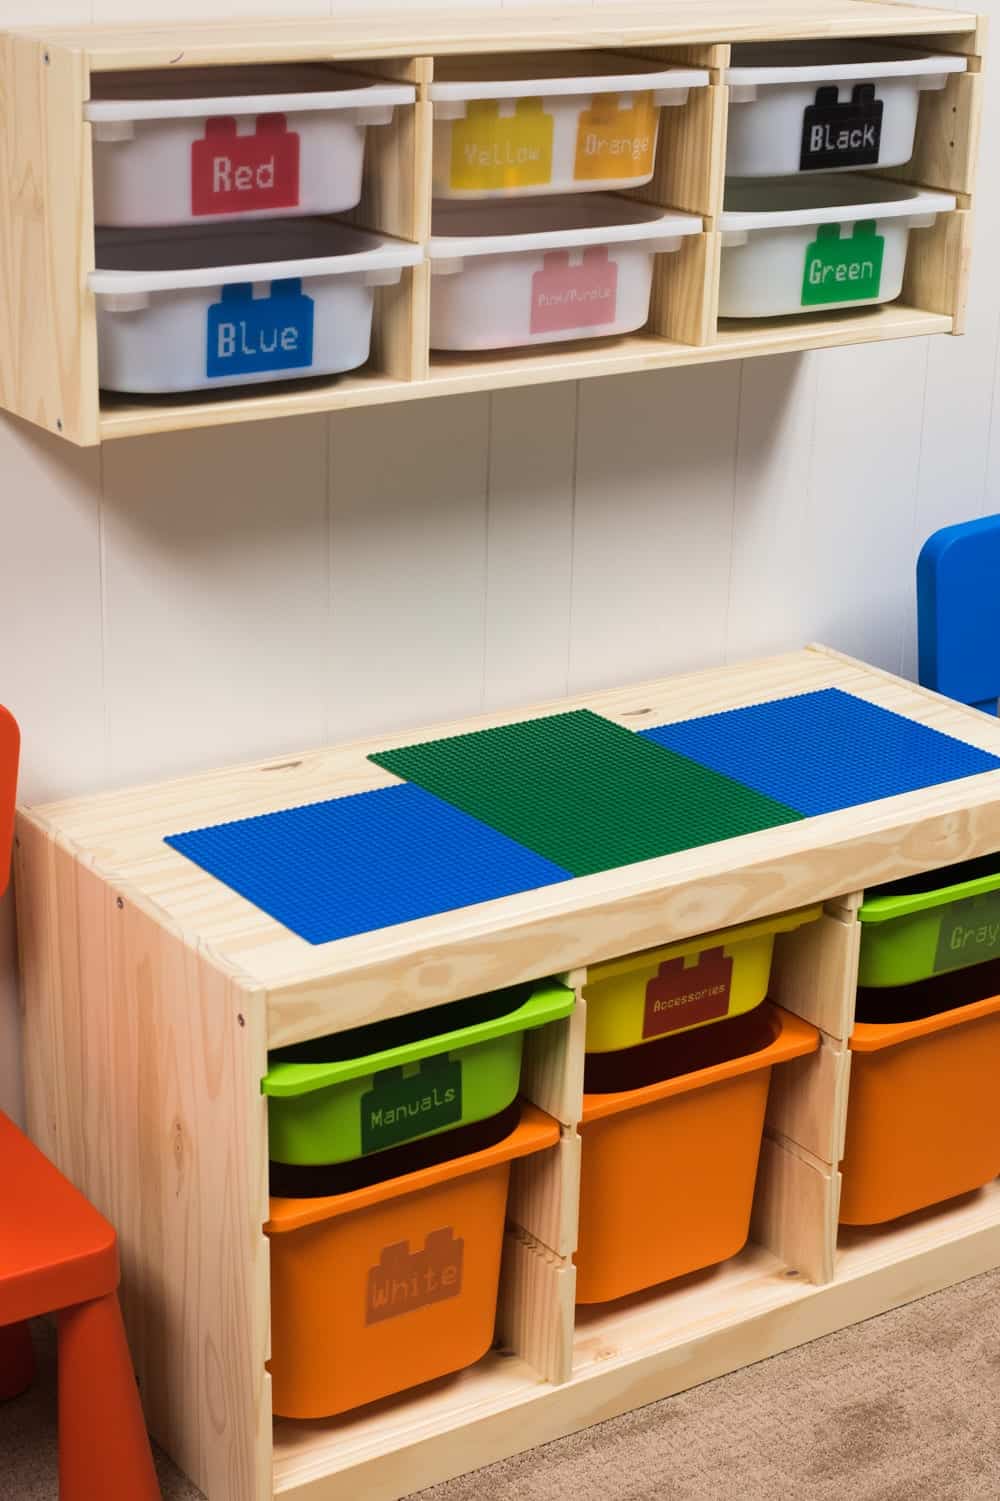
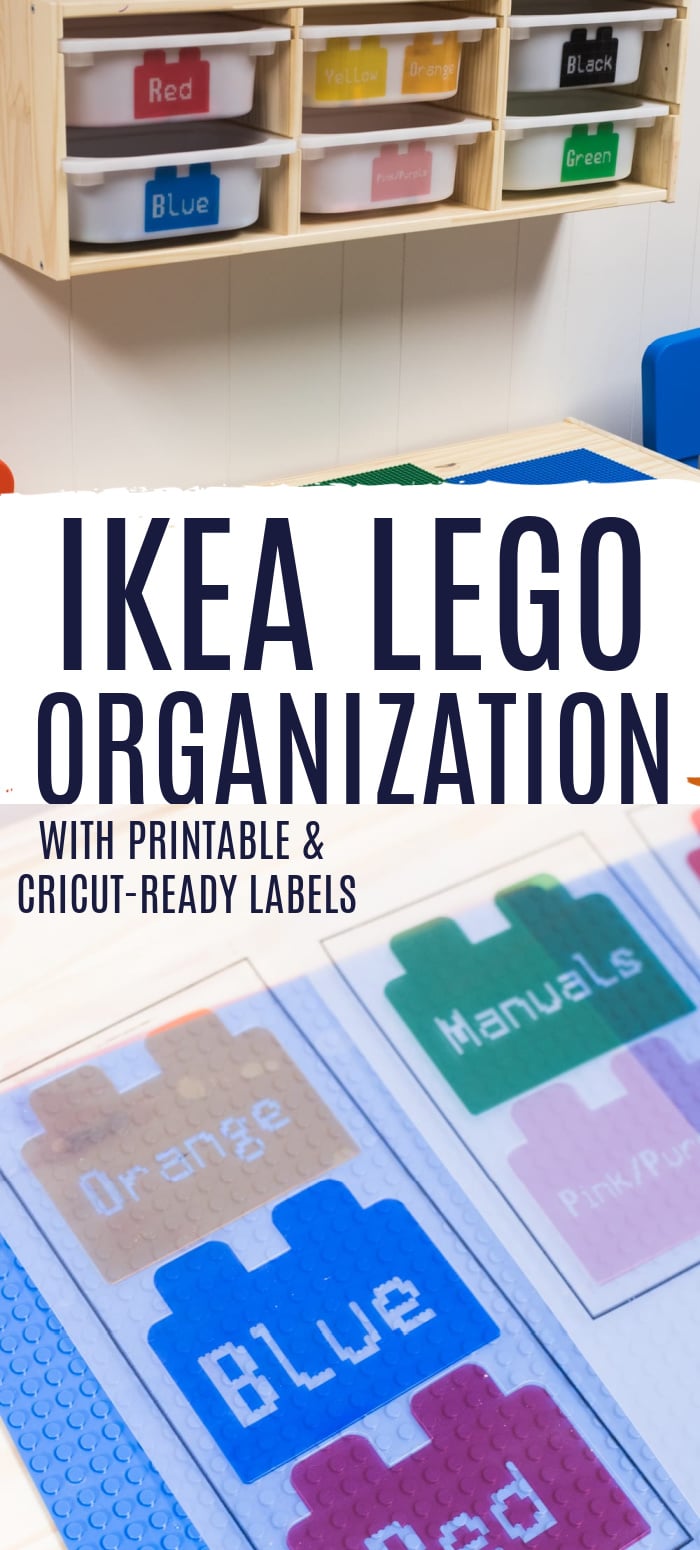
Here is what our final setup looked like. Most of the items are from the IKEA Trofast line. I have added numbers below the image to reference what we used. All of the labels were created with my Cricut (and the PDF/JPG labels are available below):
I have linked to the ones I could find on Amazon, but it’s going to be a lot less expensive to go to IKEA!
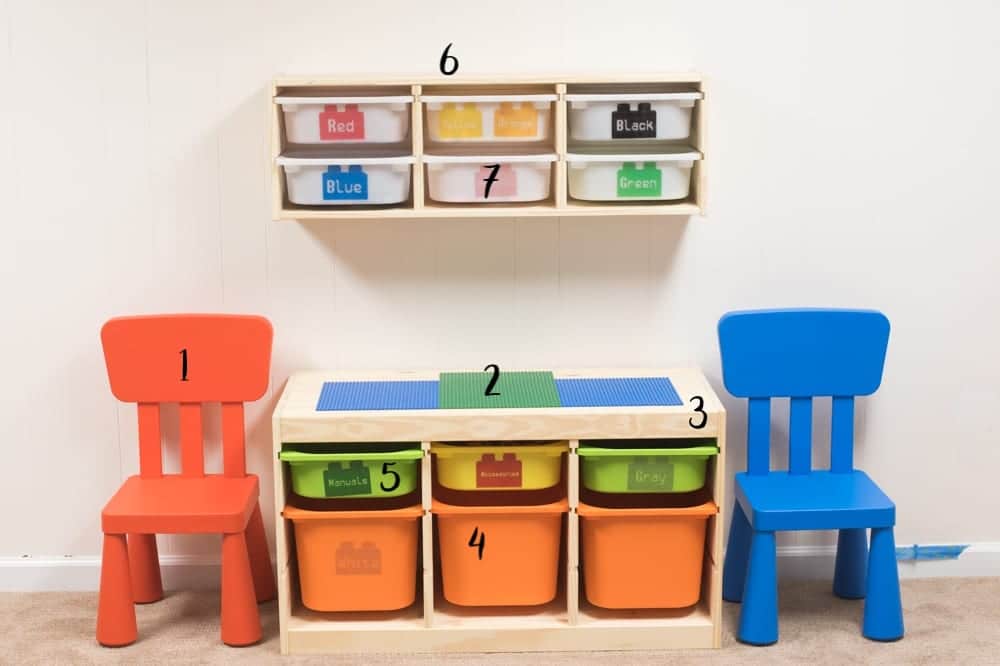
1 – Mammut Chair – We loved these and thought they seemed LEGO-esque. I plan to use some Cricut vinyl to put my boys’ names on their respective chair.
2 – Creative QT Peel and Stick Building Block Mats We got these a few years ago with the grand plans to make a LEGO table…which never happened. I thought they were perfect for the top of the storage container that we got. Our hopes are that Jack will keep what he’s working on there #pipedream.
3 – Trofast Storage Container – Online you can buy this with plastic, white storage containers for $80.99. We got it without the storage containers because we wanted colored ones.
4 – Trofast Large Storage Box –I plan to put DUPLO blocks into some of these since they are larger.
5 – Trofast Medium Storage Box
6 – Trofast Wall Storage -We love this and how it went on the wall above the other storage box. Since Oliver can’t reach the top shelf, we told Jack this would be a great place to display some of his creations he doesn’t want Oliver to mess up.
7. Small Trofast Box
Printable LEGO Labels
I created these labels initially in Cricut Design Space. However, since I uploaded my own fonts and images, I can’t share directly to the Design Space file.
So I also recreated the labels in PicMonkey and you can download both the PDF and the JPG versions below. Some of the colors might be a little bit different, and I’ve included a few more options that what we have above (since I know not everyone’s collections are the same). But I hope you will love them!
[purchase_link id=”73492″ style=”button” color=”blue” text=”Click to Download”]
This set includes labels for:
- Black
- White
- Brown
- Pink
- Orange
- Green
- Red
- Blue
- Yellow
- Purple
- Gray
- Accessories
- Mats
- DUPLO
- Manuals (If you need an awesome way to keep LEGO manuals from falling apart, be sure to check out this great tutorial from my friend Chelsea)
If you are here as a Cricut user, I have included a tutorial below on how to upload these yourself and print them off!
If you are just wanting to use these without a Cricut – great! You can just print them off on your printer using a full sheet of sticker/label paper. You will just need to cut them out yourself.
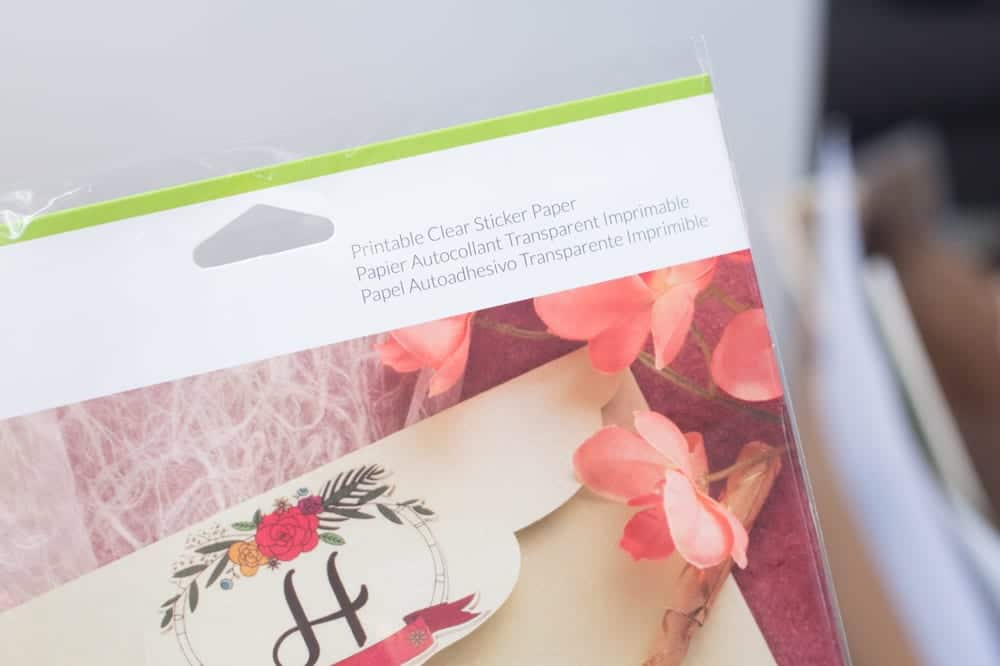
I personally used the Cricut Clear Sticker Paper, and I really loved how they turned out. Anyone can use these sticker paper, so even if you aren’t using a Cricut, I would highly suggest still printing them out.
LEGO Storage Bin Labels
How to Make with Cricut
Below you will find the instructions on how to use this design in Design Space!
Materials:
[the_ad id=”93378″]
Fine Point Blade – Amazon / Cricut
The image labels above
To make these labels, I used the Cricut Print and Cut feature…which I really need to make a post about! That’s next on my list of things to do.
As I mentioned above, I used the Cricut Clear Sticker Paper. Initially, I tried to use their regular sticker paper, but it kept jamming my printer. The clear sticker paper worked much better!
Instructions:
Open up Design Space. Upload each page of the labels that you will be using.
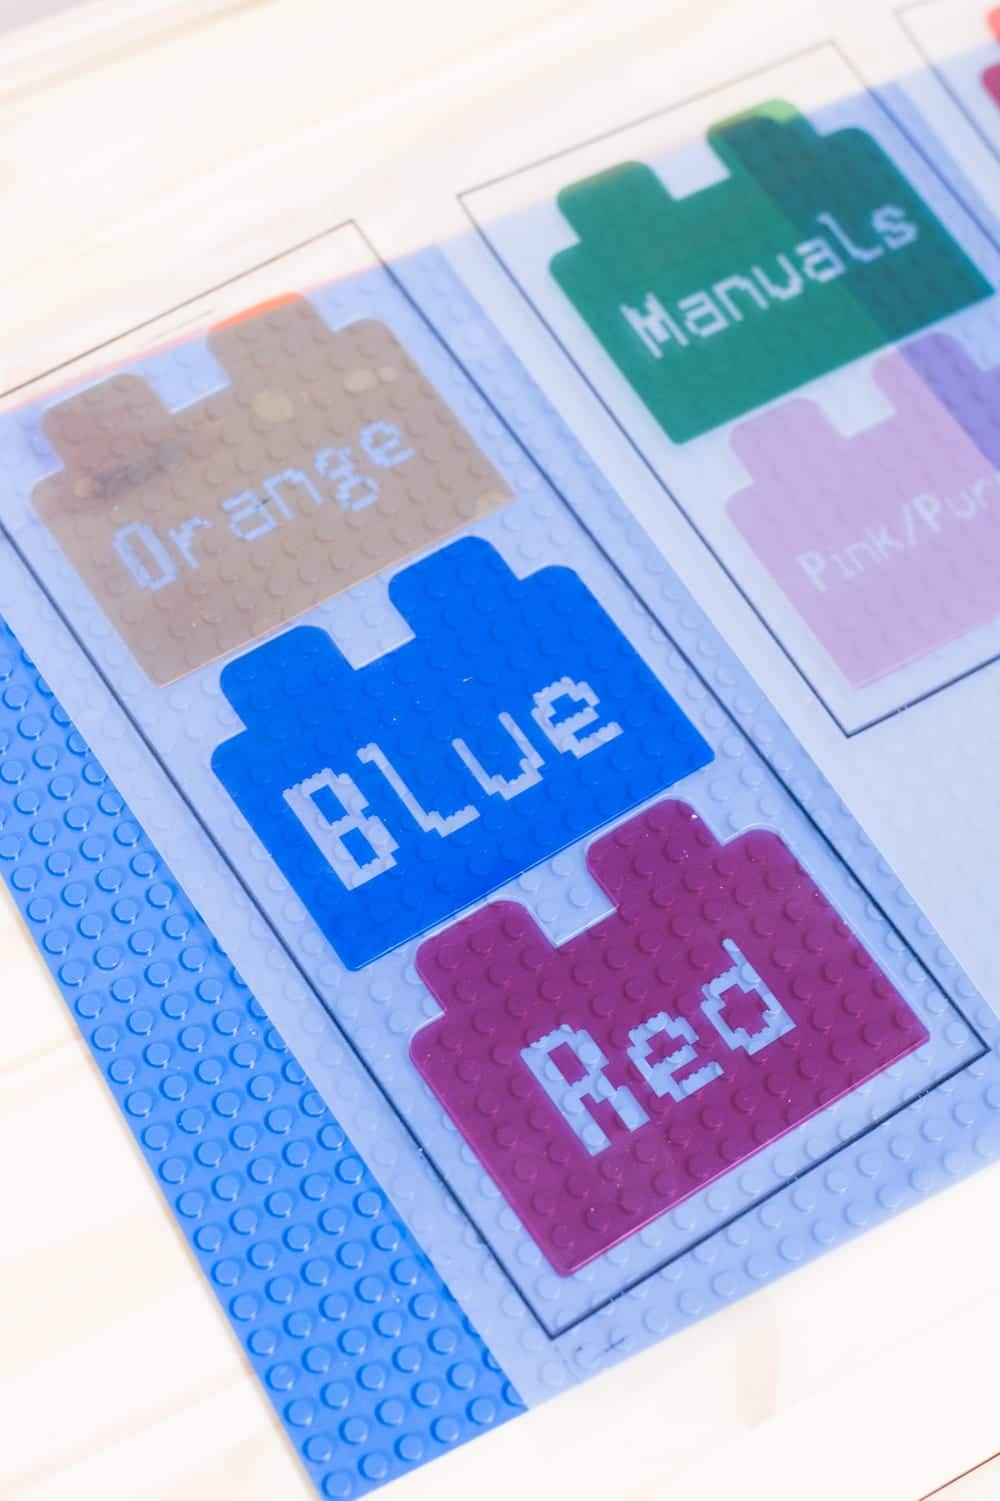
When adding the images to your image library, just remove the solid background – do not remove the inside of the letters. If you only want one image from the set, just crop out the other labels. As you can see in the image below, I removed the background to make it checkered, but the letters for “Red” still have a tannish background. This is how it should look!
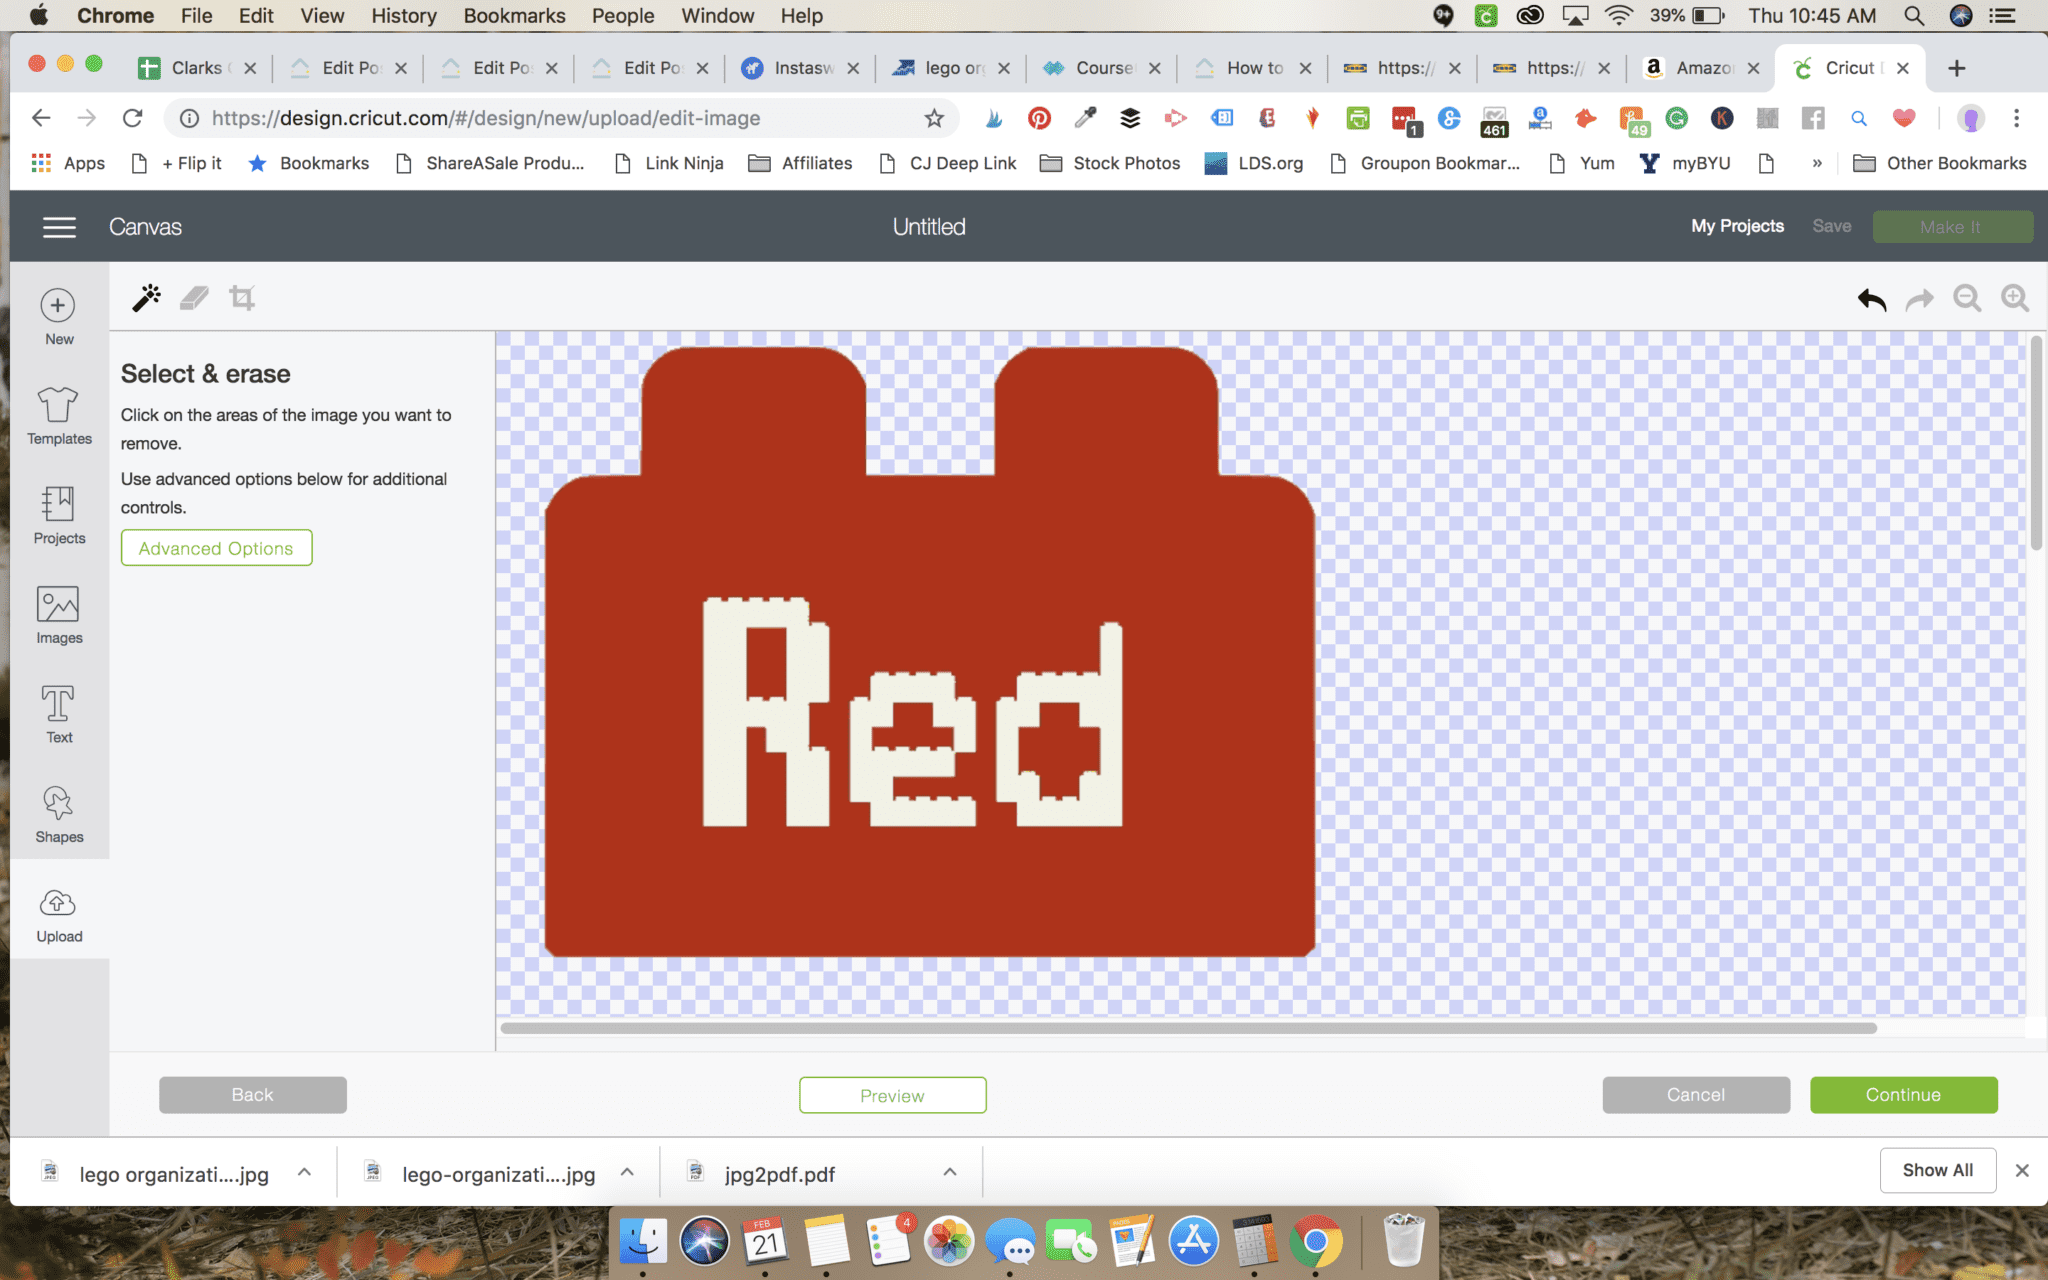
Save as a print and cut image.
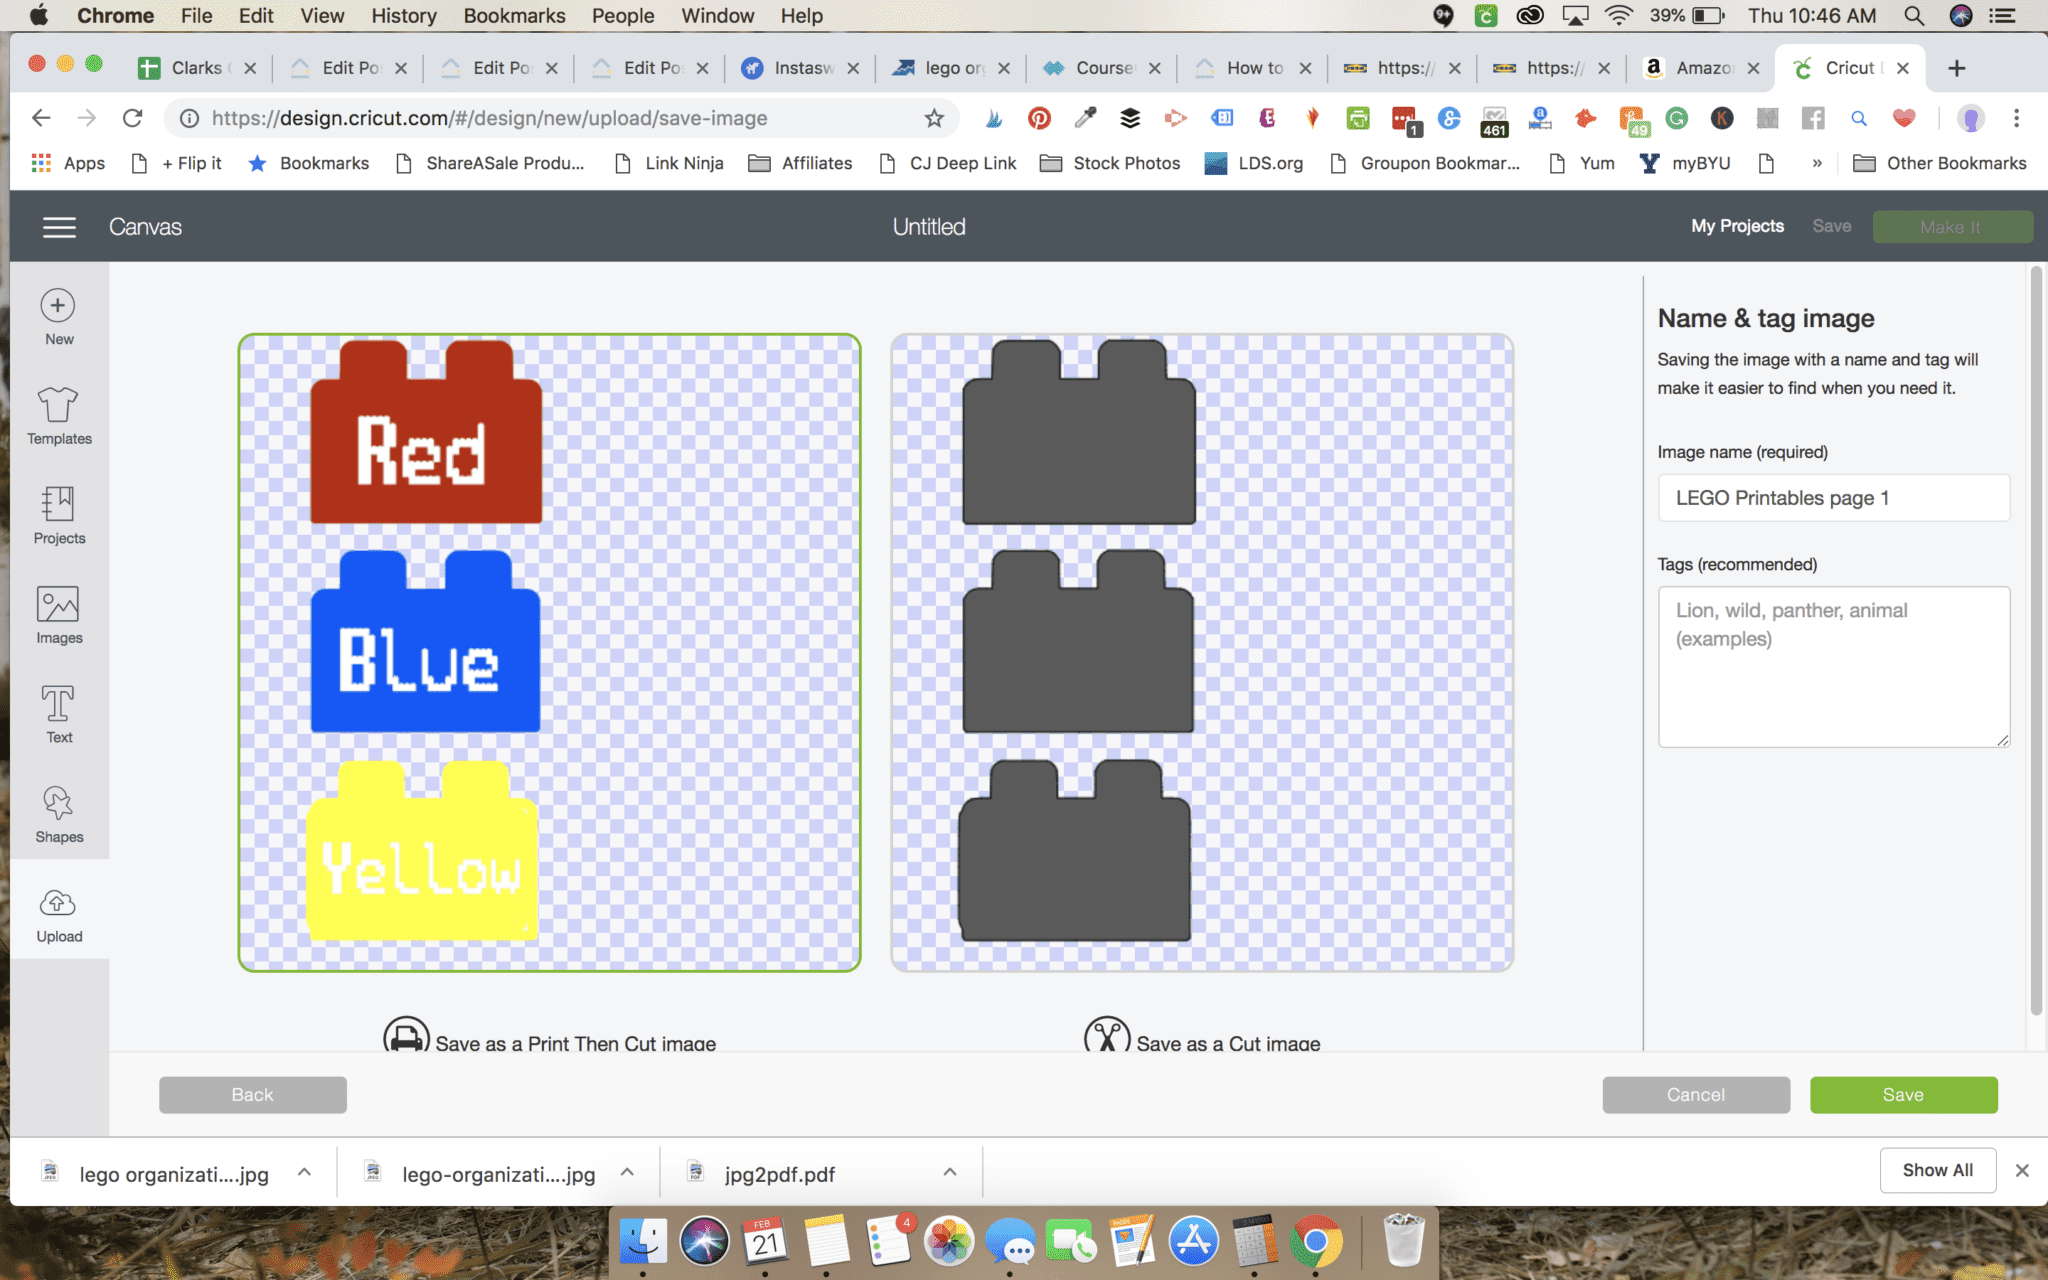
Add to your canvas. You will likely need to resize each set of three to be smaller than 9.25″ tall.
Press “Make It”.
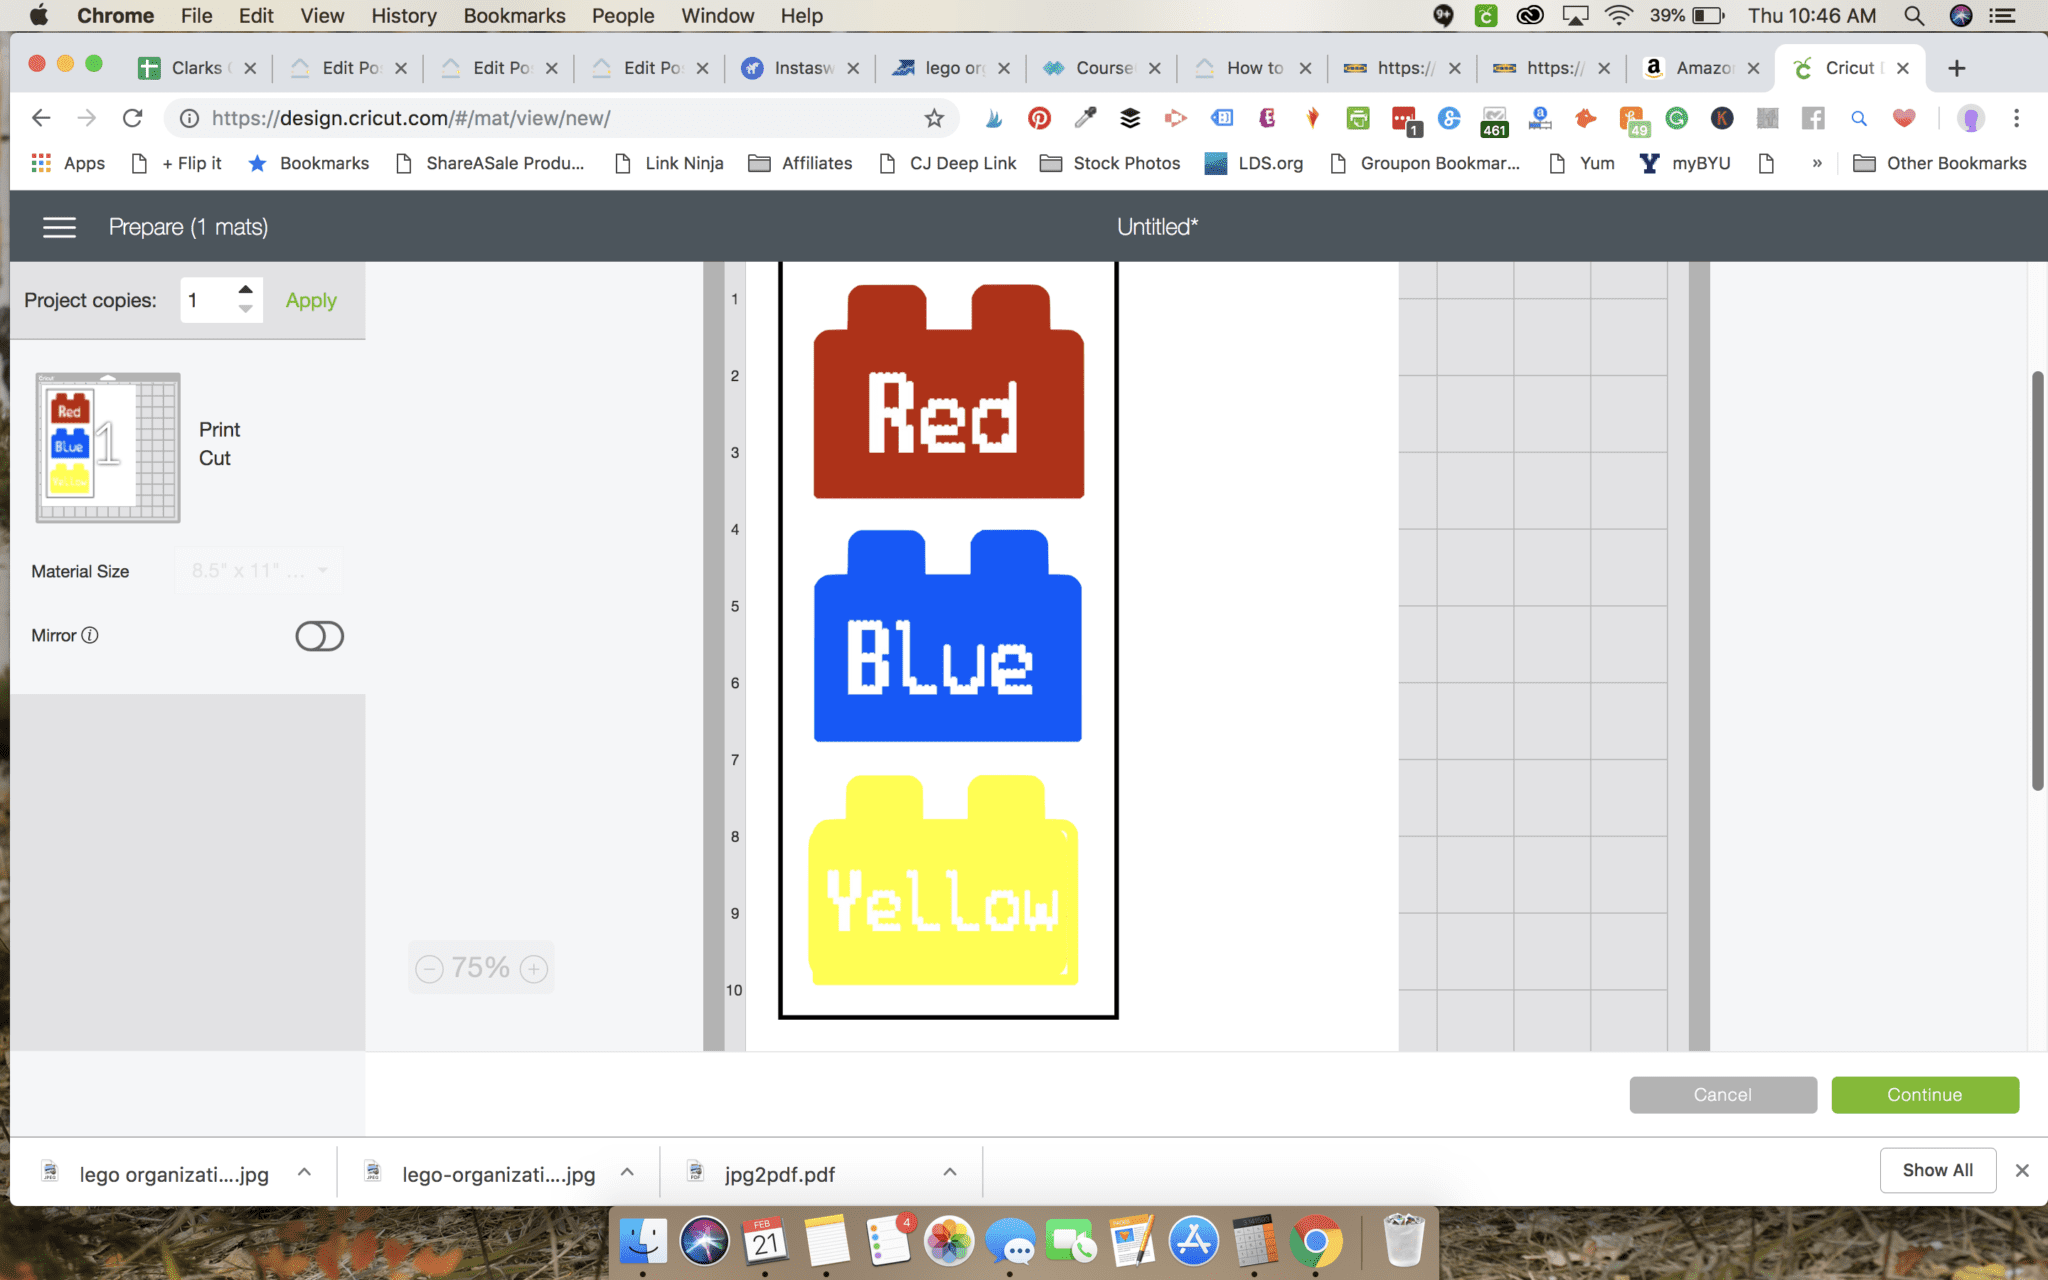
When you get to the page with the cutting options, it will instruct you to send it to the printer. Click on the button to do this, and deselect “Bleed”. Make sure you have your sticker paper put into your printer correctly and press print.
If you are using the clear printable sticker paper, the ink may not be completely dry when it comes out of the printer. Just wait a few minutes before you cut.
I suggest selecting “More pressure” in Design Space.
Put the printed labels onto your Cricut Mat. Press Make It.
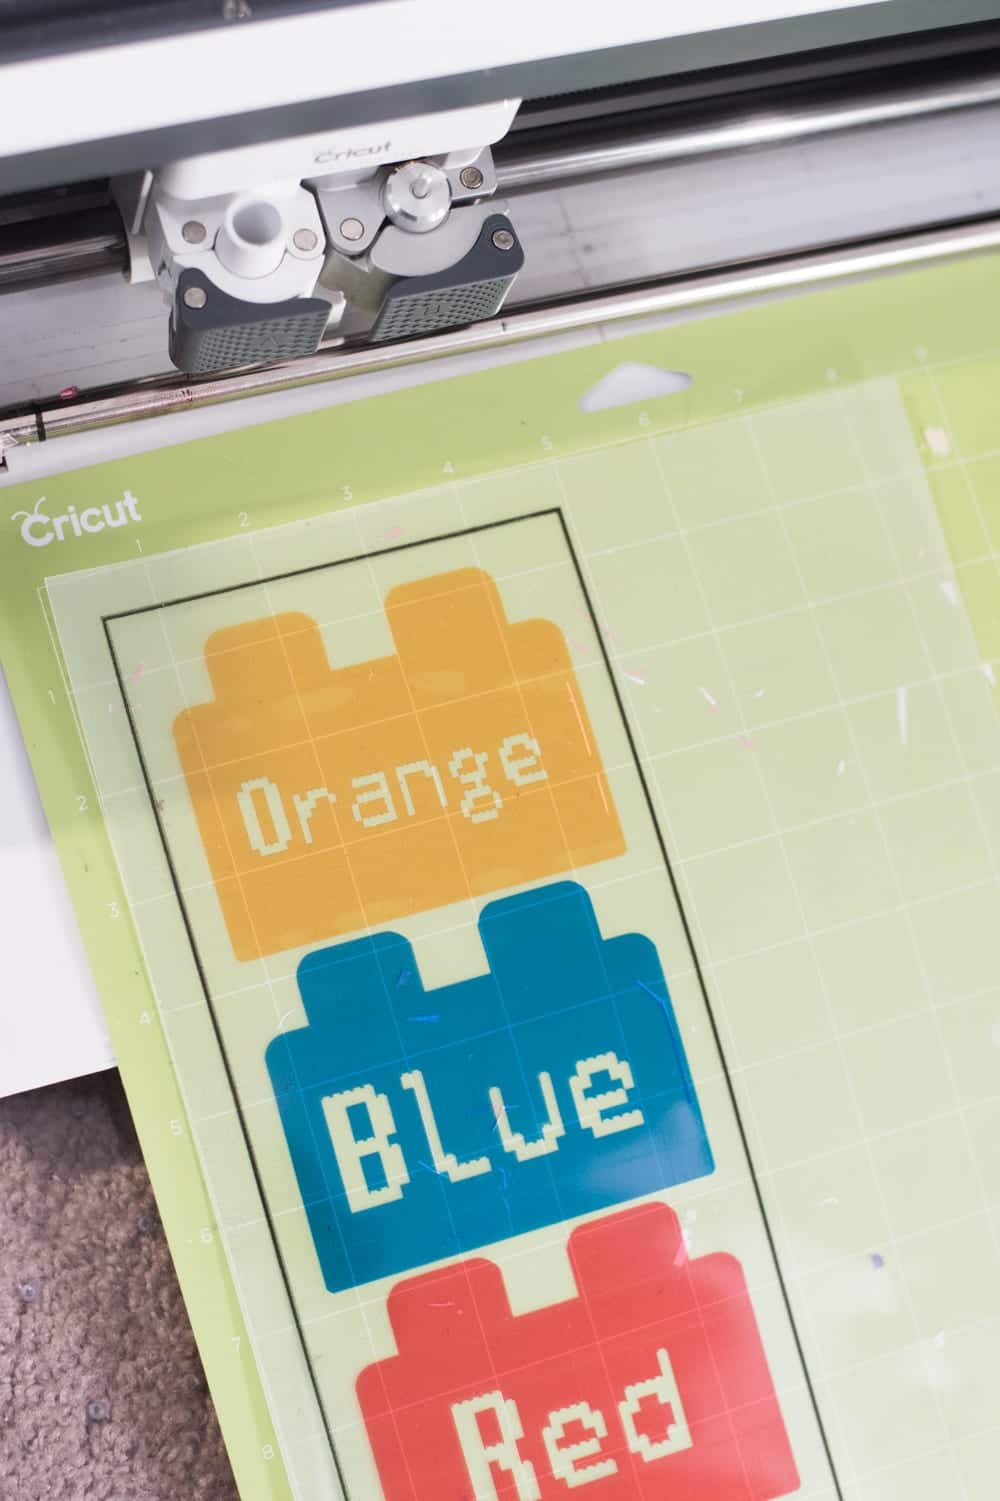
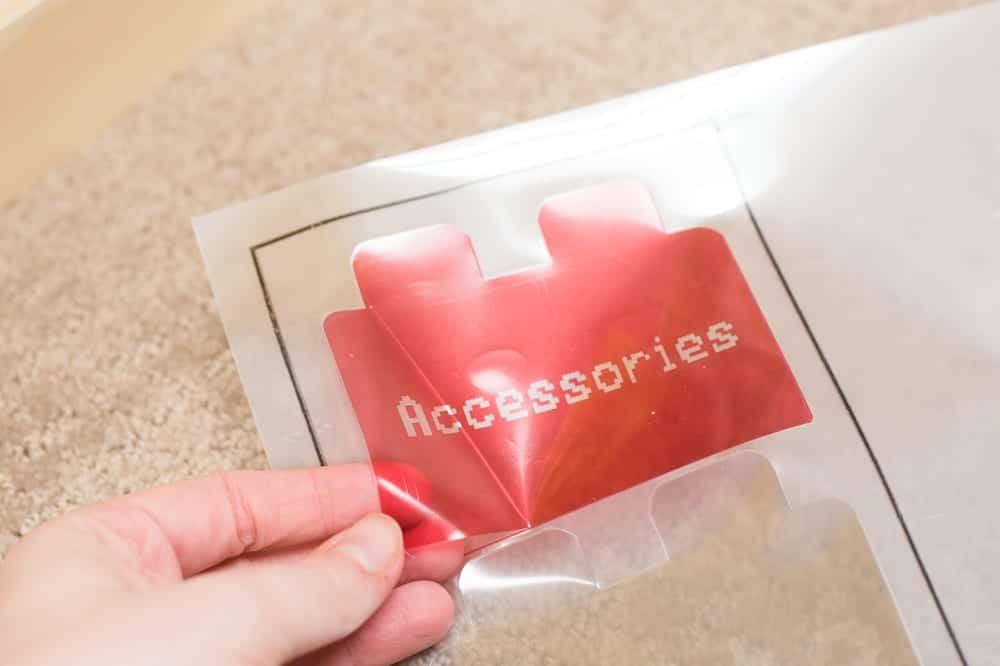
The labels will just be cut using a “Kiss Cut”, so it won’t cut through the entire sheet.
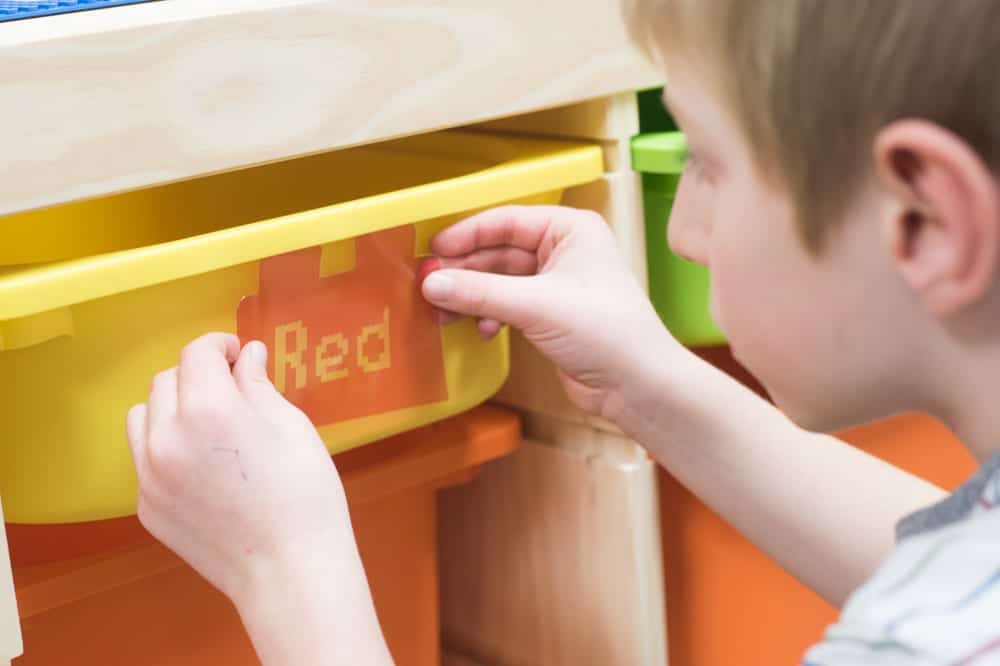
Peel off and place on the canvas of your choice
Other LEGO Posts You May Enjoy:
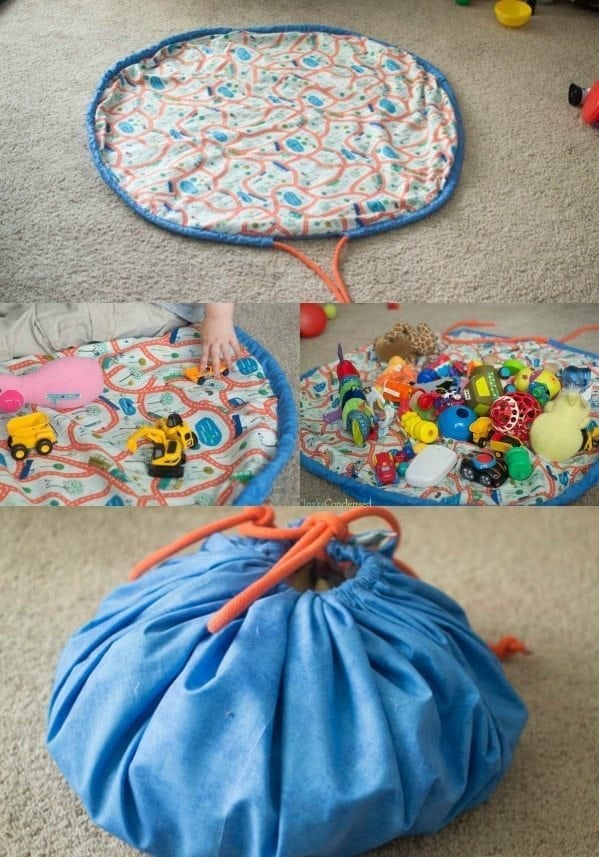
- DIY Toy or Lego Bag and Playmat
- 40+ LEGO Boredom Buster Activities
- Easy DIY LEGO Travel Case
- Easy DIY Beyblade Made with LEGO
- DIY LEGO Costume – Great Last Minute Idea!

This is AWESOME! Right now we just have all our LEGO bricks in a big plastic under-the-bed storage bin. But they definitely end up all over the house (mostly because of Little R!). I love the idea of putting the little bricks up high so Oliver can’t reach! Maybe we need to do something like this! And thanks for sharing my LEGO manual tutorial!