5 Easy Dollar Tree Cricut Christmas Projects
Are you looking for easy and fun Christmas projects? Look no further than the dollar store. With a Cricut machine, there are so many ways to cut out decorations from tinsel or garland to make your home festive during the holiday season. Here are six ideas for Cricut Christmas crafts that will look like they came straight from Santa’s workshop!
Thank you to Cricut for sponsoring this post. All ideas and opinions are my own.
It’s the busiest time of year for crafters everywhere! I don’t know about you, but I always get so many ideas for fun Christmas Cricut projects – especially when I head to the Dollar Tree.
I’m all about inexpensive and affordable crafts, so today, I am going to share five full tutorials for some fun Dollar Tree Cricut Christmas crafts. These are all super simple to make, and most of them you could make with some scrap materials from some of your more complex projects.
I can’t guarantee all of your dollar stores will have these materials, but I think you should be able to find most of them (especially if you go now to get supplies!)
At the end of this post, I’ve also included some more fun ideas and tutorials you can check out.
I hope that you enjoy these projects as much as I enjoyed making them!
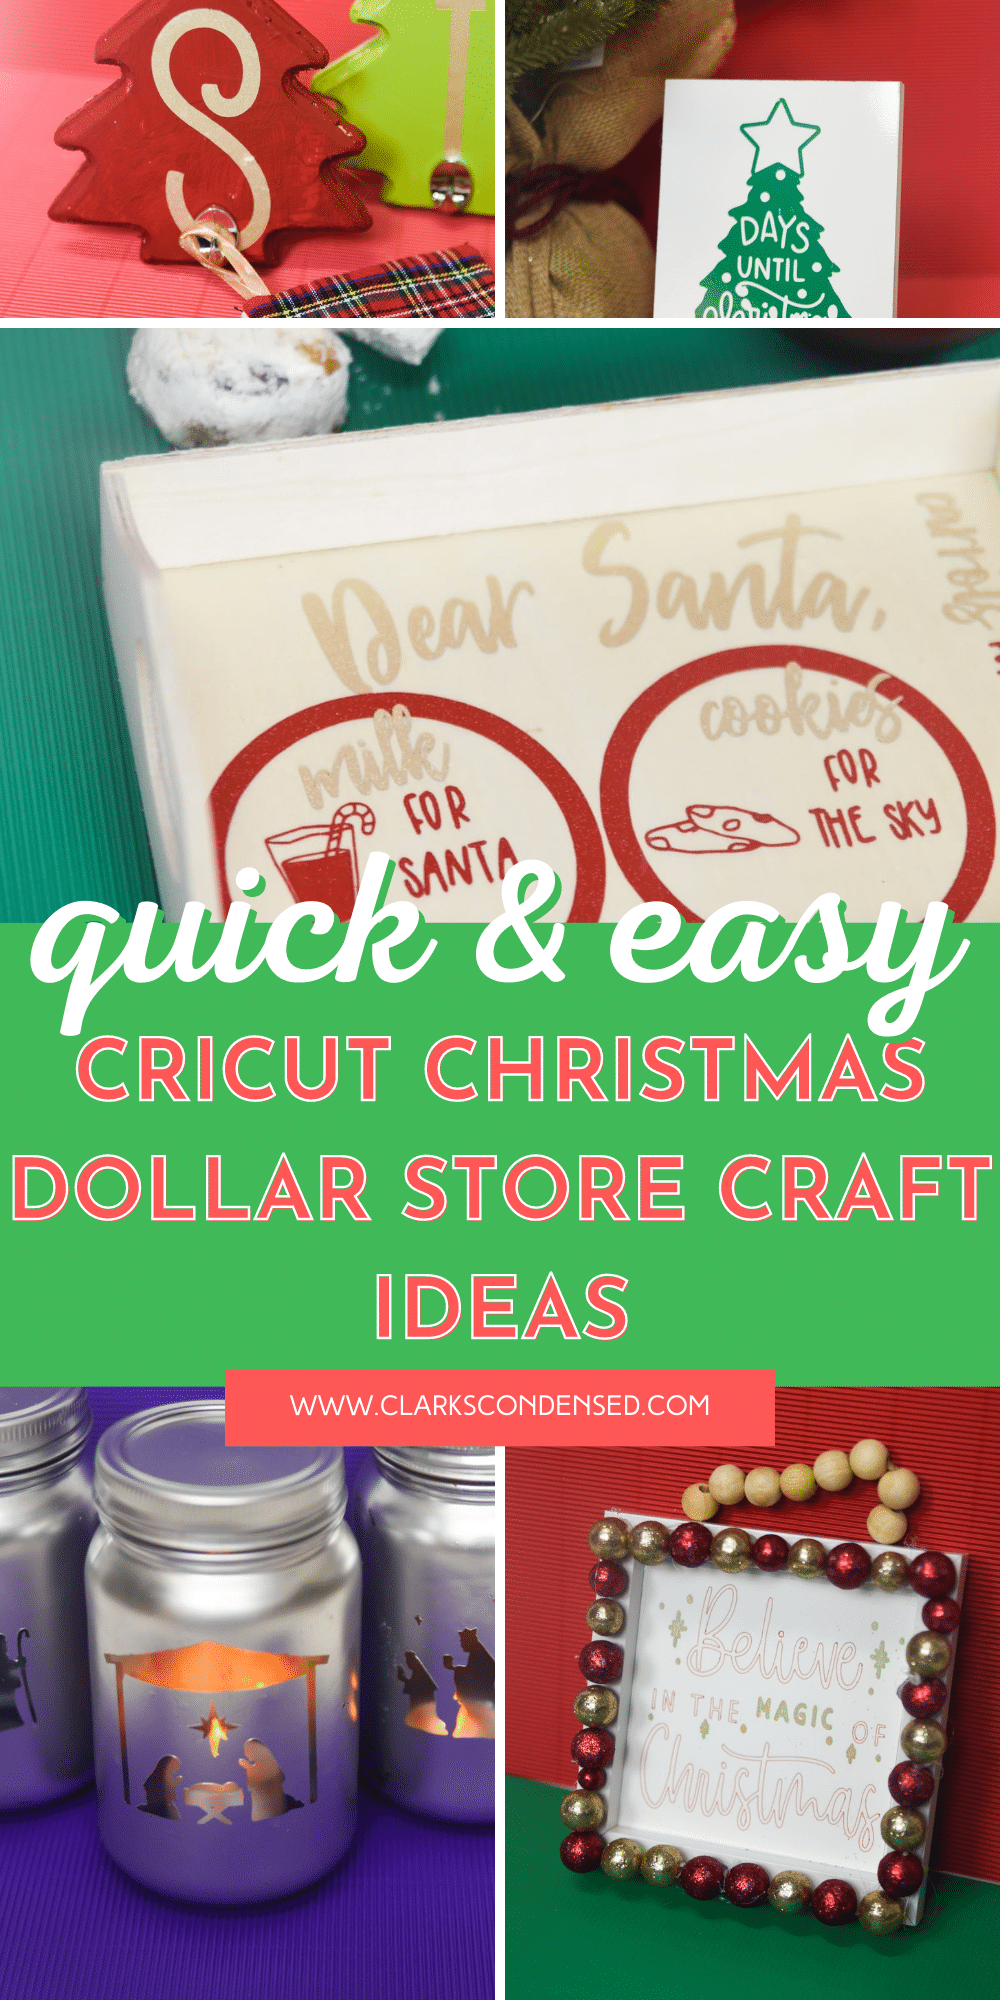
White board Christmas Countdown
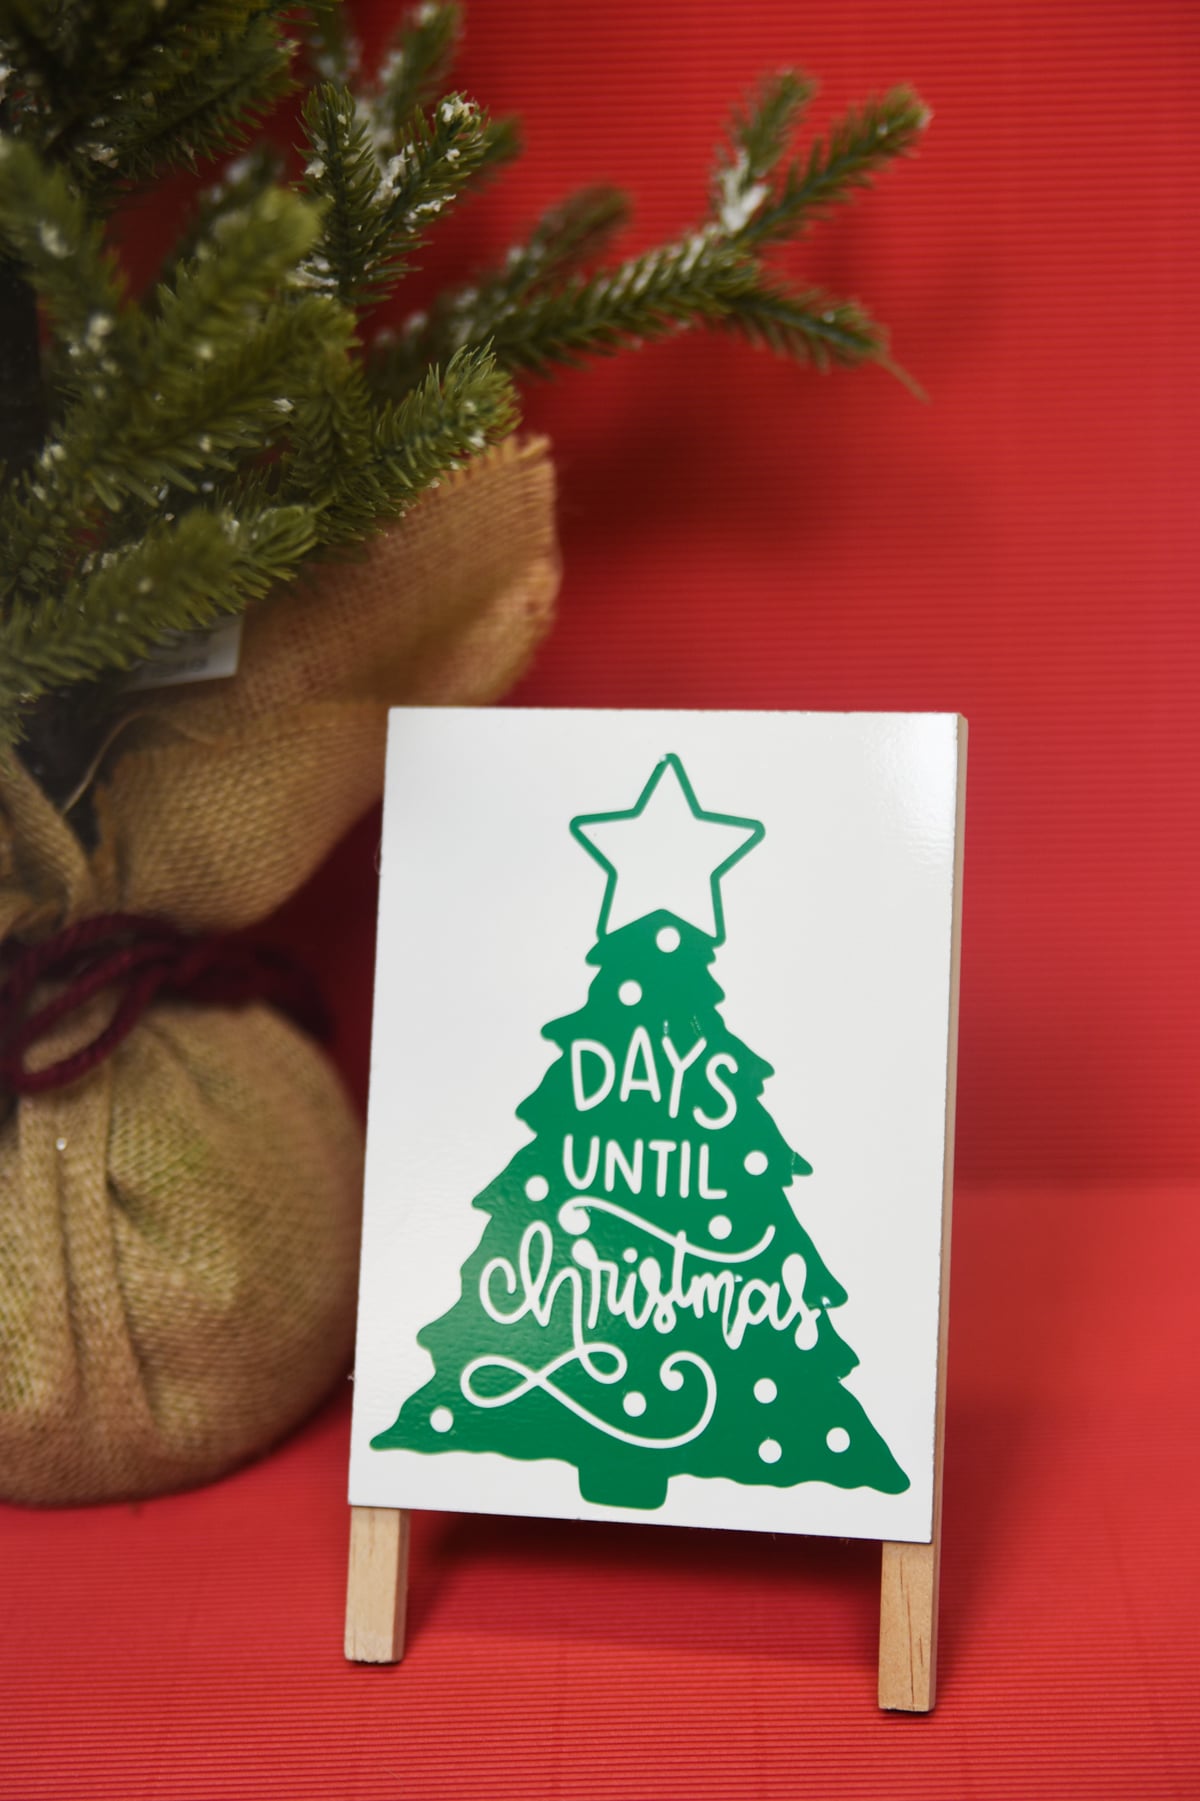
As I went through the Dollar Tree, I kept coming up with tons of different ideas for Christmas Advent calendars I could make. In the end, I decided I wanted to make things as simple as possible.
When I stumbled upon these little whiteboards, I knew I could make a really simple advent calendar using some designs in Design Space.
I used a file I found in Design Space (there are a lot, so be sure to look around). I chose this one because, as I said, I wanted to keep things simple, and this required only one color of vinyl!
Design Space File:
I did not create this file – you can just search in the image file for
Christmas Tree – Days Until Christmas – #M8AE051B
This file is included with Cricut Access.
Supplies:
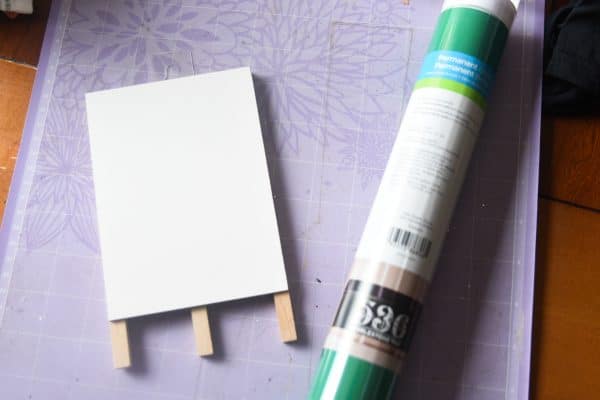
- White Board Easel
- Permanent Vinyl (any color – we used green)
- Transfer tape
Instructions:
- Open Design Space and select countdown image
- Measure white board easel and size image to fit on it
- Select vinyl type you are working with
- Place vinyl on Cricut mat
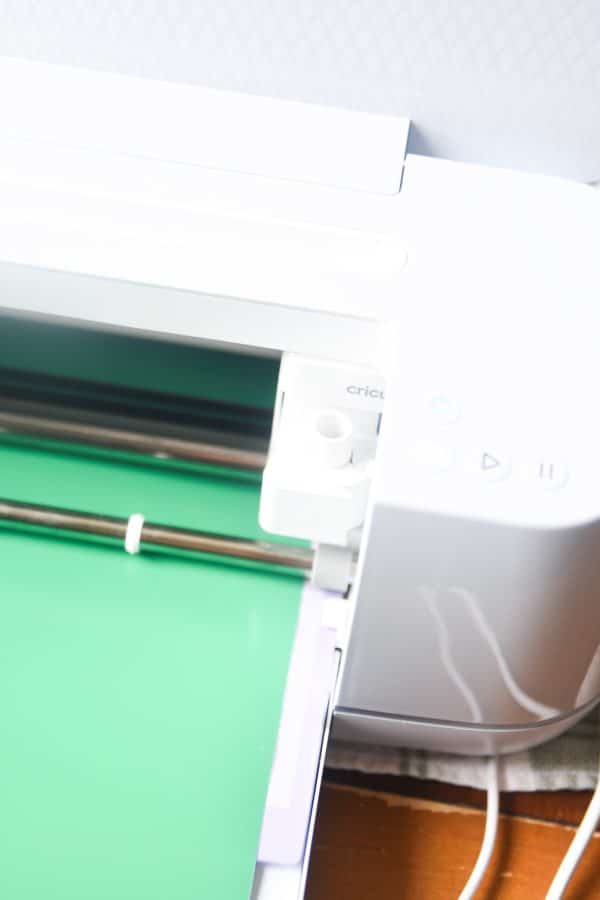
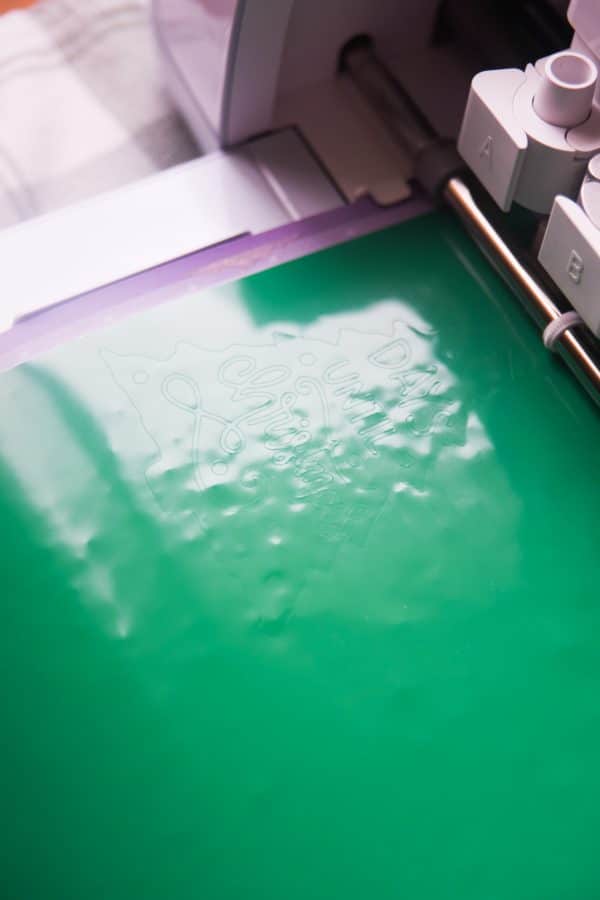
- Follow Design Space prompts to cut out vinyl
- Weed excess vinyl
- Apply transfer tape to vinyl
- Carefully transfer over to the easel

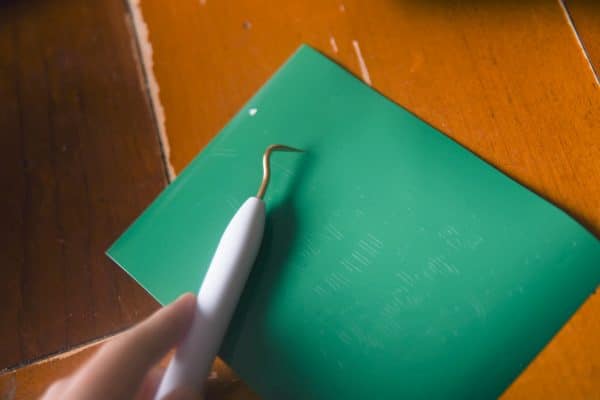
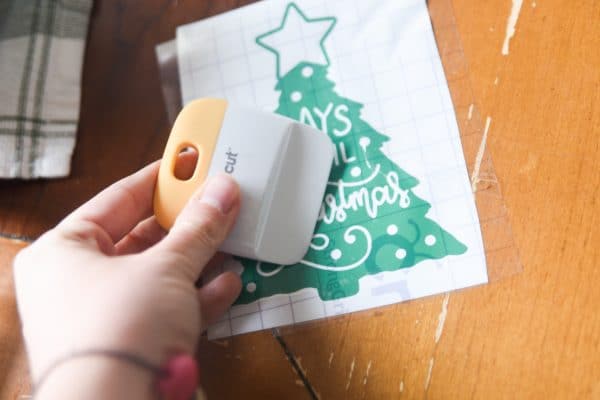
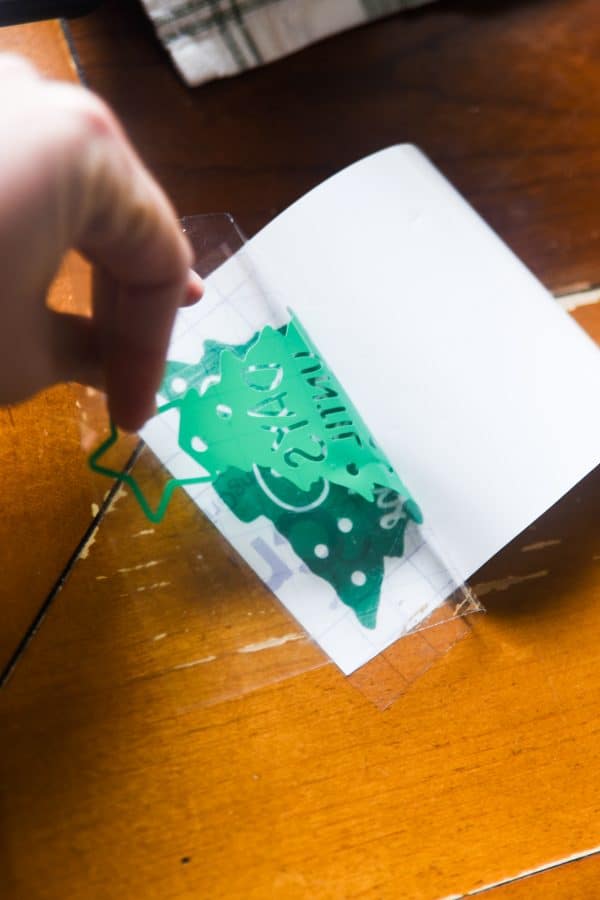
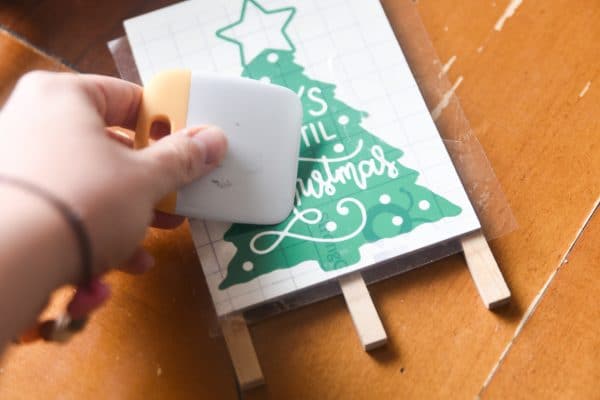
Peek-a-boo Vinyl Nativity Jars
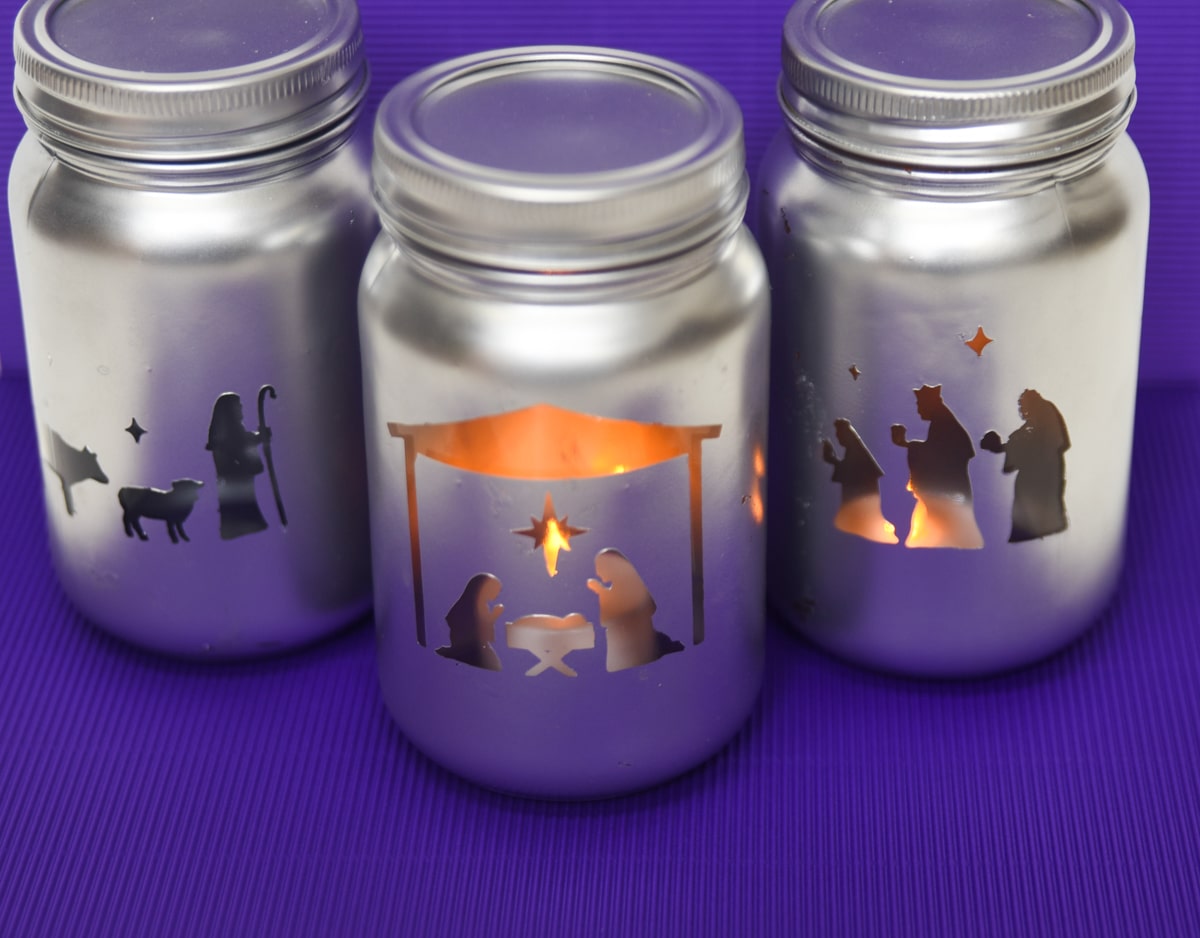
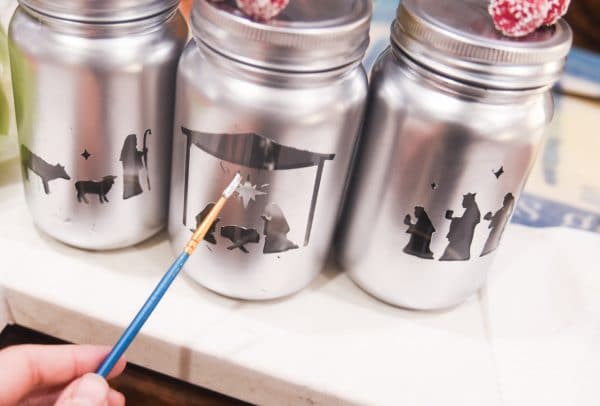
This is probably my favorite project that I made. You can easily use this technique to do whatever image you want (snowflakes, Christmas trees, or a star would be fun), and you can use whatever color spray paint you have.
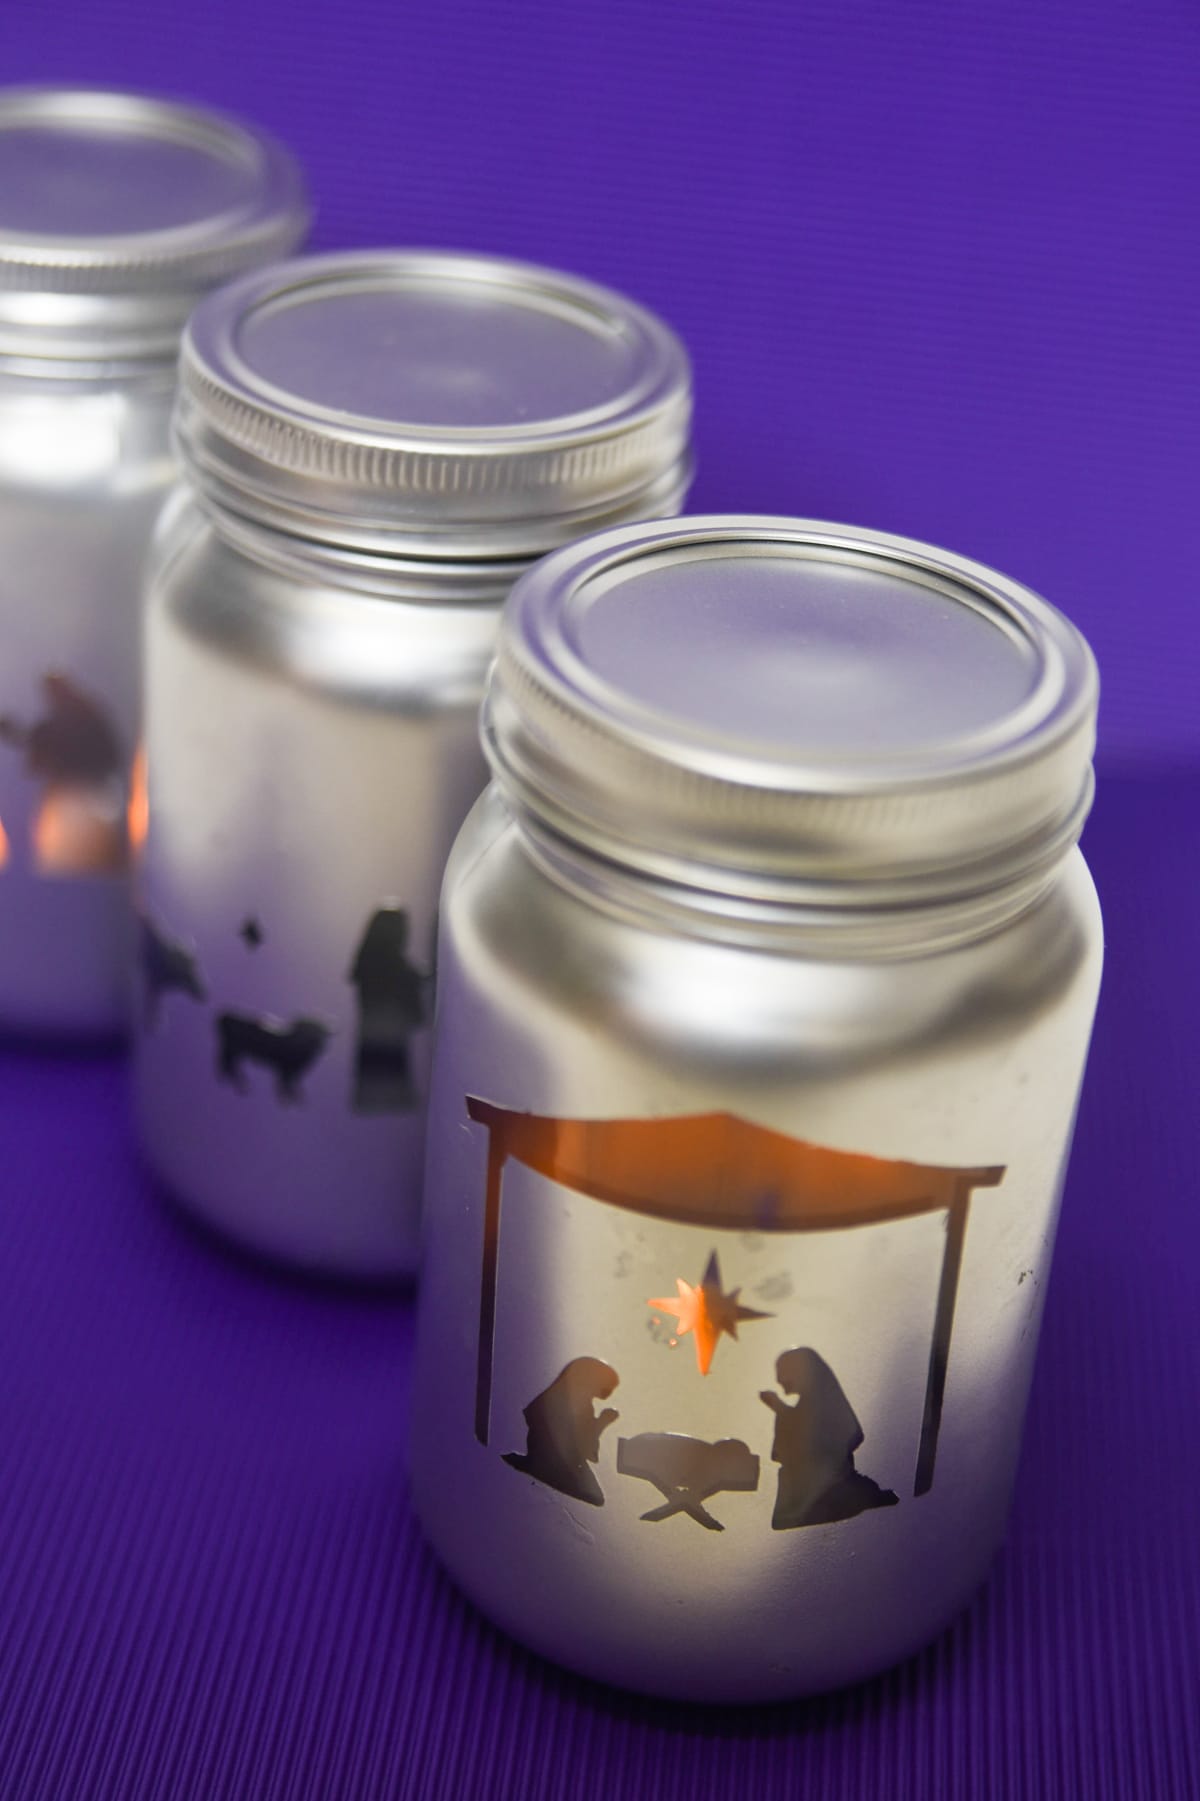
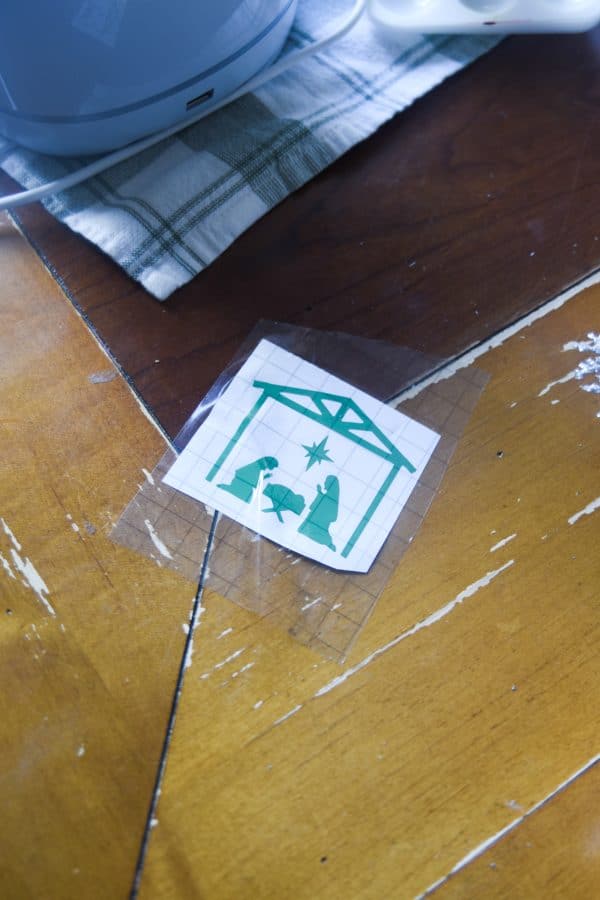
I chose a Nativity scene that is in Design Space. I replicated the image three times, and I used contour to remove the different parts of the image. You can get the file with my edits below.
A few things to keep in mind:
- Make sure the spray paint has COMPLETELY dried before you pull the vinyl off
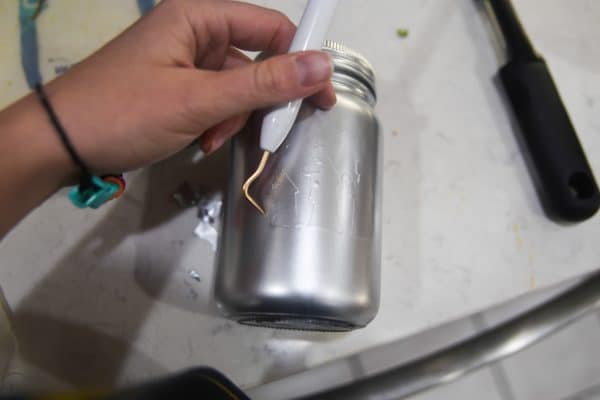
- If you have any chipping, you can spray your spray paint at close range onto a plate or paint tray until it pools – then just use a thin paint brush to paint in some of the spots that may have chipped off
- Keep the lid on the jars when you spray paint them
- I would use a weeding tool to remove the vinyl. Be extra careful when you do this, as I find the paint chips easily.
Design Space File:
Click here for the project template
Supplies:
- Mason Jars (or other glass jar)
- Silver Spray Paint
- Removable Vinyl (any color)
- Transfer Tape
- Mini lights or candles – we used battery powered tea lights from the Dollar Tree
Instructions:
- Open file in Design Space
- Size the files to fit correctly on your jar
- Cut out on any color vinyl (it doesn’t matter what color, since you aren’t keeping it on there)
- Weed away the excess
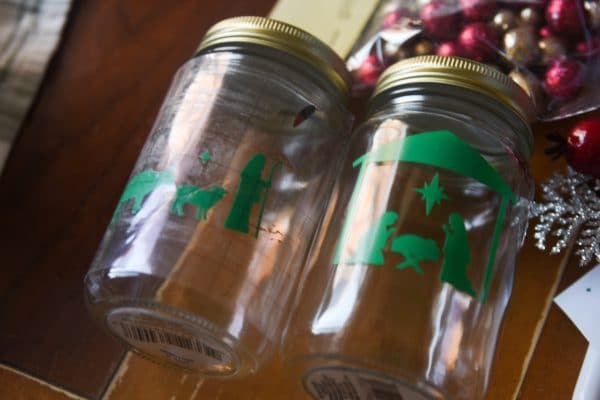
- Apply transfer tape and carefully transfer the vinyl to the jars
- Spray paint the entire jar and lid – I would recommend a couple of coats
- Once the paint has completely dried, carefully remove the vinyl using a weeding tool
- Place candle or electric tea light inside and enjoy!

Christmas Wall Art
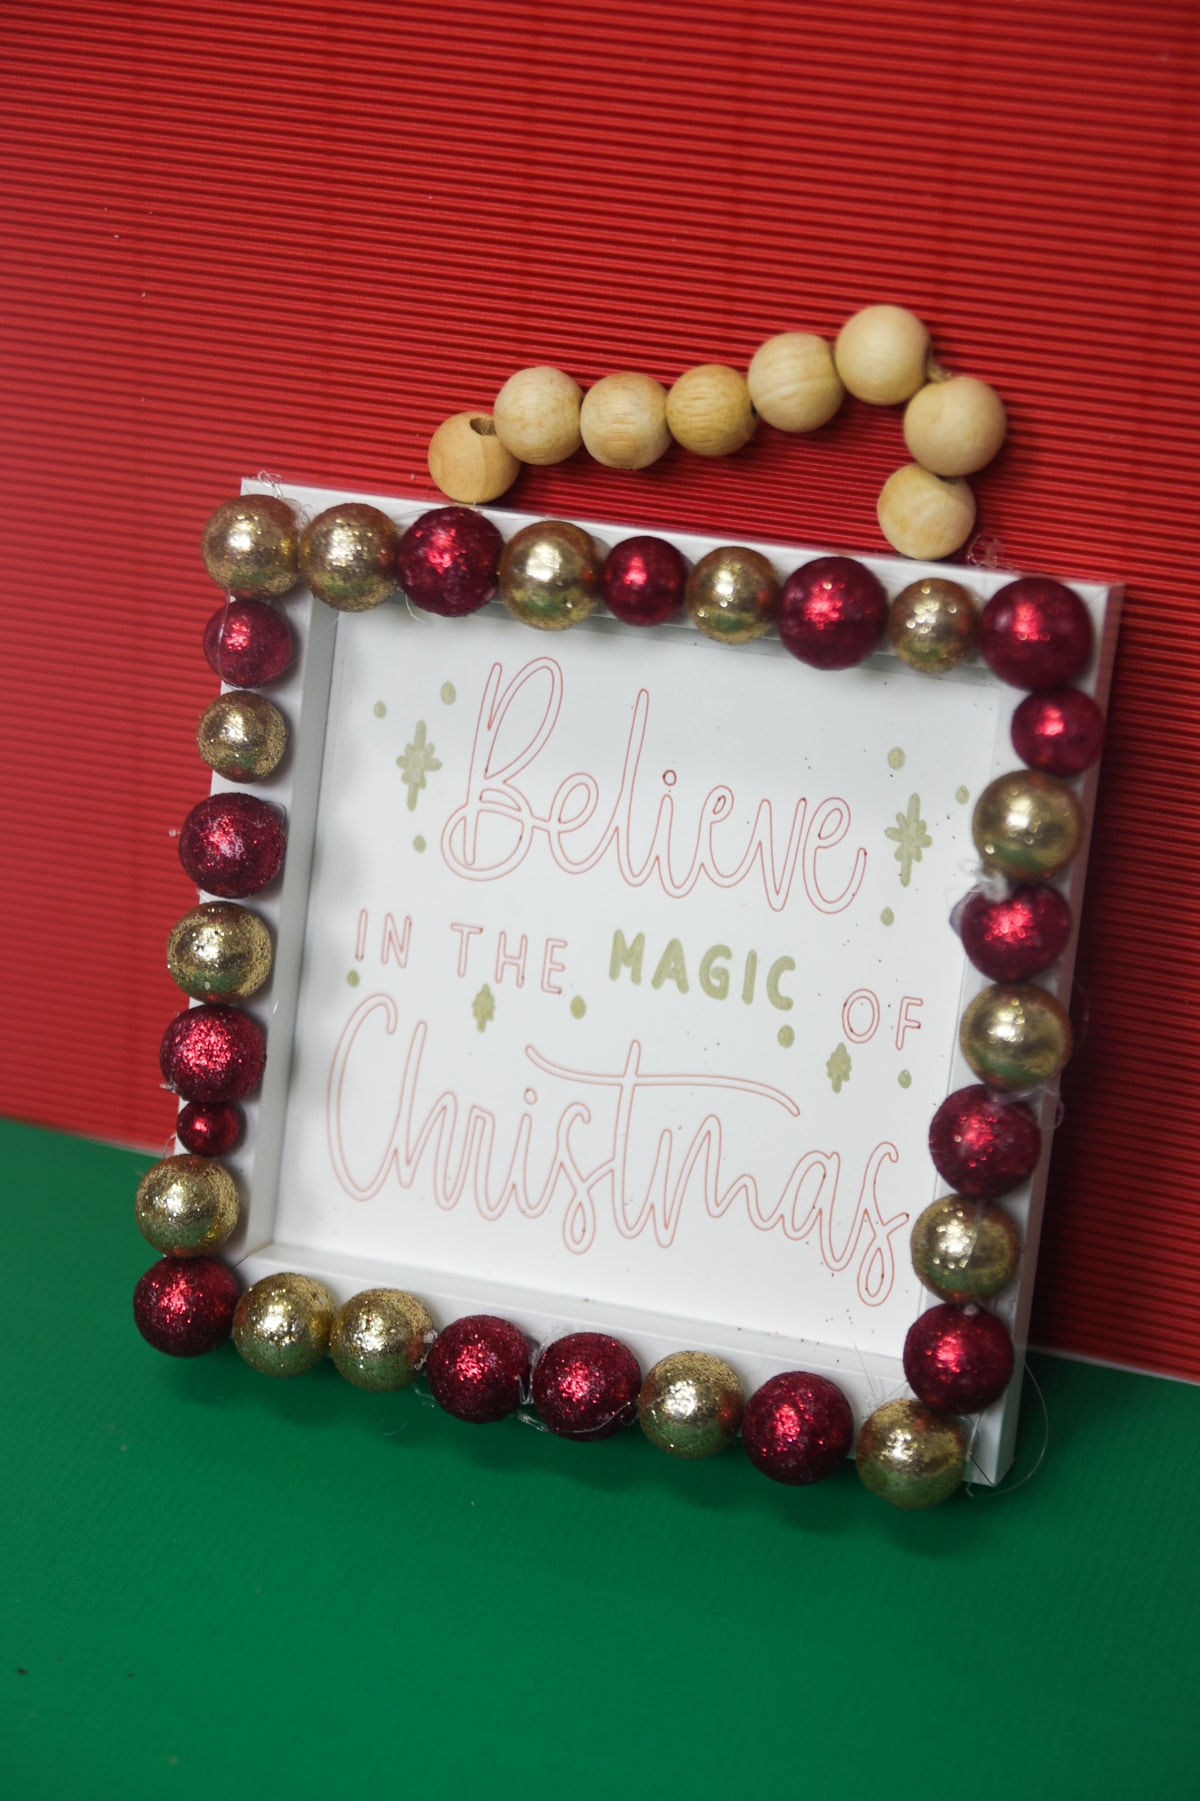
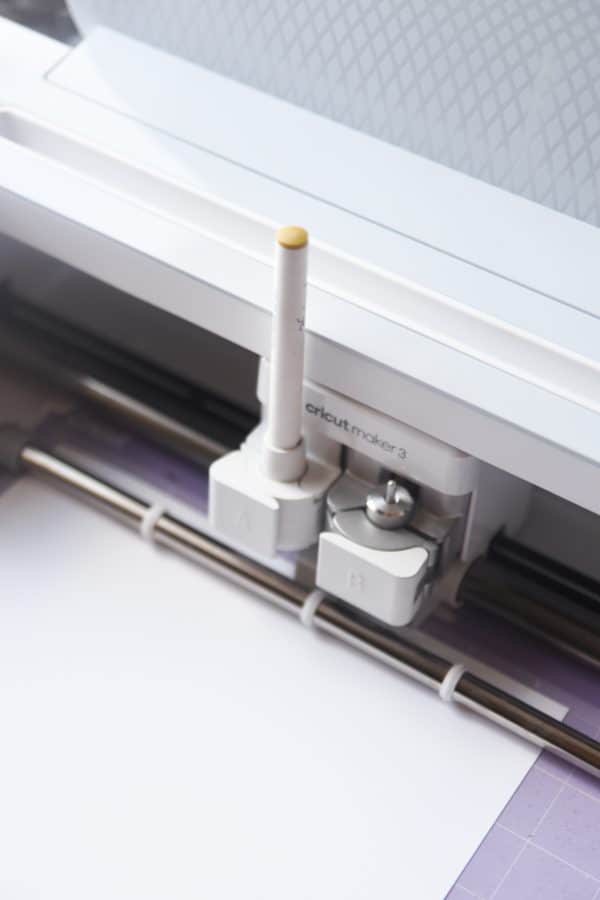
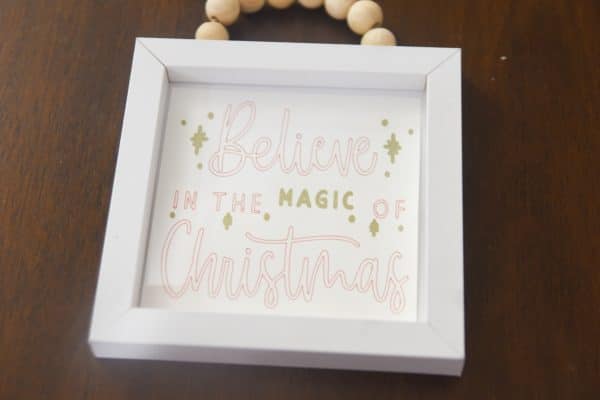
When I was at the Dollar Tree, I found this cute shadow box-esque picture frame with beads to hang it on the wall. I didn’t love the phrase inside, so I thought I would just cut out a replacement with some cardstock, and then have my Cricut write the phase of my choice on it.
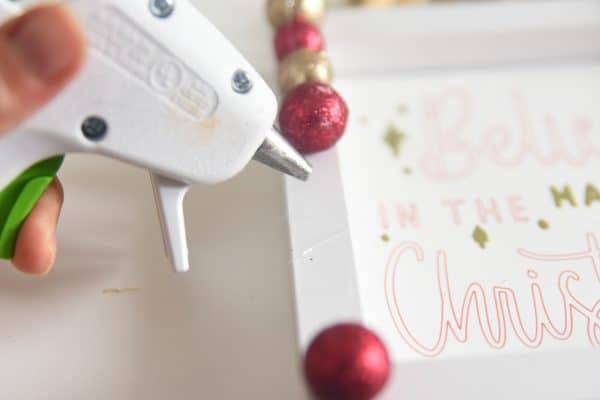
I loved how it turned out! I hot glued some decorative glittery balls from the Dollar Tree around the edges. It is very simple but cute!
Design Space File:
Click here for the project template
Supplies:
- Dollar Tree Beaded Hanging Picture Frame
- White Cardstock
- Glittery Decorative Balls
- Red Cricut Pen
- Gold Cricut Pen
- Glue Gun
- Glue Sticks
Instructions:
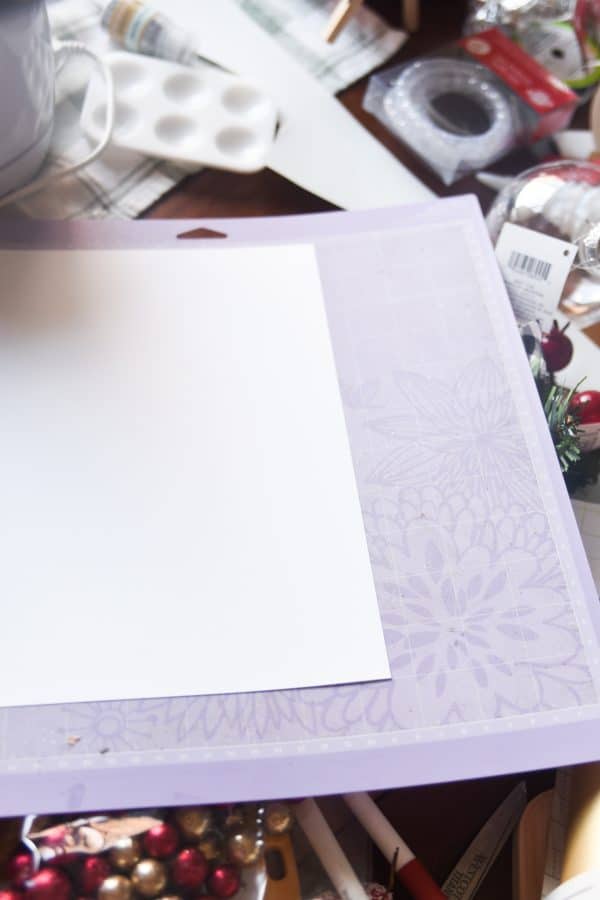
- Open Design Space file and size it to be the same size as the interior of the frame
- Follow the prompts to draw the design and cut out the rectangle
- Carefully remove from the mat
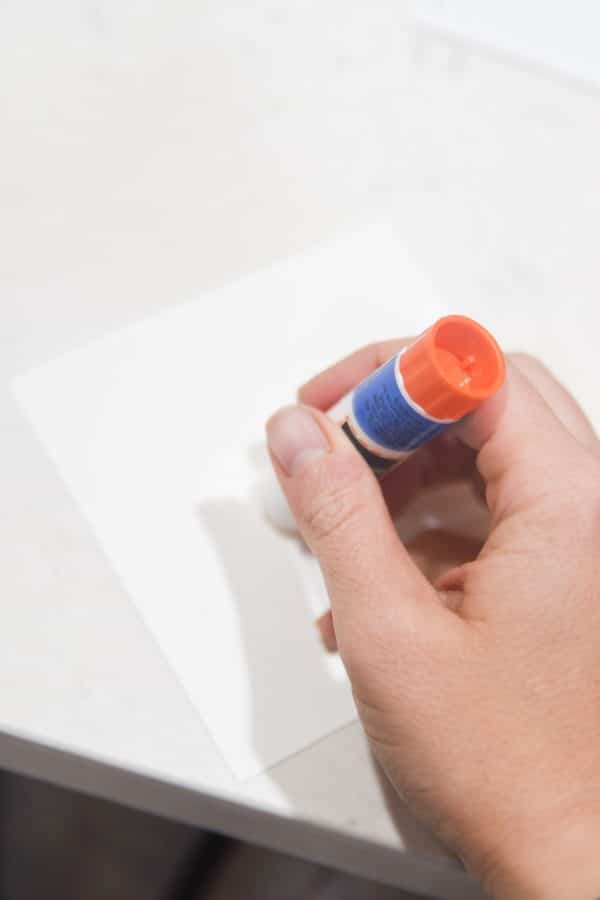
- Glue the picture inside of the picture frame
- Use a hot glue gun to decorate the outside of the frame with the decorative balls

DIY Stocking Holders
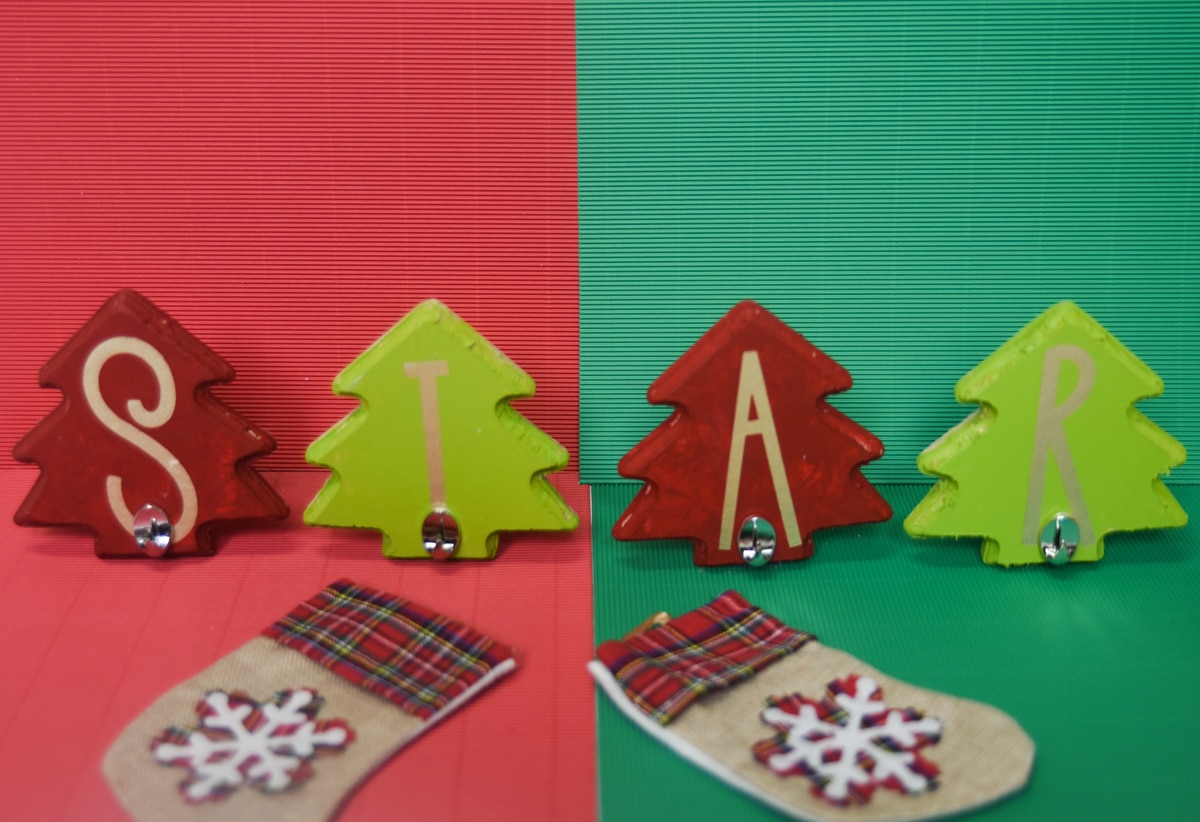
This project actually started out as an advent calendar, and then I decided that was a little too ambitious for me this time of year. So, after some thought, I decided to take these wooden trees that I had painted and turn them into stocking holders.
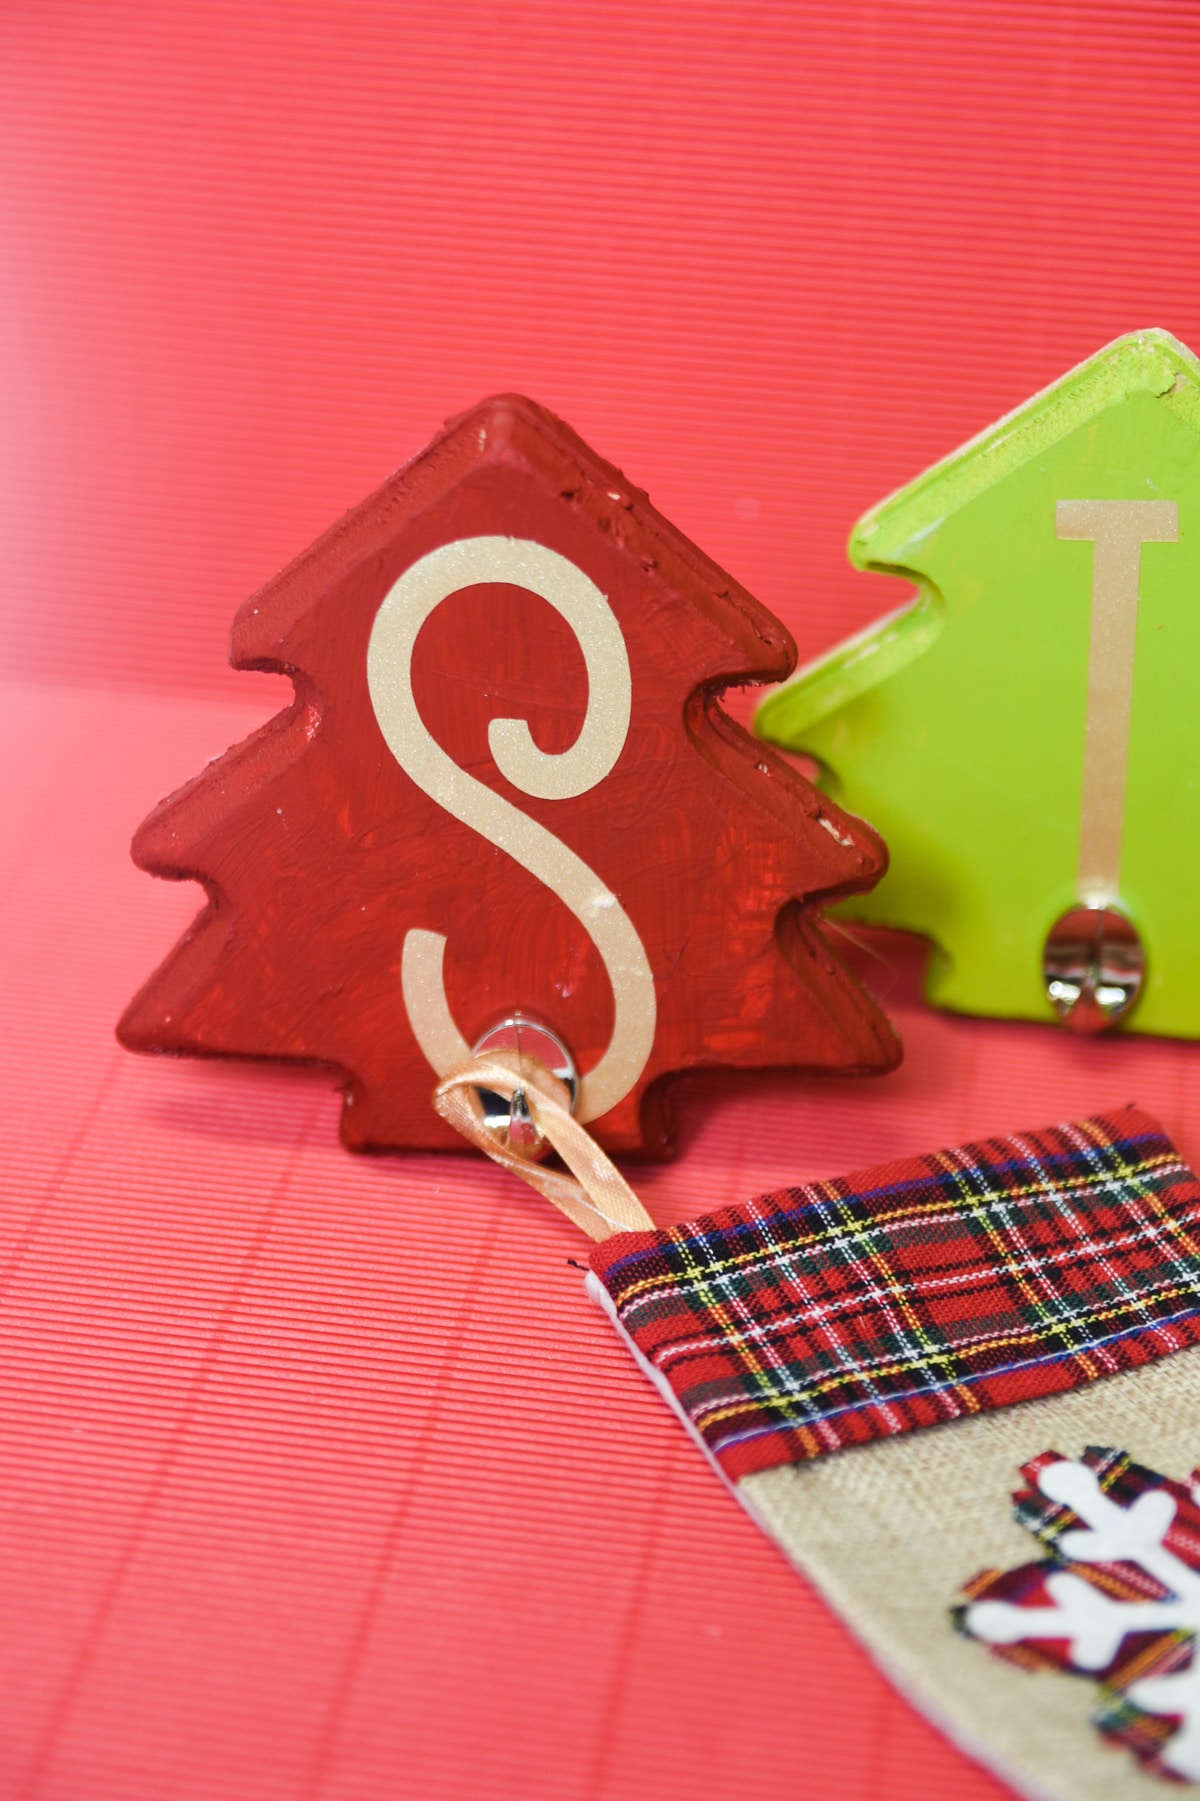
I was able to find some mini hooks that were perfect for the stockings. In order to keep them weighed down, we just bought some simple handles and adhered them to the back of the trees.
By the time I decided to make stocking holders, I couldn’t find any more trees, so the only four-letter Christmas word I could think of was “STAR”. If I’d had five, I would have one “MERRY”, though you could do whatever you wanted – including initials!
Because you can just customize it to whatever letter and font you want, I am not including a file for this.
PS – My six-year-old son wanted to help with these so much, so I let him paint – which is why it might look it was painted by a six-year-old. I love it, though!
Supplies:
- 4 Dollar Tree Wooden Trees
- Little candles
- Mini hooks
- Green paint
- Red Paint
- Gold Permant Vinyl
- Transfer Tape
- Wood Glue
Instructions:
- Paint the wooden trees in the colors you desire
- Open a blank Design Space file and type the letters in the font of your choice – make sure to size it to fit on your trees.
- Cut the project out of vinyl
- Transfer to the painted trees
- Hot glue a small candle to the back of the tree as an anchor
- Place a small command hook on the front of the tree
- Place on mantle and hang up stockings!
Santa Cookie Tray
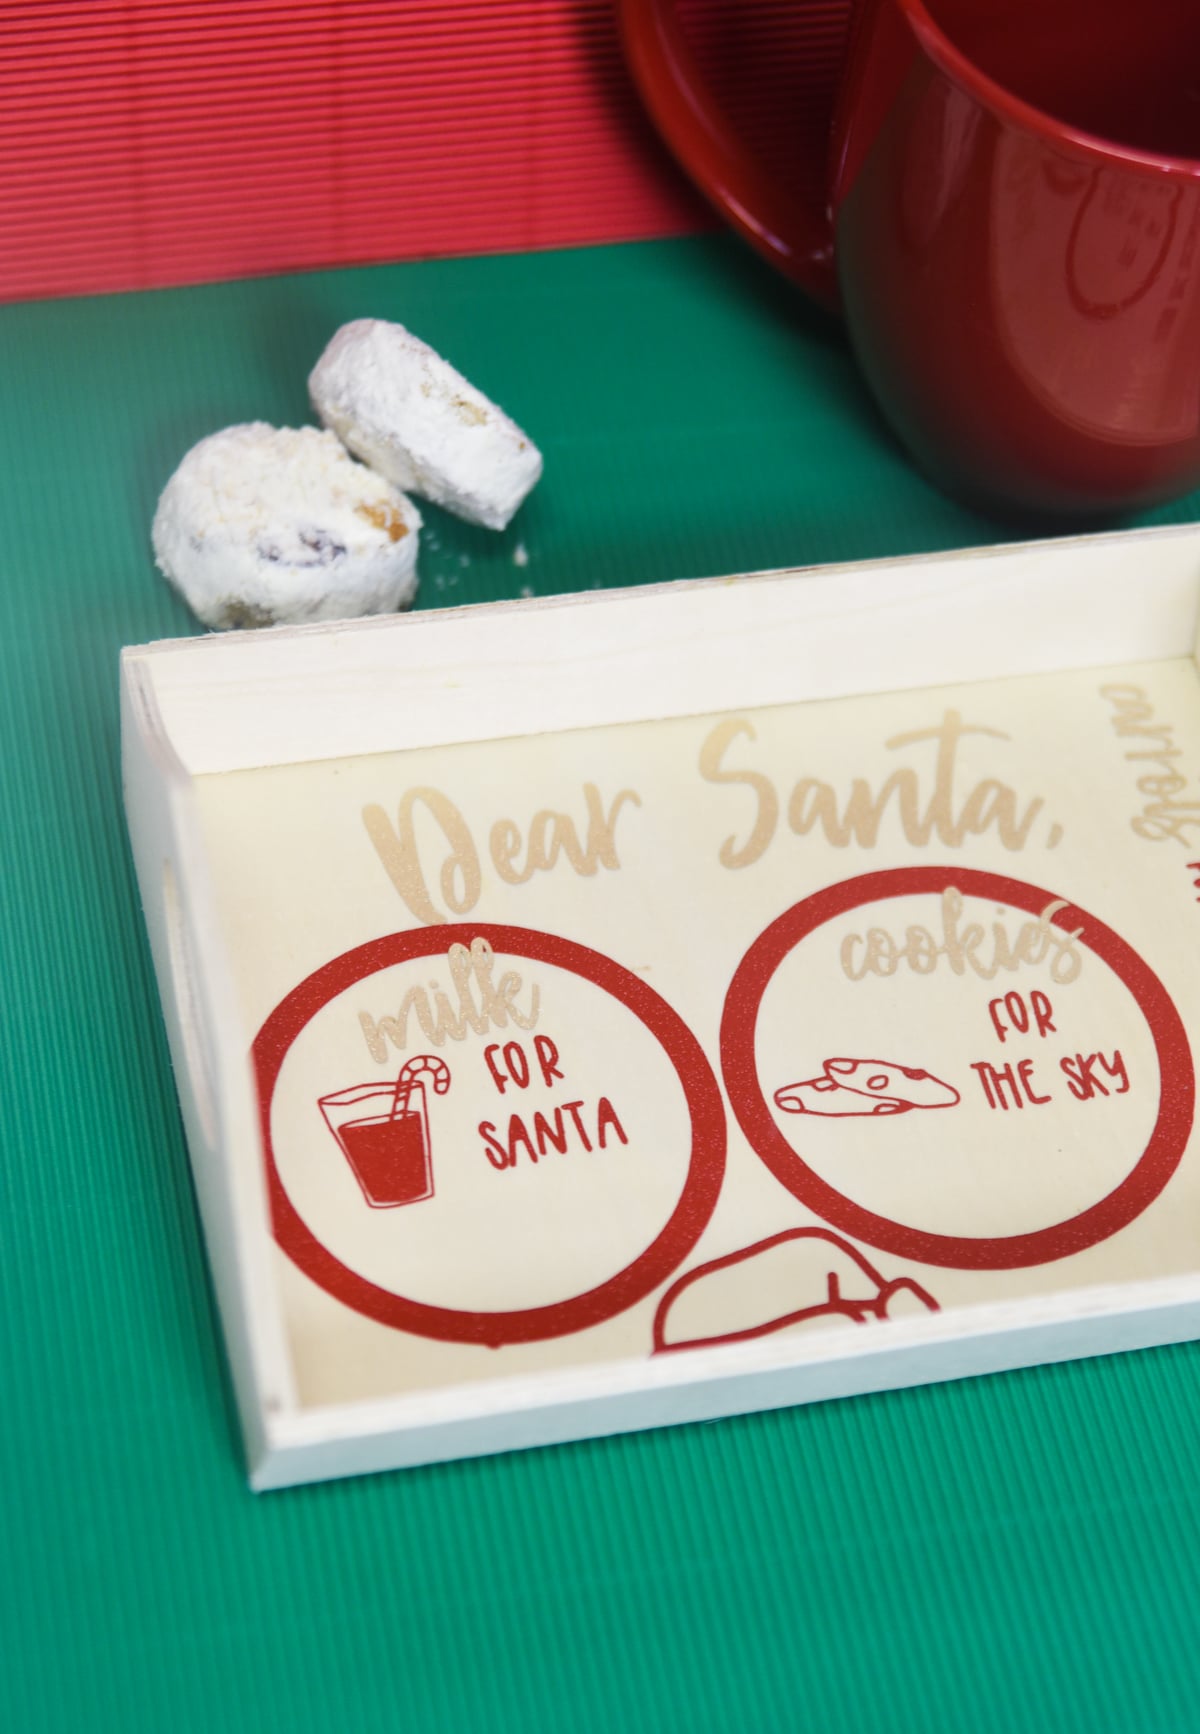
Who doesn’t love a personalized Santa Cookie Tray? While we already have a cookie plate that we decorated with sharpies from many years ago, when I saw this wooden tray, I knew it would be perfect for a Santa Cookie Tray.
Design Space has lots of images for cookie trays, but none of them quite fit my canvas, so I drew inspiration from a couple to create this design.
The file below isn’t exactly what you see in my picture, just because I mismeasured, and I had to move things around. However, as long as you measure things correctly, it should turn out great – but you can adjust it to be however you want!
Design Space File:
Click here for the project template
Supplies:
- Wooden Tray
- Gold Permanet Vinyl
- Red Vinyl
- Transfer Tape
Instructions:
- Open the Design Space file and resize to fit your canvas.
- Cut out according to Design Space instructions
Dollar Tree Cricut Christmas Projects
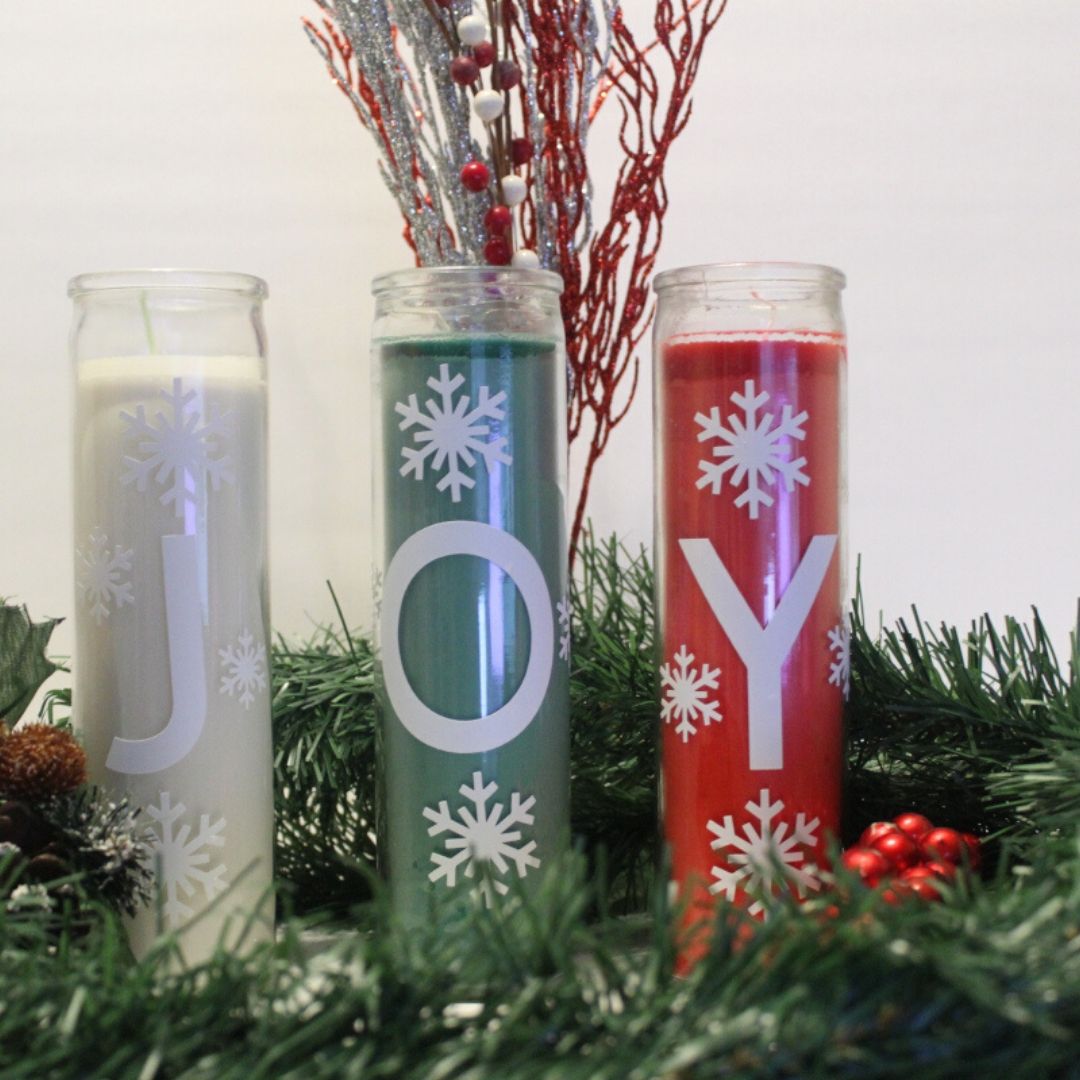
DIY Dollar Store Christmas Candles – Add a Little Joy to Your Holiday
Personalized DIY Dollar Tree Pot Holders using a Cricut - Free SVG for Designs
More Cricut Christmas Projects:
Looking for more Cricut Christmas inspiration? Here are some more fun ideas:
- EASY DIY Christmas Stocking
- Three Fun Cricut Christmas Village Projects – And Tips for Success!
- DIY Christmas Nativity Ornaments with Free Cut Files
- 20+ Festive Cricut Christmas Shirt Ideas
- 30+ Easy Cricut Christmas Ornament Ideas
