Easy Dollar Tree Pumpkin Craft – Free SVG Files!
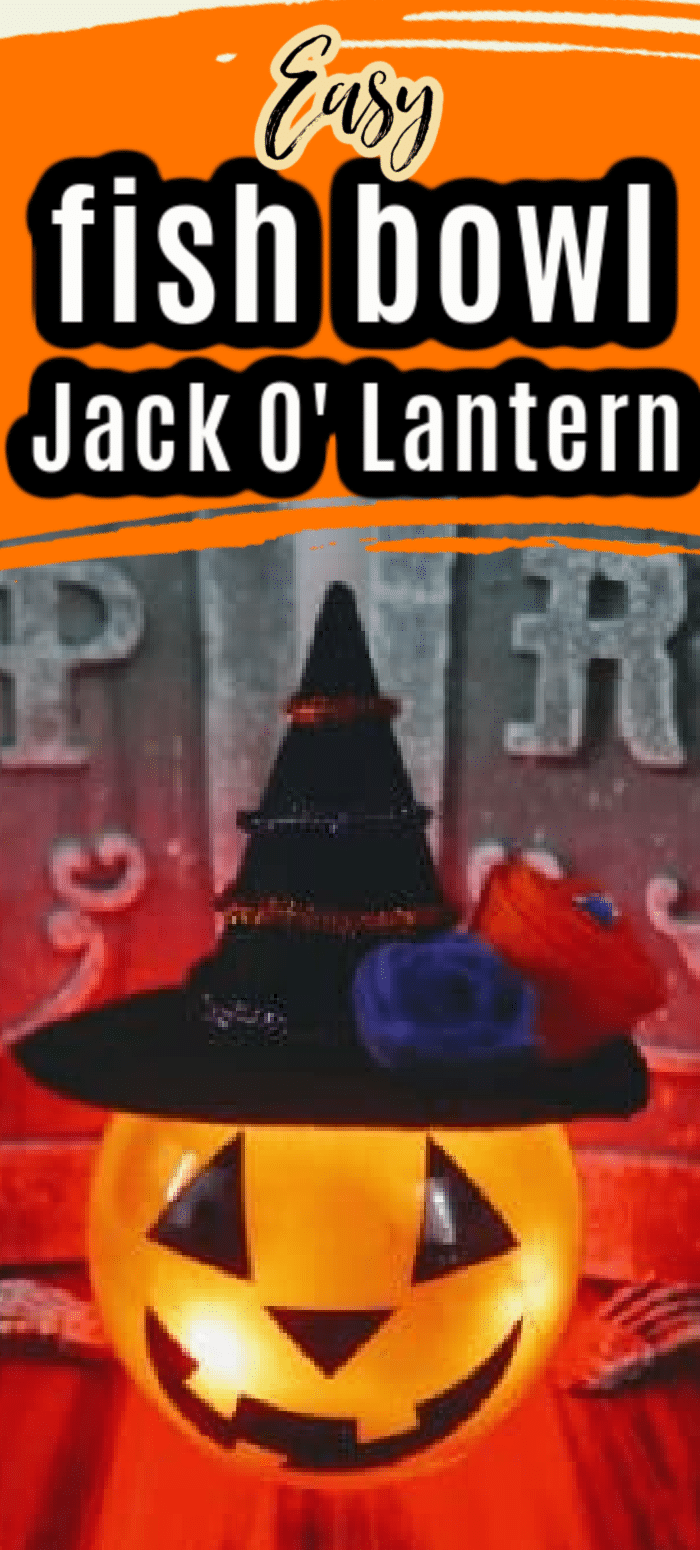
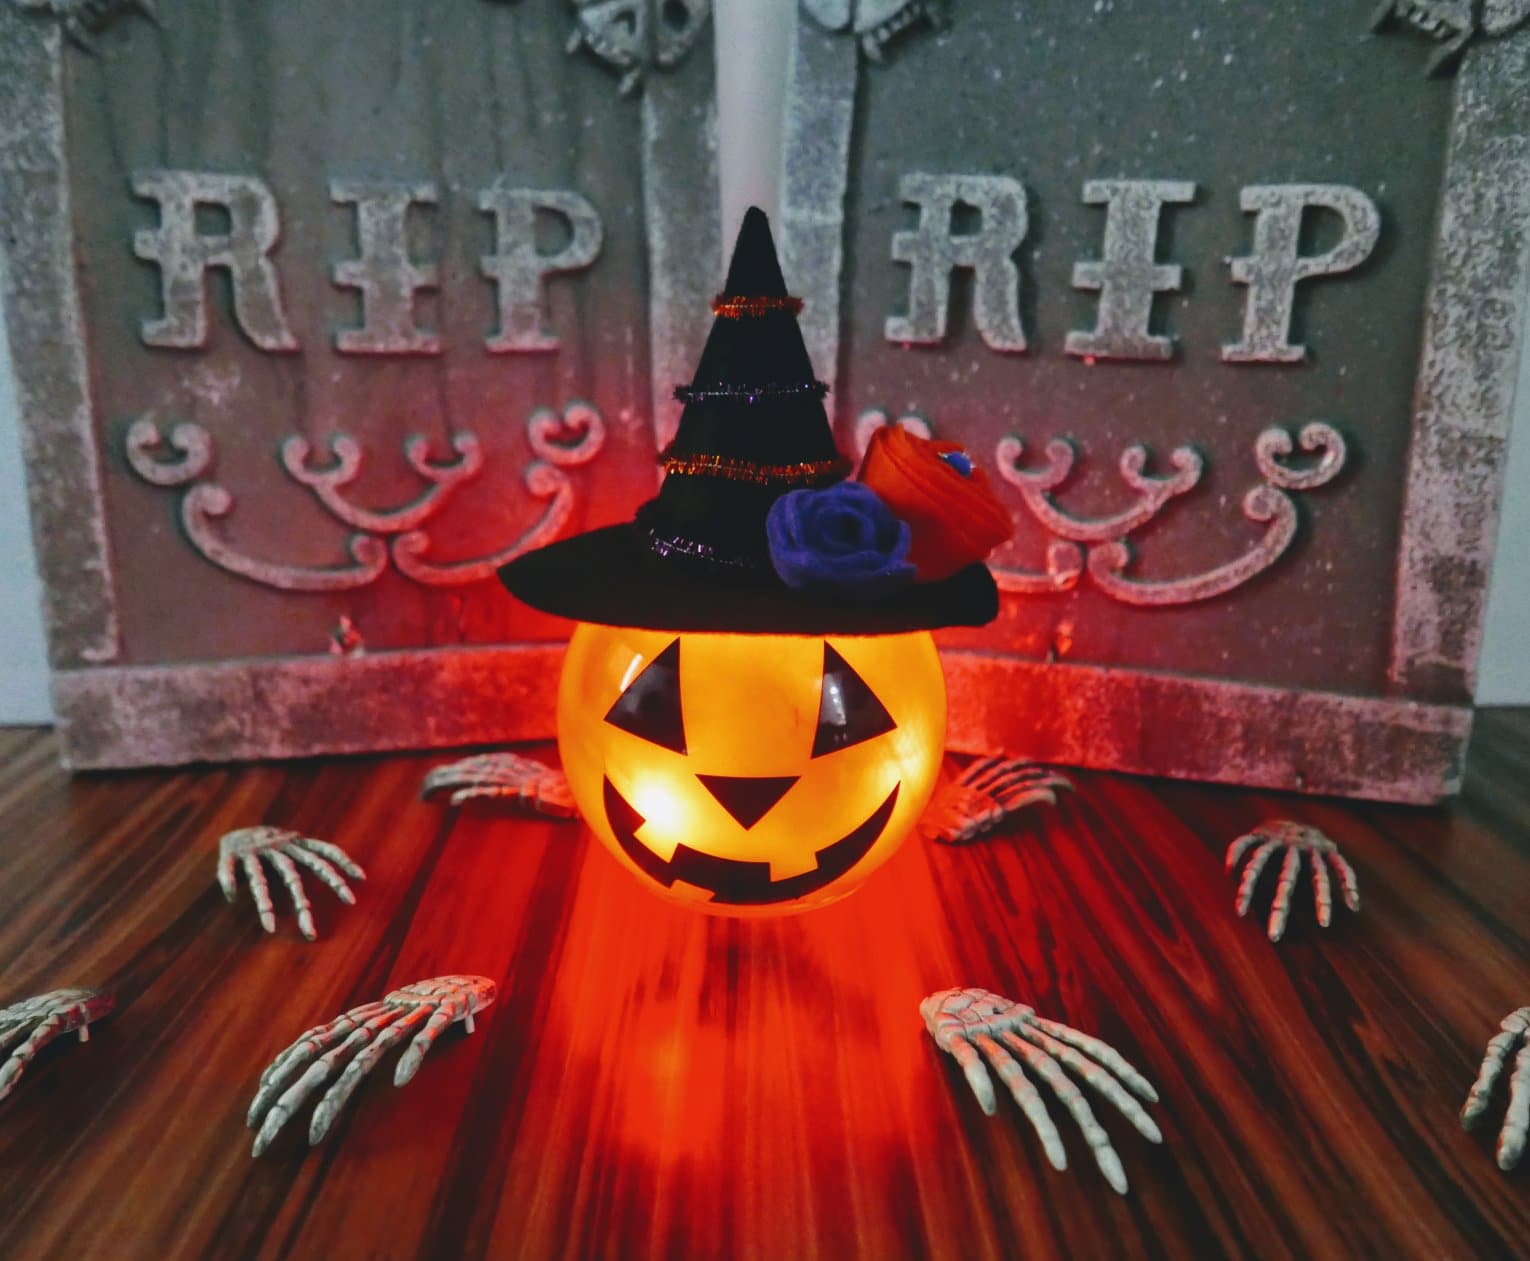
Jack O- Lanterns are a Halloween classic! Learn how to make this Fish Bowl Jack O’ Lantern using Dollar Treem materials and your Cricut and be prepared to have everyone ask where you bought it! This post includes free pumpkin and witch SVG files to help you recreated this fun project. Halloween crafting has never been more fun.
I love decorating for the holidays and Halloween is one of my favorites!
I tend to stay away from the really scary decorations. I like to keep it cute and light- especially with three little ones!
I don’t mind buying cute decorations here and there but I really prefer to make my own decorations. I’ve found that it is so easy and so satisfying to make something fun for our home. And hopefully it will be a decoration that our children will remember for years to come!
Because I love my Cricut- I’m always looking for crafts that I can use it with.
You all know how much I love the Dollar Tree (if you do, too, here are the best Halloween Dollar Tree items!), so I love that this is a Dollar Tree DIY that can be made so easily. This would be great for a Halloween party craft for a kid’s halloween party. If you’re looking for more fun ideas such as Halloween games for kids this would also be a great fit.
This Fish Bowl Jack O’ Lantern ended up being really fun and super easy to make!
What if I don’t have a Cricut machine?
If you don’t have a Cricut or other cutting device, you can always print a stencil out, cut the pieces out, and trace it on the back of vinyl or contact paper and then cut. Add transfer tape to the top or you can use press n seal too.
Tips for removing excess vinyl
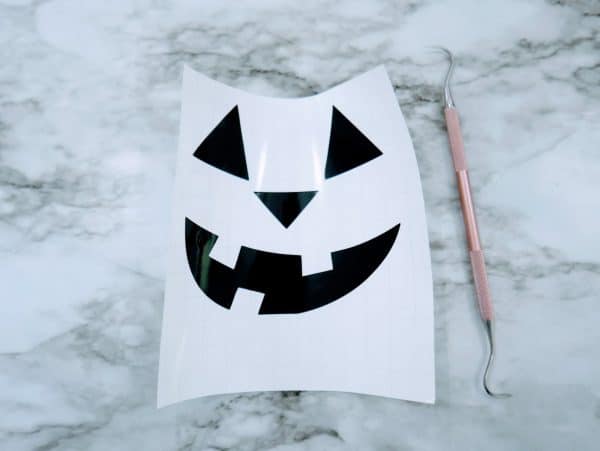
You will want to weed out excessive vinyl. This means removing any excess vinyl from around your design that you do not want to be transferred to your final product.
To weed off the excess vinyl, you will need some kind of tool.
A Cricut hook, tweezer, a crafting knife or a straight pin are all great options.
You’ll want to make sure you have good lighting so you can see your cut lines properly. I always have to hold it up the light or window! Once you have your eye on the cut lines, use the weeding tool of your choice to gently lift up the edge of the negative space it pull it up off the paper.
How to make a Fish Bowl Jack O’ Lantern
Fish Bowl Jack O’Lantern
Level: Easy
Time: 15-20 Minutes
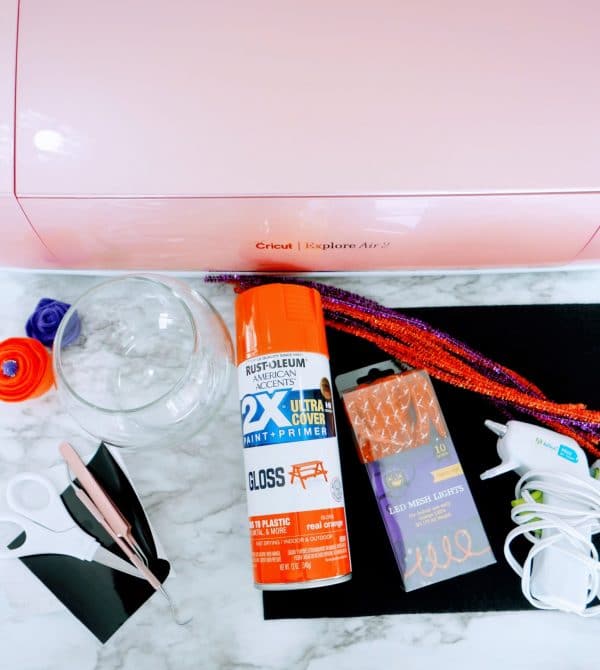
Materials Needed:
[the_ad id=”93378″]
● Small Glass Fish Bowl (available at The Dollar Tree or Amazon)
● Rust-Oleum Gloss Real Orange Spray Paint found on Amazon
● Black Craft Felt, 2 Sheets found on Amazon or Cricut.com
● Hot Glue Gun & Glue Sticks
● Scissors
● Felt Flowers (Orange and purple, or any colors of your choosing) found on Amazon
● Black Adhesive Vinyl found on Amazon or on Cricut.com
● Transfer Tape (Cricut.com / Amazon)
● Weeding Tools (Cricut.com / Amazon)
● Orange & Purple Sparkly Pipe Cleaners found on Amazon
● Cricut Explore Air 2 (or similar cutting device) (Cricut.com / Amazon)
● LED Mesh Lights, 3 ft. (or battery operated twinkle/fairy lights – you can buy these at the Dollar Tree)
● Witch Hat and Jack O’Lantern Face SVG Files – download with the button below
[purchase_link id=”127290″ text=”Purchase” style=”button” color=”blue”]
Optional: Painter’s Tape/Masking Tape
Directions:
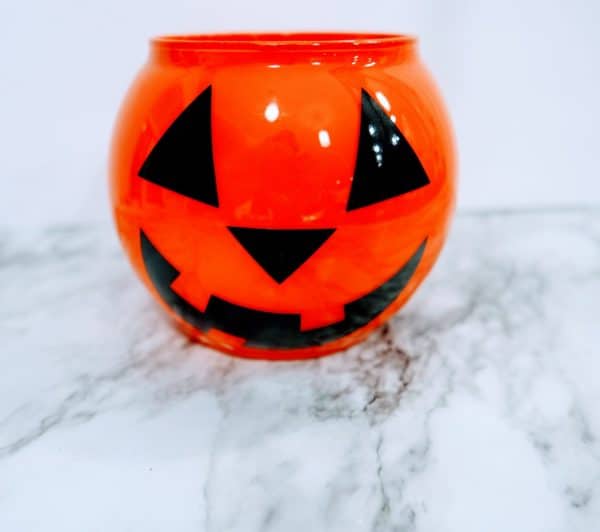
- Spray paint the inside of the fishbowl with the orange spray paint, being careful not to get any on the outside. (If you do, it can easily be wiped clean with an alcohol pad)
- While the spray paint is drying, open the Jack O’ Lantern Face SVG.
Adjust the size to fit your fishbowl. (I adjusted the size to 3.98 width by 3.74 height) Place the black adhesive vinyl on a cutting mat, and follow the prompts to cut the vinyl. Remove from the mat, and using weeding tools, remove all excess vinyl. Set aside. - Next, open the Witch Hat SVG in Design Space, and again adjust the sizes to fit your fishbowl. (I adjusted the size of the brim to 6 for the width and 6 for the height) Ensure the setting is for custom, and then select Felt. I customized the setting to 325 for pressure, and to cut three times. Place one felt sheet on the cutting mat. I prefer to use masking tape or painter’s tape to help keep the felt in place while cutting, but this is optional. Follow the prompts to cut the felt. Remove the felt from the mat, and use scissors if necessary if any portion didn’t get fully cut. Place the next sheet of felt on the cutting mat, and adjust the size for the cone of the hat. (I adjusted the size of the cone to 7.42 width by 4.37 height) Follow the prompts again to cut, and remove from the mat.
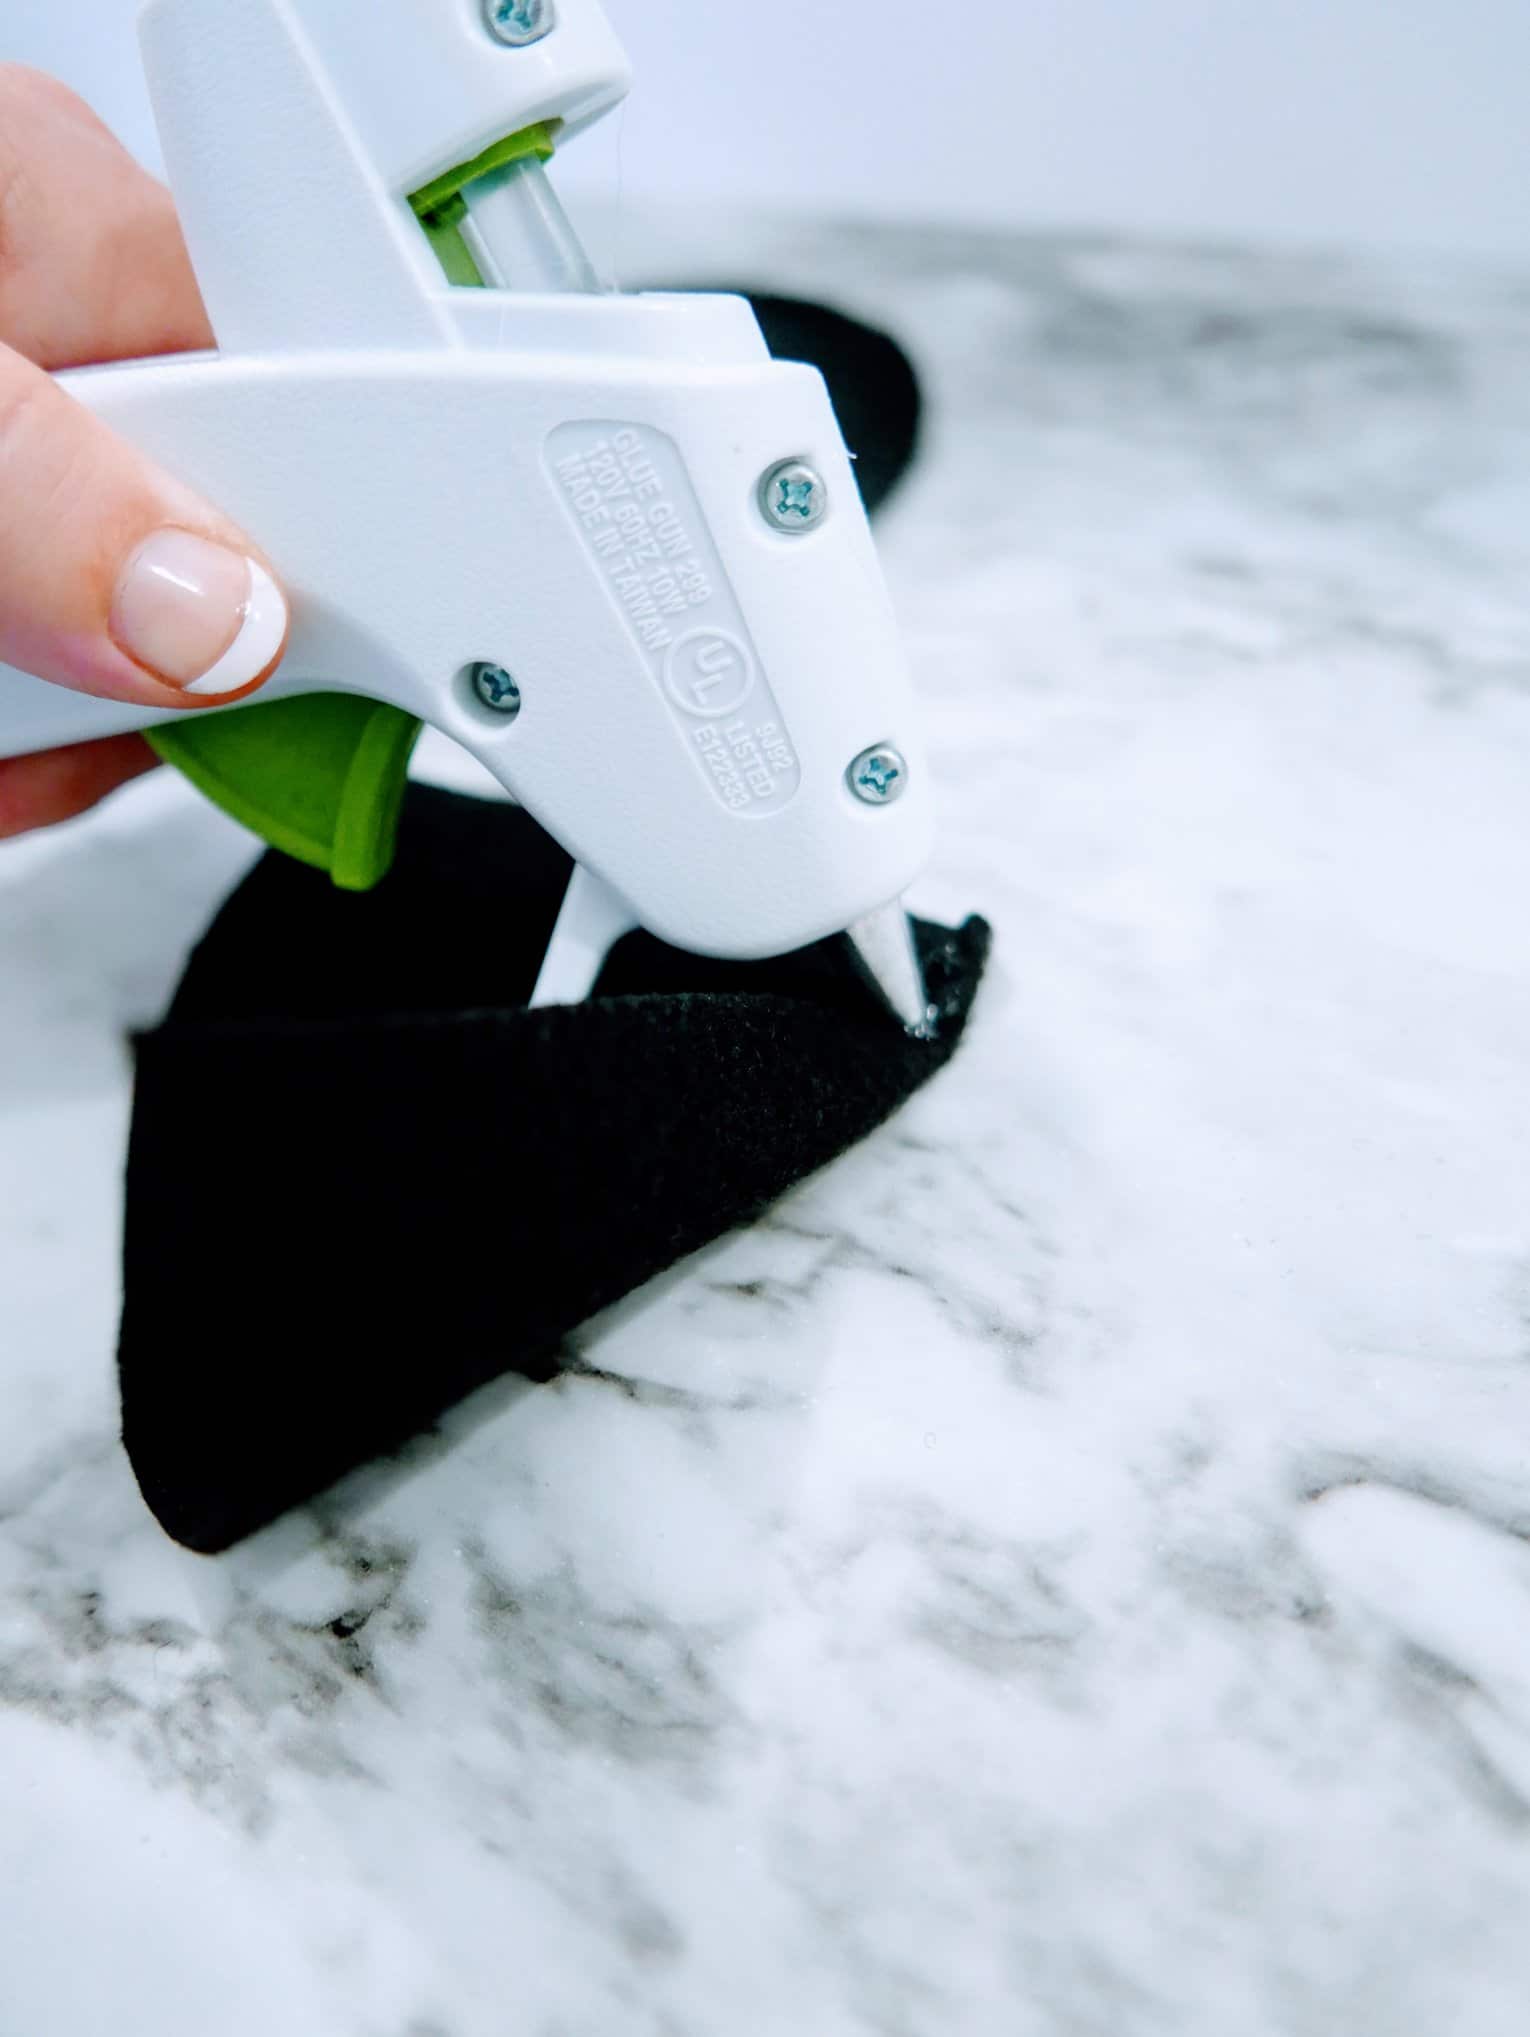
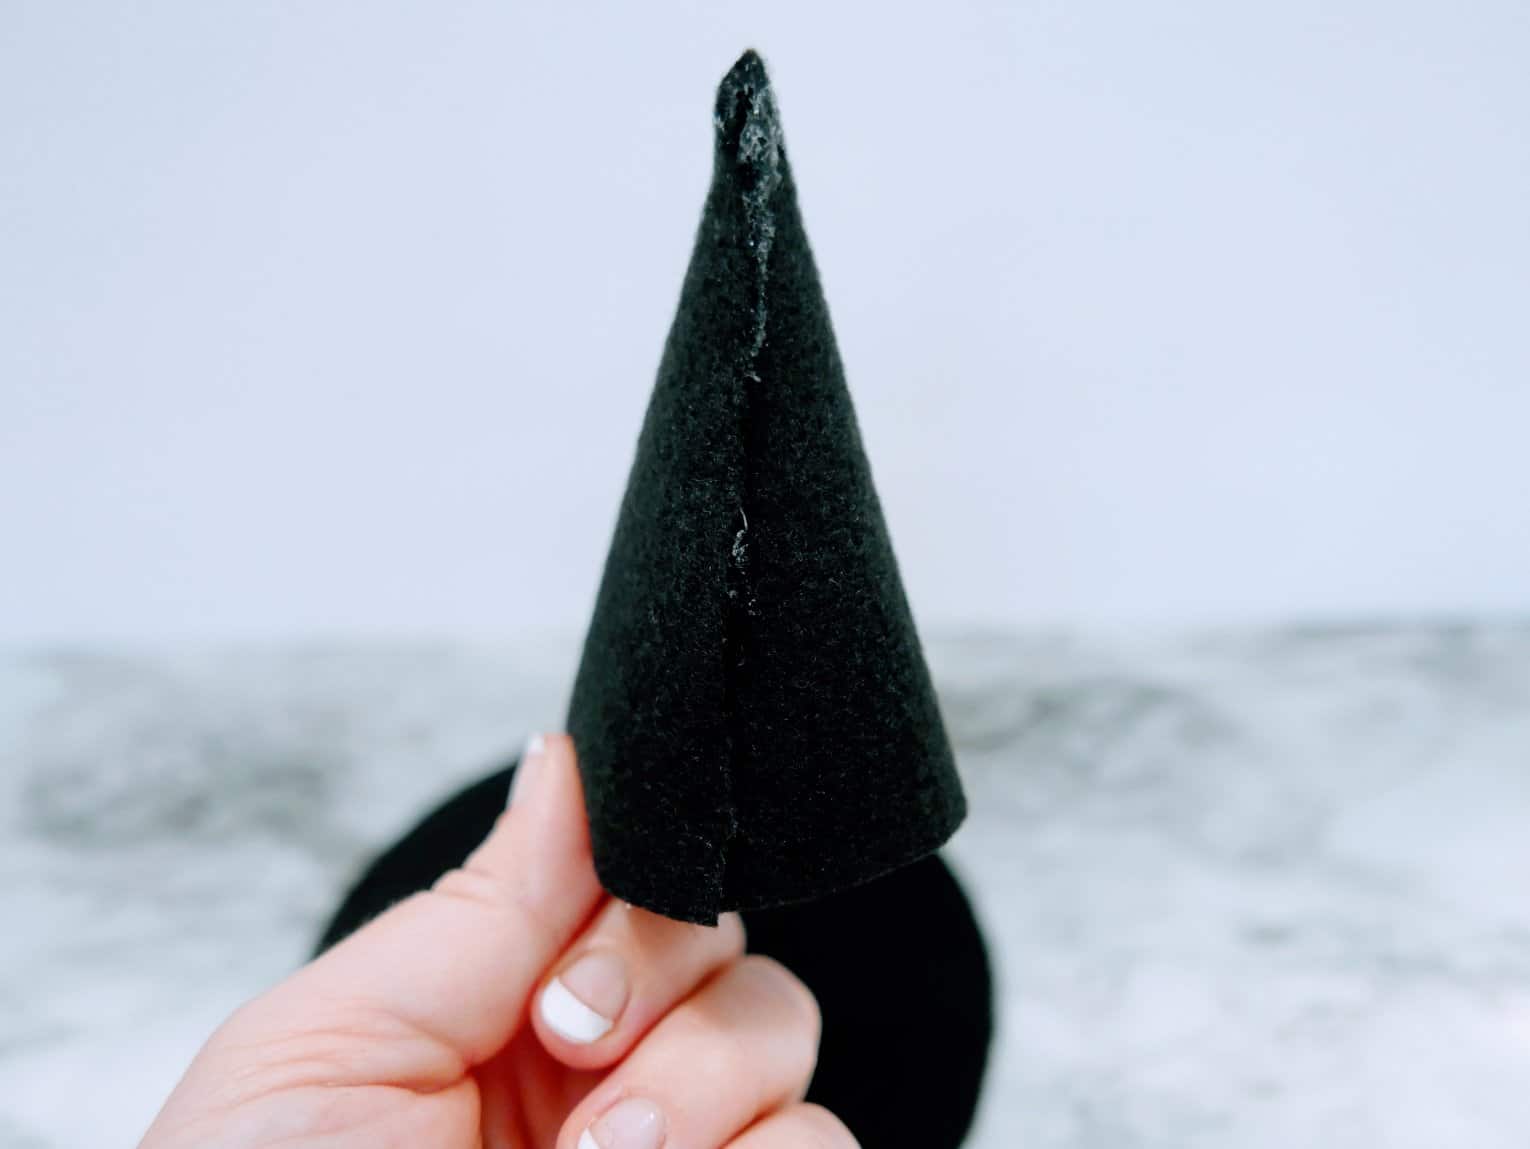
- Using the hot glue gun, glue the seams of the cone of the hat together.
Roll up the leftover scrap felt, and place inside of the cone. Hot glue the cone onto the brim of the hat.
- Starting with the purple pipe cleaner, place around the base of the cone, and cut to fit. Twist the ends to seal them together. Repeat this process alternating between purple and orange pipe cleaners. The pipe cleaner circles will get smaller as they move up the cone of the hat.
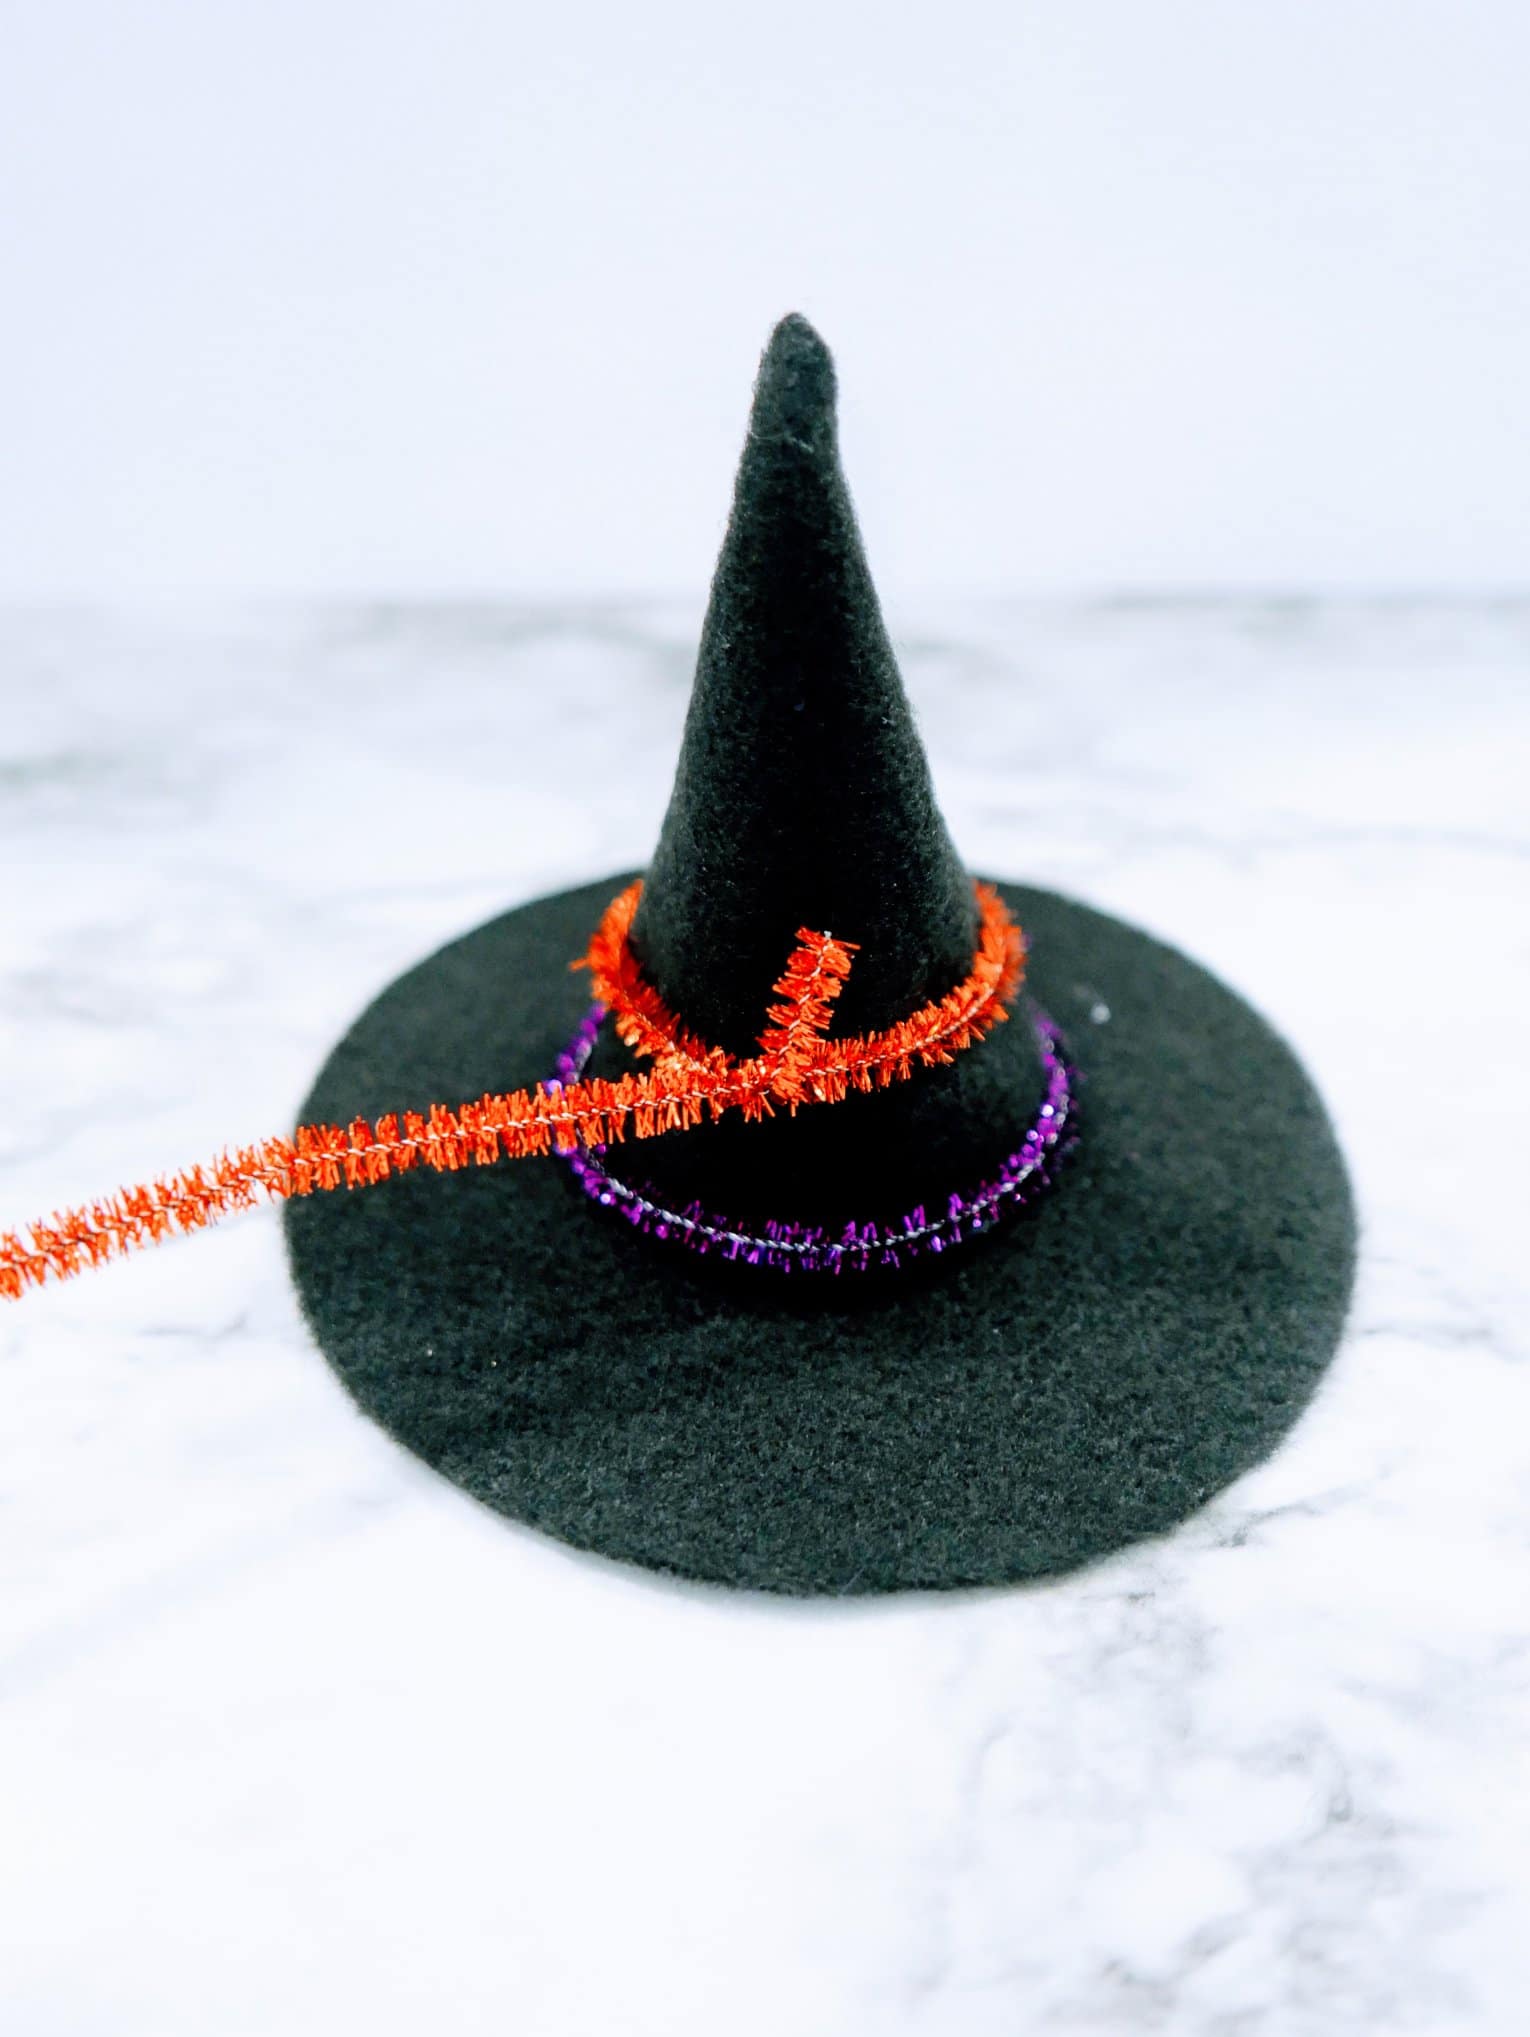
- Hot glue the felt flowers between the cone and brim of the hat.
- Cover the vinyl with transfer tape. Apply the vinyl face to the fish bowl.
- Place the mesh lights inside of the fish bowl, and place the hat on top.

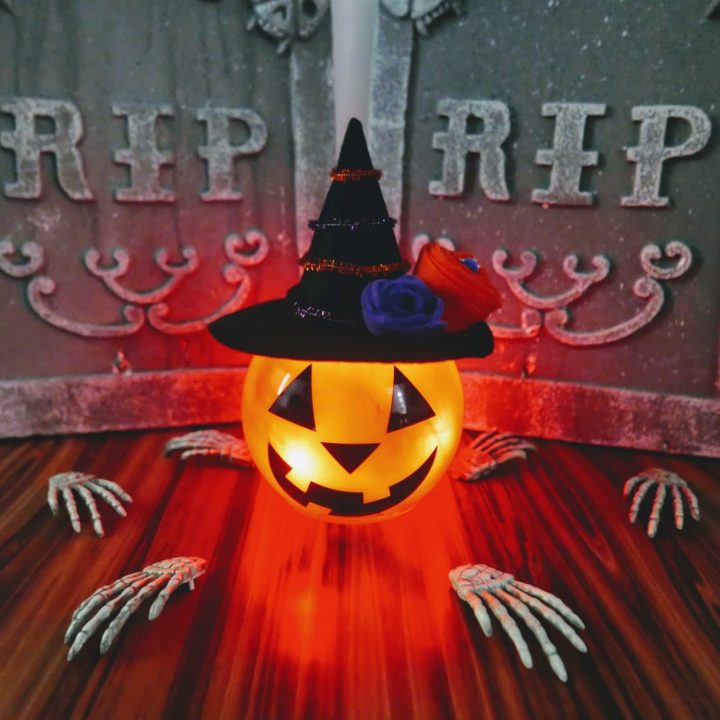
Fish Bowl Jack O' Lantern
Materials
- Small Glass Fish Bowl (available at the Dollar Store or Amazon
- ● Rust-Oleum Gloss Real Orange Spray Paint found on Amazon
- ● Black Craft Felt, 2 Sheets found on Amazon
- ● Hot Glue Gun & Glue Sticks
- ● Scissors
- ● Felt Flowers (Orange and purple, or any colors of your choosing) found on Amazon
- ● Black Adhesive Vinyl found on Amazon
- ● Transfer Tape
- ● Weeding Tools
- ● Orange & Purple Sparkly Pipe Cleaners found on Amazon
- ● Cricut Explore Air 2 (or similar cutting device)
- ● LED Mesh Lights, 3 ft. (or battery operated twinkle/fairy lights)
- ● Witch Hat and Jack O’Lantern Face SVG Files
- Optional: Painter’s Tape/Masking Tape
Tools
- Cricut Explore Air 2 (or similar cutting device)
Instructions
- Spray paint the inside of the fish bowl with the orange spray paint, being careful not to get any on the outside. (If you do, it can easily be wiped clean with an alcohol pad)
- While the spray paint is drying, open the Jack O’ Lantern Face SVG. Adjust the size to fit your fish bowl. (I adjusted the size to 3.98 width by3.74 height) Place the black adhesive vinyl on a cutting mat, and follow the prompts to cut the vinyl. Remove from the mat, and using weeding tools, remove all excess vinyl. Set aside.
- Next open the Witch Hat SVG in Design Space, and again adjust the sizes to fit your fish bowl. (I adjusted the size of the brim to 6 for the width and 6 for the height) Ensure the setting is for custom, and then select Felt. I customized the setting to 325 for pressure, and to cut three times.Place one felt sheet on the cutting mat. I prefer to use masking tape or painter's tape to help keep the felt in place while cutting, but this is optional. Follow the prompts to cut the felt. Remove the felt from the mat, and use scissors if necessary if any portion didn’t get fully cut. Place the next sheet of felt on the cutting mat, and adjust the size for the cone of the hat. (I adjusted the size of the cone to 7.42 width by 4.37 height)Follow the prompts again to cut, and remove from the mat.
- Using the hot glue gun, glue the seams of the cone of the hat together.Roll up the leftover scrap felt, and place inside of the cone. Hot glue the cone onto the brim of the hat.
- Starting with the purple pipe cleaner, place around the base of the cone,and cut to fit. Twist the ends to seal them together. Repeat this process alternating between purple and orange pipe cleaners. The pipe cleaner circles will get smaller as they move up the cone of the hat.
- Hot glue the felt flowers between the cone and brim of the hat.
- Cover the vinyl with transfer tape. Apply the vinyl face to the fish bowl.
- Place the mesh lights inside of the fish bowl, and place the hat on top.
Here are more fun Halloween Crafts you might enjoy:
- The Best Cricut Halloween Ideas: Decorations and other Spooky Projects
- DIY Halloween Lumineers
- DIY Halloween Sign- FREE SVG File
- 30 Adorable Newborn Halloween Costume Ideas
- Easy Halloween Tulle Wreath Tutorial
- Welcome to Our Patch – DIY Halloween Sign
- FREE You’ve Been Boo’ed Print Out
