Dusty Planes Cake and Best Buttercream Frosting Recipe
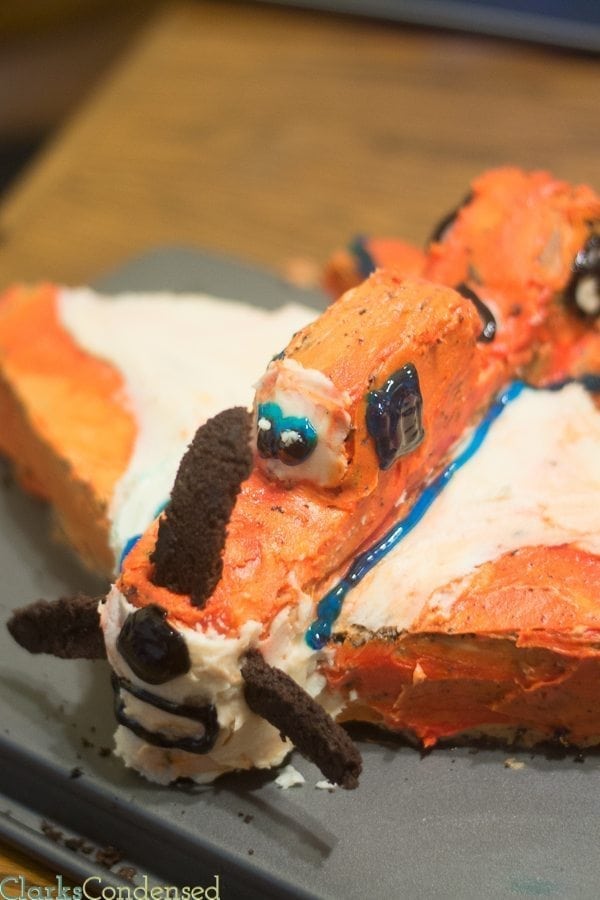
Cakes are not something I’ve ever been good at making. They usually end up lopsided or falling apart. Sure, they usually taste great, but the majority of the time, they don’t look that pretty!
So when Jack started requesting a “Dusty” cake (from Disney’s Planes movie) for his b, I should have just bought one. However, with some of his food intolerances, buying a cake that accomodated those would be far too expensive. So I scoured the Internet for a Dusty plane cake tutorial, and I finally found one that looked easy enough to follow and didn’t require fondant.
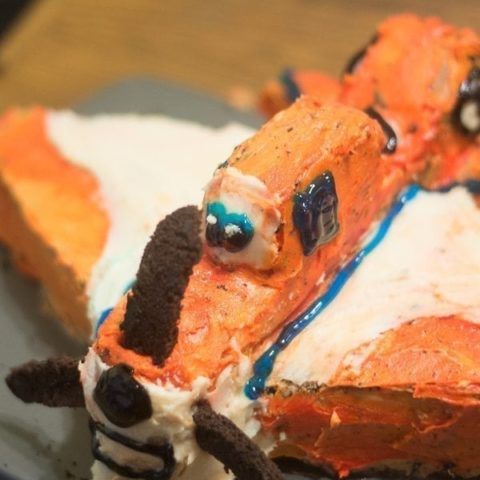
Here’s how ours turned out! It was an effort that required both Forrest and I, and we obviously need to work on our frosting skills, but we were pretty pleased with the outcome. Best of all, Jack loved it.
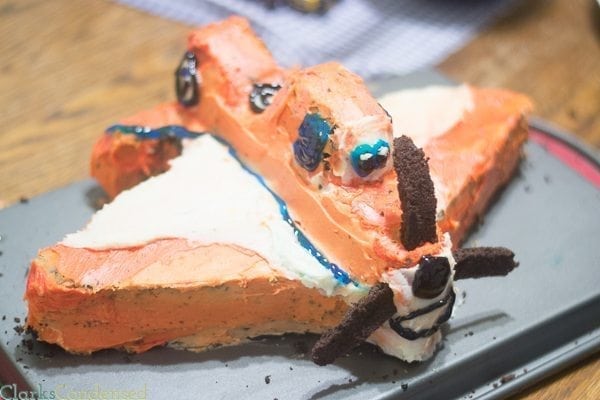
So here is the tutorial I used. Overall, she did a great job of showing how to do it, though a few times we had to kind of improvise because she would skip a bunch and all of the sudden half the cake was frosted! Here’s the video, and I’ll share a few tips below on some suggestions, as well as share our amazing buttercream recipe!

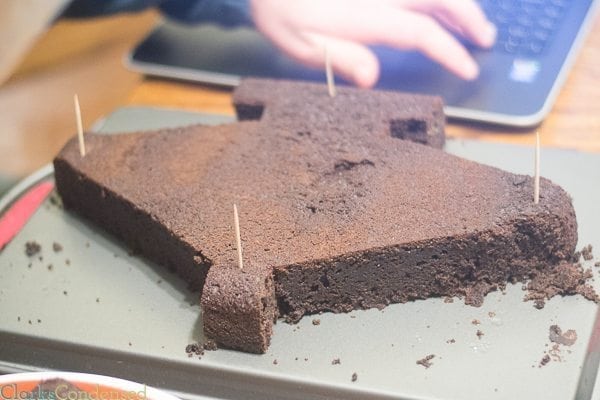
Mainly she went from cutting out the base to having the entire plane put together and frosted, and we found that a bit confusing. Here are just a few pictures of how we created the top of the airplane (pre-frosting.)
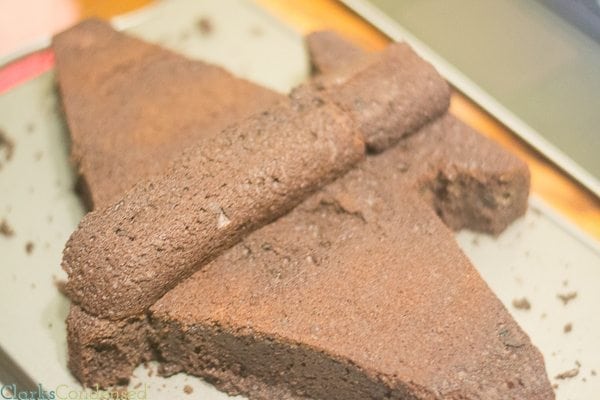
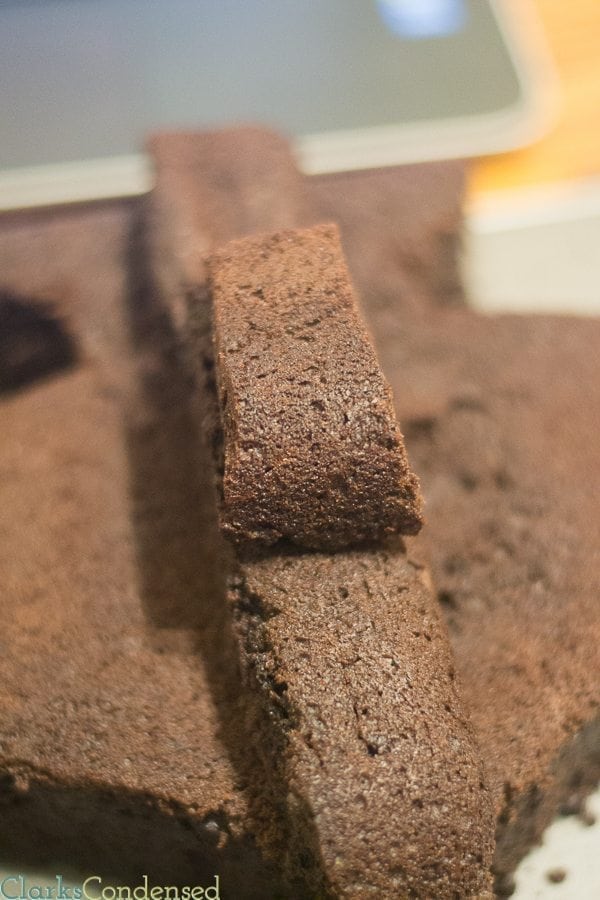
We also thought that how she explained cutting out the base of the plane was a little hard to follow. Here’s what it looked like in the end for us after we improvised a little bit.
We loved her tip on placing your icing spatulas in warm water to help spread the icing easier. This really helped a lot as we were trying to decorate!
In her video, she also shows that you need to dye some of your frosting blue. But she never actually uses this. She ends up just using blue writing icing, which we did as well. So save yourself some time and frosting, and don’t worry about making some of it blue!
She mentions that she used licorice, but we just used extra pieces of cake for the propeller, and it worked great.
Let me know if you have any questions. This was a huge hit. We used a King Arthur’s Gluten Free Chocolate Cake Mix, along with 1 cup of pudding (already prepared), and it was SO good. Super most and no one knew it was gluten free.
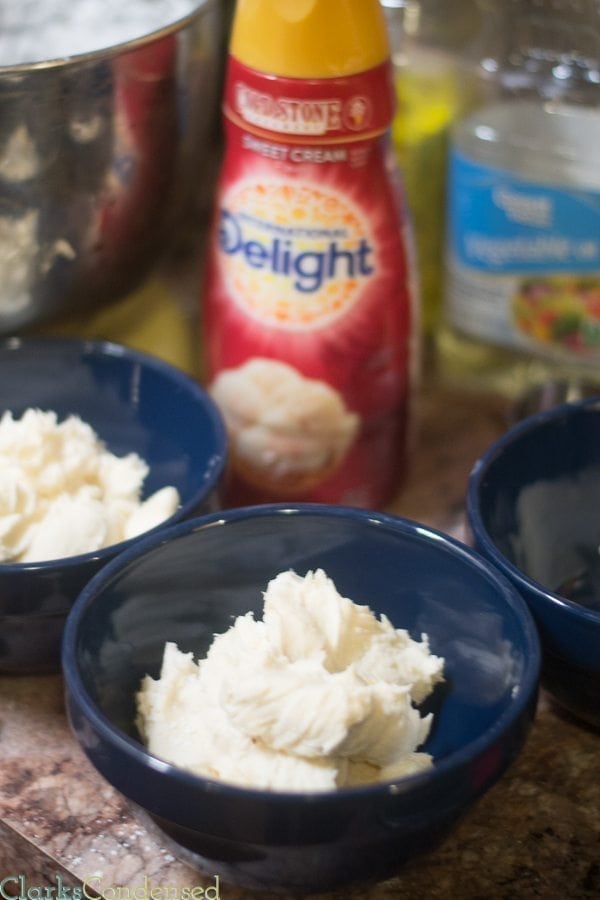
And as promised, here is the buttercream frosting recipe. This is seriously SO good. I had sent Forrest to the store to by heavy cream, but he came back with this sweet cream coffee creamer instead. Man, it made this the creamiest, most tasty buttercream frosting I’ve ever eaten. I almost wanted to eat it by the spoonful!
Dusty Planes Cake and Best Buttercream Frosting Recipe
Ingredients
- 1 cup butter, softened
- 4 cups powdered sugar
- 4 tablespoons sweet cream coffee creamer, we used the International Delight brand
- 2 teaspoons vanilla.
Instructions
- Place softened butter into a bowl of a stand mixer (or metal bowl if using a hand mixer.)
- Add in powdered sugar and cream.
- Slowly add in the coffee creamer one tablespoon at a time until you reach desired consistency.
- Mix in vanilla.
- Enjoy!



So cute, I like to make fun cakes for kids each year for their birthdays.
Thank you! I think it’s so fun to do 🙂
What a fun cake idea! I am not always the best at creating a design like this, but I could definitely follow these directions. Thanks! 🙂 Pinning and Stumbling!
Thanks Sandra! It was fun to make, even if it didn’t turn out perfectly 🙂
This looks super delicious! The great thing about it is you can enjoy making it with the kids. Can’t wait to try the buttercream frosting. It looks so creamy. I will definitely try making this soon! Thank you for sharing this recipe.