
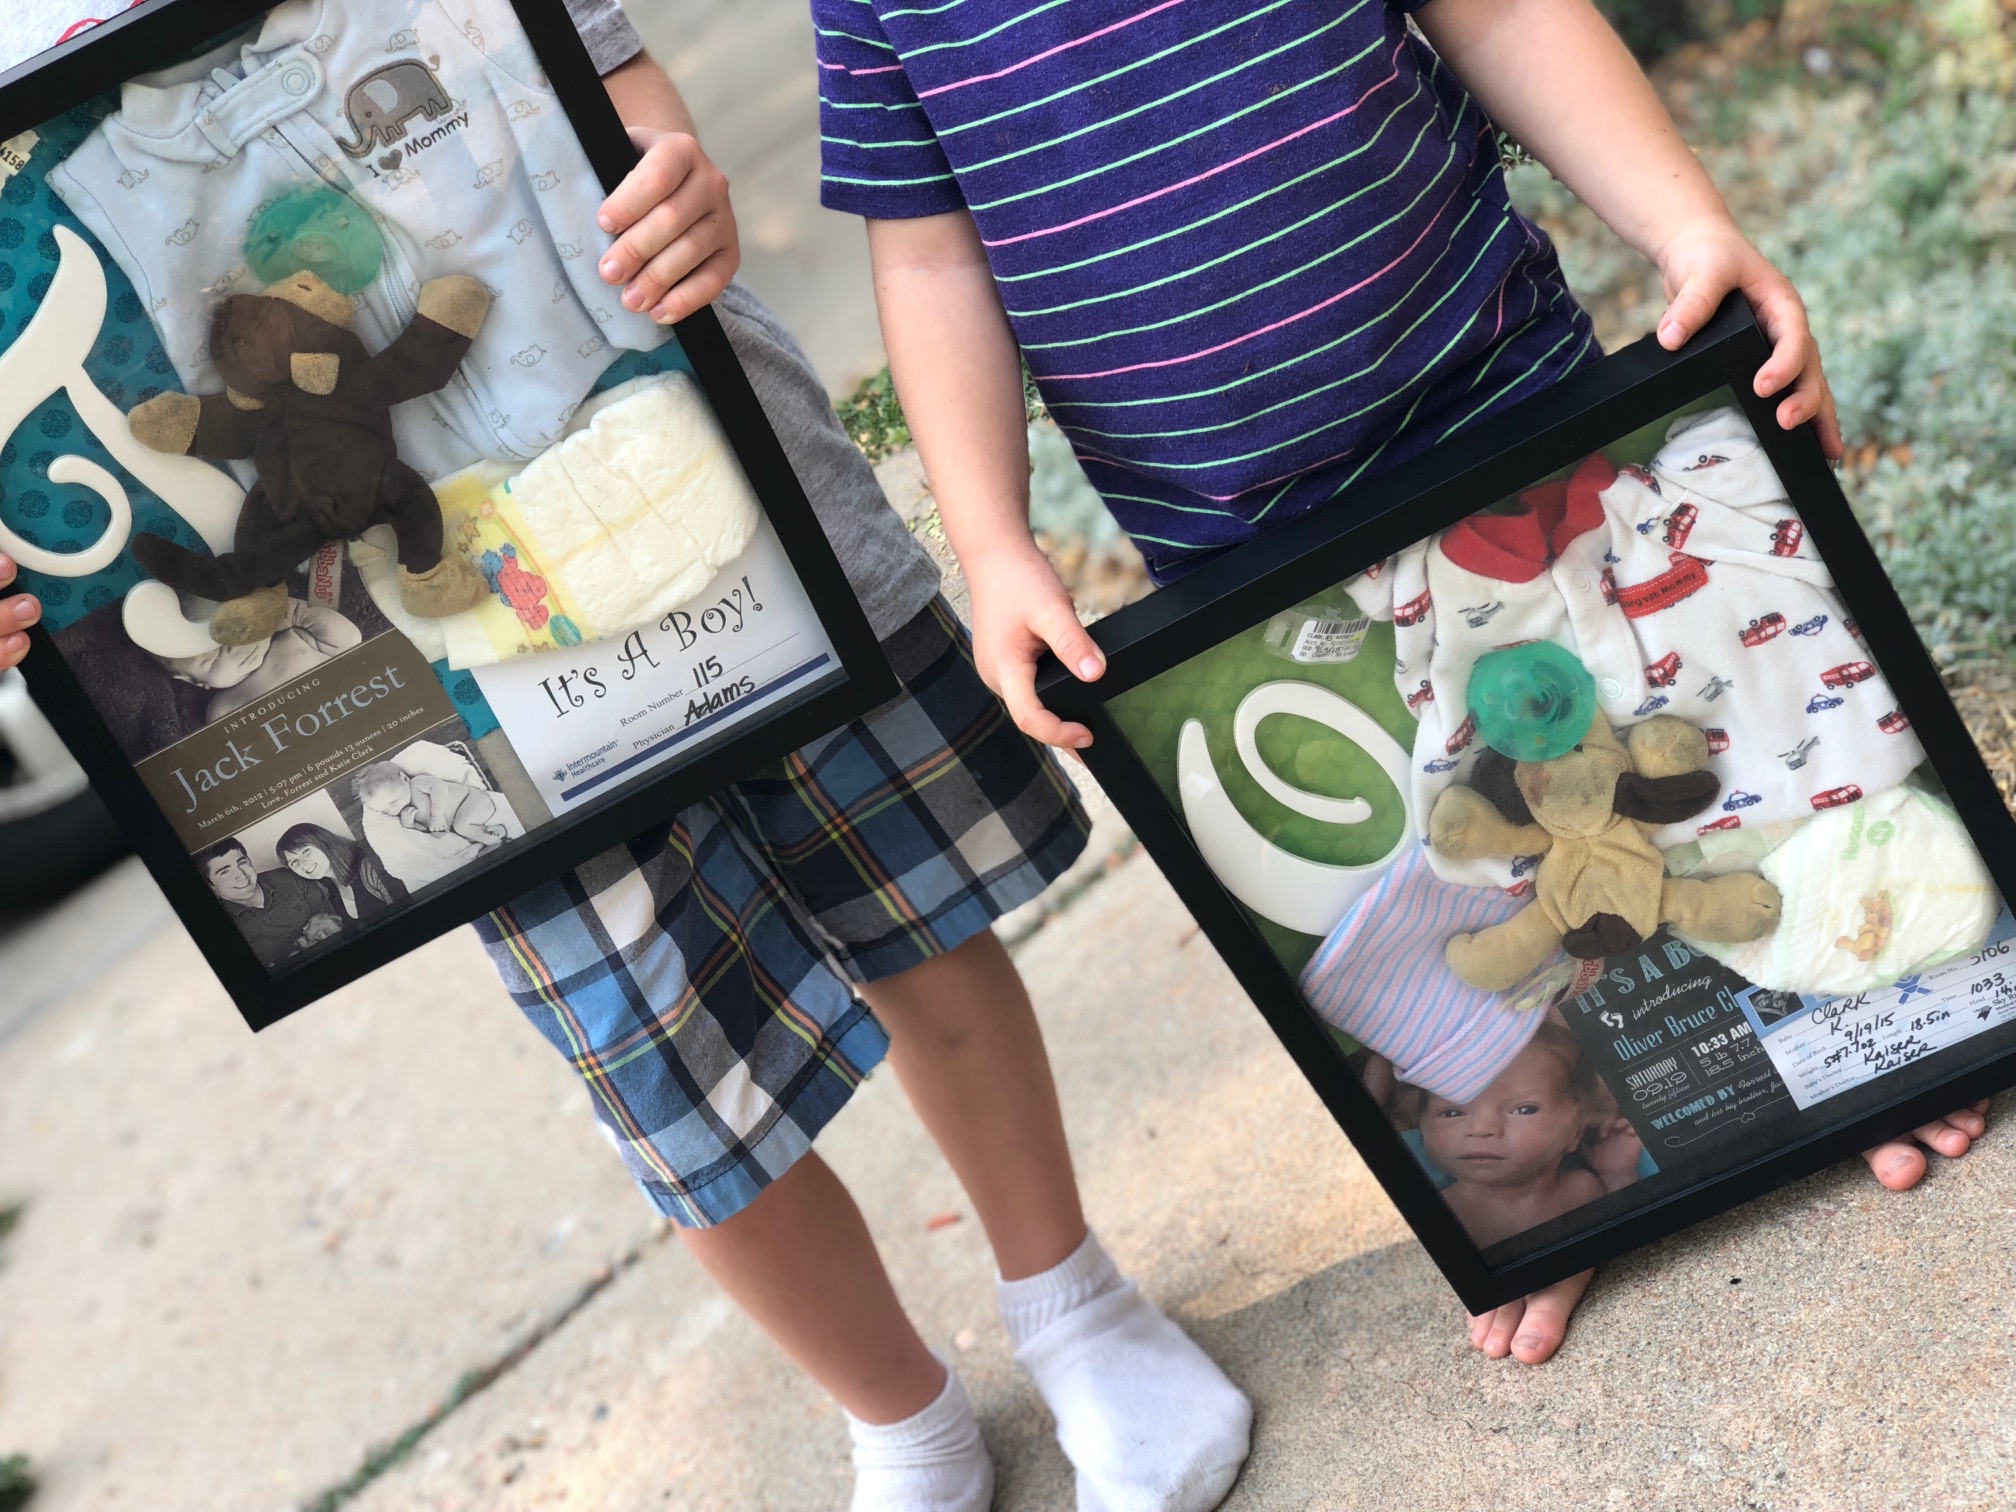
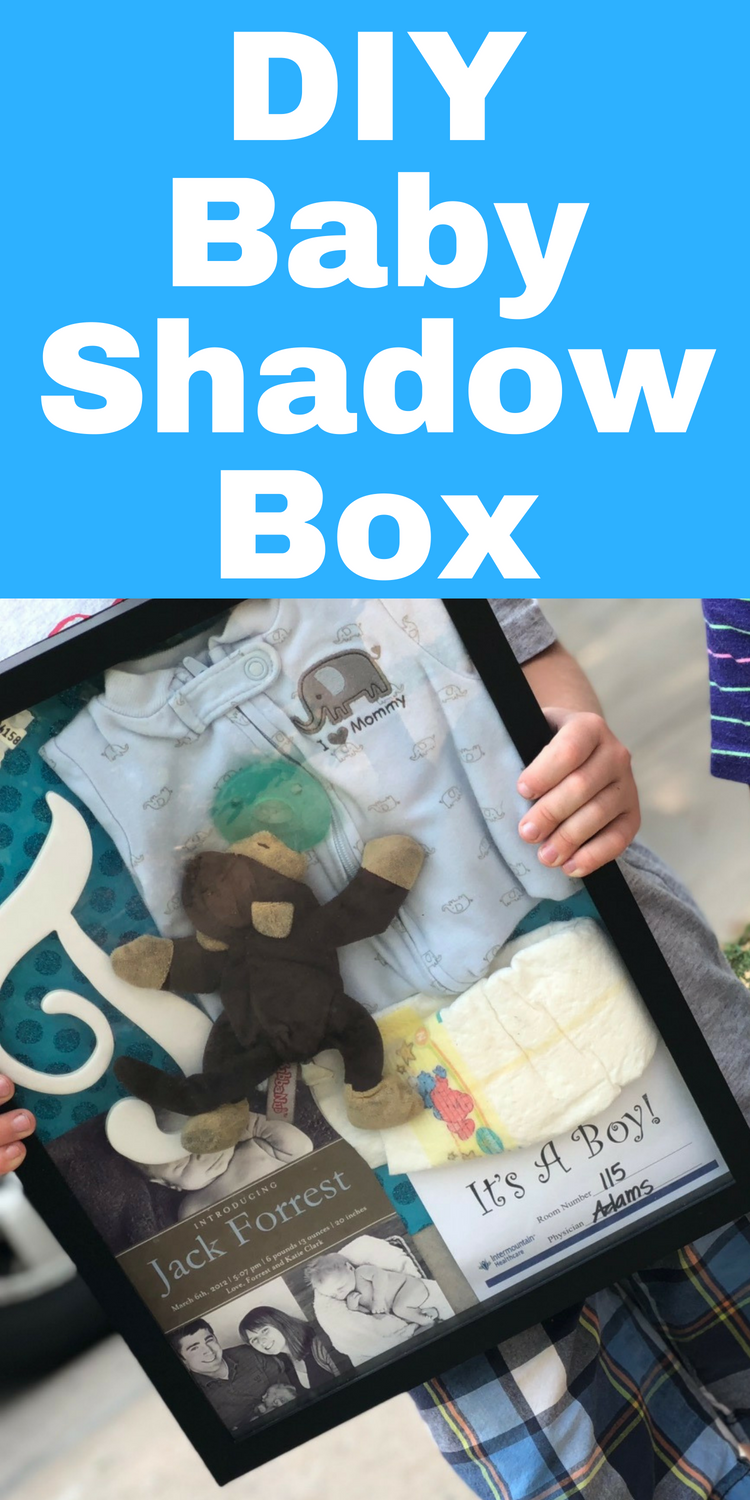
Easy DIY Baby Shadow Box
Your baby is only a newborn once – and while you can’t keep them that way, you can save some of your memories with this easy DIY Baby Shadow Box!
Oh, there’s nothing quite as sweet as the newborn stage.
Some days it feels like it will never end, but then when it does, you realize it passed far too quickly.
Some of my favorite memories are that of my sweet baby boys during those first few weeks. I just feel the presence of heaven so close, and I love getting to know the little one who I carried for nine months before.
As the years go on, it’s so easy to forget those precious first few moments, so I like to preserve those memories as much as possible while I can!
I had seen someone make a baby shadow box before, where they put some of their baby’s first moments. I LOVED the idea, so a while ago, I made some for my little guys. They were so easy to make, and I felt like it was a great way to preserve some of my first memories of them.
My boys LOVE these, and they are always showing me all their favorite items in them and asking about when they were a baby. It’s so fun to relive those memories with them since they obviously don’t remember them.
This is really a very easy DIY project to do, so I hope that this tutorial will spark some inspiration for you to make sure your own!
Materials:
11×14″ shadow box
Glue dots
Tacky glue
Scrapbook paper
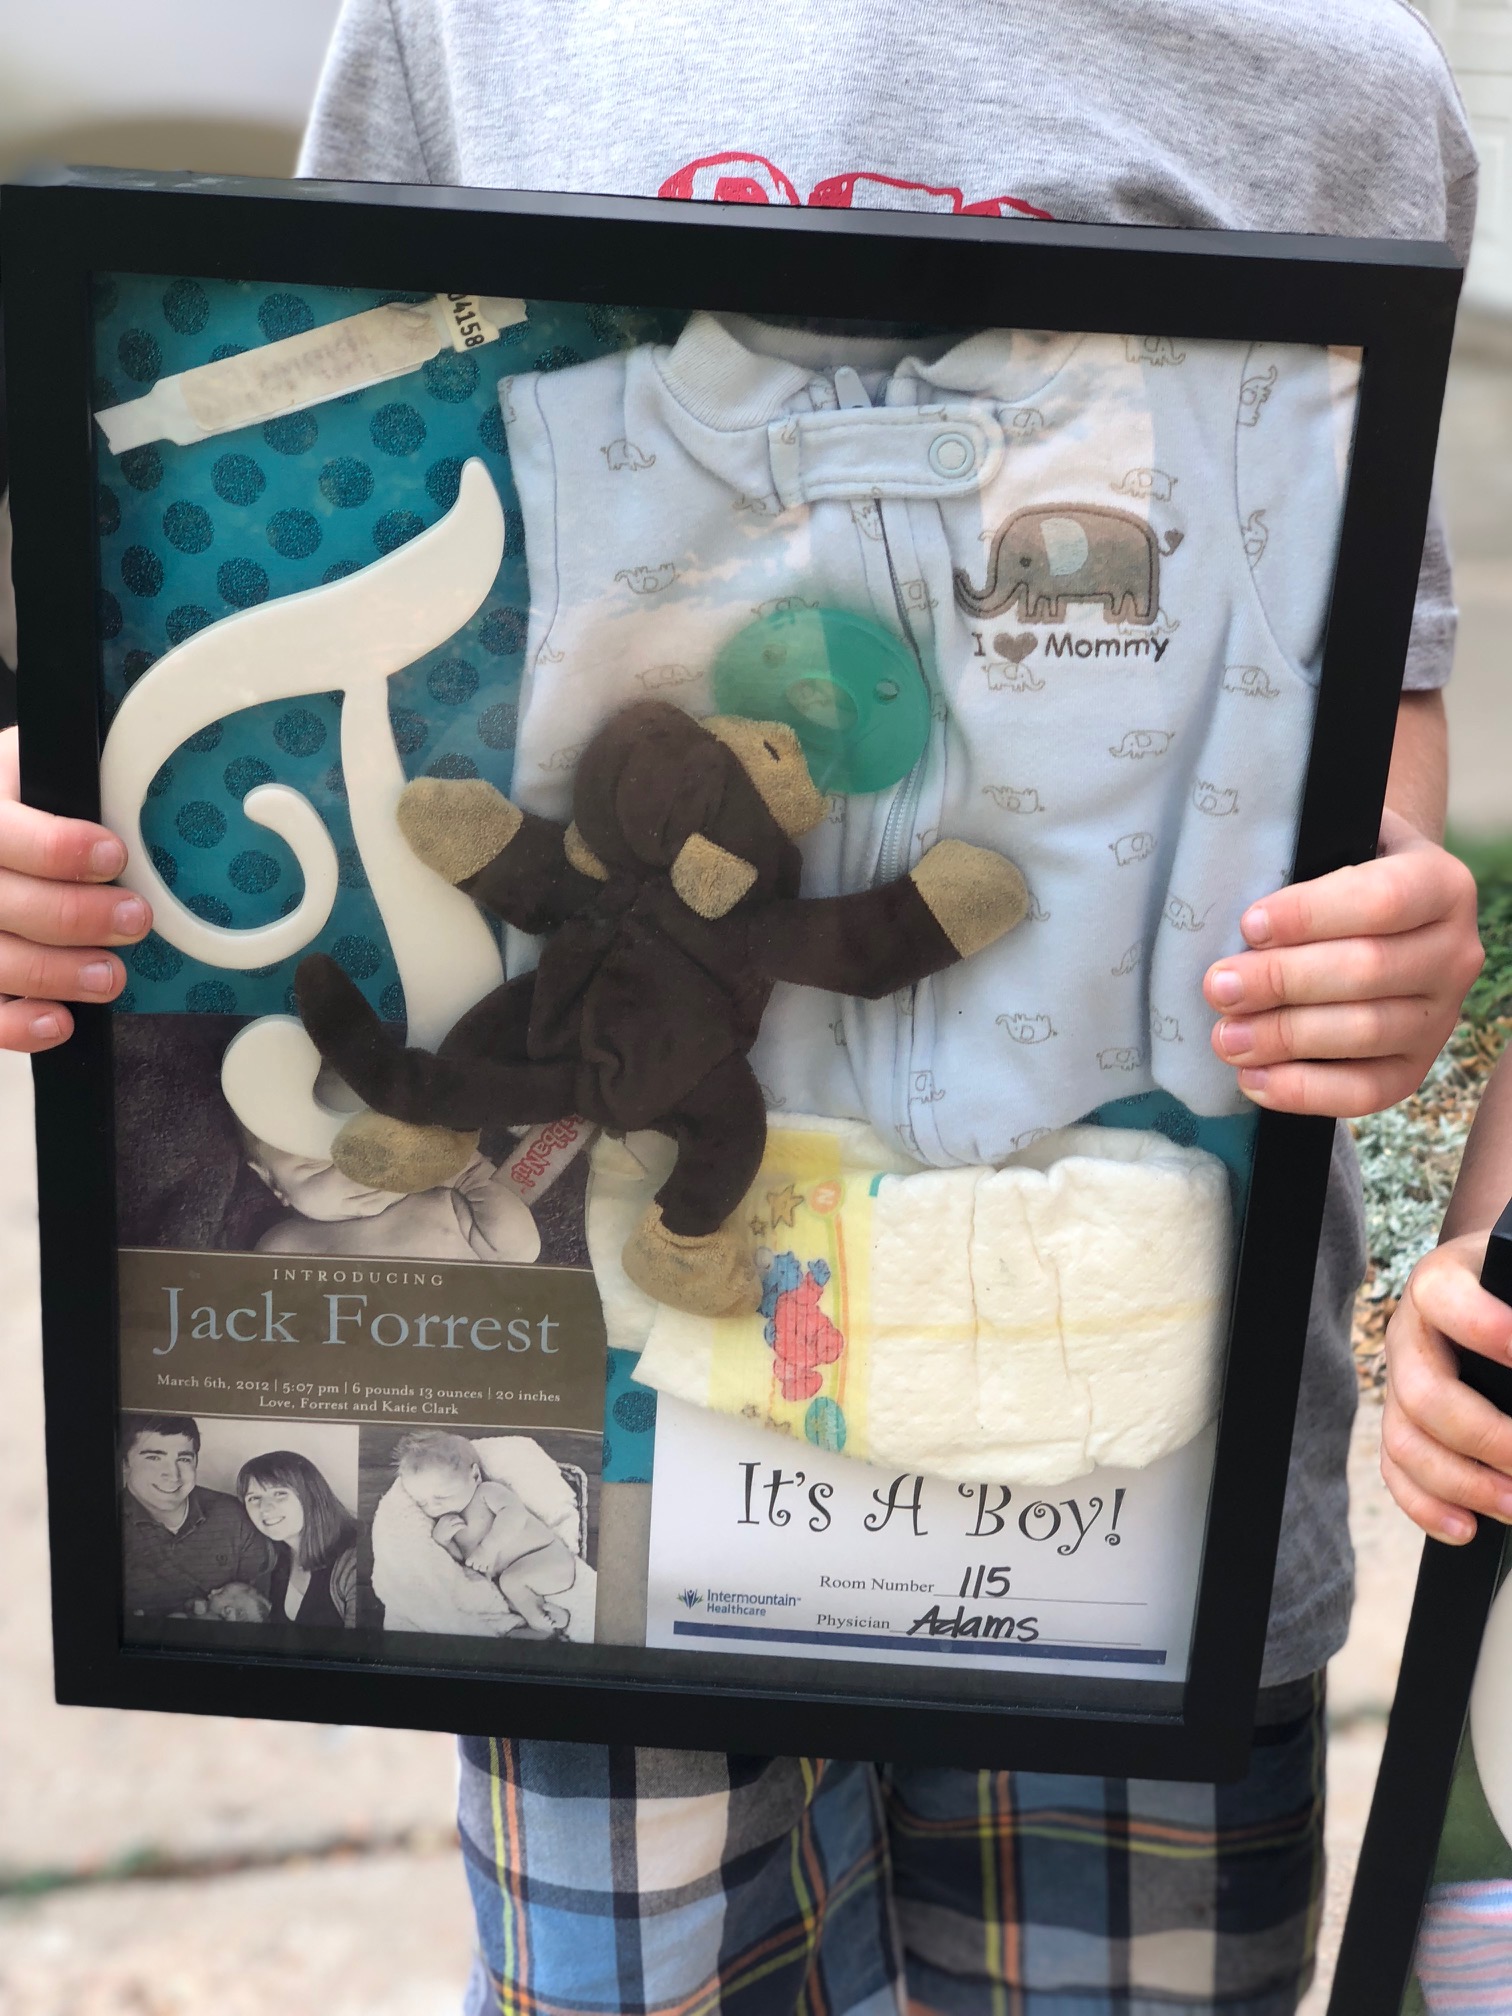
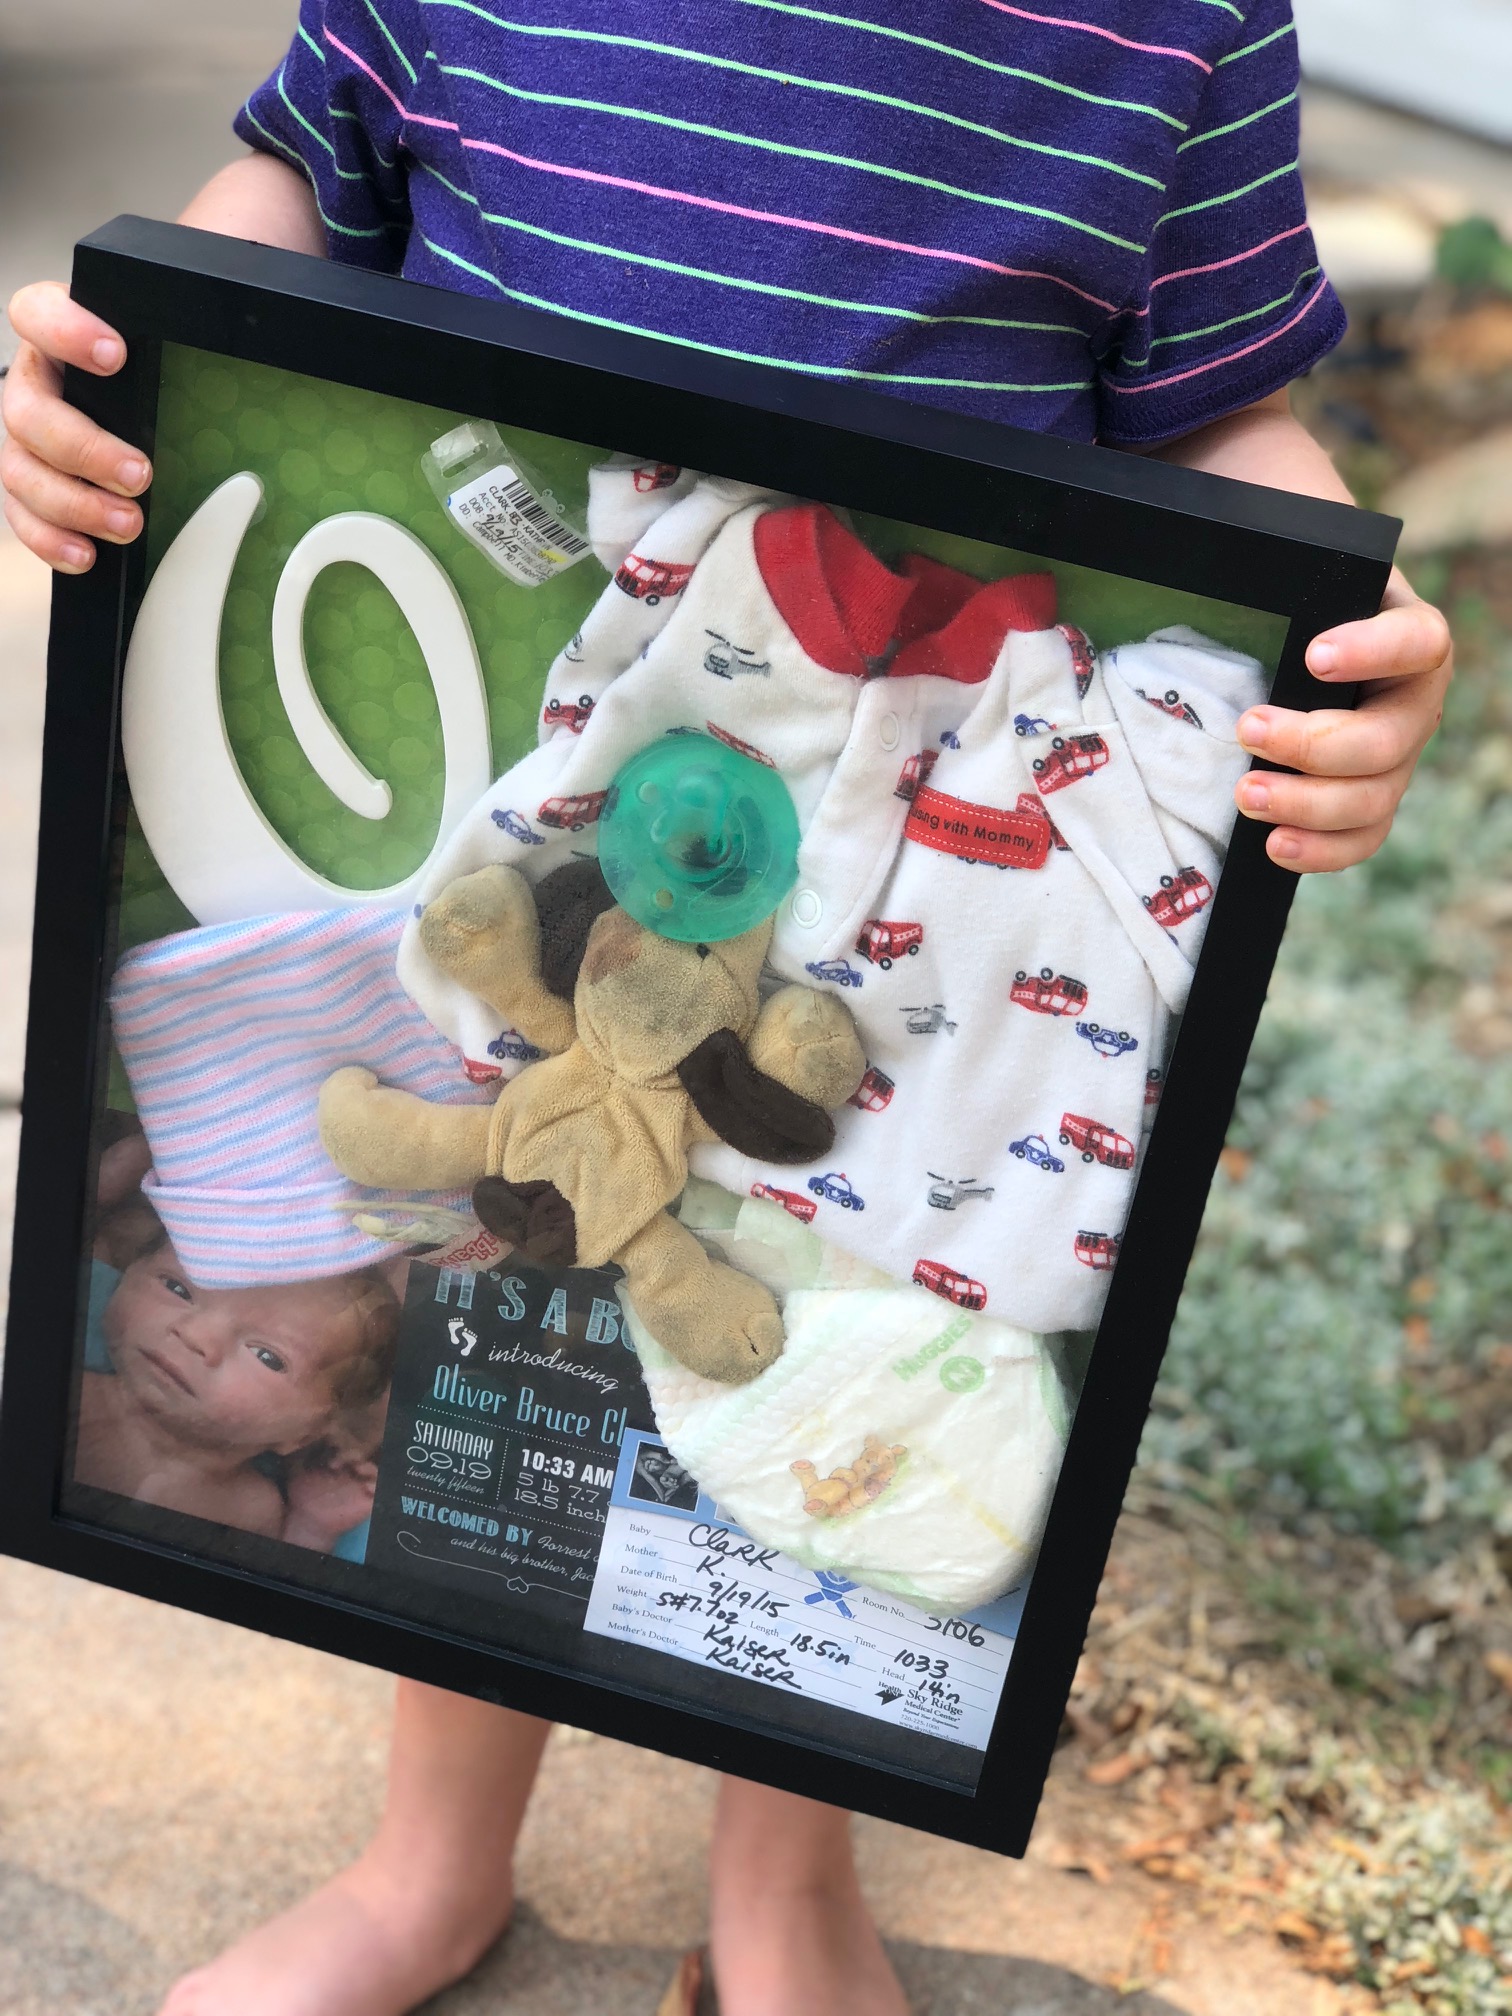
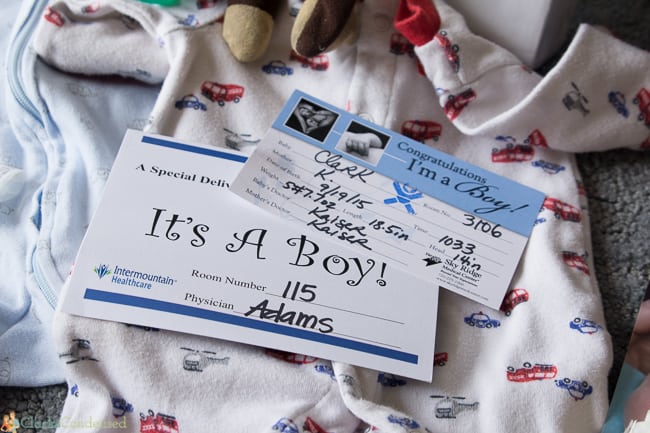
Various items from baby’s life – outfit they came home from the hospital in, hospital bracelet, hat, birth announcement, etc.
Instructions:
1. Take the shadow box apart.
2. Attach the scrapbook paper to the backing of the shadowbox. You can also use wrapping paper, which can be an easier option if you can’t find the right sized wrapping paper.
6. Put the glass back on and hang as directed!

These are so cute! I have all my kids’ newborn things still, but they are just sitting in a box! This would be a great way to preserve them!