
Easy DIY LEGO Travel Case
Easy DIY LEGO Travel Case
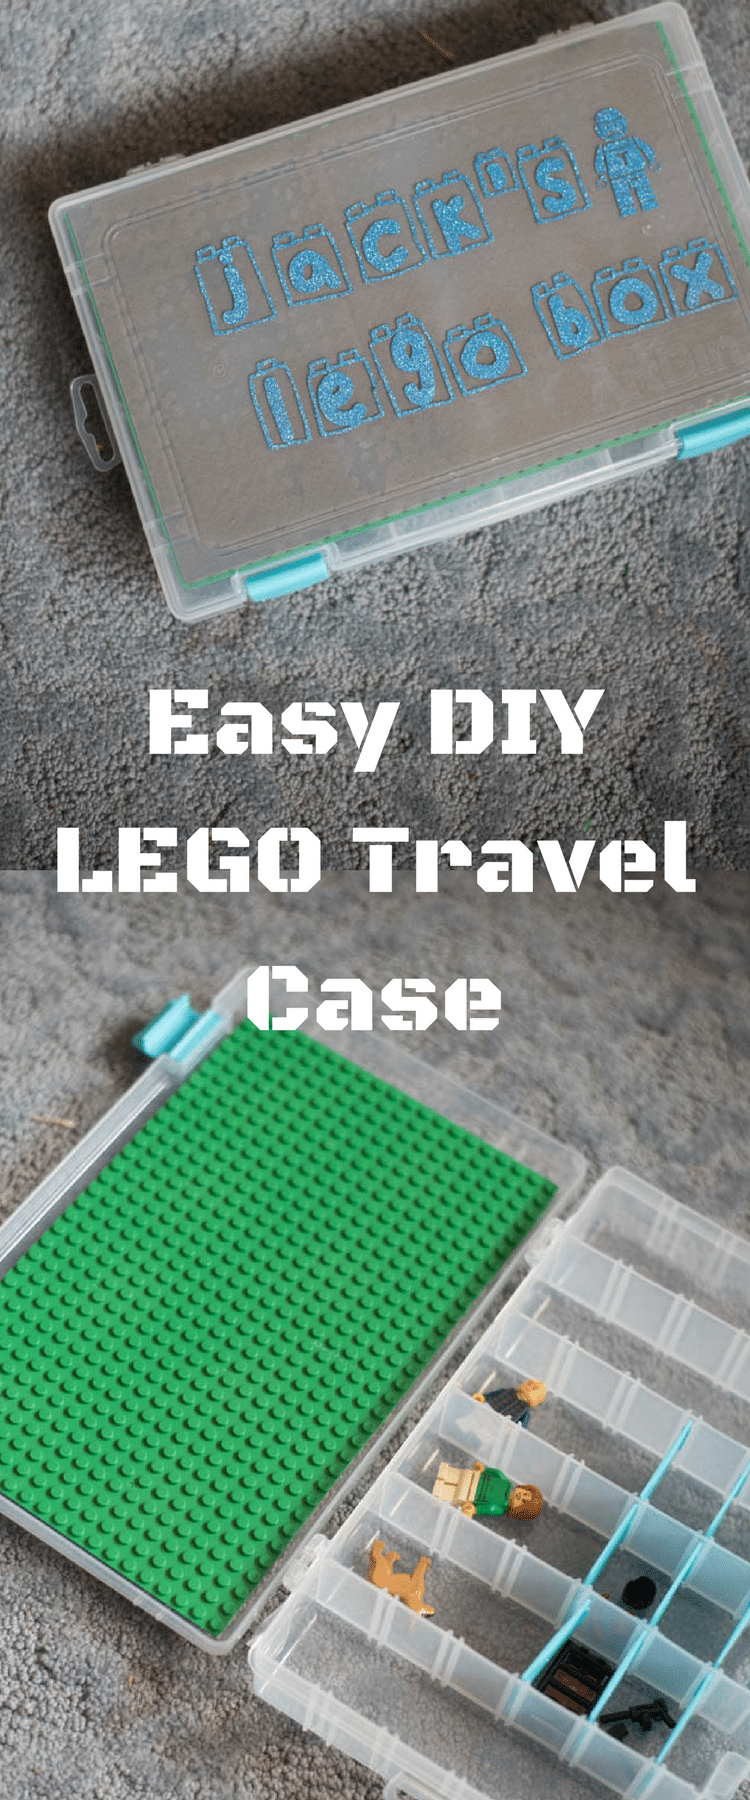
This easy DIY LEGO Travel Case can be made in just a few minutes. It’s the perfect LEGO storage solution for travel!
About six months ago, Jack got bit by the LEGO bug, and he’s been a huge fan ever since.
To be honest, I don’t mind one bit. He rarely asks to play games on the Wii anymore, he’s always coming up with creative ideas on how to use them, and he seems to get a lot of joy out of it.
It makes up for the fact that I keep stepping on them – it really does hurt so much!
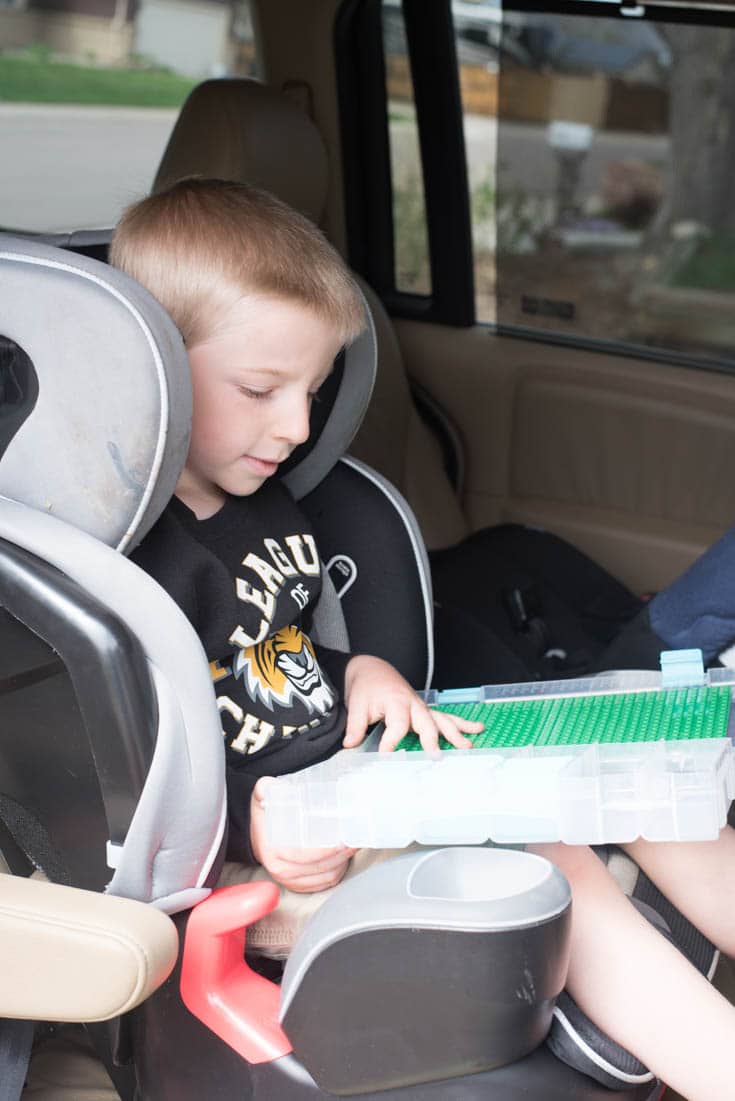
Anyways, we went on a trip a few months ago, and Jack really wanted to bring his LEGO toys with him. I just imagined the mess it would make in the car and in the hotel (not to mention that they would probably end up getting lost!), so I decided to make a LEGO Travel Case for him.
I had been contacted by Creative QT last year about trying out their peel-and-stick baseplates and they had sent me some to make a LEGO table with. While we are still working on that project, I thought they would be perfect for making this little LEGO travel kit.

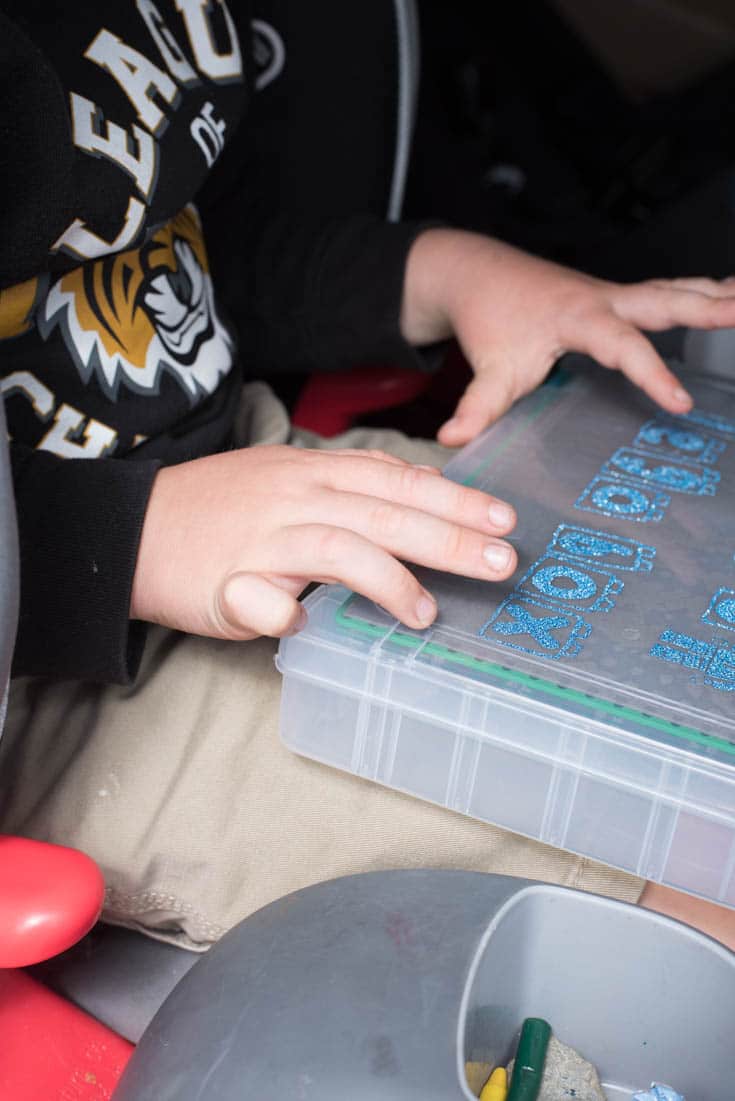
We went to Jo-Ann’s and picked out the perfect box for this project (you can also get it on Amazon) – it has a clasp to close it, adjustable pieces to change the size of the compartment, and it is perfect for holding on your lap in the car.
Here is a little video tutorial, and the picture/word tutorial will follow. It’s really super easy!

Travel LEGO Case Tutorial
Materials:
Plastic storage box with compartments (we selected this box – it can also be purchased at Jo-Ann Fabrics)
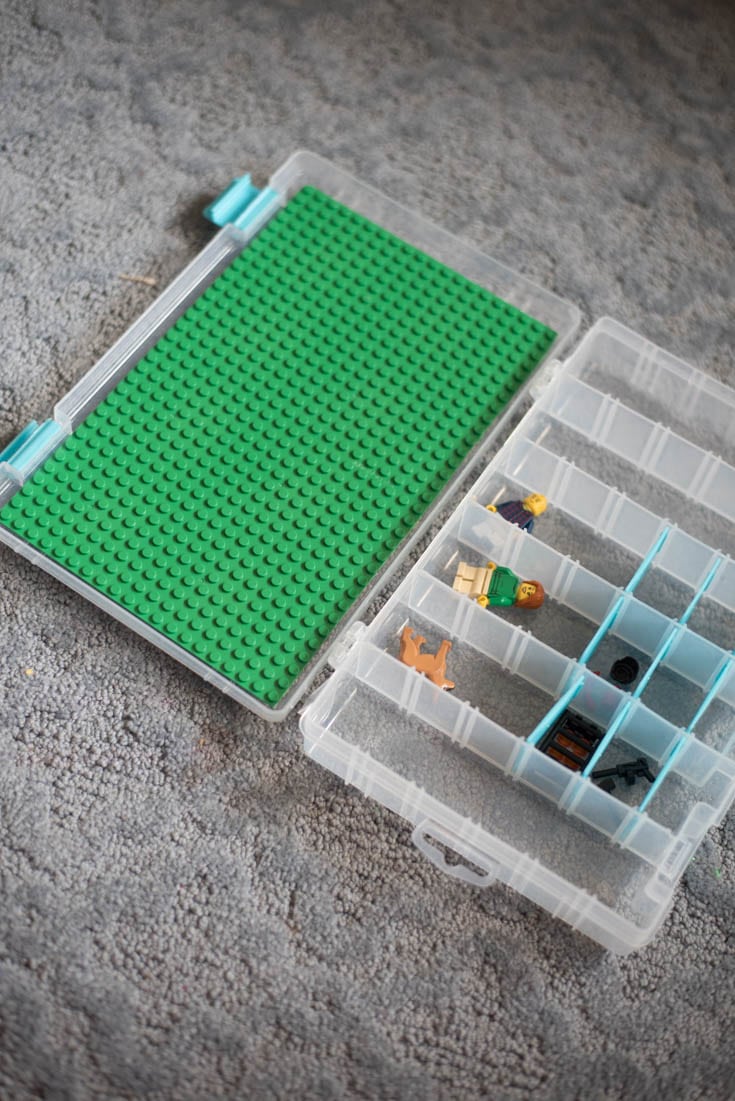
1 Peel-and-Stick Baseplate Mat (if you can’t find one of these, you can use a non-sticky mat and add your own adhesive. But I highly recommend getting these. They are so cool).
Utility Knife
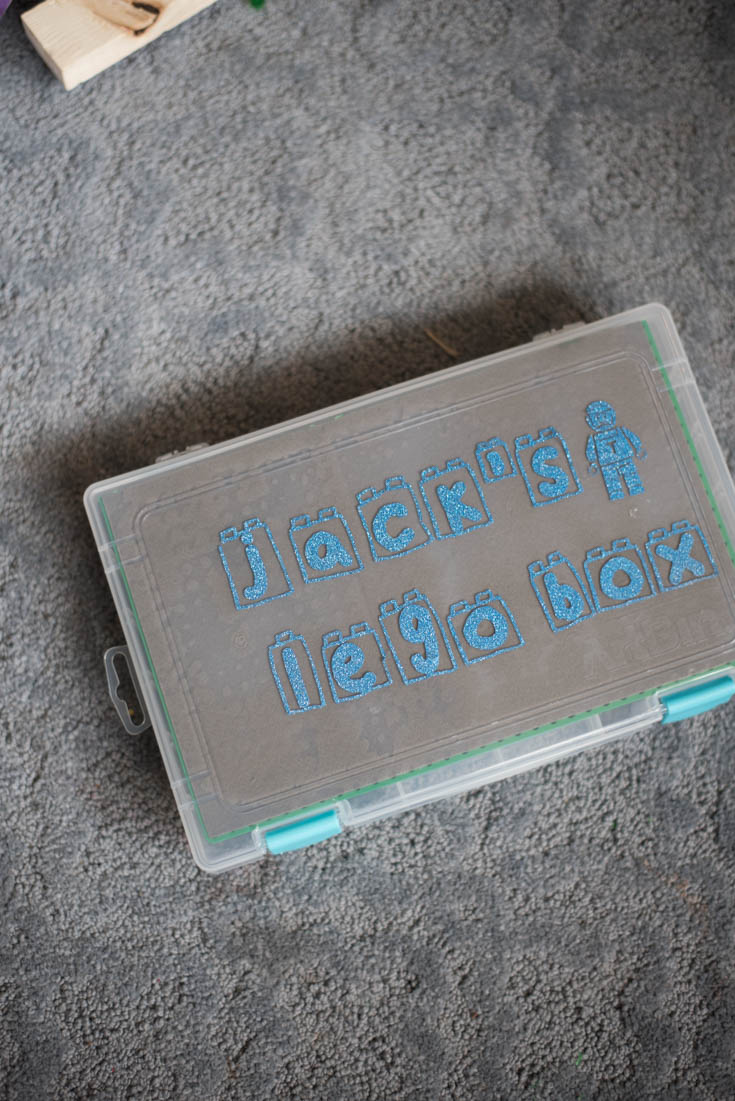
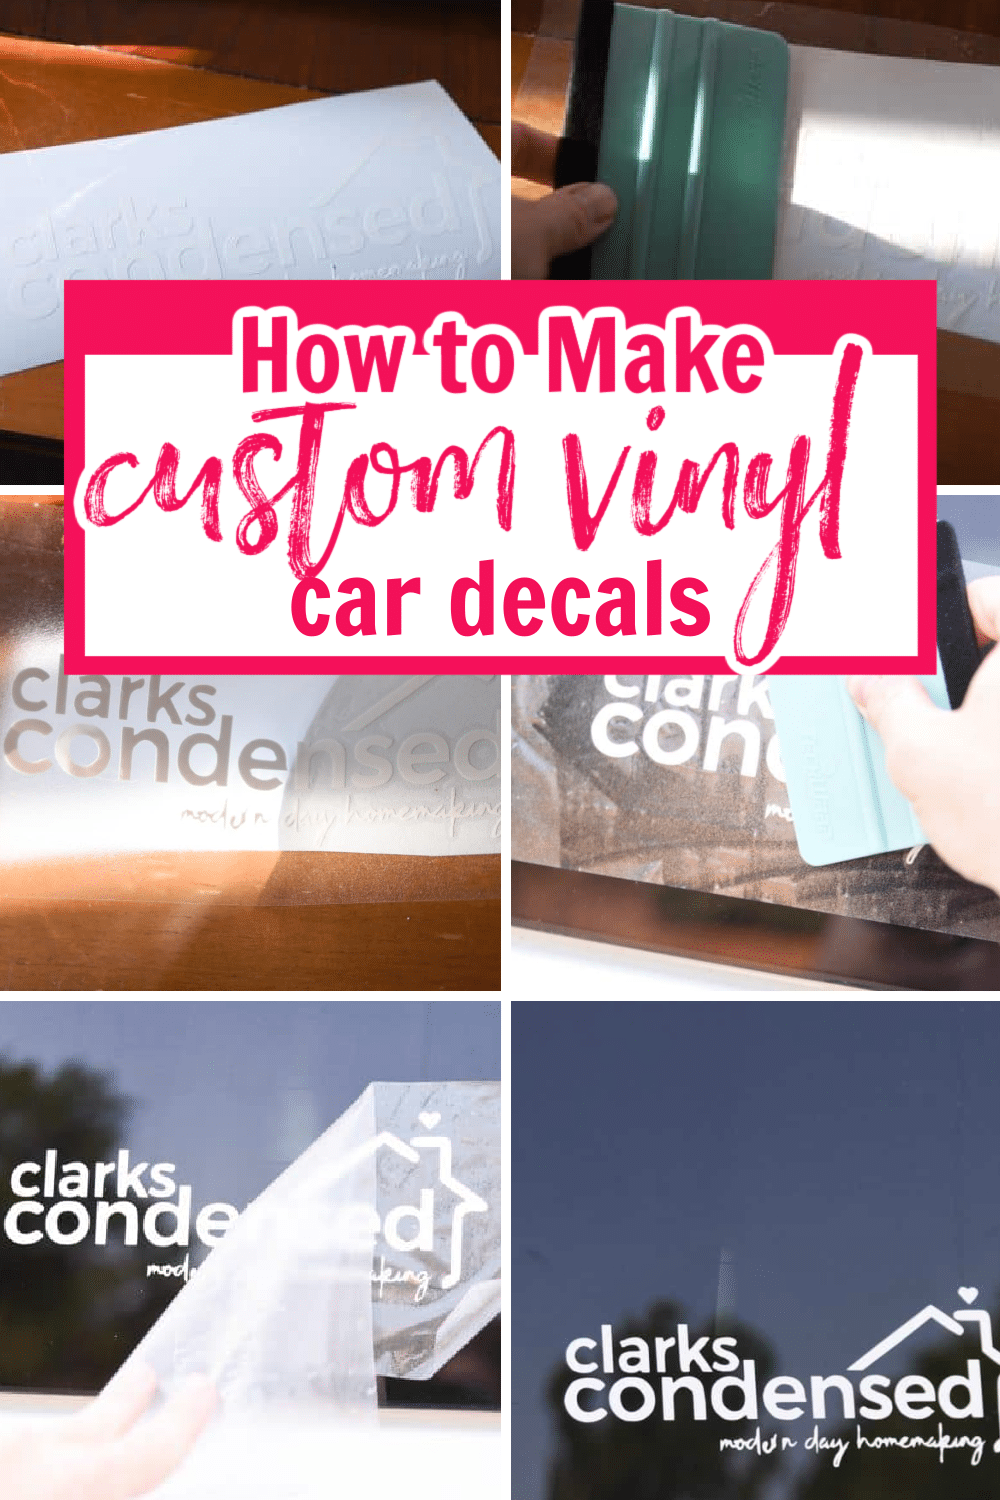
Decorations for the front (we used glitter vinyl and made the words on the front with my Cricut Explore Air . I used this font for the words, and I used this font to create the LEGO guy on the front).
Directions:
Step One:
Measure the inside lid of the box. Then, measure that same width and length on your LEGO mat.
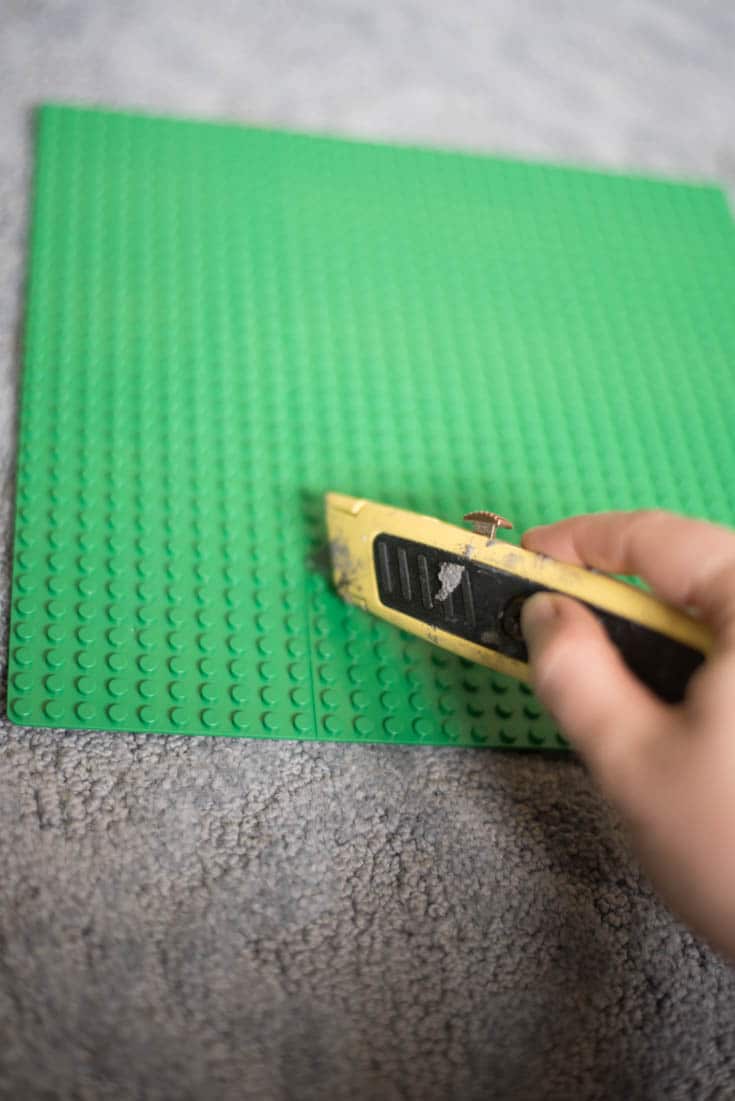
Step Two:
Using a utility knife, cut your mat to the exact size. The mats from Creative QT are very easy to cut through.
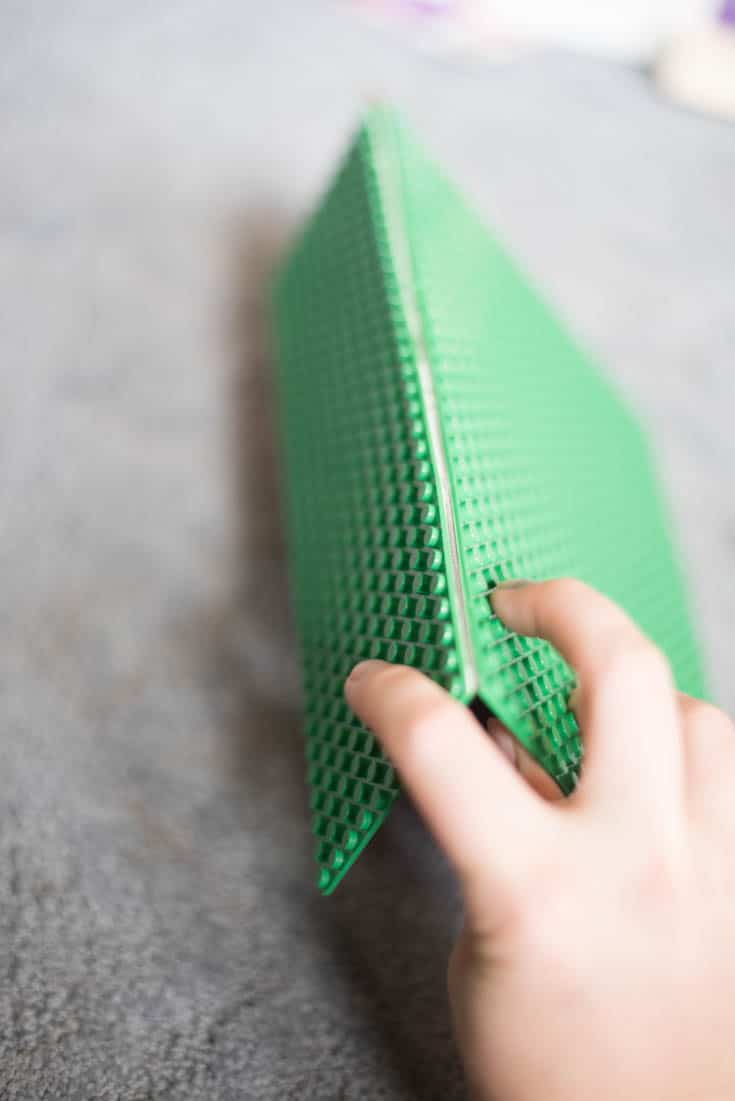
Step Three:
Bend your mat on the cut lines and remove excess. Make sure to test the mat in the box before you remove the adhesive to make sure it is the correct size and you don’t need to remove more.
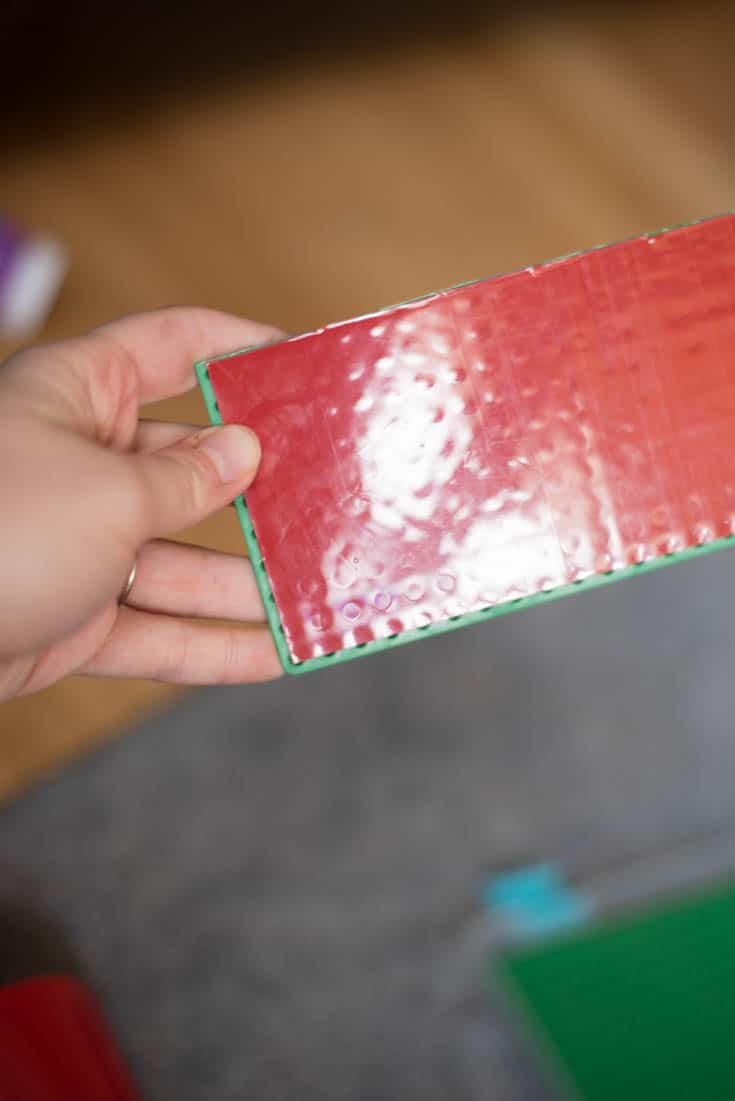
Step Four:
Remove the adhesive covering from the back – be very careful not to set this down!
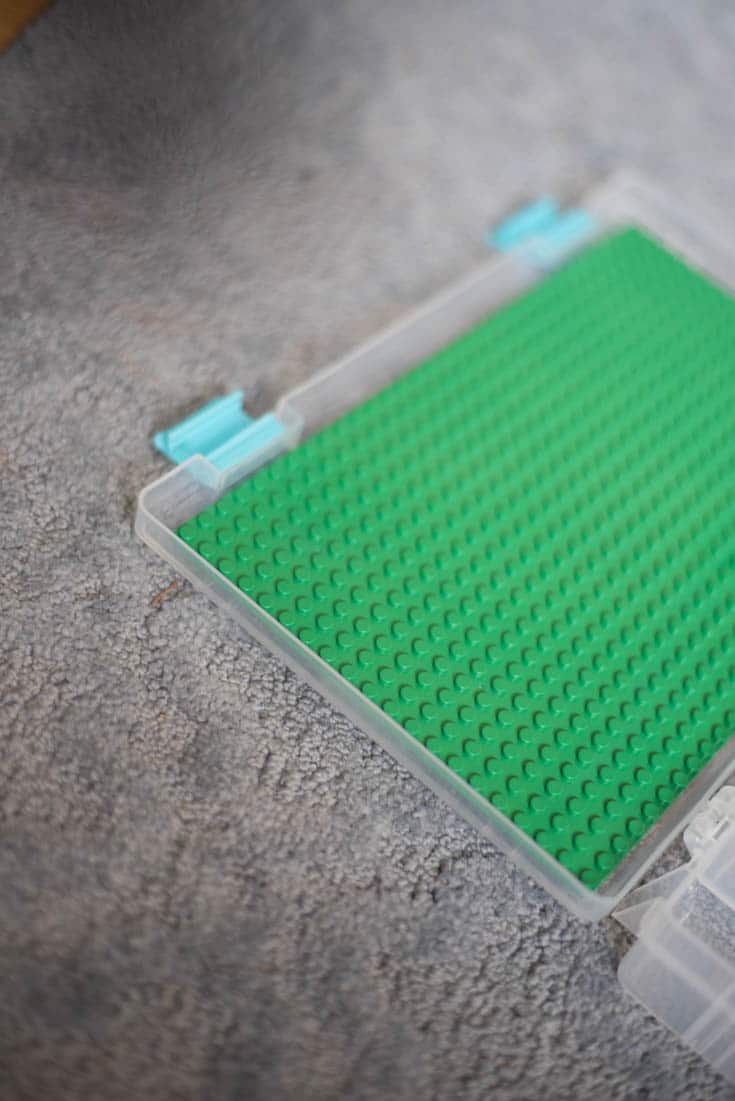
Step Five:
Place the mat (adhesive size down) into the lid. Press down firmly and let it sit an hour or so before playing.
Other LEGO Posts You May Enjoy:
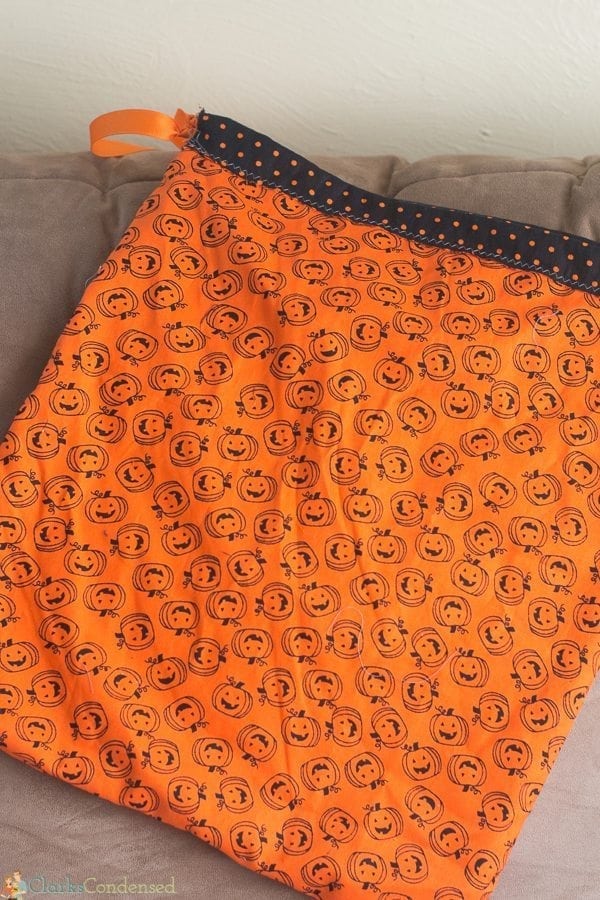
- DIY Toy or Lego Bag and Playmat
- 40+ LEGO Boredom Buster Activities
- IKEA LEGO Table
- Easy DIY Beyblade Made with LEGO
- DIY LEGO Costume – Great Last Minute Idea!
Step Six:
Decorate the front however you want! As I already mentioned, I made my design using my Cricut Explore Air, which made it super easy!


Little J LOVES Legos, so I think this would be a huge hit! Thanks for sharing!