Easy DIY Thanksgiving Glasses with Cricut
It’s nearly time to gobble til we wobble, and I am ready for it! This year has been weird to say the least, but I still want to keep as much normalcy as possible. And even though we won’t be feasting with a large group of friends and family this year, I will be making little gift baskets to drop off or mail to family that can’t join us in person. One of the things I plan on including in the baskets are these adorable and simple DIY Thanksgiving Glasses.
I hope that sharing these glasses, small desserts, and other Thanksgiving goodies will help make everyone feel more connected this holiday season.
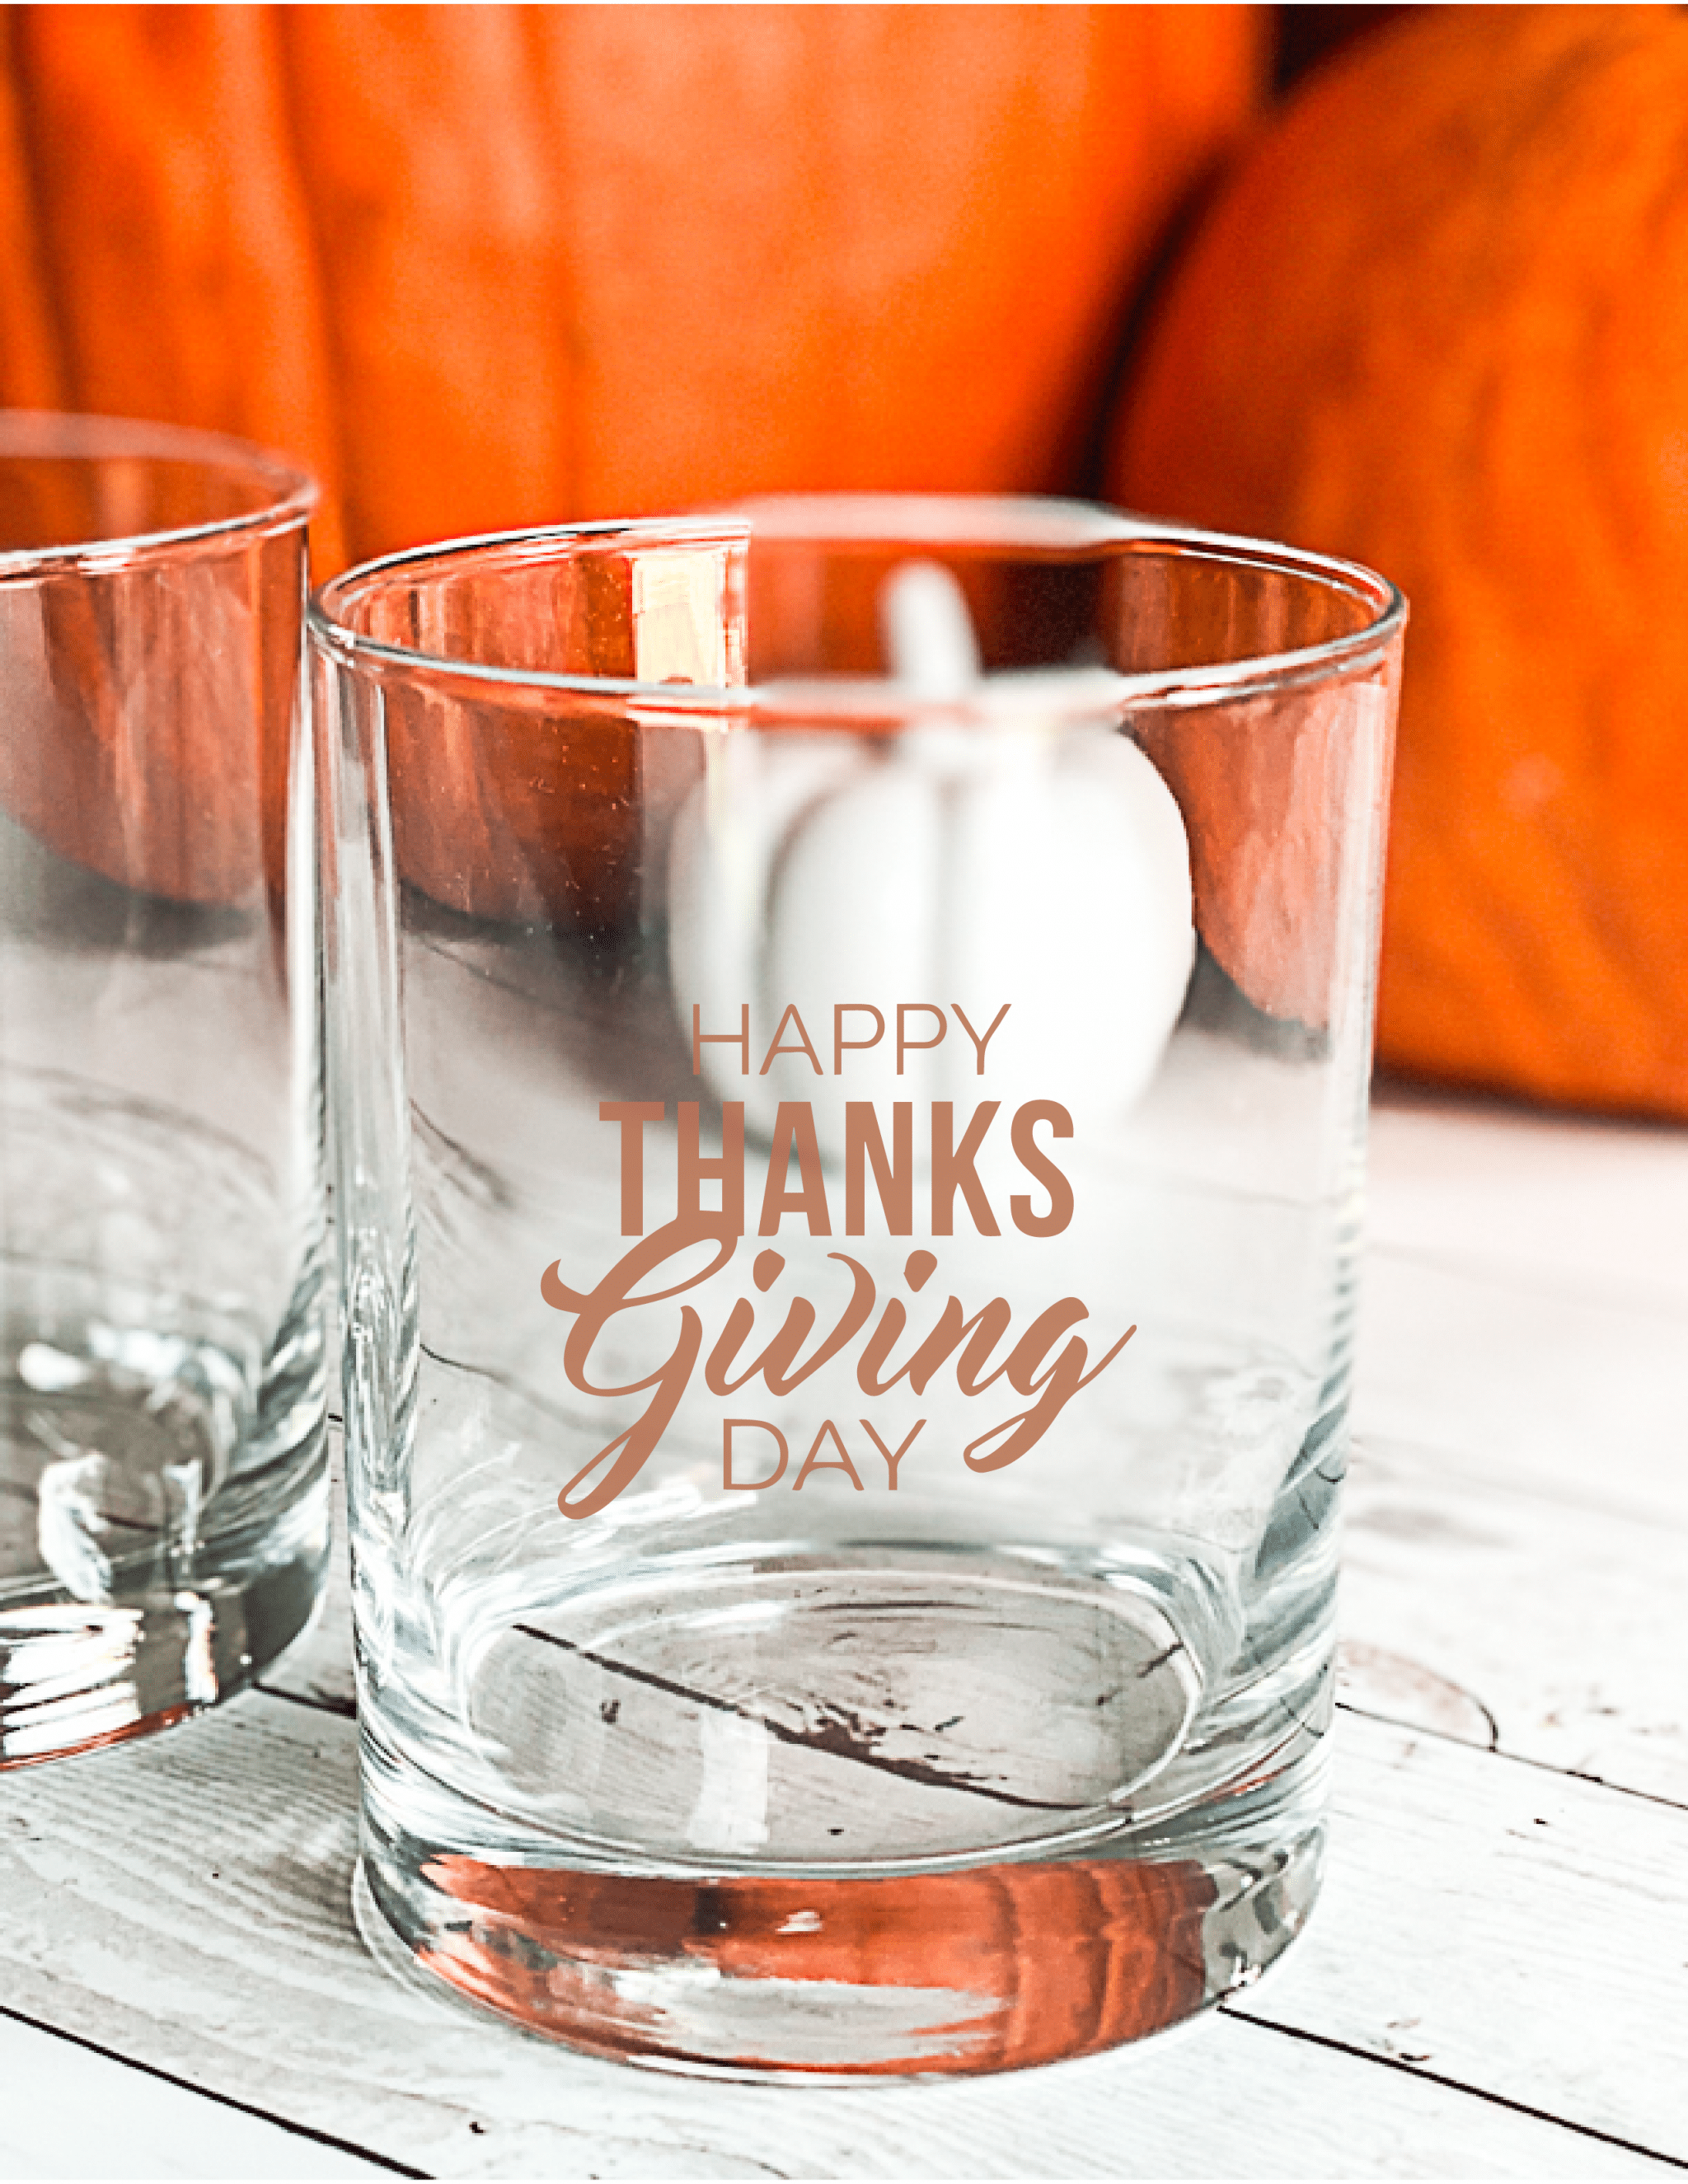
Custom Cup DIY
I love custom cups. I order them several times a year for various holidays. But, for Thanksgiving, I like to set the table a little more formally, with glasses instead of plastic cups. However, this DIY is perfect for any surface you want to add a little Thanksgiving decor to.
Make Thanksgiving Glasses
Since the vinyl is going on the outside of the glasses, you won’t need to worry about food safety. And, I have found that permanent adhesive vinyl holds up on glasses really well. Although, if you want to remove it and have plain glasses again, it is very easy to do that too!
DIY Custom Glasses Supplies
You will only need a few supplies to make these stunning Thanksgiving glasses. And, if you are a crafter, I am sure you have everything you need already.
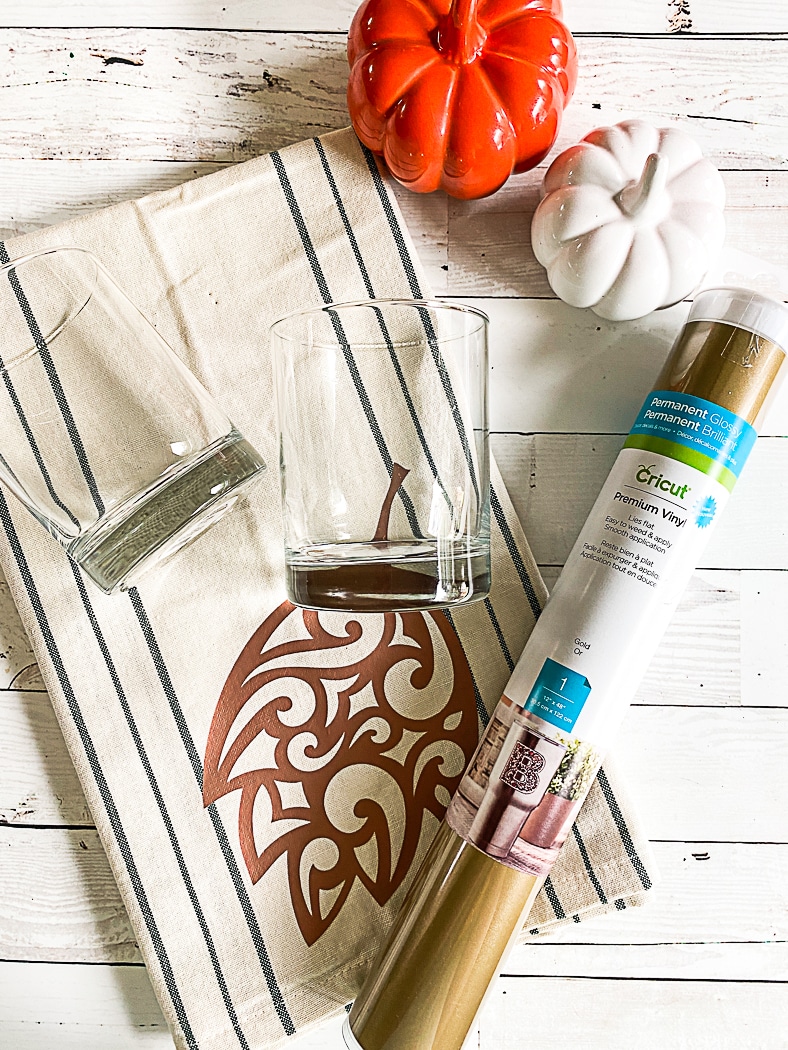
- Cut File – I used a pre-made file from Cricut Access.
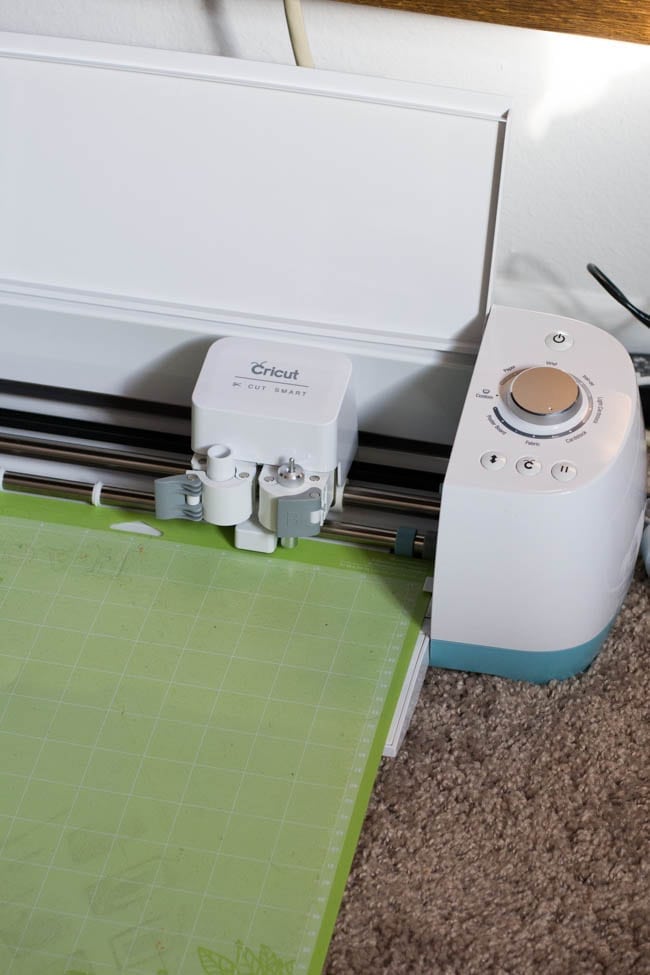
- Cricut
- Permanent Vinyl
- Transfer Tape
- Smooth Cups or Glasses
Step 1
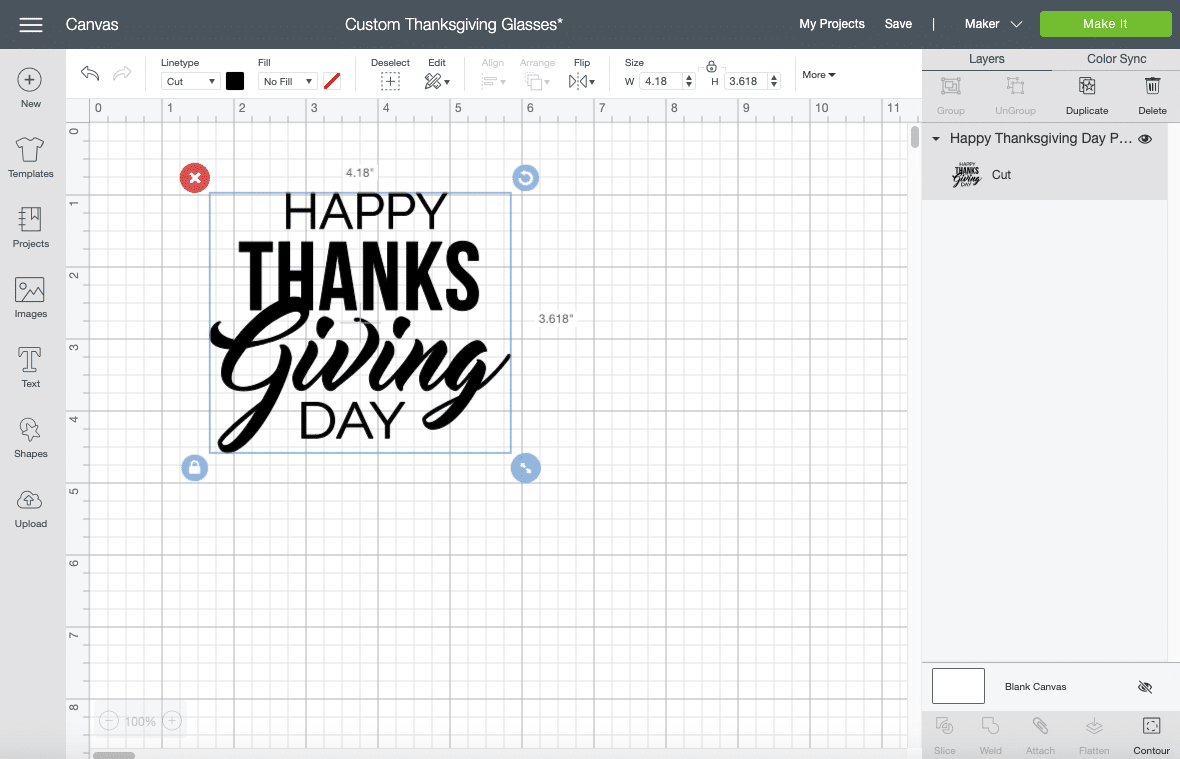
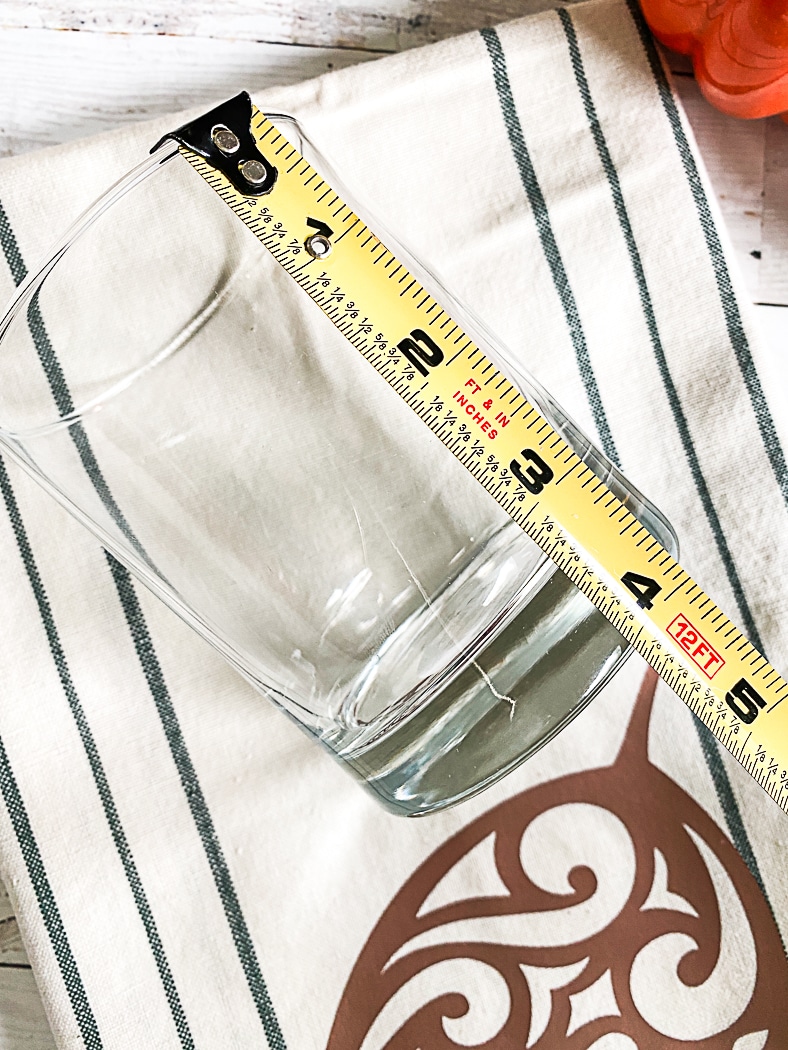
Open the cut file and size it to fit your glasses. These glasses are right around 4 inches. So, my images were just over 2 inches tall. Weeding was a challenge for the smaller text, but, I love the end result!
Step 2
Send the image to cut. Cut as many as you will need. I only put one image on each glass. But, if you wanted to put a turkey on the opposite side, that would be cute too!
Step 3
While the vinyl is being cut, was the outside of the glass really well, and wipe it down with rubbing alcohol.
Step 4
Weed the excess vinyl. Then use scissors to separate the images. Next, apply the transfer tape on each image. Use a scraper or even a credit card to smooth the transfer tape on the image.
Step 5
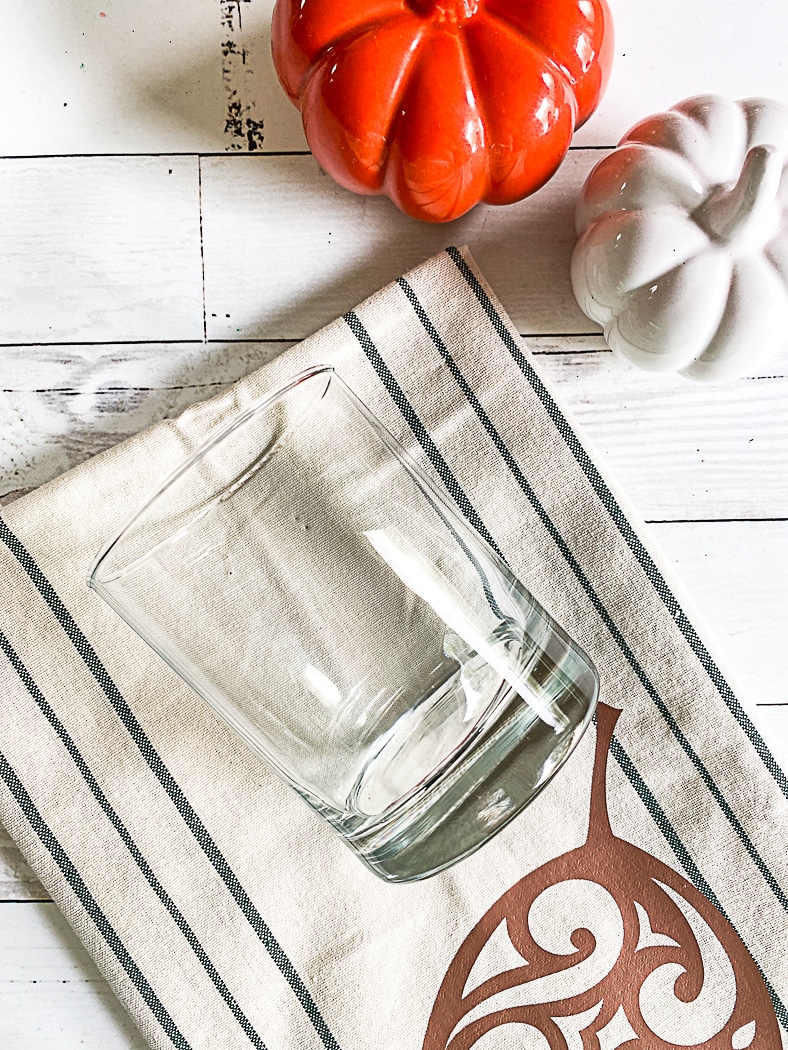

Apply the image to the glass. The glasses I used were pure cylinders, so it was easier to apply the vinyl to them without wrinkling it. Use a scraper or credit card to smooth the vinyl on the glass. Then, remove the transfer tape.
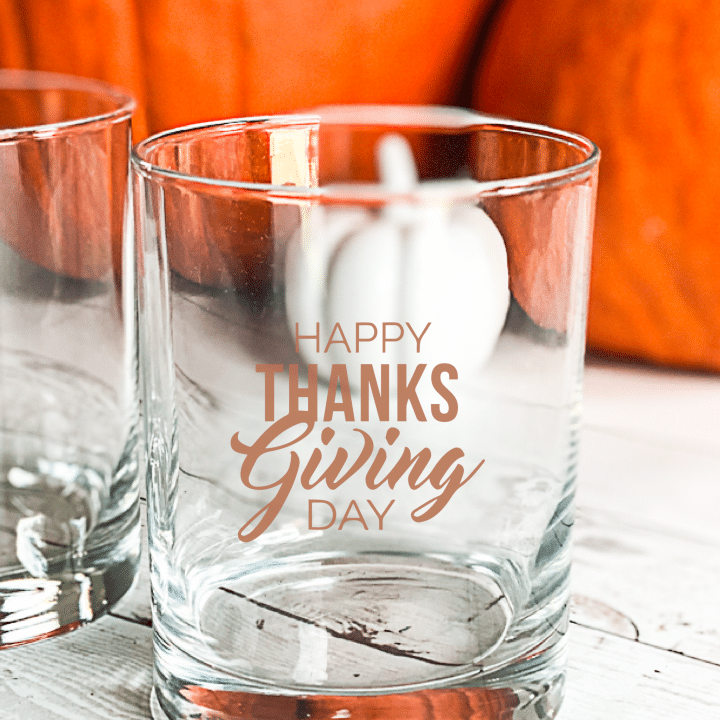
DIY Thanksgiving Glasses
Materials
- Cut File – I used a pre-made file from Cricut Access.
- Cricut
- Permanent Vinyl
- Transfer Tape
- Smooth Cups or Glasses
Instructions
Open the cut file and size it to fit your glasses. These glasses are right around 4 inches. So, my images were just over 2 inches tall. Weeding was a challenge for the smaller text, but, I love the end result!
Send the image to cut. Cut as many as you will need. I only put one image on each glass. But, if you wanted to put a turkey on the opposite side, that would be cute too!
While the vinyl is being cut, was the outside of the glass really well, and wipe it down with rubbing alcohol.
Weed the excess vinyl. Then use scissors to separate the images. Next, apply the transfer tape on each image. Use a scraper or even a credit card to smooth the transfer tape on the image.
Apply the image to the glass. The glasses I used were pure cylinders, so it was easier to apply the vinyl to them without wrinkling it. Use a scraper or credit card to smooth the vinyl on the glass. Then, remove the transfer tape.
I think I may use the Cricut Foil Tip accessory and create Thanksgiving tags with this same design for the gift baskets too!


Cute! We’re having my parents over for Thanksgiving this year, so we’ll have to try this out!