
Easy Elf on the Shelf Activity
Do you have an Elf on the Shelf?
We don’t but, my niece and nephew do, and my sister is a busy single mom, so I help her as often as I can. One of my favorite ways to help during the holidays is to come up with easy and fun activities for their Elves.
Elf Ideas
Last year, I shared several easy ideas for my niece and nephew’s elves.
One of their favorites was the DIY Bed for Dolls and Elves.
I used Cricut Chipboard and modified a Cricut Access cut file to make them.
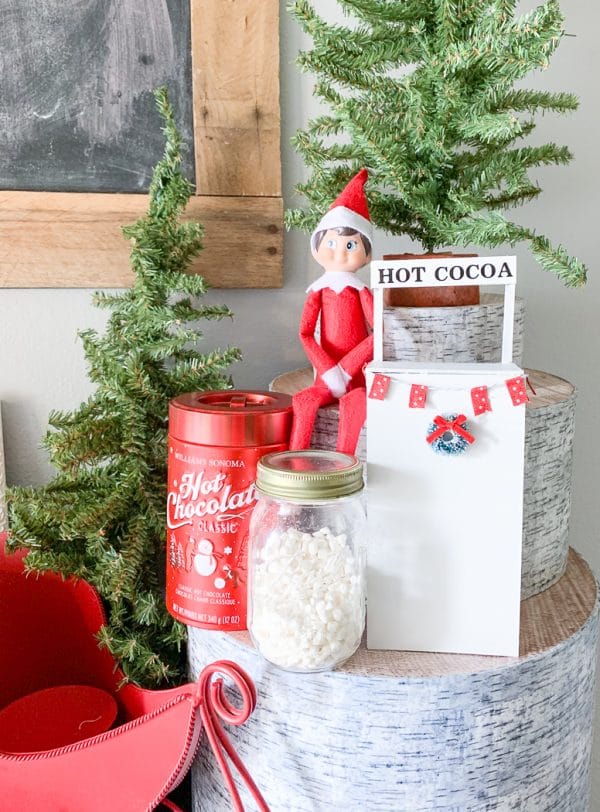
So, when I was thinking of Elf projects for this year, I knew I wanted it to be something similar. Since both my niece and nephew love hot cocoa, I decided to make a Hot Cocoa stand for their elves.
This project was really easy and so much fun to make!
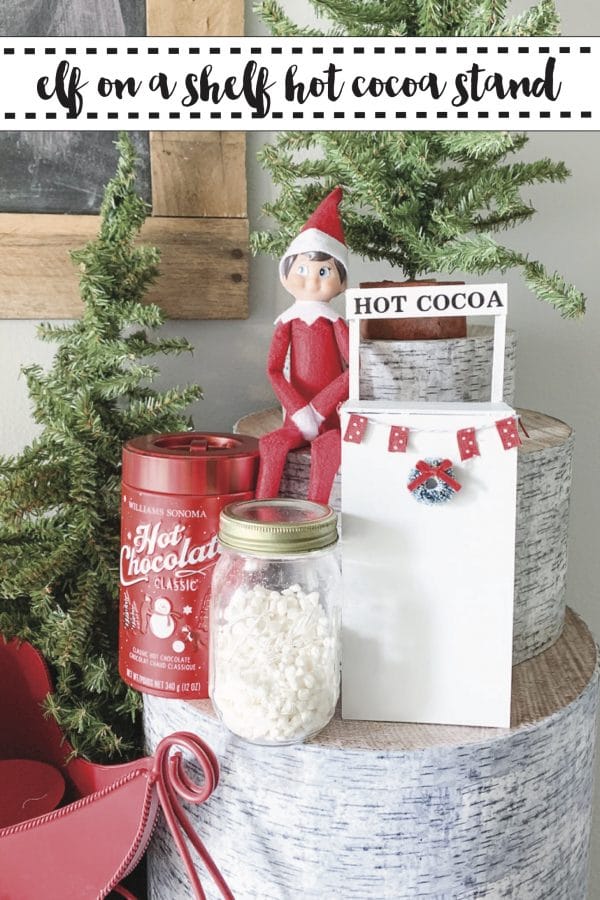
Elf on a Shelf Hot Cocoa Stand
Mini Hot Cocoa Stand Supplies
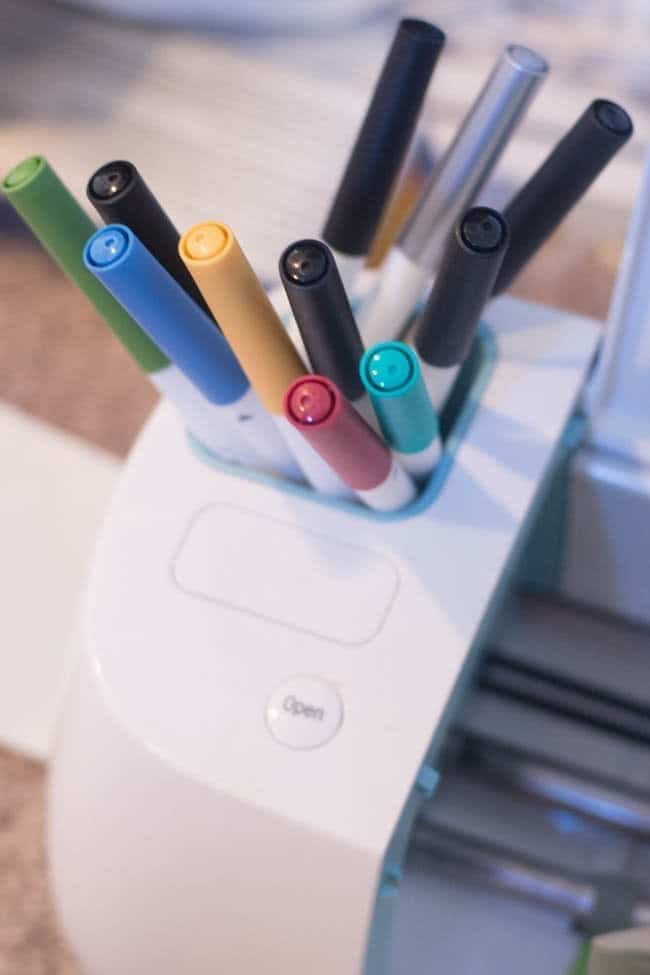
Cricut Maker and Knifeblade
Transfer Tape
Paint
Hot Glue Gun and Glue
Optional – Small Craft Wreath and Ribbon and Twine to make a banner
Step 1
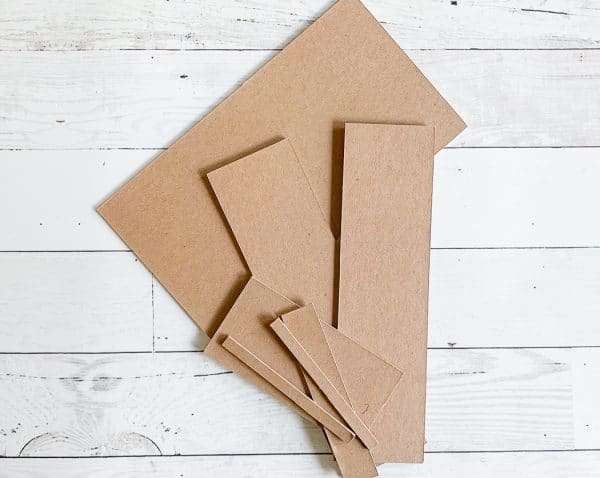
Open this cut file and send it to cut. Don’t forget to use masking tape to help hold the chipboard on the cutting mat. This project will take a while to cut because it’s chipboard.
Step 2
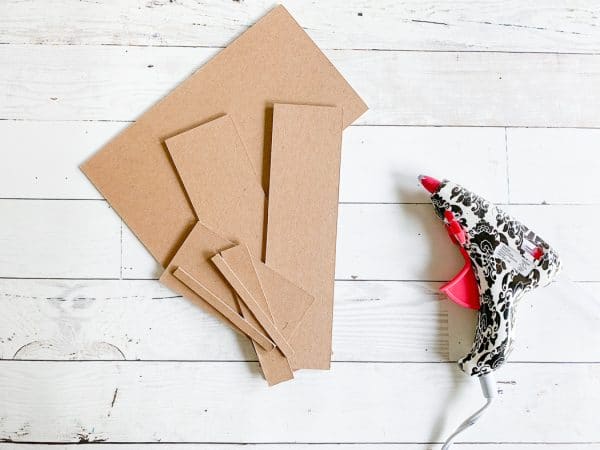
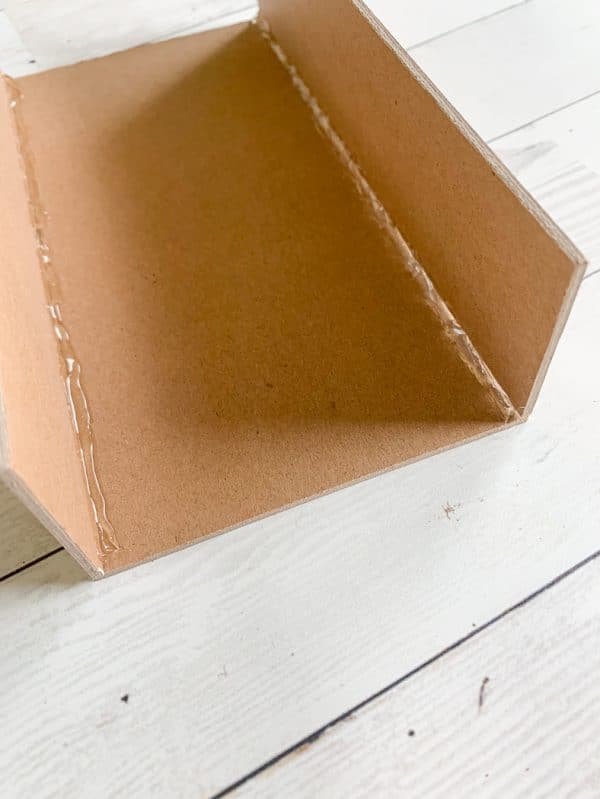
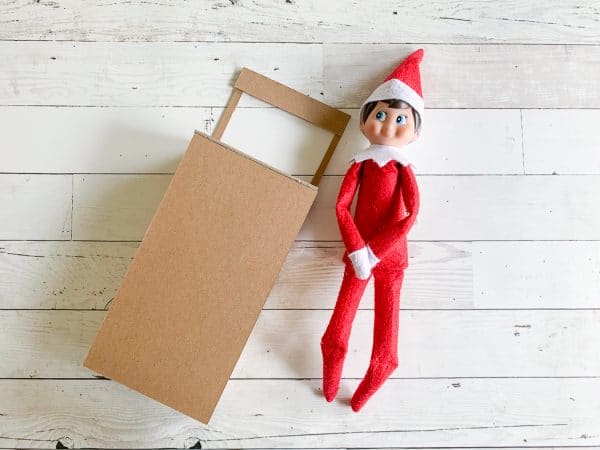
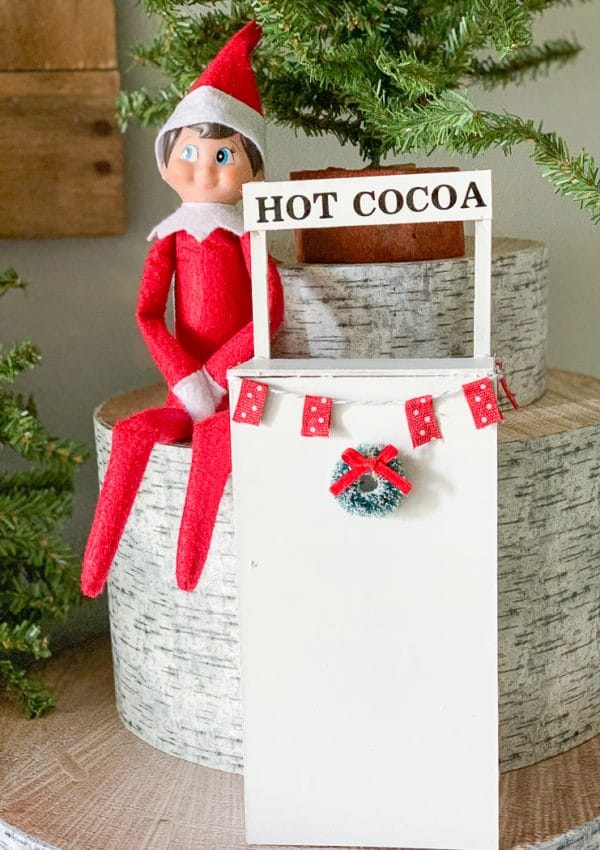
Once all of the pieces are cut, begin assembling the Hot Cocoa Stand. There are two side pieces, a front panel, a top, and a top sign and supports. I added a bead of hot glue to the inside corners around the whole Hot Cocoa Stand to help make it more durable.
Step 3
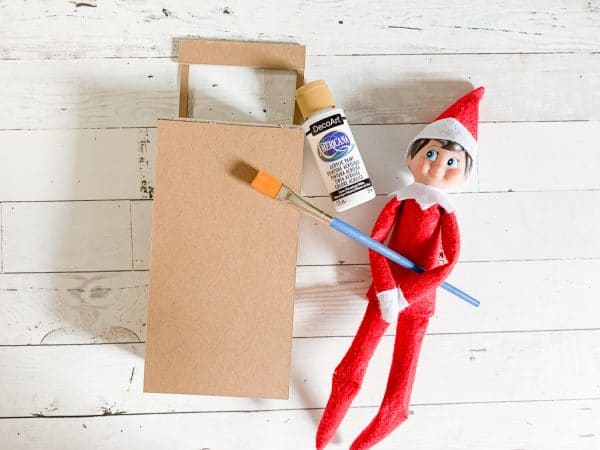
Paint the assembled Hot Cocoa Stand. While the paint dries, weed the excess vinyl for the sign.
Step 4
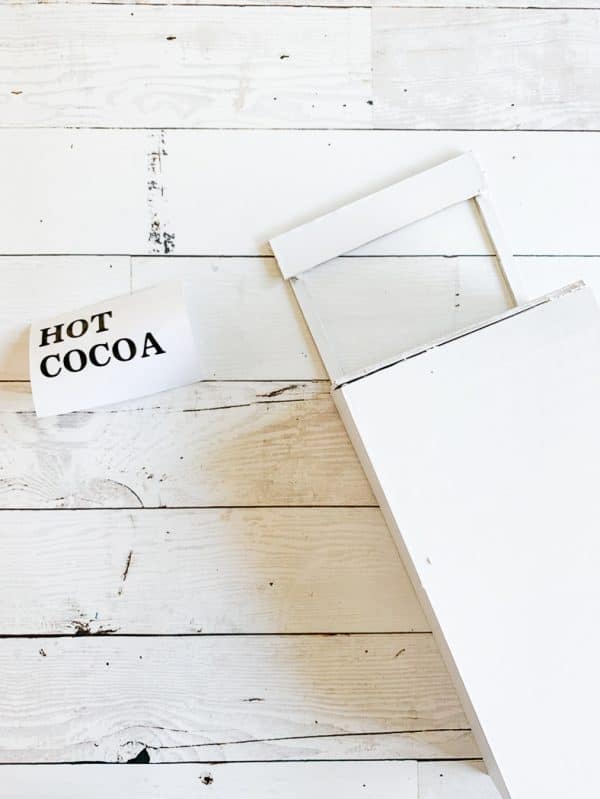

Once the paint is fully dry, apply the vinyl on the sign.
Step 5
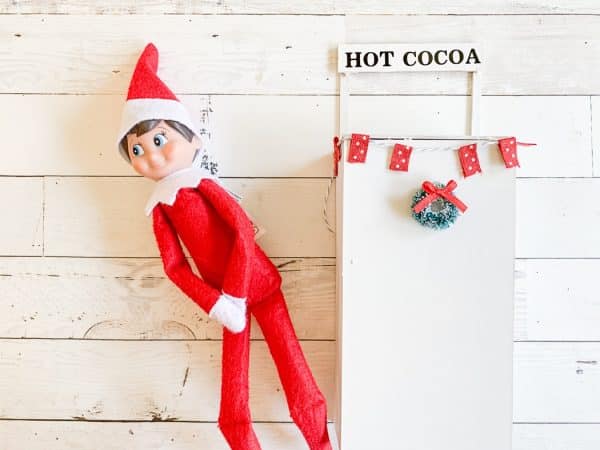
Optional – I hot glued a small craft wreath to the front of the Hot Cocoa Stand. But, I thought it still needed a little more, so I hot glued ribbon onto twine to make a tiny banner. Then, I hot glued the banner onto the Hot Cocoa Stand.
I absolutely love the way it turned out, and I can’t wait for the kids to see it!
This is so cute! I’ve never thought to do anything like this for our elf before!