Easy Halloween Treat Bag Tutorial
An easy DIY Halloween treat bag that can be cinched closed so your child’s treats don’t fall out!
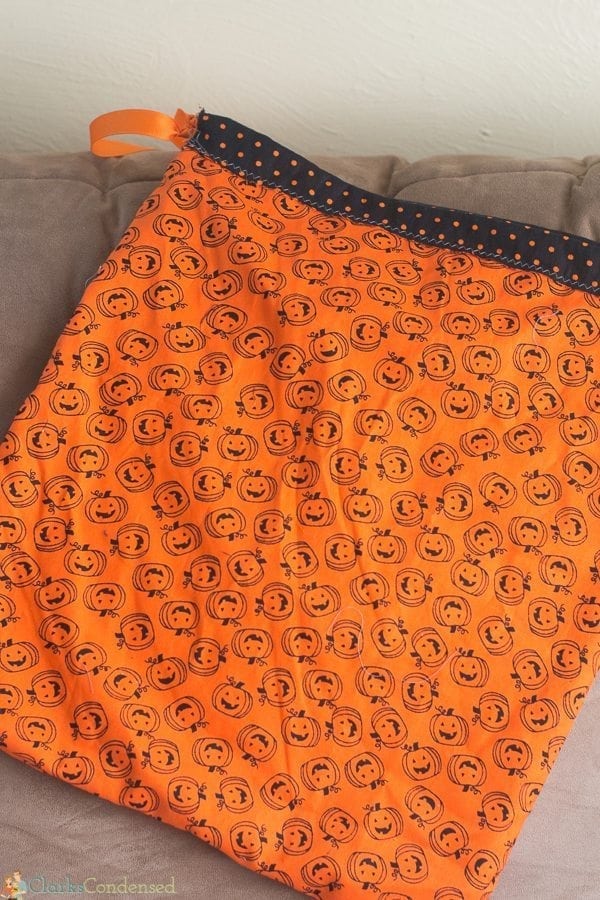
Halloween Bags for Candy
This is the first year that Jack seems to be really excited about Halloween and understand a little bit about what happens during the season.
It’s been a lot of fun to have him request a Halloween costume (he wanted our family to all be pumpkins – you can see the pumpkin shirts I made here), talk about “spooky” things and get excited about all the decorations we are seeing at stores.
I love Halloween, and it’s fun to be able to experience that excitement through a child’s eyes as well.
Jack is really excited about going trick-or-treating, so I thought it would be fun to make him his very own treat bag! In the past, we had just taken one of those plastic pumpkins from the Dollar Tree (which, in all honesty, I’m sure Jack would have loved to do again), but this seemed like it would be something that would be nice to have over the years.
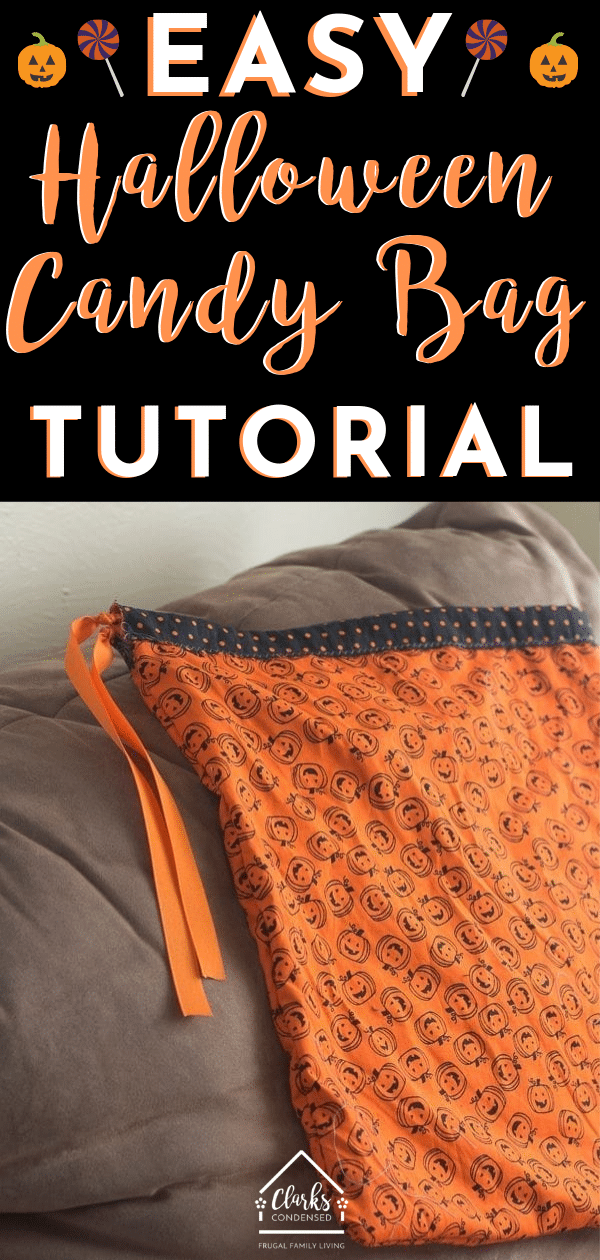
We went to Jo-Ann’s, and I let Jack pick out whatever fabric he wanted. He loves pumpkins this year, so it only made sense when he picked out the happy pumpkin print seen above.
I chose the liner fabric to be the black with orange polka dots, and it worked out perfectly.
This is a fairly simple project – it really doesn’t take any special skills to get it done! So, enough babbling – here is this easy Halloween treat bag tutorial! I’ll admit I’m not the best at explaining things, but hopefully, the pictures will be a better teacher.
If you have any questions, please don’t hesitate to leave a comment!
Originally posted in 2015; updated in August 2019
Halloween Candy Bag Tutorial
printable version available at the end of the post
Materials:
This wasn’t the longest bag in the world – probably ended up being about 25″ long in the end. If you want it to be longer, you’ll need to get more fabric. Just make sure you get the correct dimensions for your desired bag (make sure the length and width of the fabric is about 3-4 inches more.)
1 yard outer fabric
1 yard lining fabric
Matching thread
Matching ribbon – I would get at least 1 yard
Step One:
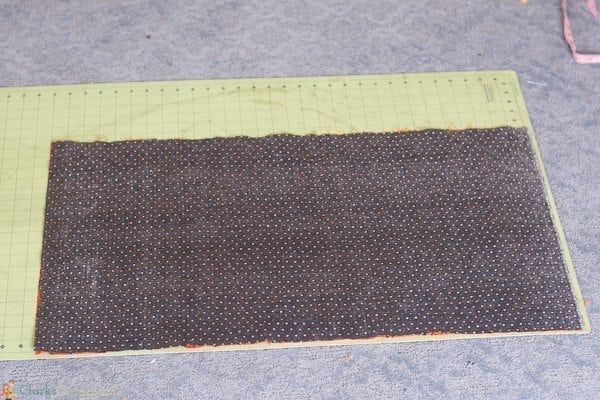
Lay the two fabrics on top of each other (right sides together) and cut them to the same size. You want the length to be about 3 inches longer than your total desired length, and the width should be 2x the width you want the bag to be.
Step Two:
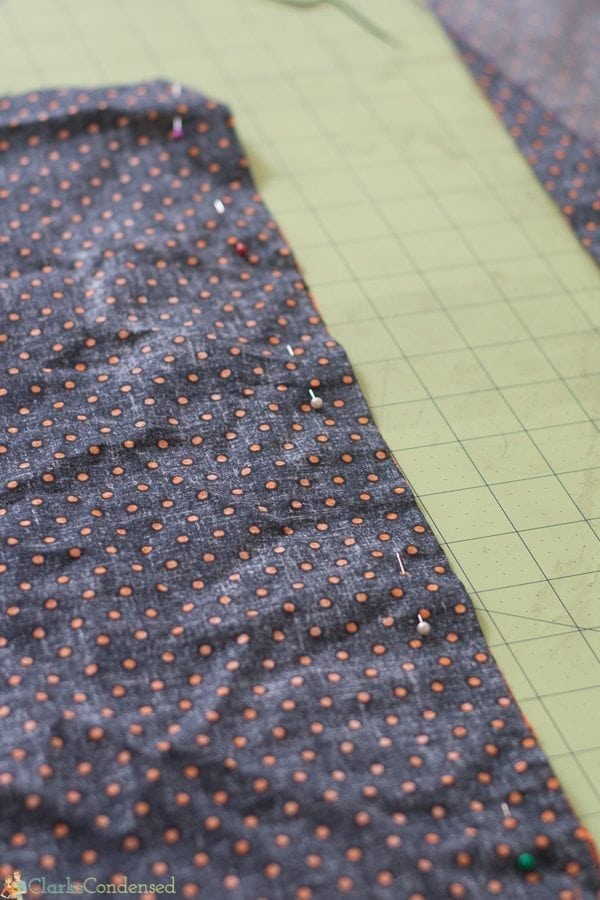
Pin all the sides (except for the side that will be the top of the bag) together. Sew along the edges of all three pinned sides.
Step Three:
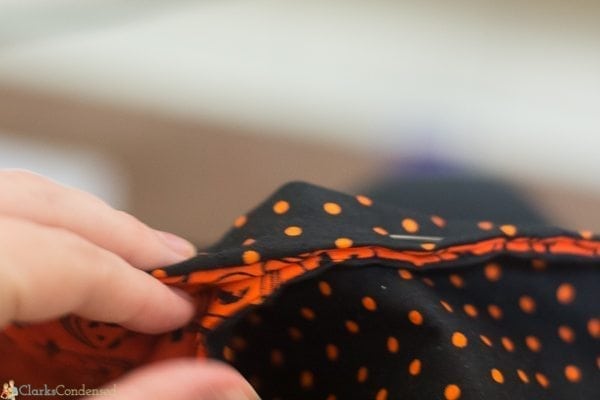
Flip the bag so the right sides are showing and fold in half so the lining fabric is on the outside. Pin the edges of the bag together (except for the opening of the bag.) The bag should resemble the desired ending size at this point.
Step Four:
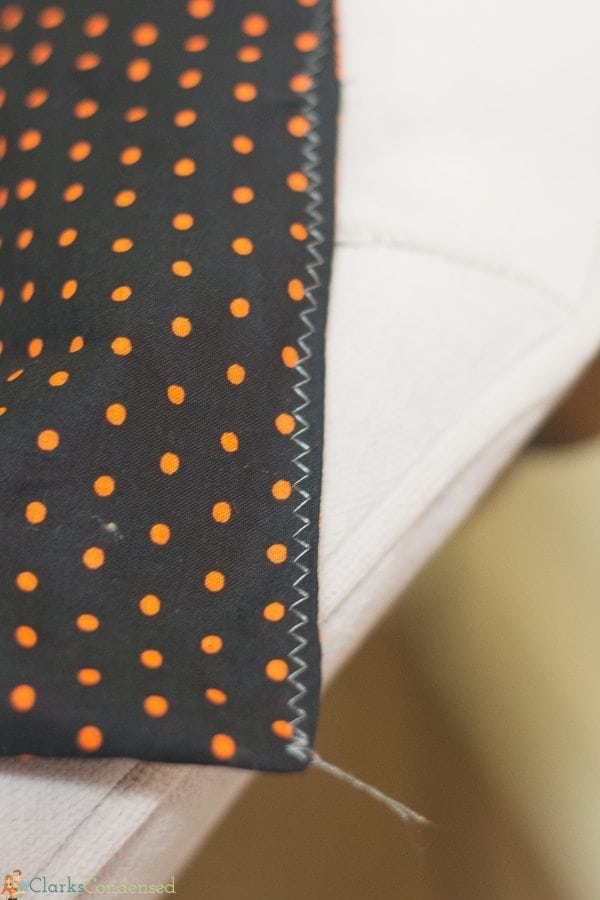
Sew along the two edges with a zig-zag stitch (only two edges will be pinned, since when you fold the bag, that will create one of the longer edges of the bag!)
Step Five:
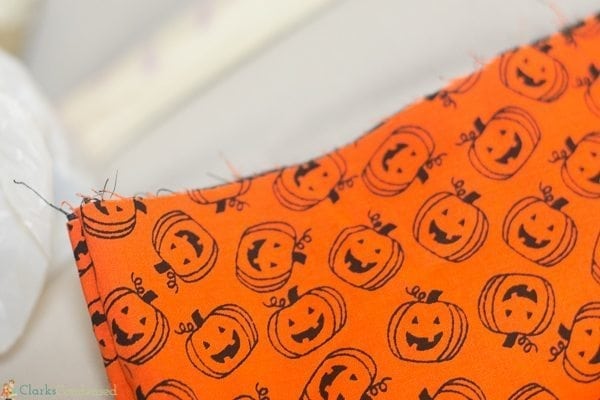
Flip the bag so the outside fabric is showing. Press the edges flat with an iron.
Step Six:
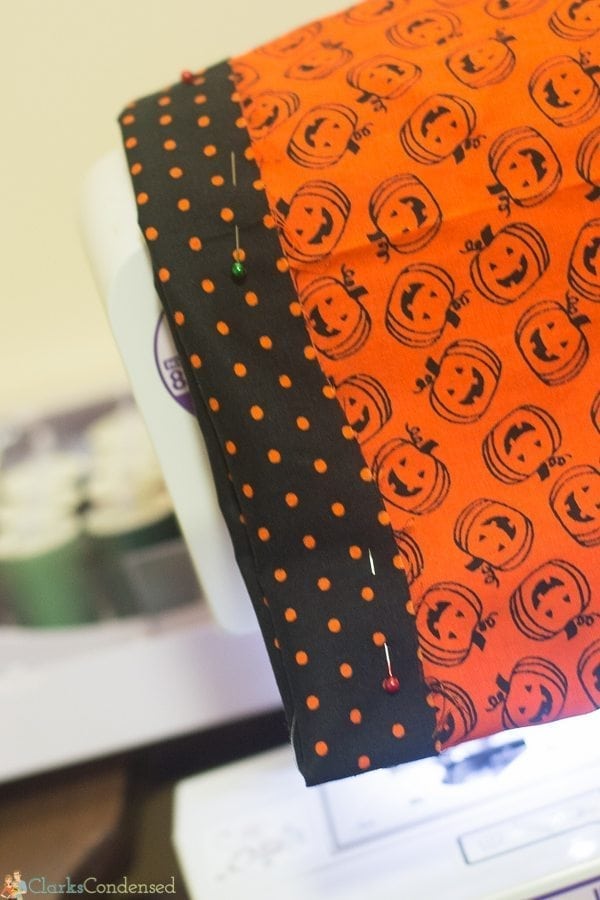
At the top opening of the bag, fold out about 2″ inches of fabric so the lining fabric shows to create a band. You want the band to be just slightly bigger than the width of your ribbon. Pin this fold all the way around the bag (making sure you don’t pin it to the other side!)
Step Seven:

Choose one of the ends of the bag and cut down the side a little bit. This will allow you to feed through the ribbon later. This is hard to explain for some reason, so if you are confused let me know!
Step Eight:

Sew a zig-zag stitch around the bottom edge of the top of the bag.
Step Nine:
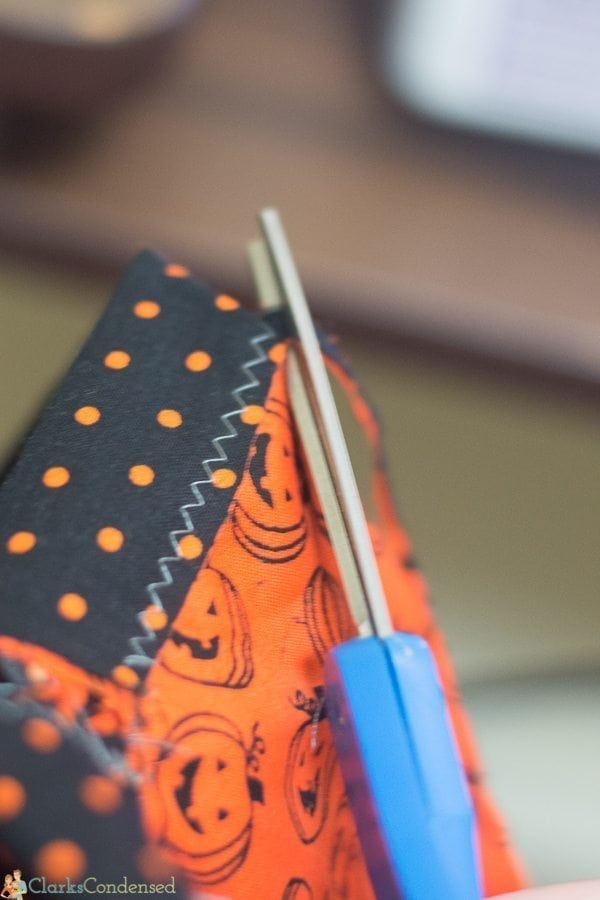
Trim off the excess fabric.
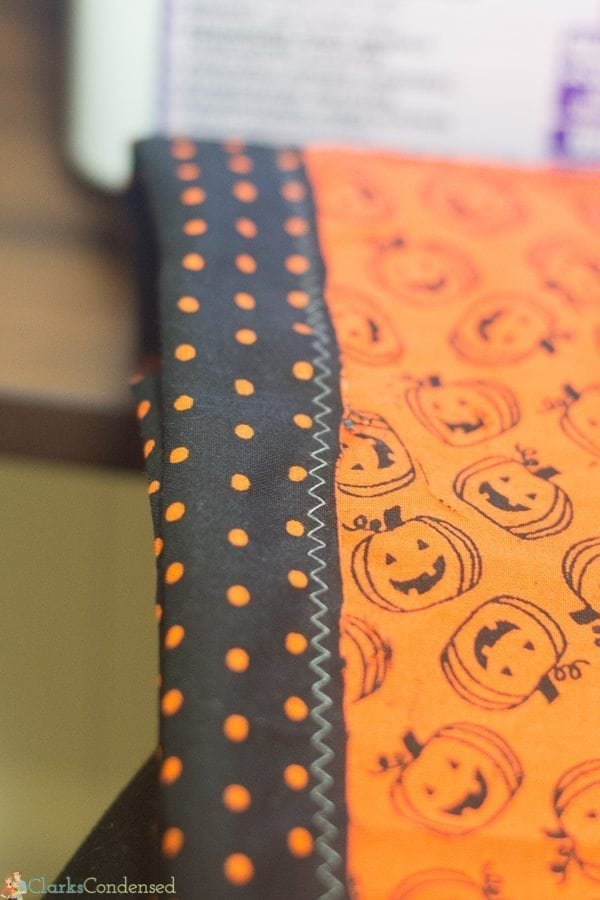
Step Ten:
Attach a safety pin to the end of a piece of ribbon that is slightly smaller than your bag’s top band.
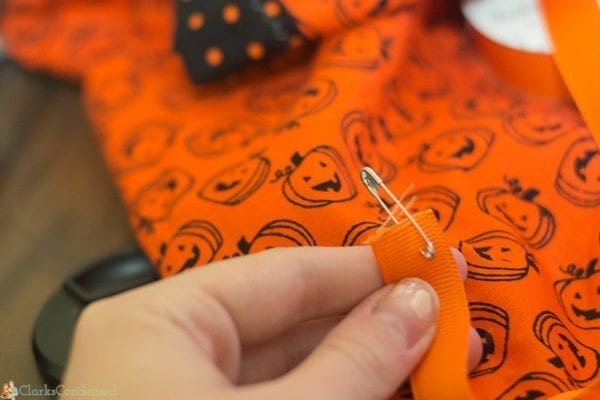
Step Eleven:

Feed through one end of the band to the other. Make sure you have enough ribbon pulled out so the ends are even and that they are long enough. Straighten out the bag to make sure the ribbon isn’t so short that it goes back into the band.
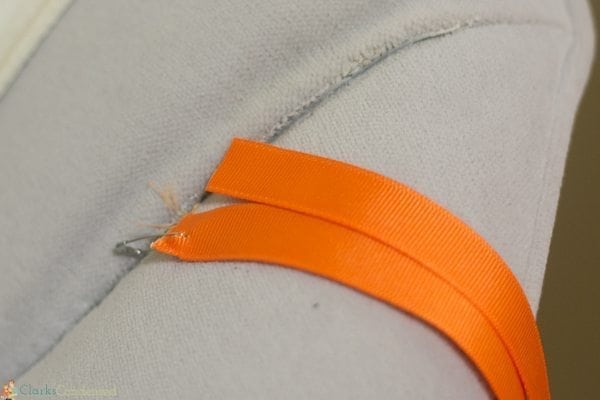
Step Twelve:
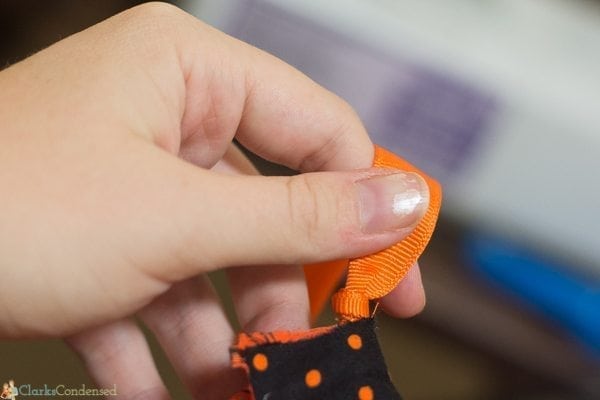
With the bag uncinched, tie a small knot on the ribbon right before it goes back into the bag.
Step Thirteen:
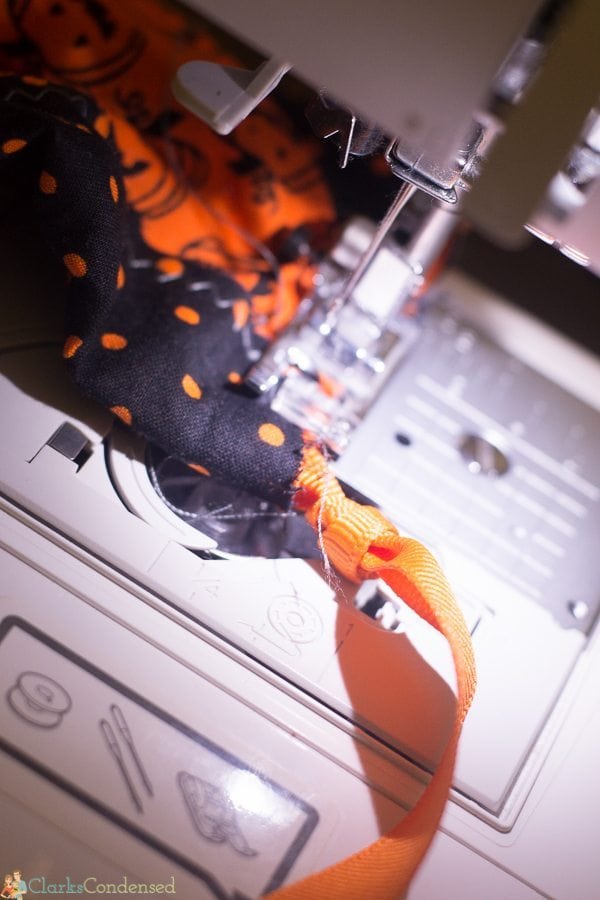
With your sewing machine, start at the bottom of the band and sew up until you are about to sew over the ribbon (but don’t sew over it!) You want this stitch to be as close as possible, so the ribbon doesn’t slip out…but not so close that you accidentally sew over the ribbon, which would make it so you couldn’t cinch it closed!
Step Fourteen:
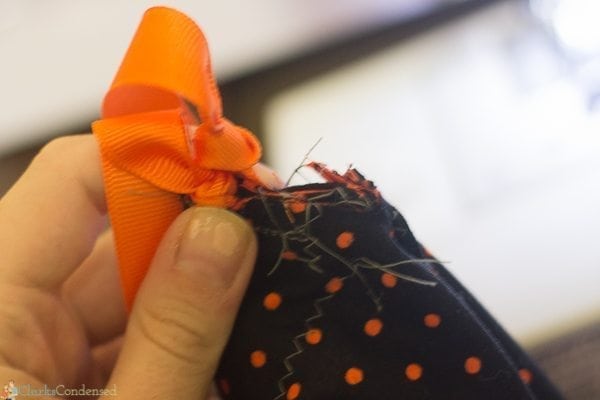
Then sew the loose edges of the bag back together (that you snipped earlier to make sure you could get the ribbon through.
Step Fifteen!
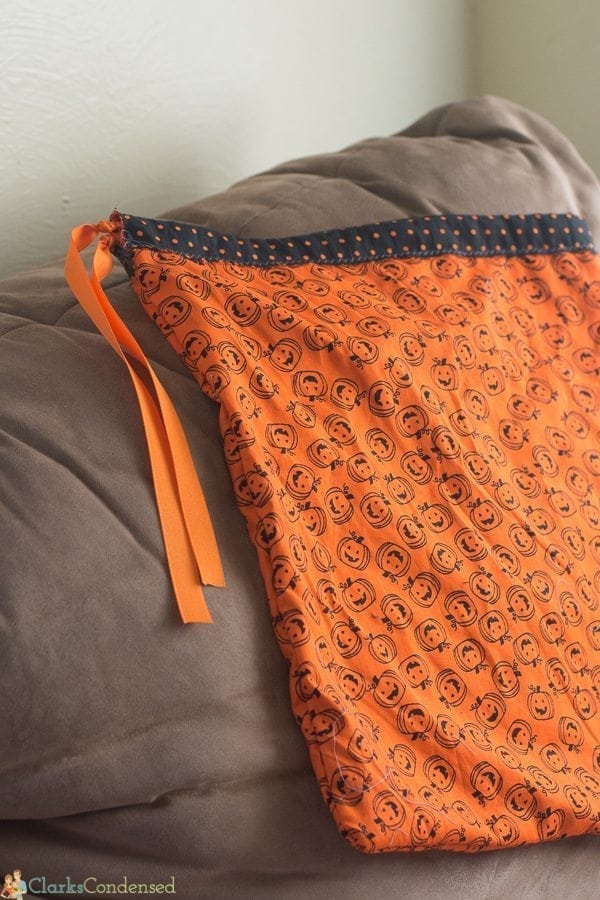
Enjoy!
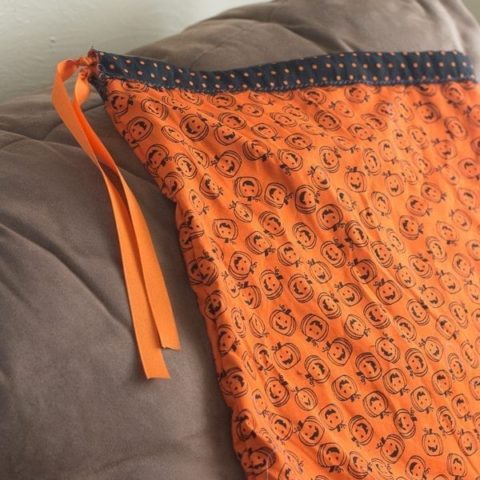
Halloween Treat Bag Tutorial
Materials
- 1 yard outer fabric
- 1 yard lining fabric
- Matching thread
- Matching ribbon – I would get at least 1 yard
Tools
- Sewing Machine
- Rotary Cutter
- Rotary Cutting Mat
Instructions
- Lay the two fabrics on top of each other (right sides together) and cut them to the same size. You want the length to be about 3 inches longer than your total desired length, and the width should be 2x the width you want the bag to be.
- Pin all the sides (except for the side that will be the top of the bag) together. Sew along the edges of all three pinned sides.
- Flip the bag so the right sides are showing and fold in half so the lining fabric is on the outside. Pin the edges of the bag together (except for the opening of the bag.) The bag should resemble the desired ending size at this point.
- Sew along the two edges with a zig-zag stitch (only two edges will be pinned, since when you fold the bag, that will create one of the longer edges of the bag!)
- Flip the bag so the outside fabric is showing. Press the edges flat with an iron.
- At the top opening of the bag, fold out about 2″ inches of fabric so the lining fabric shows to create a band. You want the band to be just slightly bigger than the width of your ribbon. Pin this fold all the way around the bag (making sure you don’t pin it to the other side!)
- Choose one of the ends of the bag and cut down the side a little bit. This will allow you to feed through the ribbon later. This is hard to explain for some reason, so if you are confused let me know!
- Sew a zig-zag stitch around the bottom edge of the top of the bag.
- Trim off the excess fabric.
- Attach a safety pin to the end of a piece of ribbon that is slightly smaller than your bag’s top band.
- Feed through one end of the band to the other. Make sure you have enough ribbon pulled out so the ends are even and that they are long enough. Straighten out the bag to make sure the ribbon isn’t so short that it goes back into the band.
- With the bag uncinched, tie a small knot on the ribbon right before it goes back into the bag.
- With your sewing machine, start at the bottom of the band and sew up until you are about to sew over the ribbon (but don’t sew over it!) You want this stitch to be as close as possible, so the ribbon doesn’t slip out…but not so close that you accidentally sew over the ribbon, which would make it so you couldn’t cinch it closed!
- Then sew the loose edges of the bag back together (that you snipped earlier to make sure you could get the ribbon through.
Other Halloween Projects You May Enjoy:


Cute! And what a great idea! We usually are trashy and use a plastic grocery bag, but this is so much better! Plus you can reuse it every year!