Easy Happy Halloween Sign
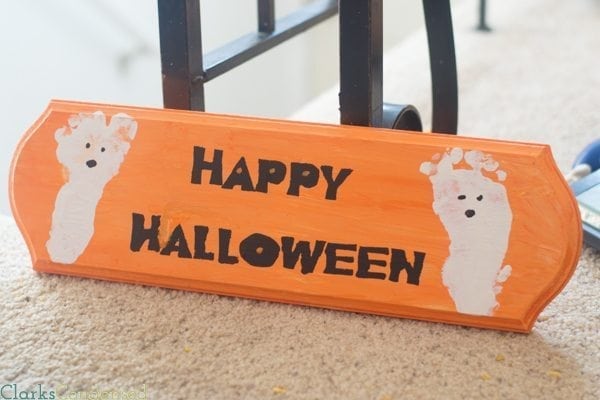
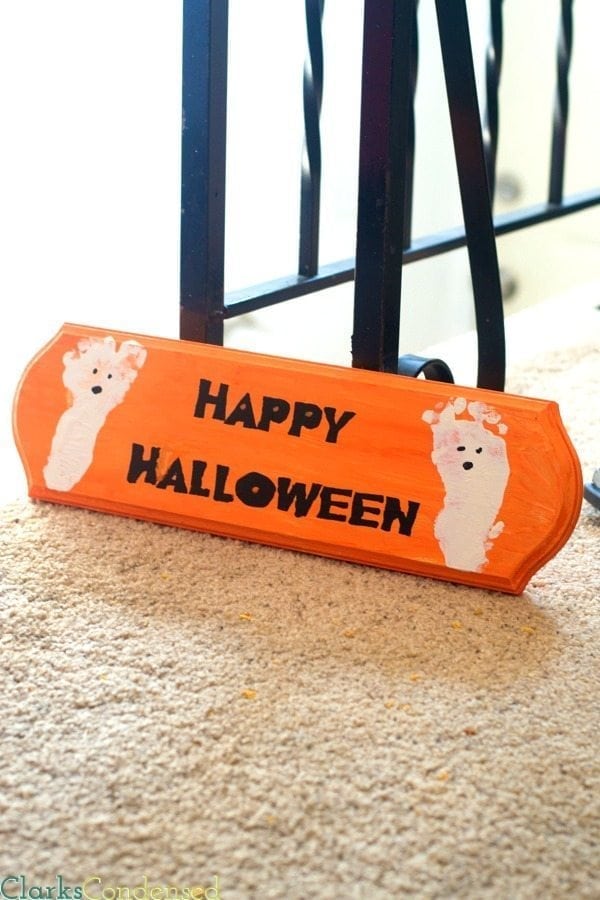
This easy Happy Halloween sign is one that can be made in just about an hour and kids can enjoy making it, too, by using their footprints to make ghosts!
 I’m not the most crafty gal around, though sometimes I pretend to be. My sewing projects take way longer than they should (and I have a room full of half-finished ones), and if you look at any craft I make, there’s obvious imperfections. Still, I enjoy crafting, and even if my crafts are no where near perfect, I personally like that home made touch.
One crafting tool I’ve been dying to use is a Silhouette. For over a year, I’ve entered giveaway after giveaway, trying to win one, with no luck. So I was so excited when Silhouette agreed to work with me on a few projects and try out their Silhouette Portrait.
I’ll be honest — it’s been a bit of learning curve! There have been a couple of times where I have just about thrown it out the window. For those of you who are experience Silhouette-ers, you’ll probably laugh, especially when you see how simple this project is. I thought it would be a good first project, and in the end, it was, since I mastered the basic skill of cutting cardstock (with the help of my friends Brenna from Life After Laundry and Amber from Rickabamboo!)
I saw somewhere on Pinterest the idea of making ghosts out of little kid footprints. I thought that was such a fun idea, and so I started brainstorming how I could make a lasting decoration incorporating that. So, I came up with this wooden plaque. Jack and I had a lot of fun painting it together, and it turned out to be the perfect beginning project to try out my Silhouette with.
With that said, it didn’t turn out perfect! We messed up on the footprints a couple times, so I ended up making the board a little more orangey-white (which I actually ended up liking more.) I didn’t paint the letters perfectly, and a little bit of the black paint went where it wasn’t supposed to. But really, isn’t that the fun of homemade crafts?!
Materials:
Wood plaque (I bought mine at Joann’s — similar to this one)
Orange acrylic paint
Black acrylic paint
White acrylic paint
Stencil for Happy Halloween (I made mine using the free font, Ghoulish Fright, and my Silhouette machine)
Cute little kid feet for ghosts (or you can make/buy a stencil for your desired spooky shape!)
Foam paint brushes
Alternatively, you could create the letters using colored vinyl if you don’t want to mess with paint!
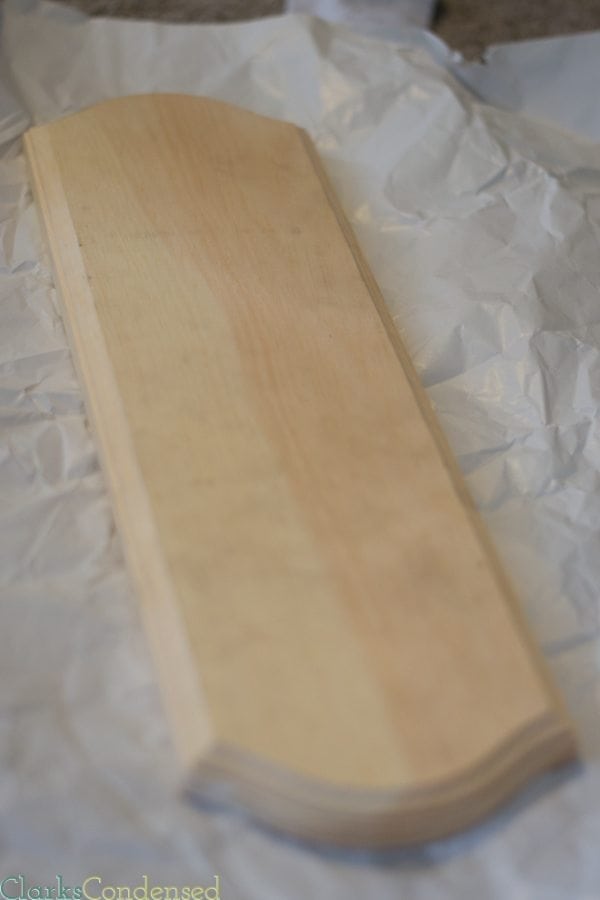
Step One:
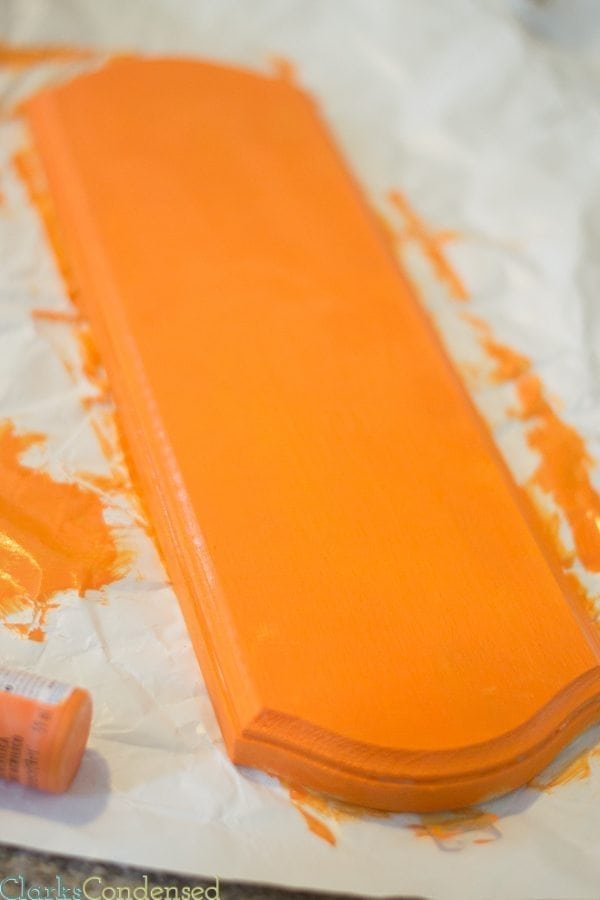
Paint several coats of orange paint onto all sides of the wooden board. If you’d like, paint the board white first and then an orange layer afterwards. That’s what ours ended up looking like, since we messed up with the foot prints, and I had to paint over them!
Step Two:
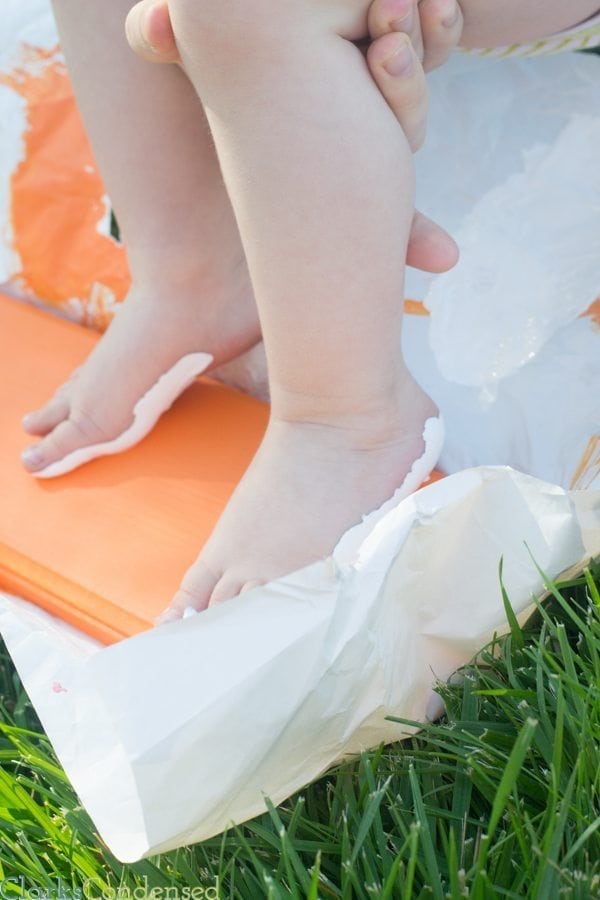
If you are using a child’s footprints to make the ghost, carefully place their feet in the white paint and make one foot print on each edge of the board. If you mess up, it’s okay! Just wipe your tears, repaint the board, and start again!
If you aren’t going to be using a child”s footprints, just paint on whatever Halloween picture you’d like — hand drawn or with a stencil!
Step Three:
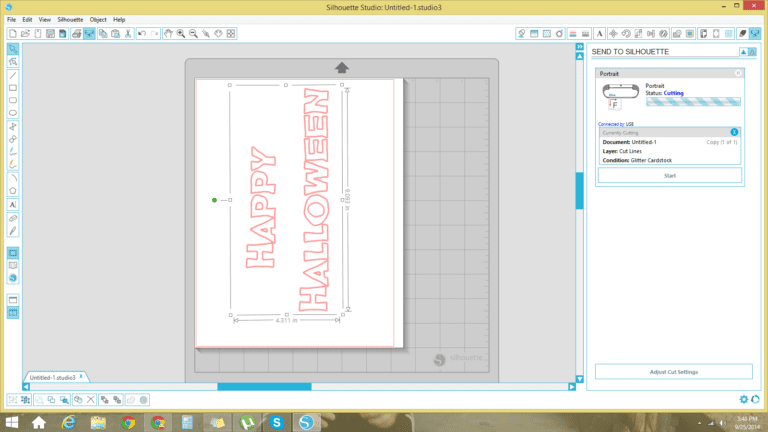
While the paint dries, go to your Silhouette software and make the stencil you would like to use. As I mentioned, I downloaded the Ghoulist Fright font, and then created the text to be about 4×9
Step Four:
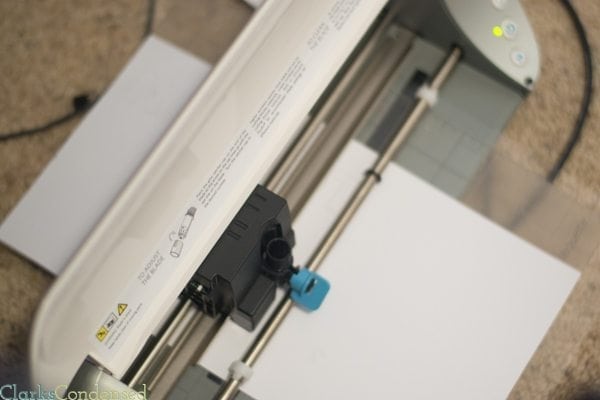
If you are planning to pain the words on, place a piece of card stock into your Silhouette machine and send your work to cut. If you are using vinyl, then place your vinyl in.
Step Five:
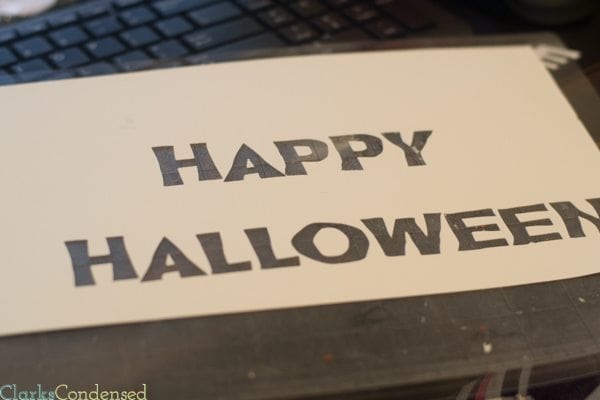
Weed out the words until you have your stencil.
Step Six:
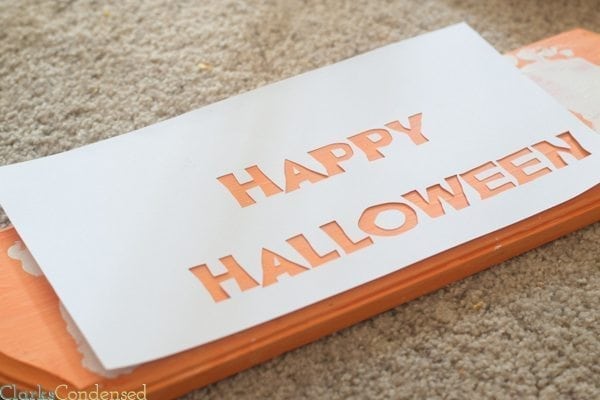
Carefully place your stencil on the board and tape it down lightly. Make sure you put it on the board the right way — I accidentally put it on with the toes of the footprint facing up, rather than down. I think ghost footprints look better with the toes facing down.
Step Seven:
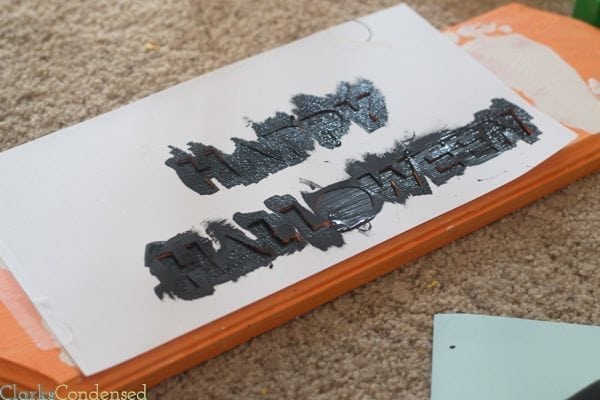
Using a foam brush, paint the words on. You should just do one coat at a time, as too many coats at once can bleed through and ruin your board. Let dry completely before removing the stencil.
Step Eight:
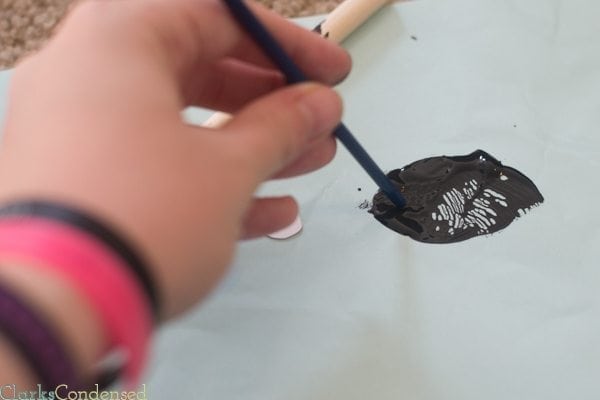
Make eyes and a small mouth on the ghost footprints using the tip of a paint brush, pen, etc.
Let dry and enjoy! Be sure to put a hook on the back so you can hang it up!
