
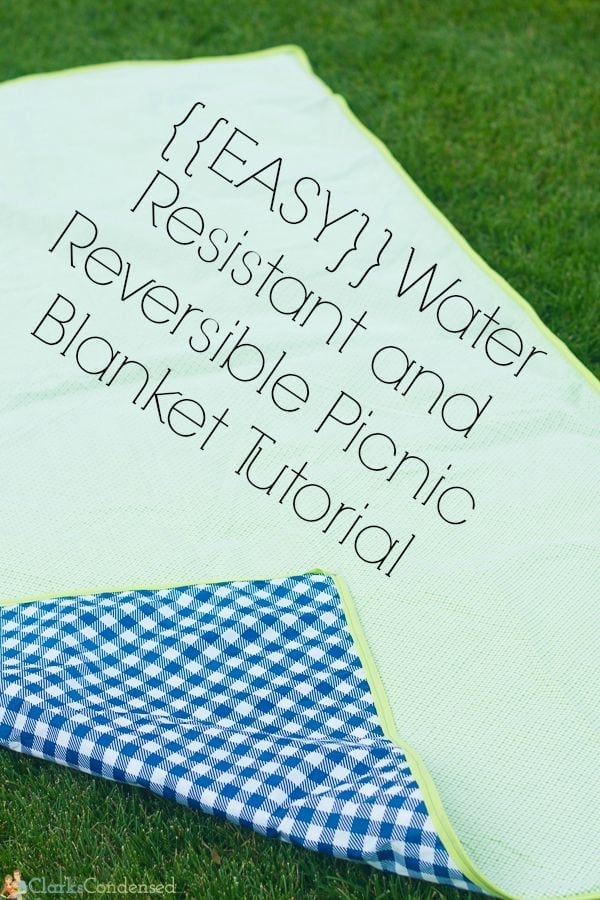
EASY DIY Waterproof Picnic Blanket Tutorial
This is an easy, reversible and waterproof picnic blanket tutorial that is a great beginner’s sewing project. It’s really fun to have during the summer for picnics!
DIY Picnic Blanket
Several summers back, Forrest, Jack, and I were staying with my parents for the summer. My sister, Diana, and I had all these grand plans for fun sewing projects we could do together. Well, most of those didn’t really pan out, but one of the projects we actually completed were picnic blankets! I loved it so much because it was water resistant, reversible, and just super cute.
Well, something happened to it last year (or maybe the year before), and it ended up getting a bunch of mildew on it. Gross, I know. We threw it out, and I always had the intention of making another one. It took me until this year to do so, but I’m so glad I finally did. I started this in May, and I just finished it a few days ago…just because I’ve been a bit tired growing a person, but I’m happy to say it’s finally finished.
It’s seriously such an easy project. I don’t even know where the tutorial we used initially is, but I just kind of improvised and came up with my own pattern and tutorial. You don’t need a lot of sewing skills for this, and it’s really fun to have for picnics during the summer.
How to Make a Picnic Blanket
Materials:
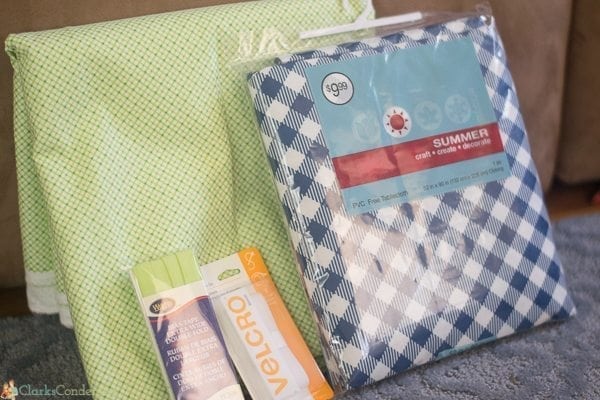
- One vinyl tablecloth (we got ours for 1/2 off at Jo-Ann Fabric. It was located in one of the end caps of an aisle. Select a table cloth in the shape and pattern that you like. For the purposes of this tutorial, we used a vinyl table cloth we purchased at Joanns
- Flannel fabric that is the same length as the table cloth, plus about 1/4 yard. If you can get it the same width, that’s great. The flannel we got was more narrow.
- Matching Thread
- Velcro Tape – I used the sew-on tape, though you can probably use the sticky-back kind if you’d rather
- About three packets of matching double wide bias tape
Step One:
Place tablecloth, right side up, on the ground.
Step Two:
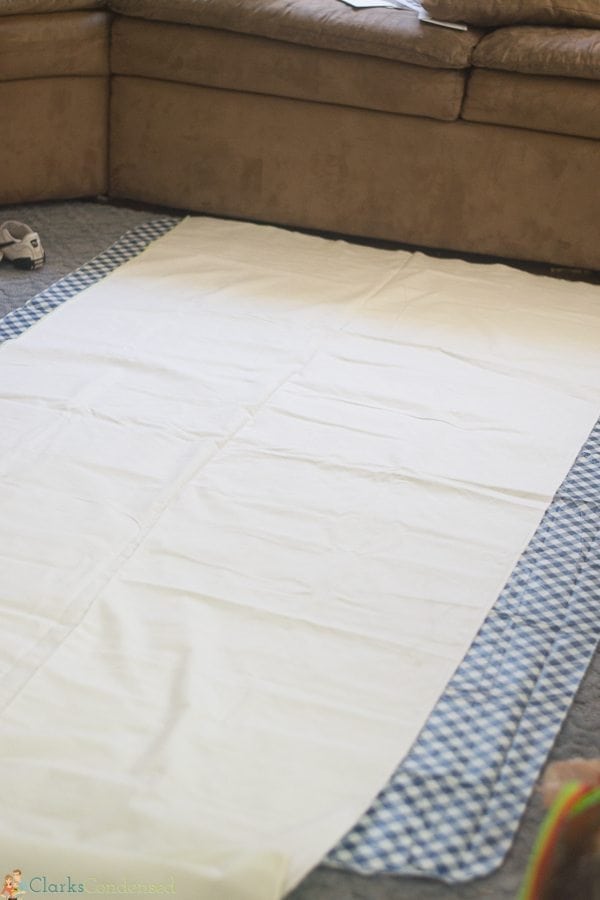
Lay flannel on top of the table cloth, making sure the right sides are together. Line it up as precisely as possible and make sure there are no creases in the fabric.
Step Three:

Pin the fabric together along all of the edges.
Step Five:
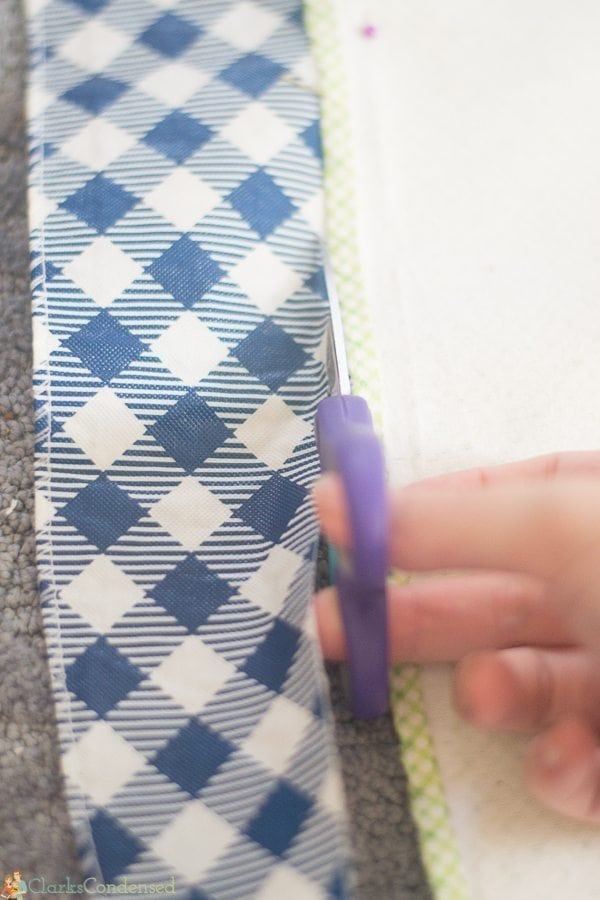
Cut off excess material, if any.
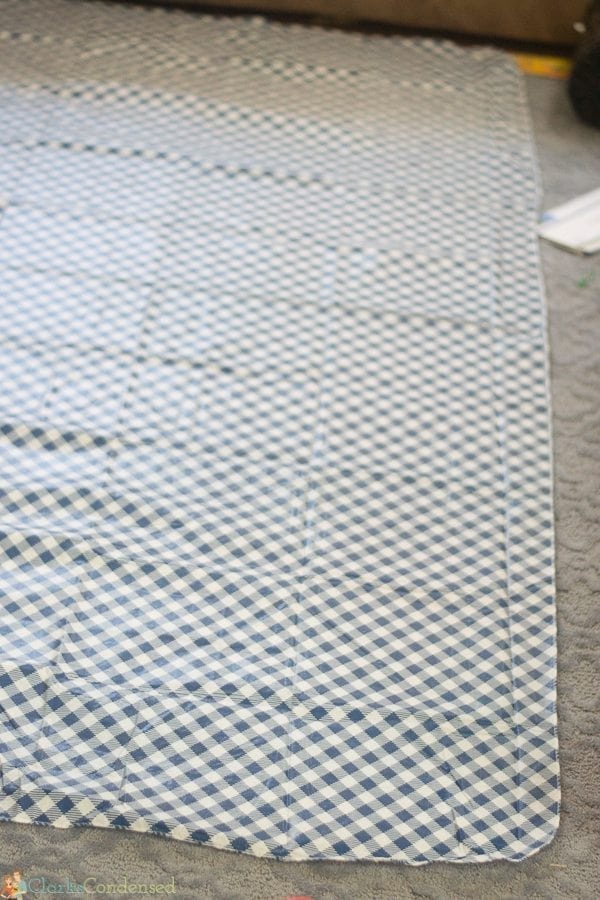
Step Six:
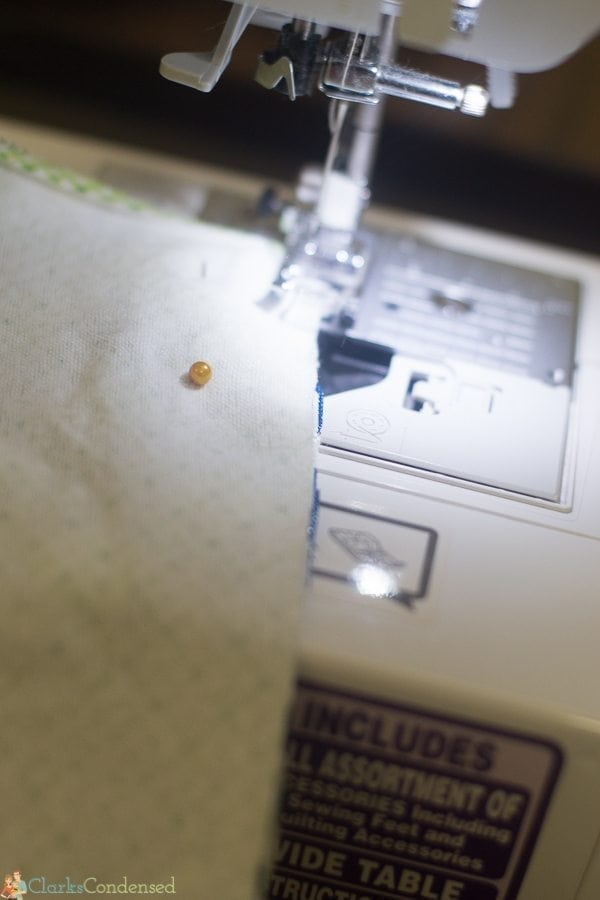
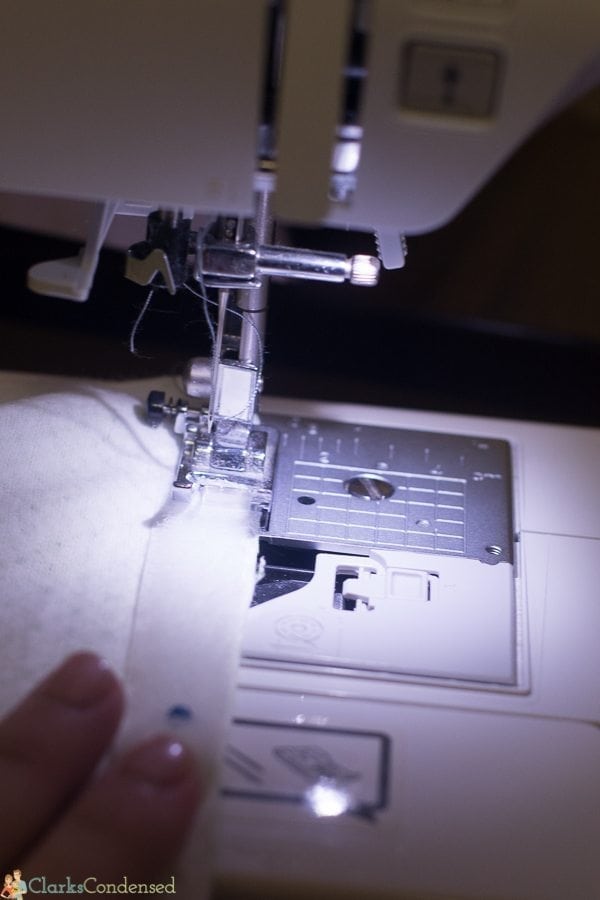
Sew along all the edges at about 1/4″ stitches. Make sure to leave about 5 inches.
Step Seven:
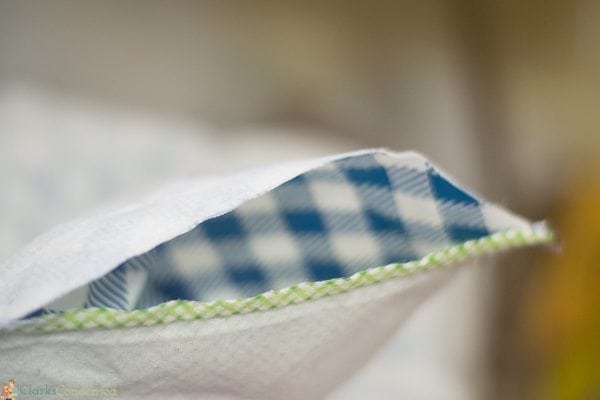
Cut the corners (before the seam) and then turn the blanket right side out through the gap you left open.
Step Eight:

Sew bias tape all around the edges of the blanket with about 1/4″ seam. I used the bias tape to close off the gap, but you can easily do this before as well. I used about 2.5 packages of lime green bias tape.
Now at this point, you can be done. However, I really wanted to be able to fold mine up and have it stay that way. If you’d like it to be like this as well, continue for the simple steps to add a velcro strap.
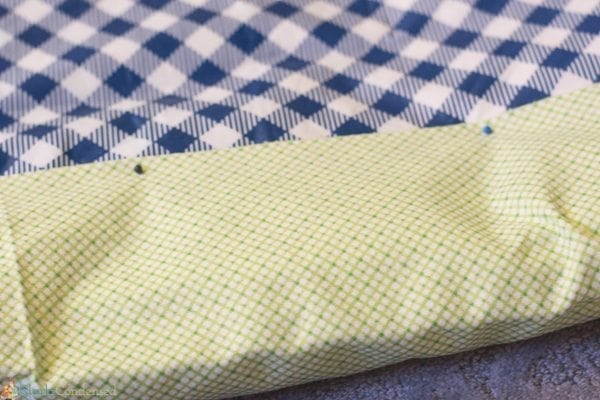
Step Nine:
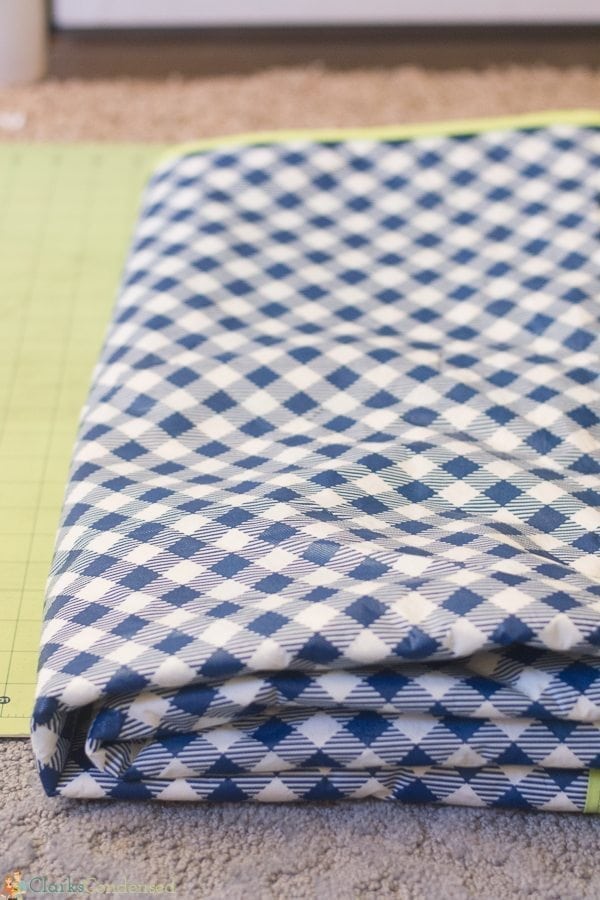
Carefully fold the table cloth until you get to the desired size.
Step Ten:
Pin the extra flannel fabric to one side of the blanket – you want this to be on an open edge if that makes sense.
Step Eleven:
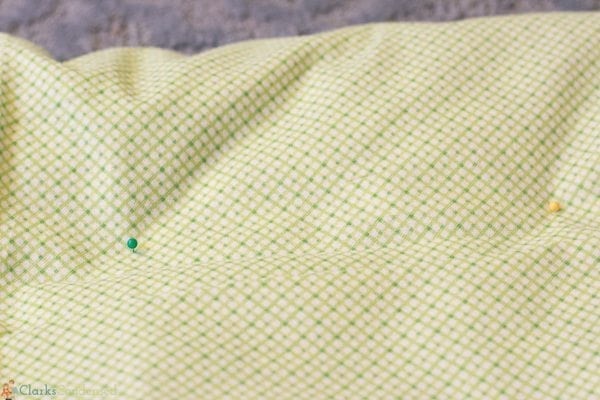
Flip the blanket over and put the rest of the fabric on that edge, measuring down about the same distance and marking with pins.
Step Twelve:
Cut off the excess fabric.
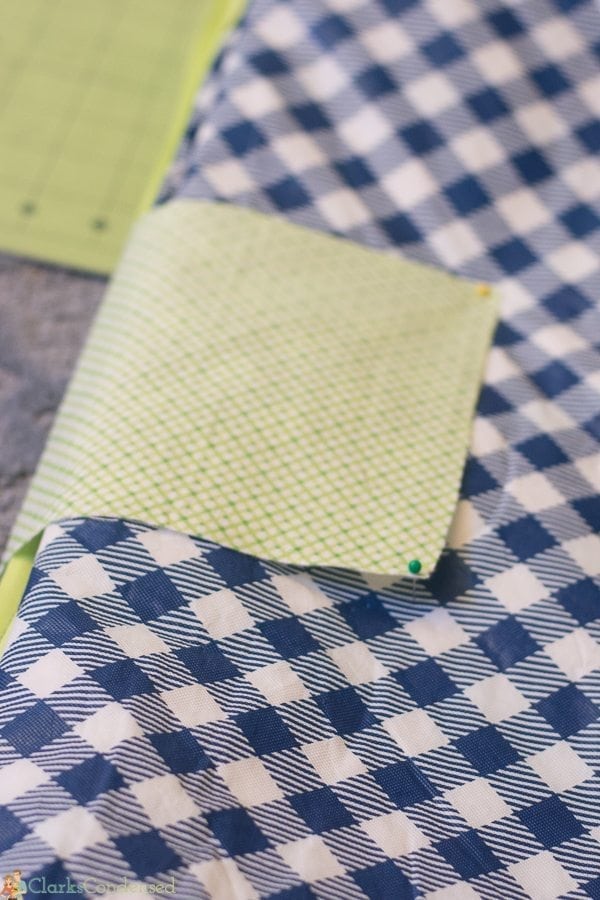
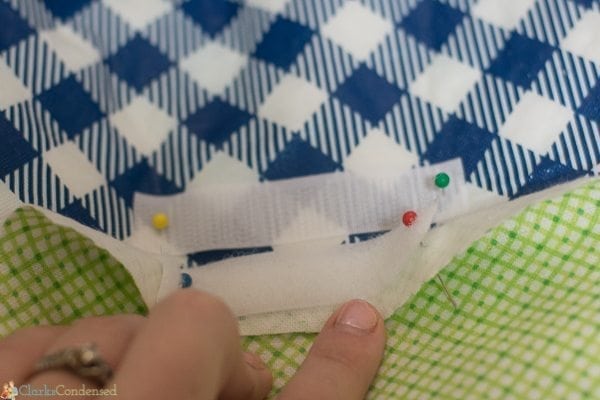
Step Thirteen:
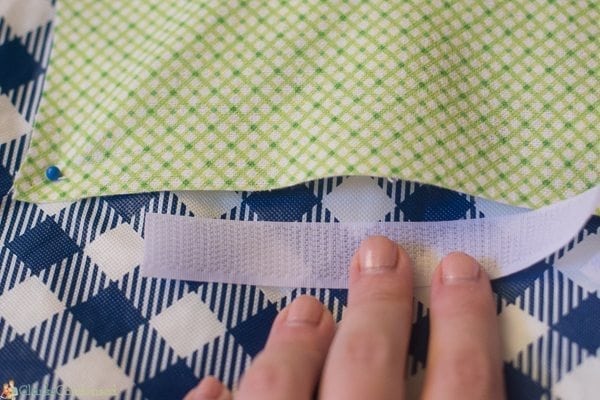
On one of the ends of the fabric strap, measure out velcro. Pin the prickly side to the blanket, and the other side to the fabric.
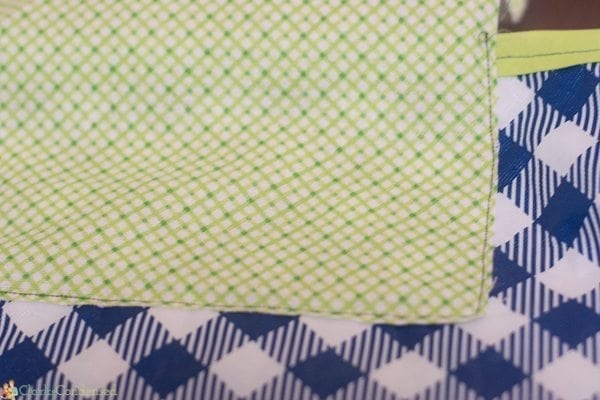
Step Fourteen:
On the other edge (where you don’t have the velcro) sew around the edges to attach to the blanket. You will need to unfold the blanket slightly so you don’t sew the flannel flap to the other pieces of the blanket.
Step Fifteen:
Attach the velcro to the other edge of the velcro strap and to where you attached it to the other side of the blanket.
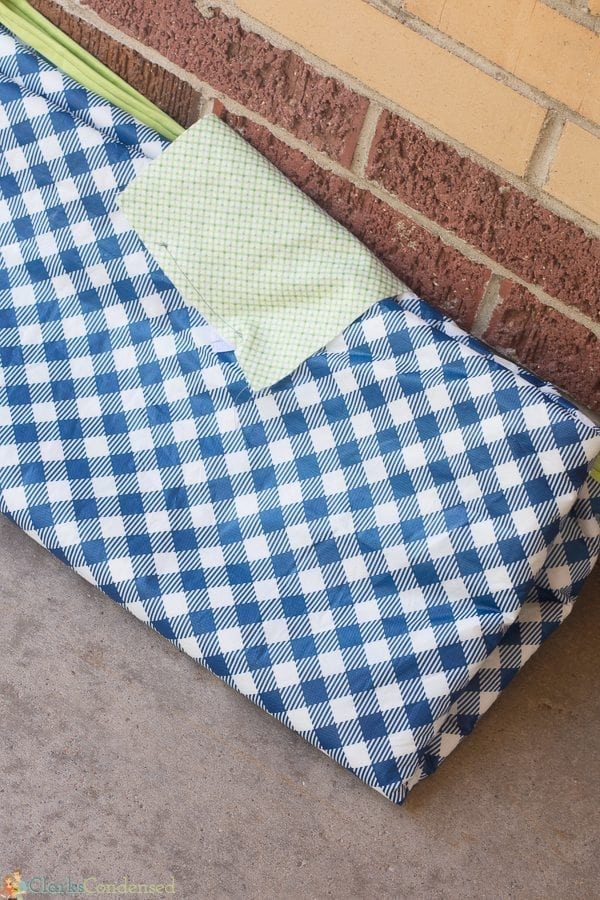
Fold up and enjoy!
Originally published in June 2015; updated June 2018.
Can the finished picnic rug be washed in a machine. Does the vinyl table cloth hold up to it. I want
to do a patchwork pieced top with a waterproof backing, but wondering about washing it?
We have washed ours with success!
Thank you for this tutorial. The only thing I would change would be adding carrying straps and the area of fabric you adhere Velcro to before you sew the seam. Yes it would leave an area without bias tape but it will be stronger. With any strap you still want to sew on the outside as well since it will be tugged on.
Thanks for your feedback! <3
Great idea with the waterproof table cloth – i had not thought about that. Thanks for the ideas!
You are so welcome! Thanks for checking this out!
Nice post! Waterproof blankets are good for picnic. Thanks for sharing this information.
Nice blog post! The waterproof blankets are good when you decided to go out for the picnic. Great quality is essential when purchasing these blankets.
hi, Thanks for this interesting and helpful topic to make waterproof picnic blankets by yourself love your idea whenever we go for a picnic there is a big problem to sit in grass. You explained you steps in easy and good manner.
Thanks! I’m glad you found it helpful!
What a great idea. My kids are messy on picnics and often spill. Are you able to wash this blanket?
Thank you! And you know, I think it depends on what the picnic blanket material you get says on the instructions. I believe you can buy a kind of vinyl at Jo-Ann’s that is similar to a picnic table that *might* be washable.
We just had a picnic today! I love the idea to make your own and to make it waterproof. A lot of times the grass is pretty wet when you lay down the blanket and this is the perfect solution!
We love picnics – such a fun way to spend time outdoors! And it’s so true that the grass is wet pretty often. I am excited to take this to Jack’s tball game especially…the grass is always so wet at his early games!