Fall Fabric Bunting Flags Pattern
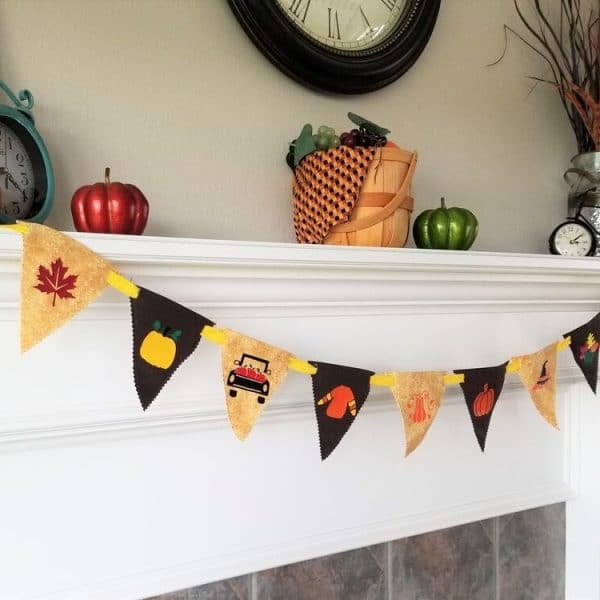
I stood there staring at the mantel thinking, “it’s missing something”. But what?
It needed to be something simple but that could add some color, texture and fast enough to get done in an hour or less.
And it hit me, what about a quick fabric bunting flags project. I love paper bunting, but fabric would store better and give some great texture to the mantel.
Plus, fabric bunting is a super simple way to decorate for each season. You can use this same pattern and create bunting for Christmas, birthdays, even Valentine’s Day.
Throw in some matching fall pillow covers and you’ve got an entire room ready for the season.
How to Sew Fabric Bunting
Materials Needed
- Bunting Cut Files in Design Space
- Red, green, yellow and orange iron-on vinyl
- (3) 12×12 squares of yellow fabric
- (2) 12×12 squares of brown fabric
- (3) 12×12 squares of lightweight fusible interfacing
- 2 yards of yellow bias tape or ribbon
- Thread
- Sewing Machine
- Cricut EasyPress Mini
Step 1
Load iron-on vinyl on green mat and cut out each of the designs in red, yellow, orange and green.
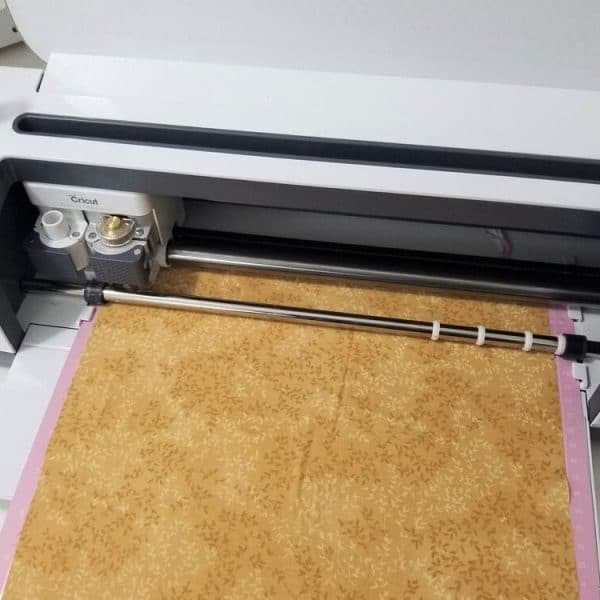
Load fabric and interfacing on the pink mat and cut out 4-5 of each using the rotary blade.
Step 2
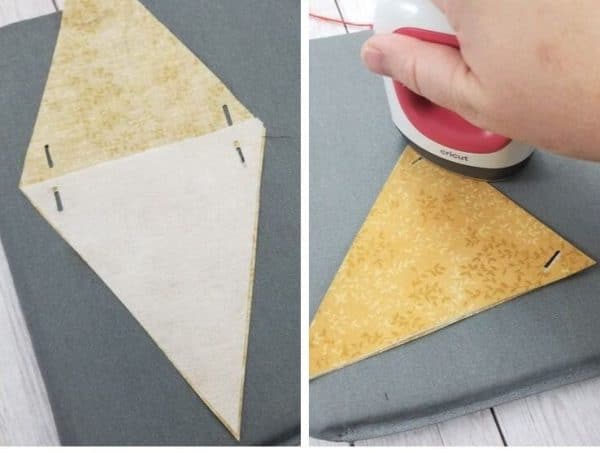
Slice interfacing in half along the middle. Press interfacing to wrong side of fabric. Fold bunting in half and press.
Step 3
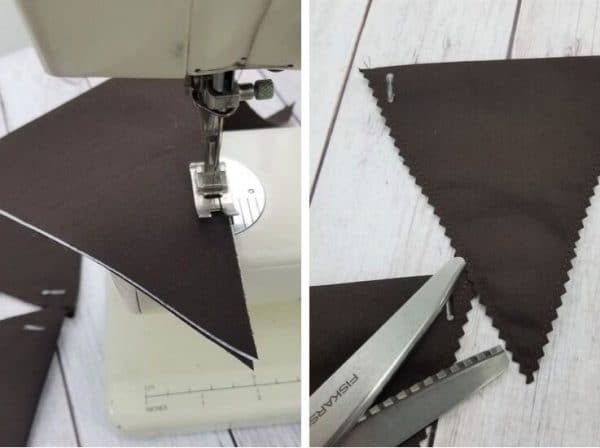
Stitch the two diagonal seams on the sewing machine. Trim raw edges using pinking shears. Repeat with each bunting triangle.
Step 4
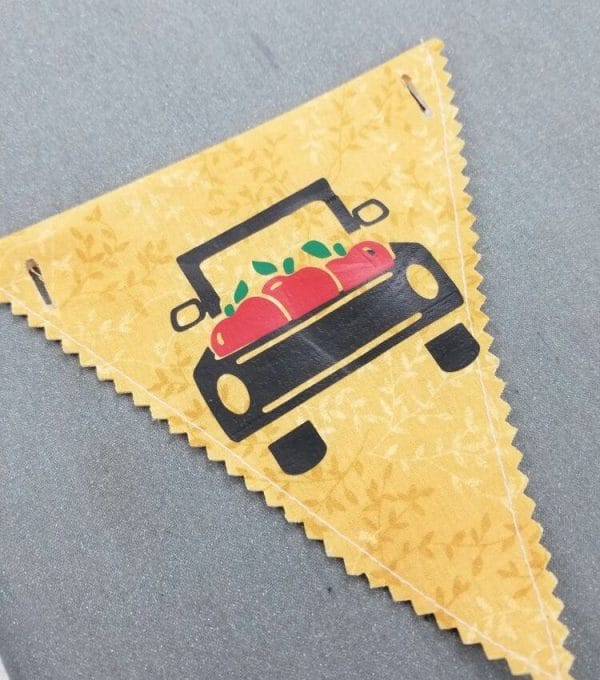
Use Cricut EasyPress Mini to press cut out vinyl designs to the middle of each bunting triangle.
Step 5
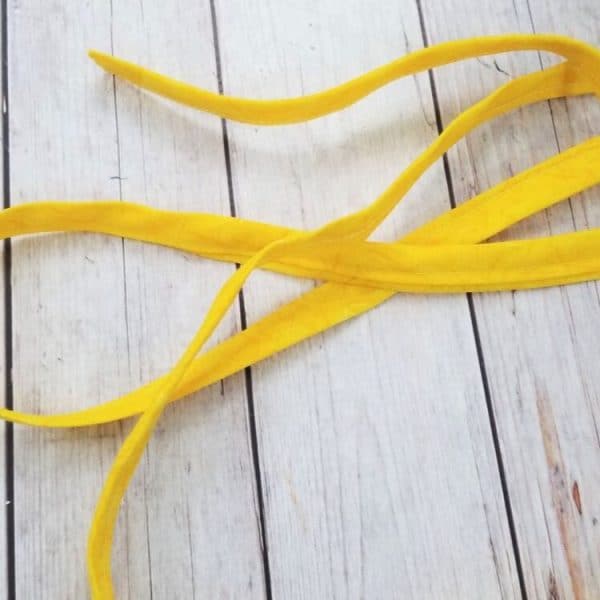
Grab bias tape. Stitch the opened of the bias tape closed.
Want to make your own bias tape? Check out this tutorial on how to make your own bias tape.
Step 6
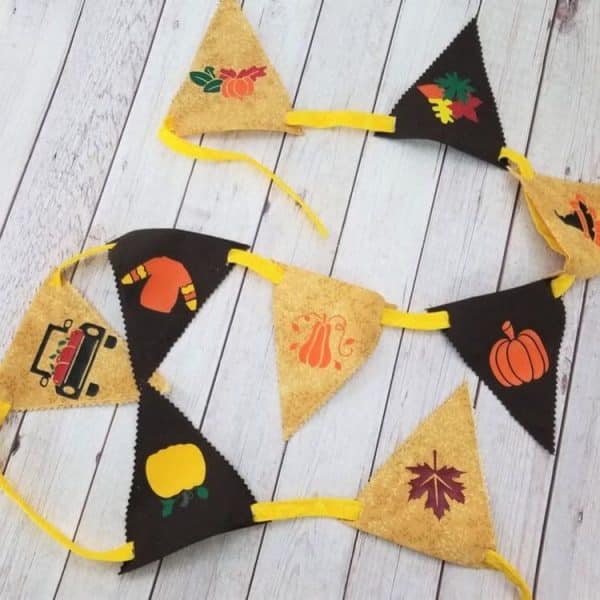
Thread bias tape through the slits in the bunting pieces. Alternate the different bunting triangle colors.
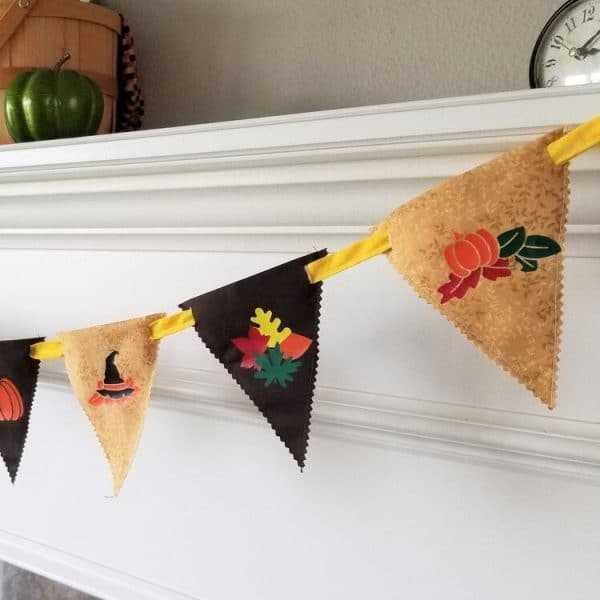
Now you can hang those fabric bunting flags on your mantel, over a door or on a wall.
A quick and festive project for every holiday or even every day of the year.


