Fun Gender Reveal Shirt and Onesie
We just found out that we are having another little boy, and we are so excited! I knew that I really wanted to do some fun gender reveals, because, well…why not?! Since we live near more family now, we did an in person one, and we also did one that we could easily share with family and friends that lived out of town.
For in town family, we made yummy truffles and filled with with a blue filling. It was a big hit!
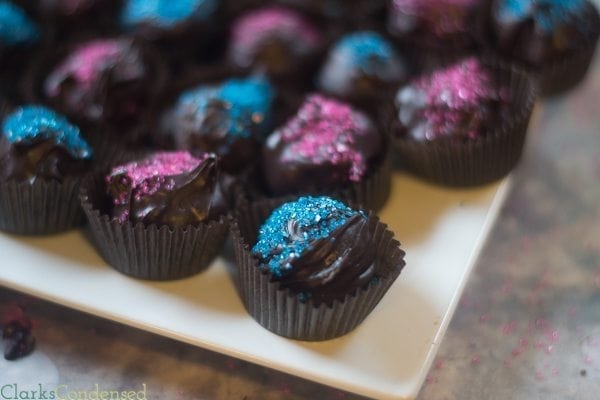
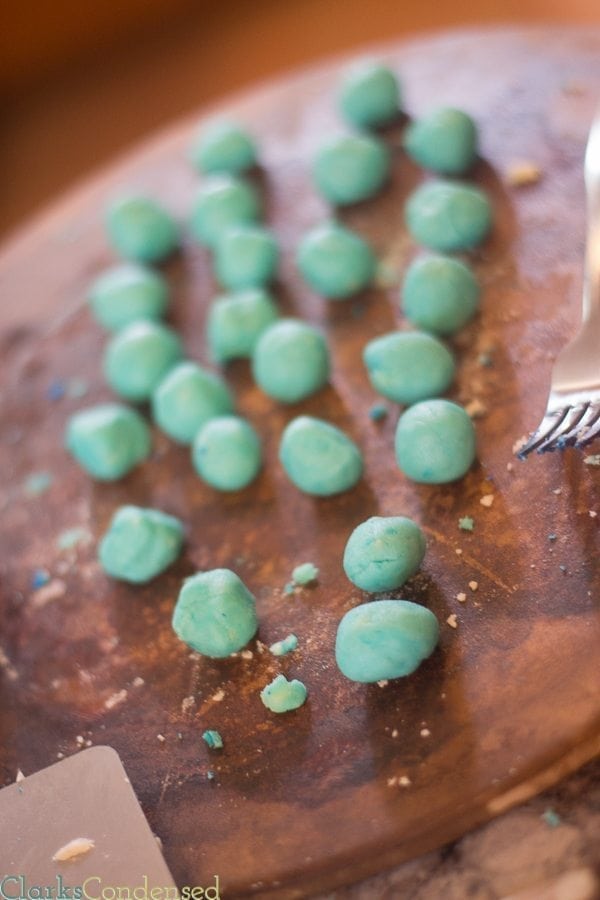
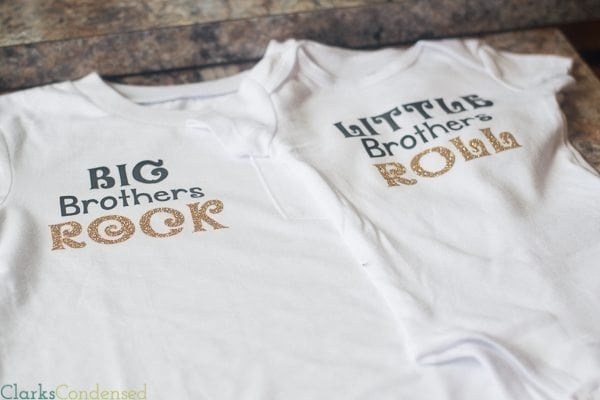
For the other one, I made these shirts:
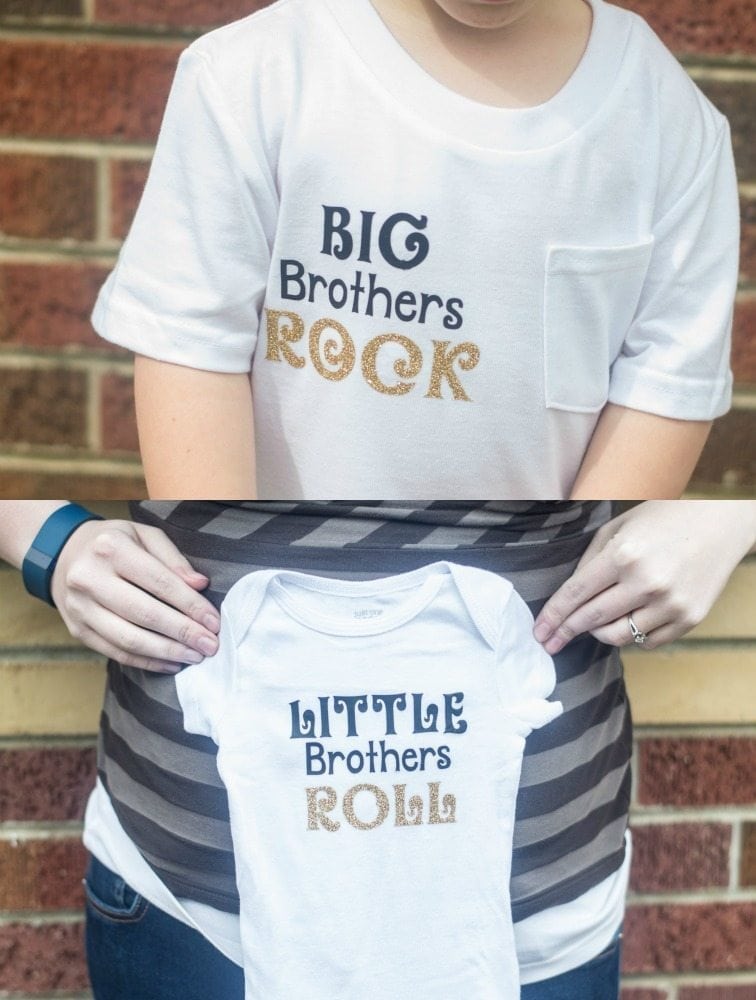
I did this using Heat Transfer Vinyl, a white t-shirt for Jack, and a three-month-old onesie for the new baby. I only made it a few hours before we were going to do the big reveal, so I was thrilled that it actually turned out. I was even happier that we got a couple of useable pictures that we could share.
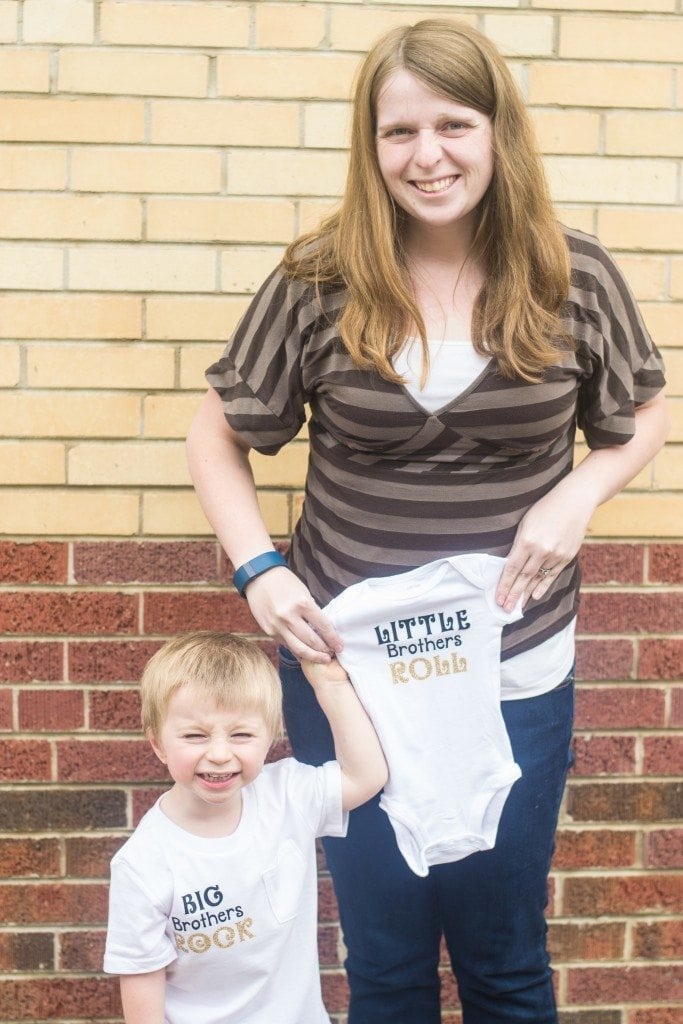
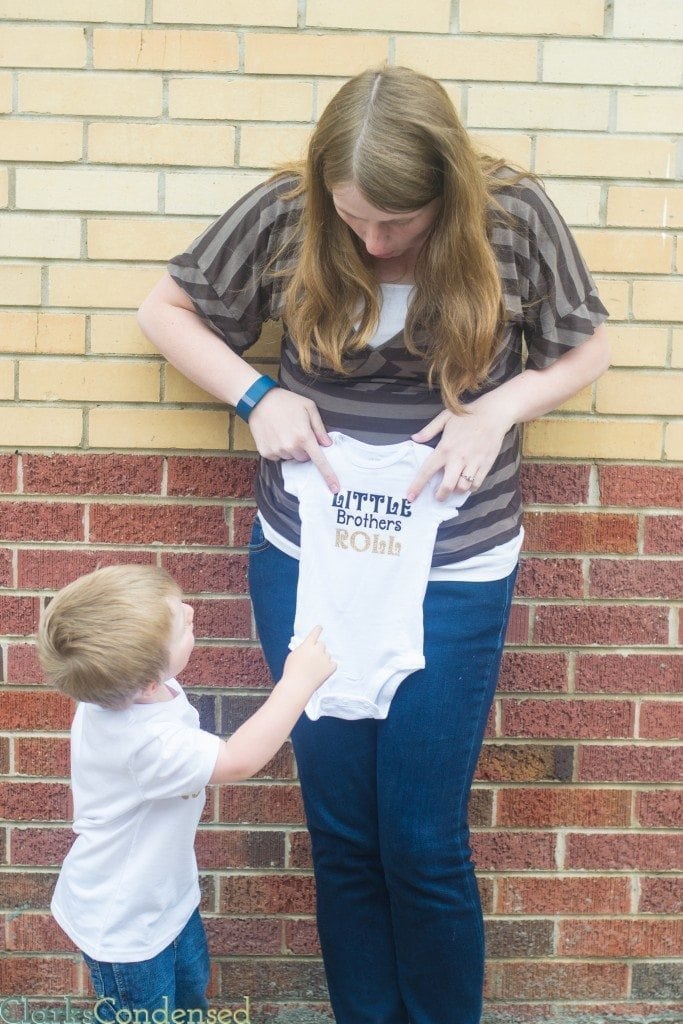
I was given a few samples of HTV from Expressions Vinyl at SNAP Conference a few weeks ago, and man…it makes a huge difference. I’ve previously just used some cheap vinyl from Amazon.com, and I didn’t realize what a huge difference using quality vinyl. I’m pretty sure I never can go back.
Anyways, if you are wanting to make this, here is the tutorial. I plan to sell these in my Etsy shop sometime, but if you are interested before then, be sure to email me at katie@clarkscondensed.com! I can make similar styles for sisters.
Materials:
Heat Transfer Vinyl is desired textures and colors (I used Gold Glittered HTV and Black HTV from Expressions Vinyl.)
Vinyl Weeding Tool
White T-shirt for older sibling
White onesie for younger sibling
Silhouette machine (or something similar, like a Cricut machine.)
Iron
Piece of cotton material (like a t-shirt)
Fonts I used: Oliver (for Big and Rock/Little and Roll) and DJB Play Misty for Me (for Brothers)
Step One:
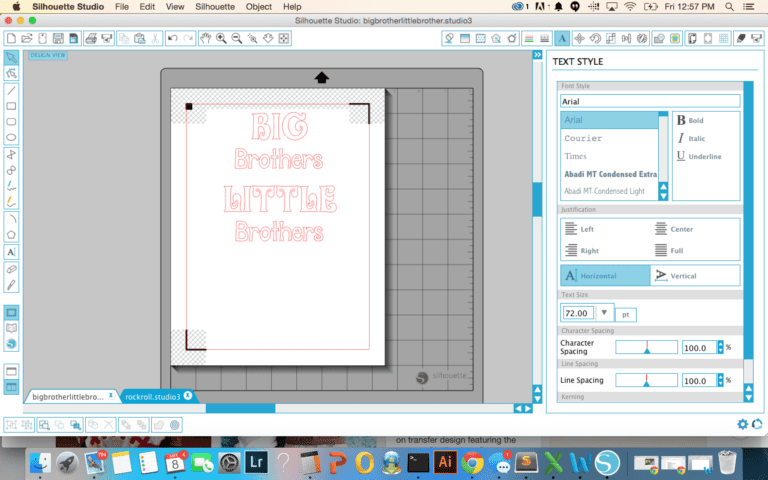
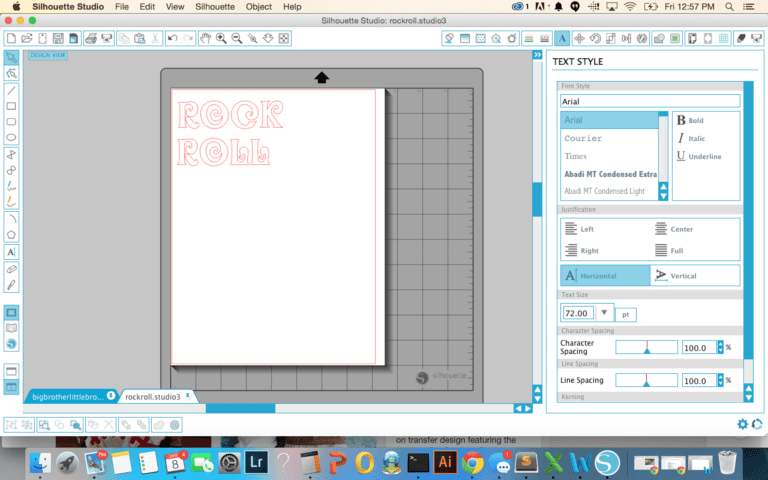
Open your Silhouette Studio Software and create two documents. Make one say the words “Big Brothers” and “Little Brothers” and the other say “Rock” and “Roll” in desired fonts. I did it this way because I used two different colors of vinyl (there may be another way to do it…but I’m not sure how!) I made Little Brothers about 5.1 inches wide and three inches in length, and Rock and Roll were 4 inches wide, 1 inch tall. You can make Big Brothers and Rock larger if you want, if the face of the shirt you are using is significantly larger than the onesie (the size ended up working fine for ours, since Jack’s shirt had a pocket.)
Step Two:
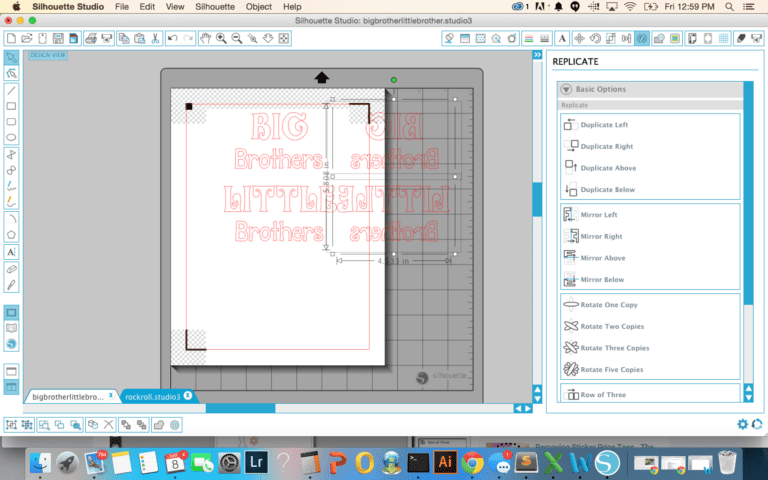
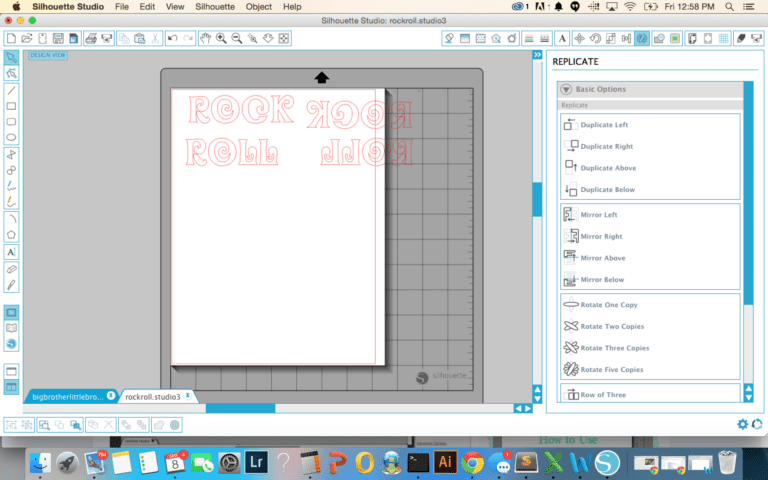
Select the “Open in Replicate Window” button (it looks kind of like a butterfly). Select all the words and duplicate right. Do this for both images.
Step Three:
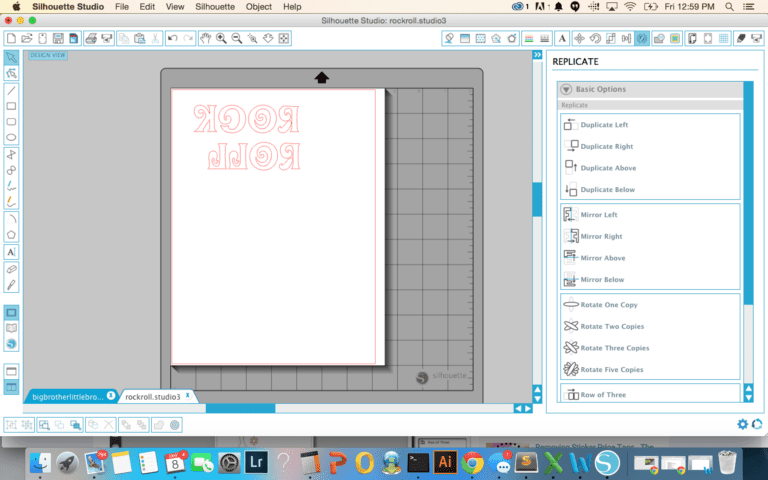
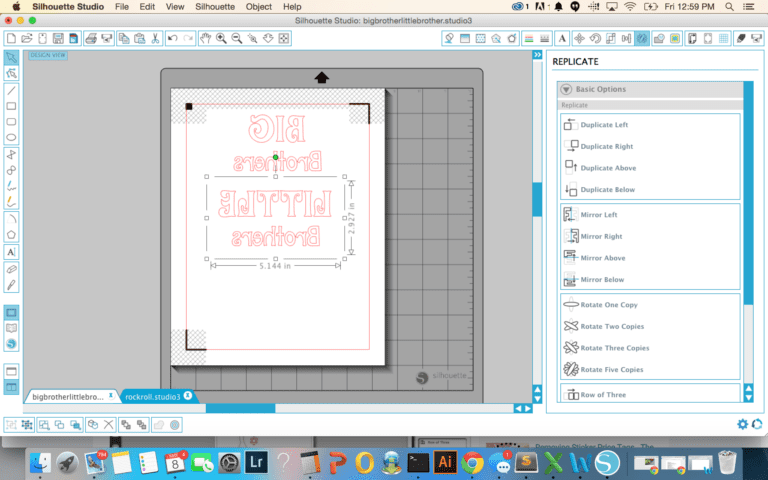
Delete the words that weren’t duplicated, and center the new words where you want them.
Step Four:
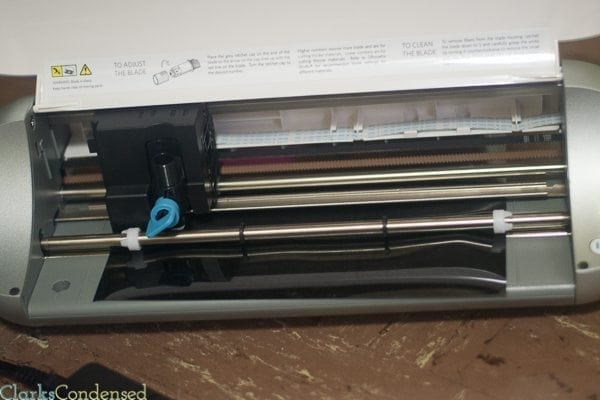
Now for the cutting of the vinyl! I had issues with this. Haha. Your HTV should have two sides. There’s a clear plastic sheet on one side, and then the side that will show the color/texture of the HTV. You want to have the plastic side facing down. Make sure you adjust your cut settings for HTV (either flocked or smooth.) I ended up setting my blade to a higher setting than recommended, so it’s important you do a test cut to make sure the blade is cutting through!
Step Five:
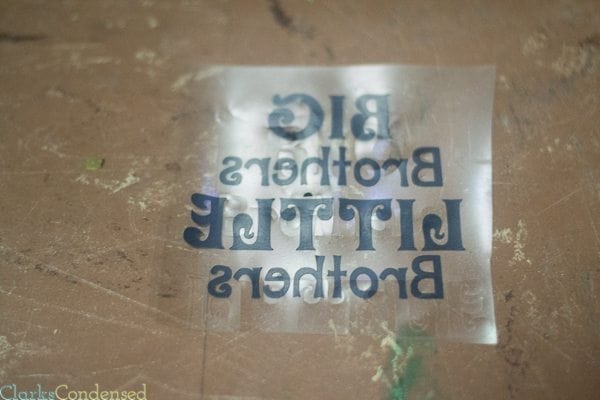
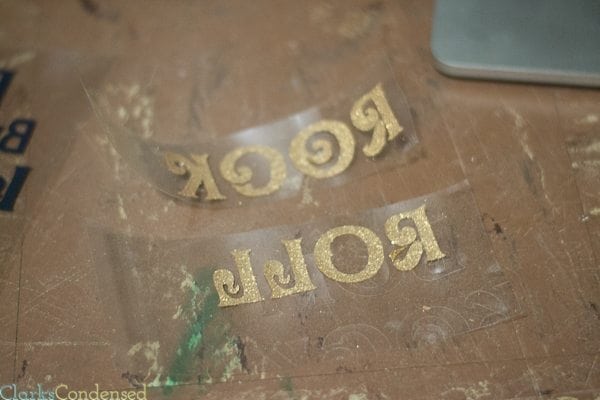
Weed out the excess vinyl. You want to make sure the words are in the vinyl color, and that they stick to the plastic. I found that it was easier to trim down vinyl before I weeded it out.
Step Six:
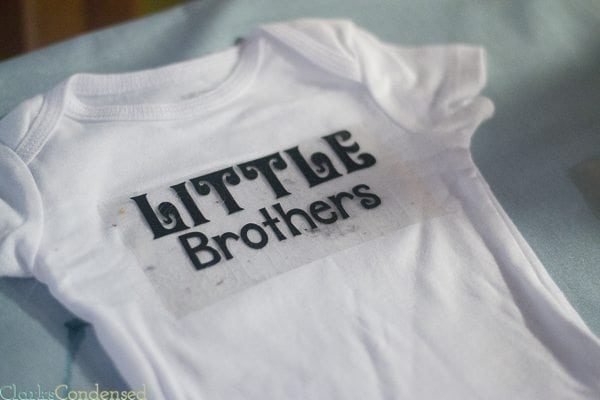
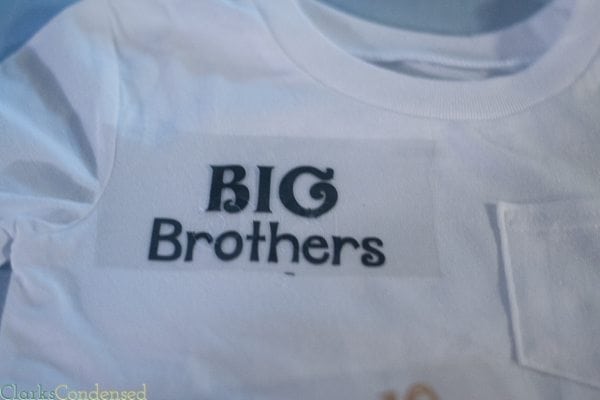
Place the vinyl/plastic where you want it on the shirts. The plastic will be facing up.
Step Seven:
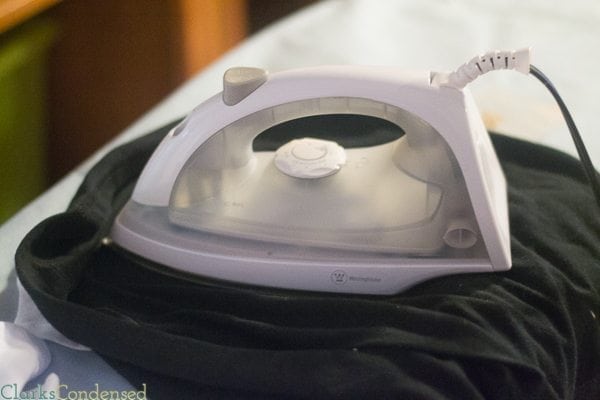
Let your iron heat up to full heat. Place another piece of cotton on top of your shirt/vinyl (I used part of a t-shirt). Press down for about 45 seconds or so.
Step Eight:
At this point, remove the plastic covering carefully. Some of my vinyl came up, so I made sure to be extra careful, and then I just went over it (with the cotton tshirt on top) afterwards to ensure it was in place.
Enjoy!


woooooooooooow
These are so cute! And congratulations! I am super excited for you guys!