Glowforge for Beginners: Everything You Need to Know to Get Started
Getting your first Glowforge machine is a big deal! It can be overwhelming and stressful if you don’t know where to start. In this Glowforge for Beginners guide, you will learn EVERYTHING you need to know about getting started, including tips for setting it up, what design programs to use, and where to get your materials!
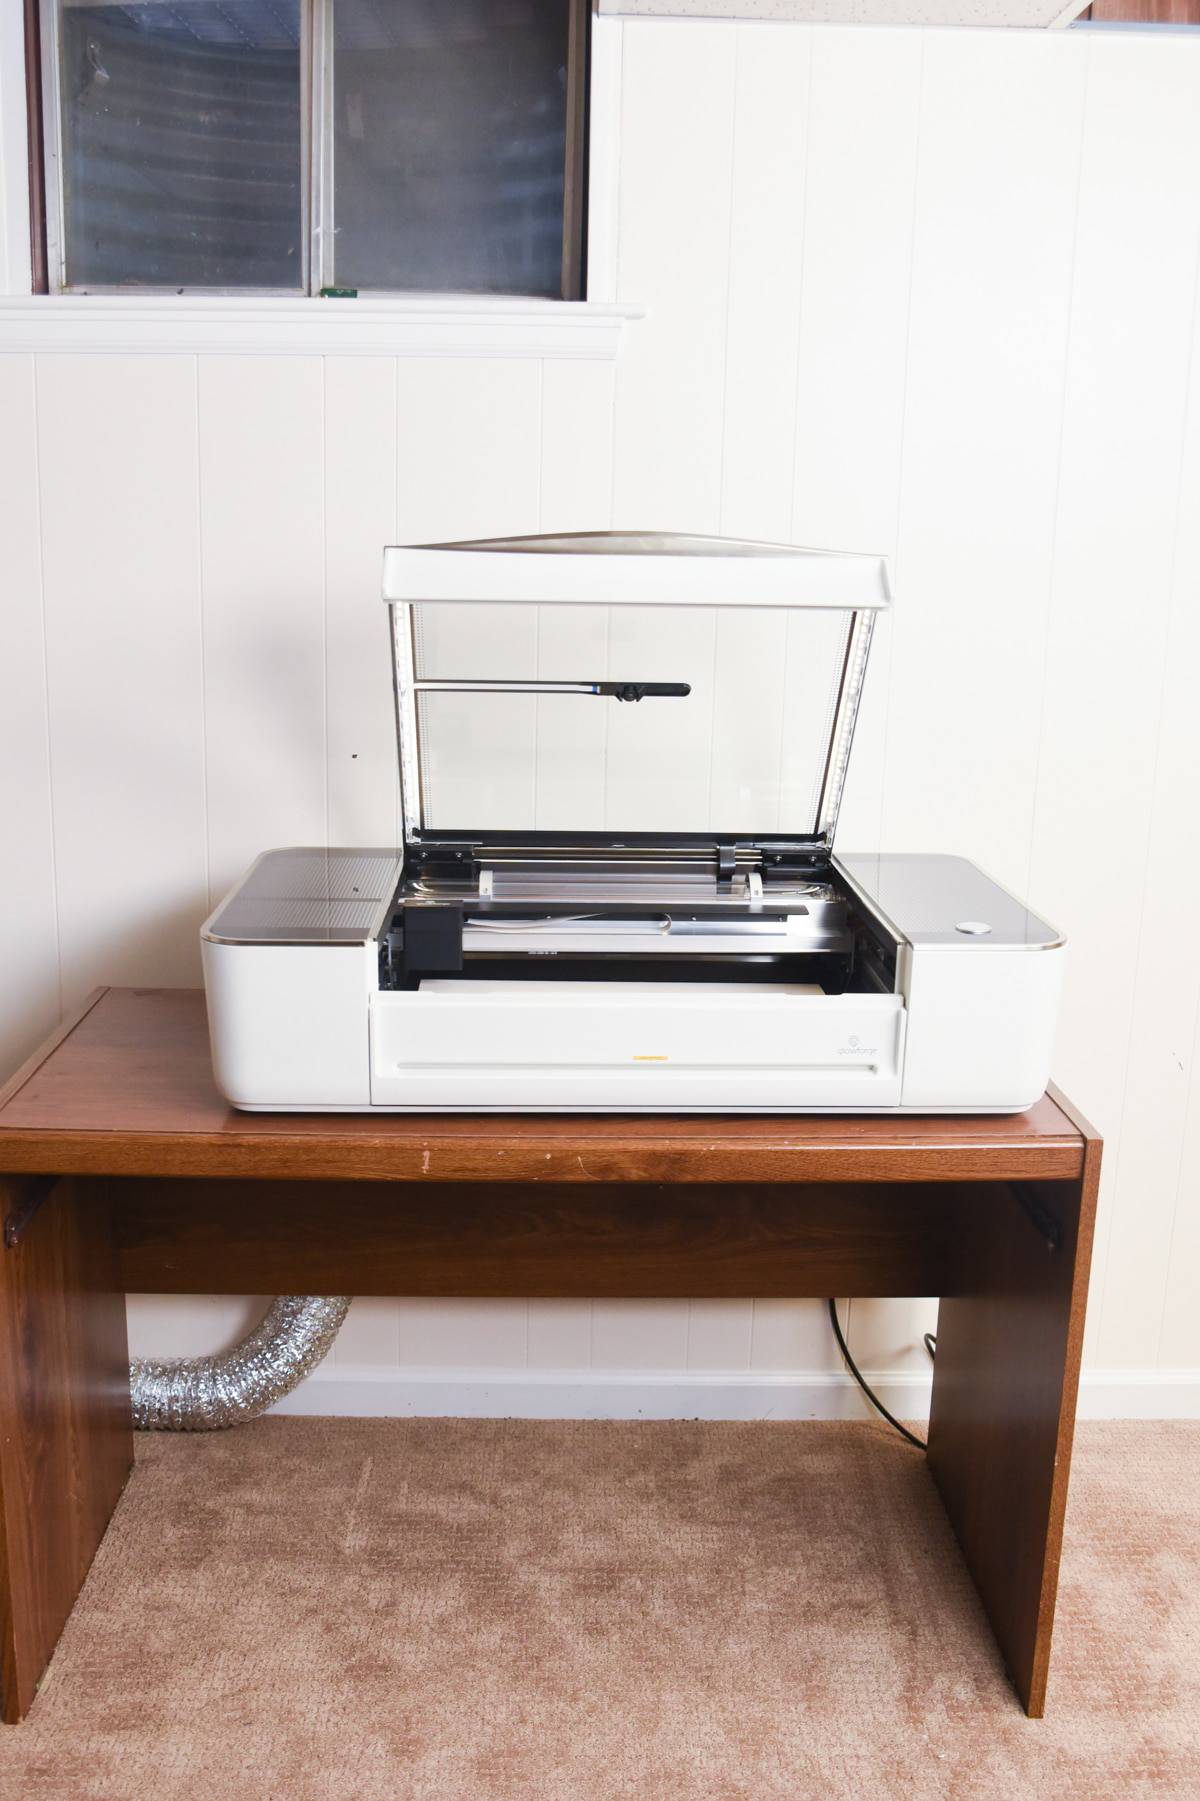
Hooray! Your Glowforge has arrived – or you might be getting one soon. This is such an exciting time.
Or, if you’re like me, you might feel a little anxious and start thinking, “What was I thinking?!”
When our Glowforge first arrived, I told my husband I felt so overwhelmed. It was just SO big, and it seemed so powerful. I saw all the beautiful creations people made, and I just didn’t think it could be that easy.
Thankfully, I pushed passed those nerves, and in no terms, we made our first project, and I couldn’t believe how cool it looked. More importantly, I was thrilled to see it was as easy as others had claimed it to be.
Are you ready to take your Glowforge to the next level? Make sure you signup for “Grow with Glowforge: Project Jumpstart Guide“. It’s the ultimate resource for going from feeling overwhelmed by your project creation to confident and making $$$! We even have a couple design tutorials!
- Picking out your machine
- Ordering Machine
- What does the Glowforge come with?
- Prep
- Arrival
- Setup
- Glowforge App
- Different Setting Meanings
- Making your first project
- What file types can be used?
- What materials does the Glowforge cut?
- Glowforge Terminology
- What accessories do you need?
- Where to buy materials
- Where to find files
- Tips for Beginners
- More Posts You May Enjoy:
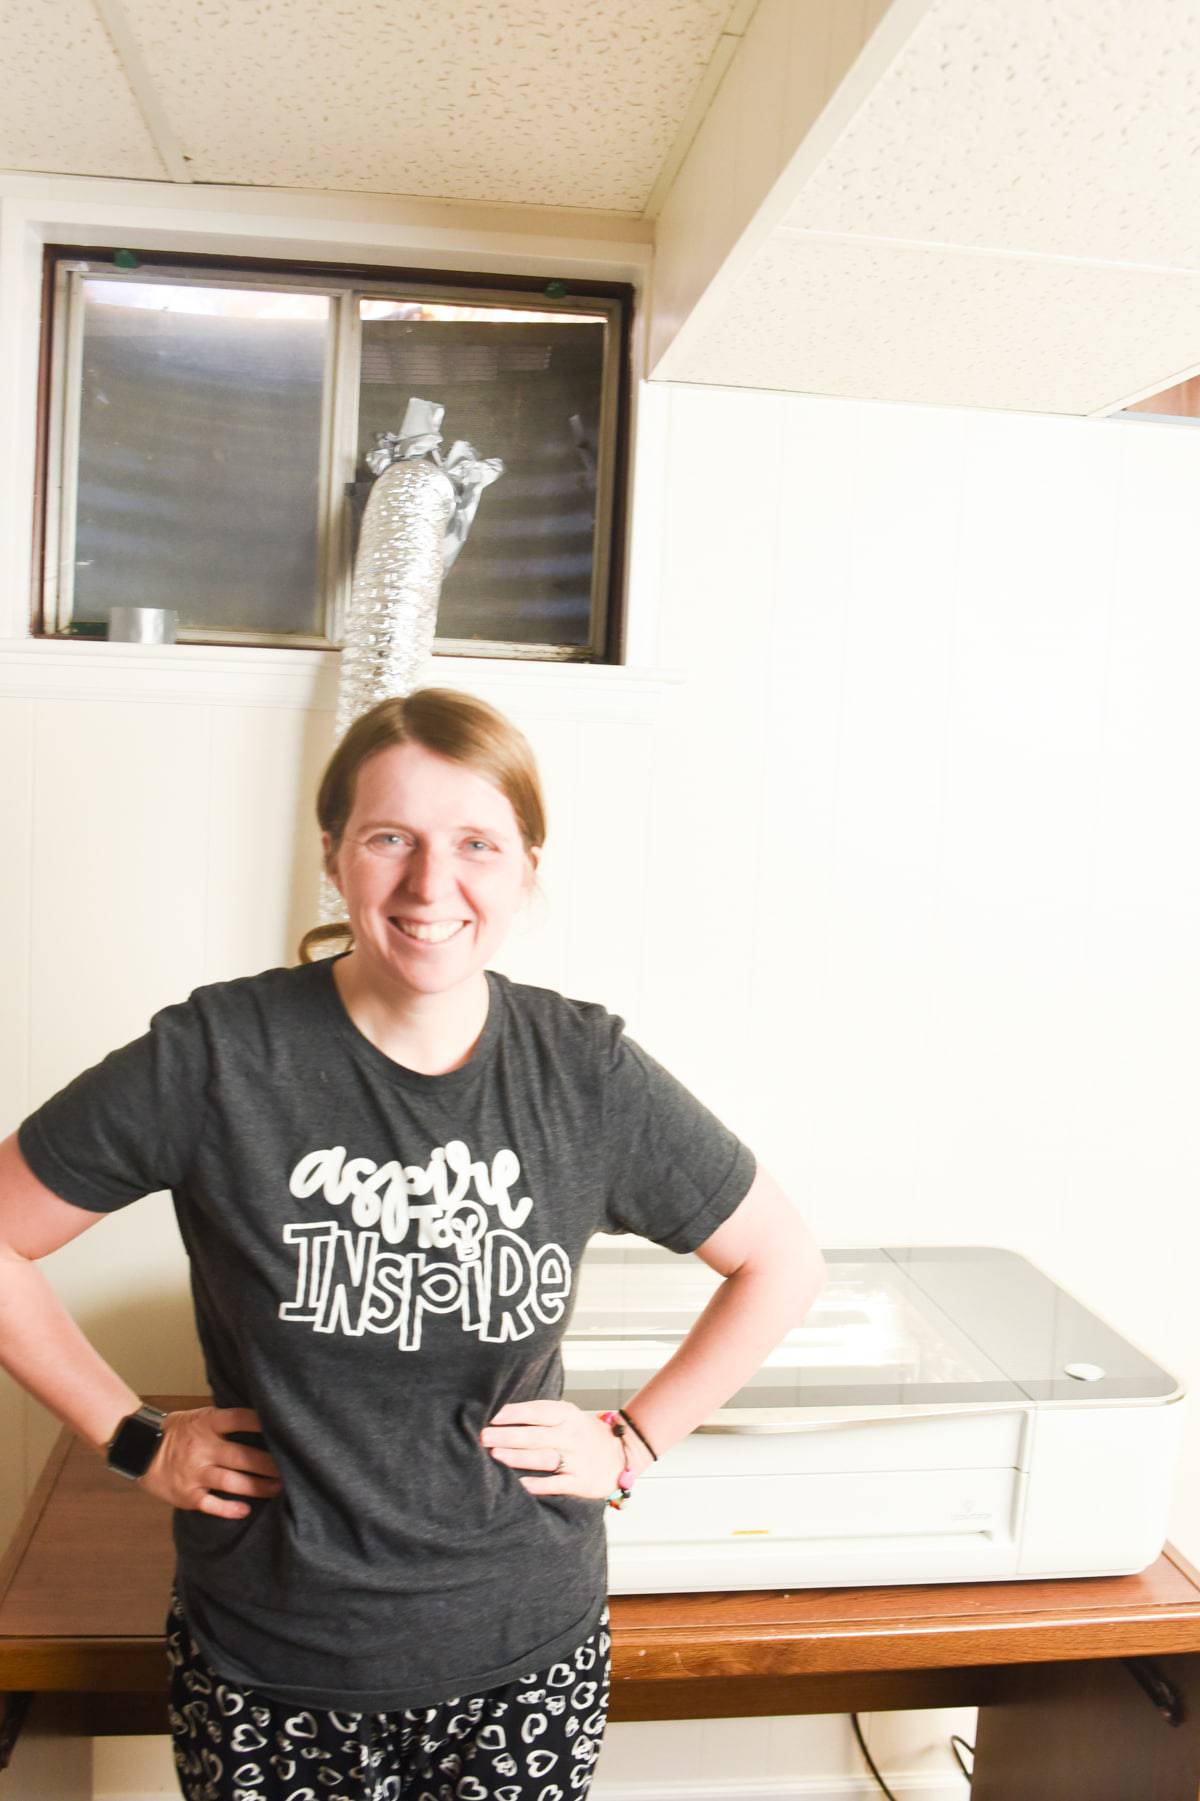
Because I know how it feels to be in the trenches of getting your first Glowforge machine, I thought it would be helpful to put together this beginner’s guide to the Glowforge. I mean, who better to learn from than someone who has just experienced it themselves? I love writing guides for crafting machines (my Cricut for Beginners post has been very popular over the years), and I hope this will help you feel a little more confident in your new machine.
I will be going through start to finish (from ordering to setting up and cutting your first project, among other topics), so if there’s a section that doesn’t pertain to you, just skip on through. For your convenience, here is a table of contents with all the information that this post has:
You might enjoy: 16 Things to Know BEFORE You Buy Your Glowforge
Picking out your machine
First of all, if you are reading this post because you haven’t quite picked out your machine yet – don’t worry, you are in the right place! I think it’s great to inform yourself before you make such a big purchase.
There are three different versions of the Glowforge – the Basic, the Plus, and the Pro. They all have their pros and cons, and it’s important to pick the one that is best for you. Lucky for you, we’ve done the hard work and put together this hand Glowforge Machine Comparison – be sure to take a look.
Save up to $500 on a Glowforge machine purchase using our referral link – click here to redeem!
Ordering Machine
The process to order your machine is pretty simple, but I’ll walk you through it.
First, click on our referral link. This will bring you to a page that will present you with our exclusive offer for new owners:
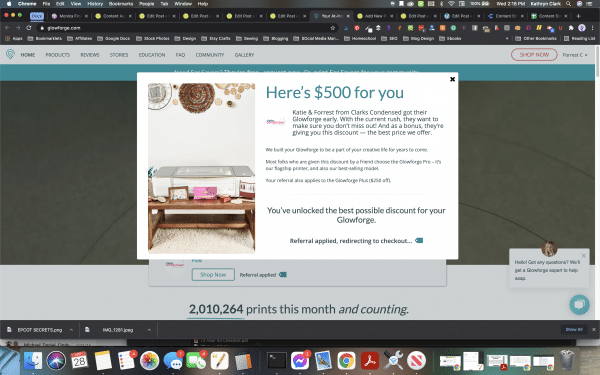
There will be a button that says apply offer now, so make sure you click that. It will take you directly to the place to select your machine, which will look like this:
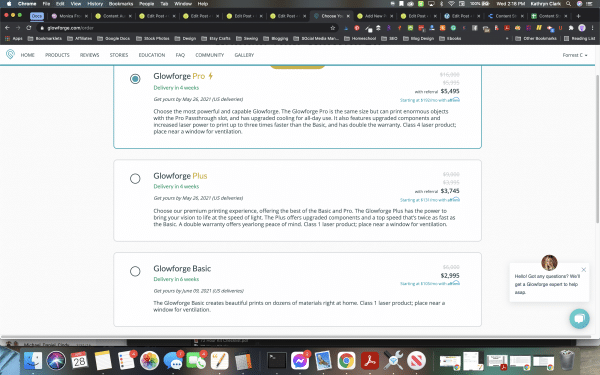
This is where you’ll select the machine that you are going to purchase. They will have the final price, including any discounts that have been applied. When you scroll down, it will automatically have the air filter checked off, which is another $999. Most people probably don’t need the Air Filter, so unless you’ve decided it’s right for you, unclick the box and click “check out.”
Here you will put in your shipping and payment information and you will be able to submit your order.
After you’ve submitted your order, you’ll get an email confirmation. Over the next few weeks as you wait for your machine to arrive, you will get a variety of emails from Glowforge – giving you updates on the process of your order along with tips for getting ready for it to arrive.
Ship times can vary, though at the time of this writing, it’s about six to eight weeks out. Now you’ll have lots of time to go through this post and REALLY get prepared for the arrival of your machine.
What does the Glowforge come with?
With every Glowforge purchase, you’ll receive the following items:
- Your Glowforge machine
- The Glowforge laser head (be VERY careful with this as you are handling it)
- Lens replacement tool
- Power cord
- Steel crumb tray
- Tools for proper venting – the exhaust hose and ring clamps
You will also receive a starter pack of Proofgrade™ materials (I’ll talk about that more in a little bit). This is a great package of materials, and it should give you busy for awhile as you try out your machine. Exact contents may vary, but you will probably get some draftboard, plywood, hardwood, acrylic and leather.
To ensure you can start printing immediately with your Glowforge, we’ll include a starter pack of our coveted Proofgrade™ materials. It will include $75 worth of products such as:
Prep
As you wait for your machine to arrive, there are a few things you can do to bide your time!
Setup your account
You can setup your Glowforge account at glowforge.com/setup to get ready for when it arrives.
Find a space for your Glowforge
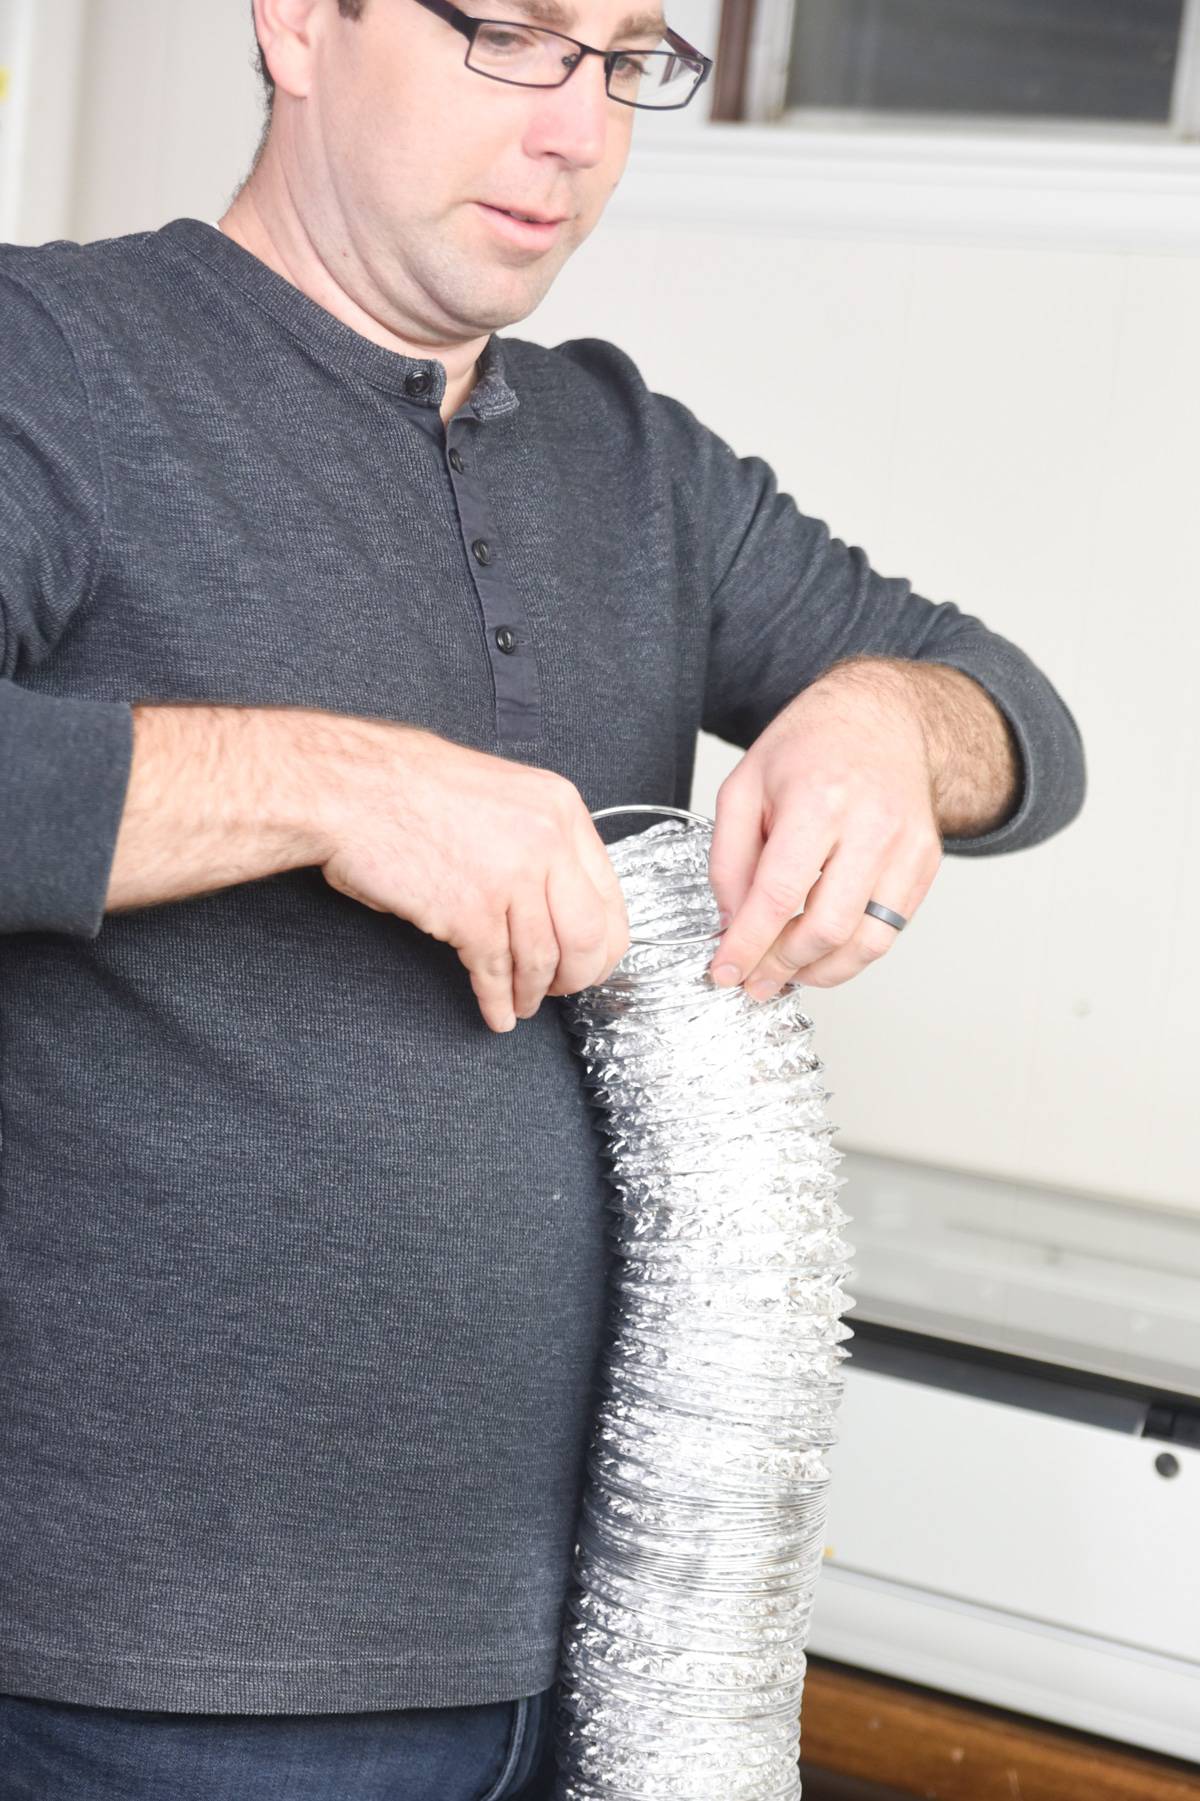
Make sure you have a space cleared off for when your Glowforge machine finally arrives. Don’t underestimate the amount of space you will need for it. If you don’t have a dedicated table for it, that’s something you’ll want to search out before it gets to your house so there’s no delay in getting started.
These are he guidelines from Glowforge on picking an appropriate location for your machine:
“Choose a location in a well-ventilated room with a 4“ outdoor exhaust vent. This is the same type of vent used to connect a dryer. The exhaust vent should be at least 3 feet from property lines and openings into a building, and at least 10 feet from mechanical air intakes. You can also put the hose out an open window, so long as the end of the hose is at least 3 feet from the window and meets the other criteria above.”
You also want to make sure it is near an outlet – they don’t recommend using an extension cord or surge protector.
The Glowforge is 38″ x 20.75″ x 8.25″, and you want about 1″ of space on each side of it. Here is one option that is under $100.
Watch Videos
Watch lots of videos about the Glowforge. Glowforge’s website has some great ones, but I also recommend you watch them on YouTube, along with on TikTok and Instagram. We learned A LOT by doing this, and it can really make you feel a lot more comfortable when your machine actually arrives. Videos are our friend, especially as you learn how to use the machine!
Join Glowforge Groups
There is a very large and friendly community of Glowforge members. Once you’ve created an account, you can join the Glowforge Community forums, where there is A LOT of really helpful information. You can find announcements, project inspiration, free laser files, tech support, and even a “beyond the manual” forum. That one they say is not supported or reviewed by Glowforge.
I also recommend joining some different Glowforge Facebook Groups. There are some really great ones that have so many helpful and smart people. I find people can be a bit more candid in these groups than in the Glowforge Community, which may or may not be a good thing 🙂 But I’ve learned so much and see so many amazing project ideas here.
Compatible device
Make sure you have a compatible device for your Glowforge. You can use it with anything that has a WiFi Connection and a browser, but I do think it’s easiest to use on a laptop or desktop.
Browse Etsy
Take some time to see different laser cut files people have created or which projects seem to sell well for others. Etsy is one of my favorites.
We will also be releasing laser files in the near future that have been tested with the Glowforge, so make sure you check out this page periodically. We also have a large variety of SVG files that are for purchase, and we will continue to add to that library each month – check that out here.
Pick a design program
Many people choose to create their own designs, so now would be a good time to try out different programs to find the best fit for you. I’ll be doing a full comparison of all these programs soon, but for the time being, here are the most popular ones:
- Inkscape
- Silhouette Studio Business Edition
- Adobe Illustrator
- Affinity Designer
- Sure Cuts a Lot
- Corel Draw
- Canva – Doesn’t have as many features and capabilities as some programs, but I use it a lot! It’s great for beginners – this post might be helpful for learning how to use Canva – How to EASILY Make SVG Files for Cricut in Canva
Arrival
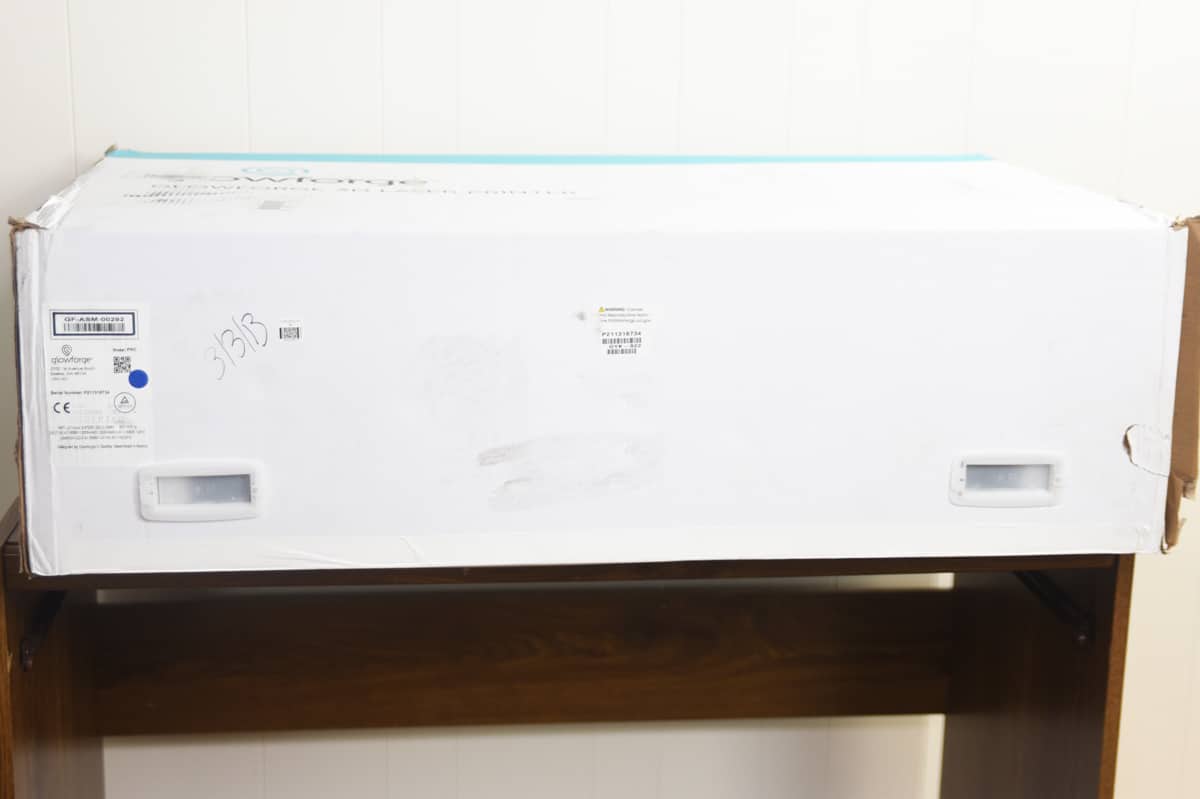
Your Glowforge will probably arrive via UPS, and they typically require a signature in order to deliver it. So as soon as you get your notification that it will be arriving, you need to make sure you’ll be home to accept it. It will be quite heavy, so you’ll want to have someone there to help you bring it to where you want to set it up.
Setup
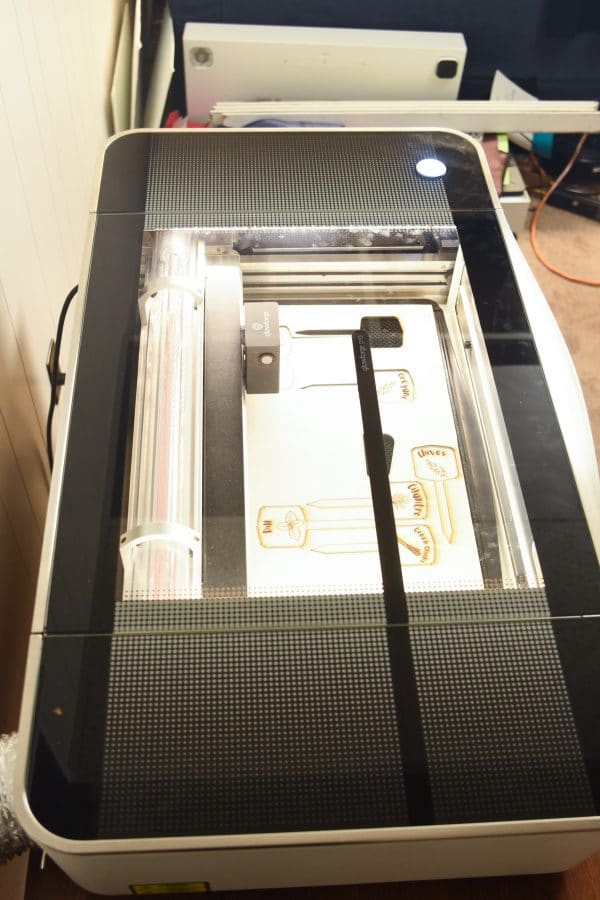
Yay! Now it’s time to setup your Glowforge. Glowforge has a great setup guide that you should follow – you can check that out here. I won’t rehash everything that is on that page, because they do a great job of taking you step-by-step, but here are a few things to keep in mind:
Inspect your Machine
As soon as you get your machine out the box, do a very thorough check over to make sure it has no damage. If there is any damage or parts missing, you’ll want to make note of it immediately and contact Glowforge. It’s important to do this before you do any kind of setup or work with the machine to ensure that you are not the one who caused the damage!
Have a strong WiFi connection
The Glowforge puts off it’s own WiFi connection when you are setting it up, but you need to have your WiFi connected as well as you go through the prompts. Make sure wherever you are setting it up has a strong connection. For instance, if you are setting yours up in the basement and your router is all the way on your top floor, it might not be as strong as you need it to be. A WiFi extender can be really helpful, and they are relatively inexpensive.
Keep your Box
In case you ever need to make a warranty claim and need to send your Glowforge back (or if you return it for some reason), you will be glad that you kept the box. It’s a pretty. huge machine, and you’ll probably have a hard time finding something that is the perfect fit for it down the line.
Be Careful
Be careful as you unbox the machine, take off the tape, and remove the packing materials from it. Be aware of all the pieces and don’t touch anything haphazardly.
The first thing I did was reach for the printer head and lens, and my husband shouted, “No! Don’t touch that!” just as I was about to touch a very sensitive part of it. I wasn’t even thinking, and thankfully, he’d read enough about the setup to know this was a bad idea!
There is a lot of plastic and packing materials, but really, it’s a very easy setup. The hardest part was taking off these little plastic things on the outside of the box (not even kidding!).
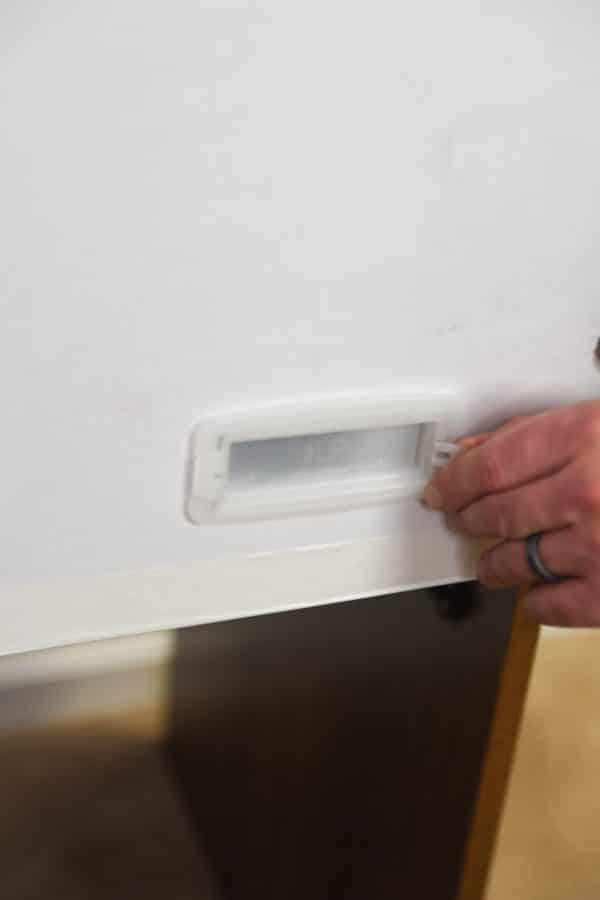
After it has been setup, attach the power cord to the machine, plug it into the wall, and press the switch button on the back of the machine. Now you’re ready to get started!
Glowforge App
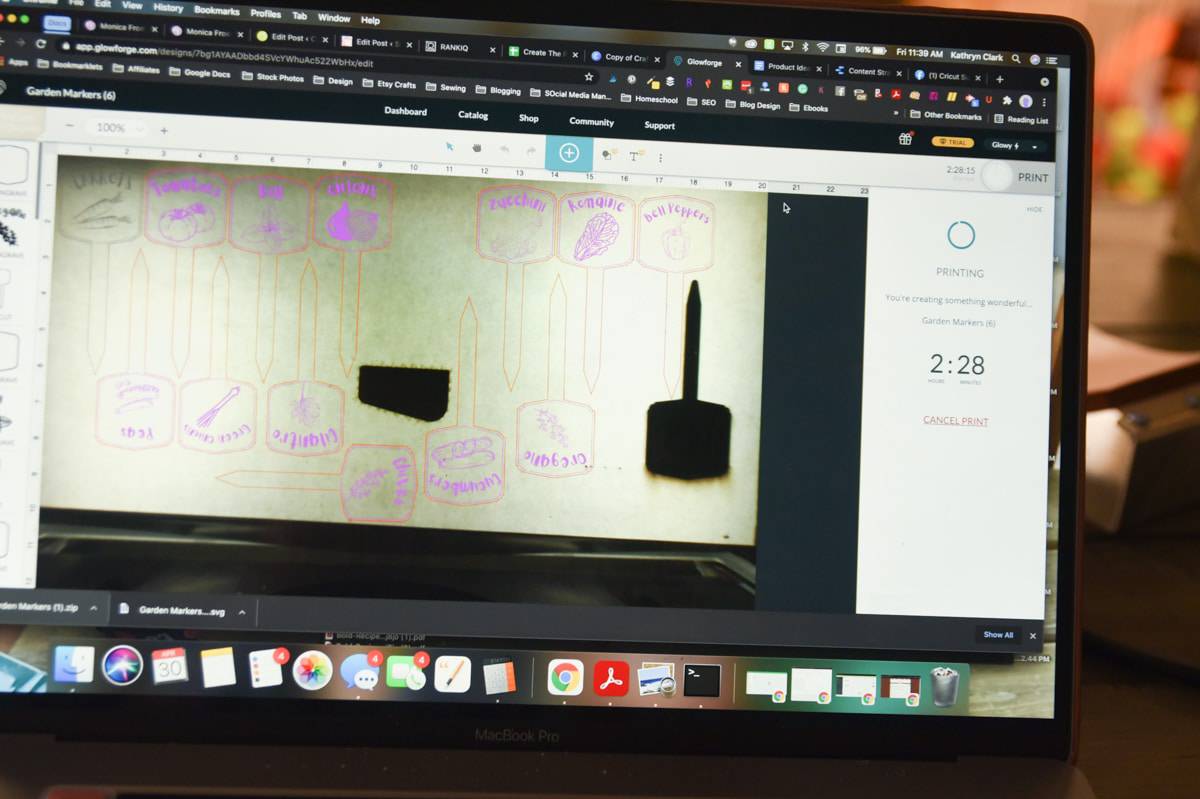
All of your projects will be processed through the Glowforge App, which is a browser-based program. This program is free for all users and you cannot even access it until you have a machine.
You can access the Glowforge app at App.Glowforge.com. You will see your dashboard, which has all of your designs plus other ones that Glowforge has provided for free for all their users. These are great projects for beginners and for your first cut.
The catalog has hundreds of different designs. Some of them are included with Glowforge premium and others you have to pay for in order to get them. If you don’t know where to start, this is a great place to do so! All of these projects have been tested to work with Glowforge, so you know you’ll be able to have success with them.
From the Glowforge app you can also access a shop to buy Proofgrade materials, the Glowforge Community forums, and customer support.
When you are ready to do a design, you can either simply click on one of their designs (and pay for it if needed), click on one of your previous designs, or just click “create” in the top left of your dashboard. You will be prompted with three different options:
- New blank design
- Upload design
- Capture from camera
A new blank design is a great place to start if you are wanting to create something using Glowforge Premium. If you have a design you’ve created in another program or that you’ve purchased from Etsy, click on upload design (or you can still just do this from new blank design).
If you have something that you want to scan into the Glowforge – such as a picture, a handprint, or a drawing from a child – you can use the scan feature to pull it into the Glowforge app to put onto your project. So cool!
Regardless, when you get into the design studio, it will look like this (if you uploaded a design, it should show up!)
In the top right corner, it will tell you if your machine is connected or not, which, obviously, it will need to before you get started.
If you want to add artwork – either from the Glowforge vector collection or from your computer, you’ll select the big “+” in the top middle of the screen. Here, you can browse the vectors or upload an image from your computer.
Once you’ve added a design, it will show up on the screen and show you where it would be in your Glowforge. On the left side, the image/element will show up as well. You can click on “enter settings” to put whether you want it engrave, cut, score, or, if it’s something you don’t want at all, you can click ignore.
An example of using ignore would be making a puzzle. You might upload two versions of the same image so they are the exact same size/shape, but you only want the puzzle shapes cut out of the first piece, and the second you just want to be a rectangle as the base of the puzzle.
When you first sign in, you will be prompted to try out a free trial of Glowforge Premium. This is Glowforge’s design program, and it is not required in order to use the app. It includes:
- Over 2 million vector images, 700 fonts, and tons of designs for unlimited creations
- Design of the Month (which you get to keep forever!)
- Various premium project designs
- One click tools
- Unlimited storage
- Past print history
- Sharing with up to two other household members
- Your prints are processed on a faster server than other people
This is a pretty pricey program at $50 a month, or, if you pay up front for a year, it’s $19.99 a month. If you really aren’t comfortable with other design programs and you want access to all their features.
One thing to keep in mind with the free trial is that you can’t actually access all of the features – for instance, we went to try out one of their projects that said it was for premium members, it wouldn’t actually let us use it. I’m not sure I’ve seen too many people actually use this program, however, it is very user-friendly. A lot of people seem to lean more toward using a free program like Inkscape instead.
Different Setting Meanings
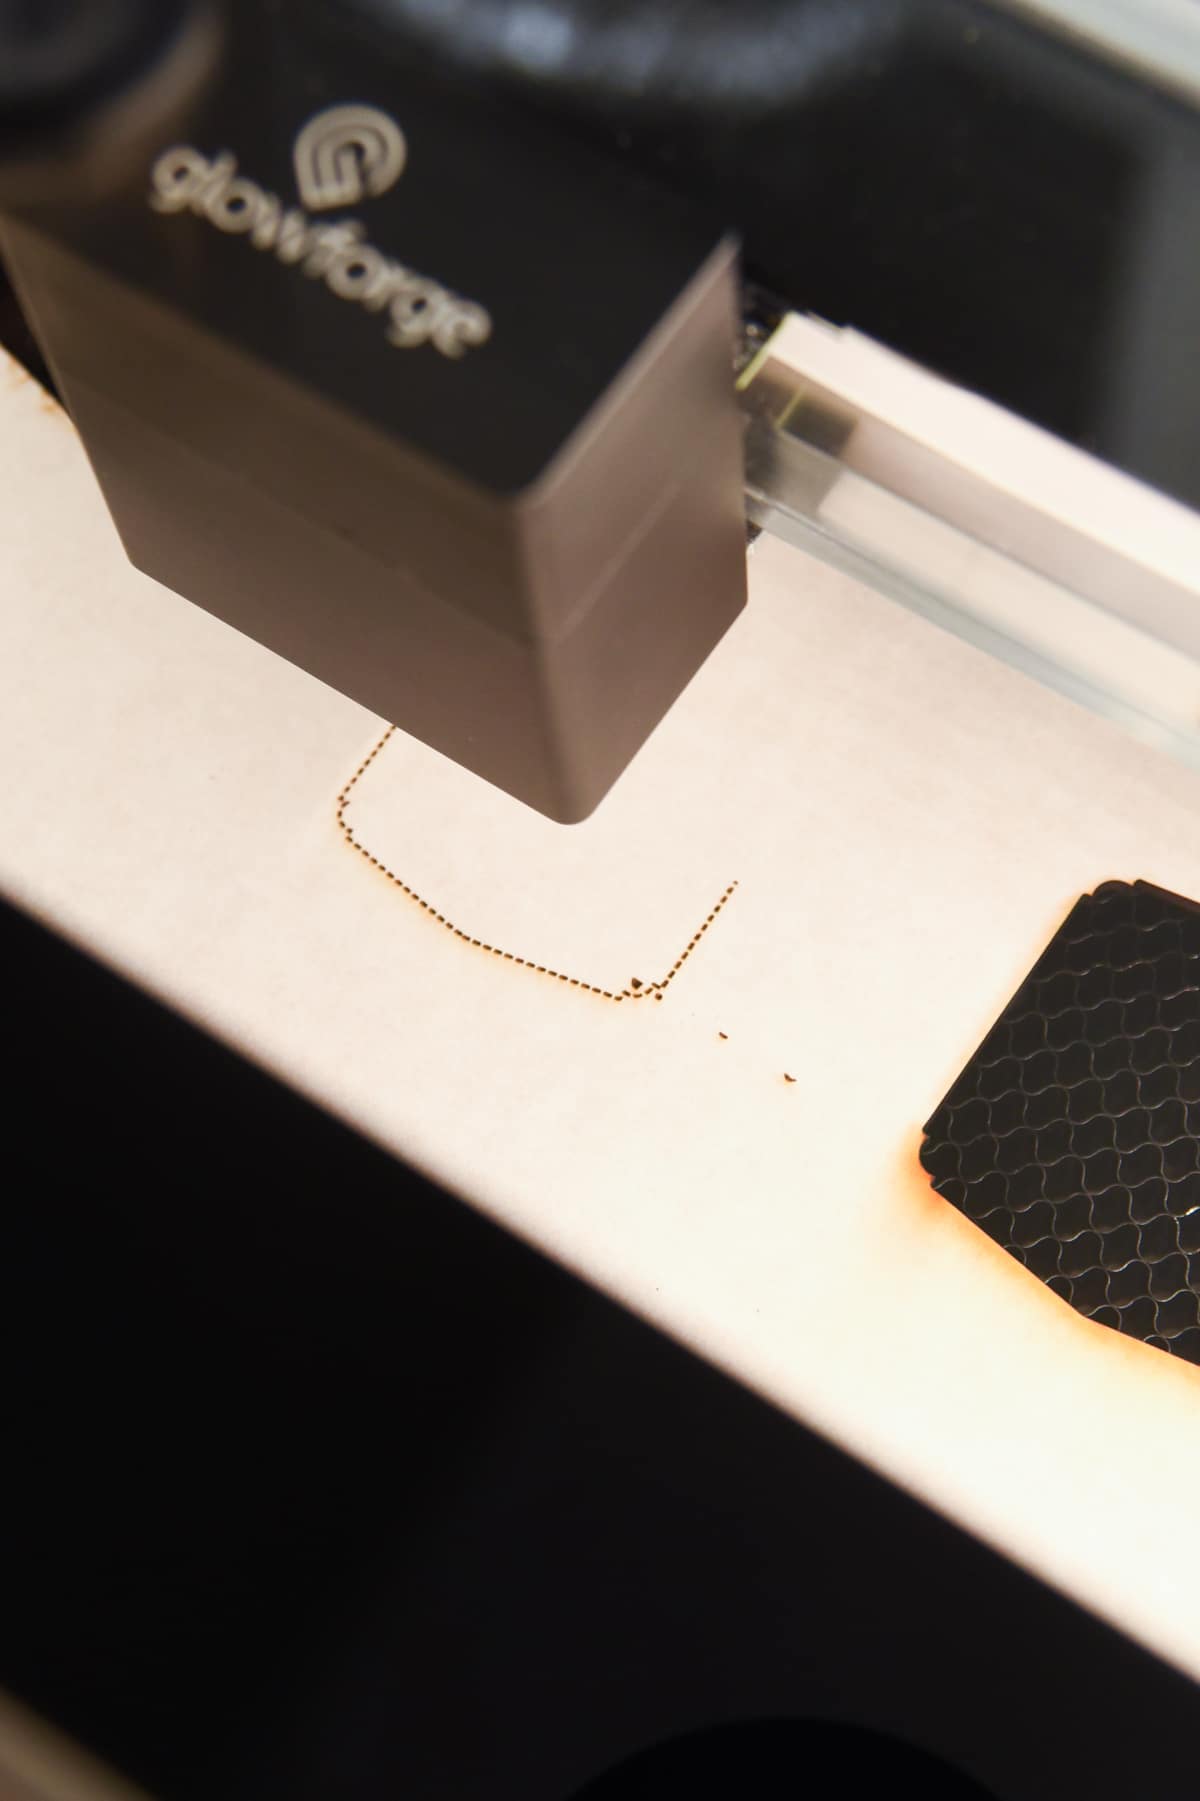
You will encounter three different types of settings that your Glowforge can use when creating a design. They are similar but have subtle differences, so it’s important to be aware of those as you are selecting the right one for your project.
- Cut
- Engrave
- Score
If you purchase a design, it will often have in the instructions for what elements to set to one of these settings for the best results.
Cut
Cutting does what you would expect – it cuts all the way through your material using the laser. It’s high power than engraving and scoring – you will likely see more smoke with this. It works along lines
Engrave
Bitmap images can only be engraved. It works by moving the head back and forth and side to side. It goes between the edges of a specific path or on a dot pattern, and it darkens a filled shape. It can do straight lines, but it is done in a different way than scoring because it goes back and forth. This tends to take longer .
Score
Score works with single line vectors, and they always draw lines. It’s basically a lower power cut that is designed not to cut all the way through like a cut setting.
Making your first project
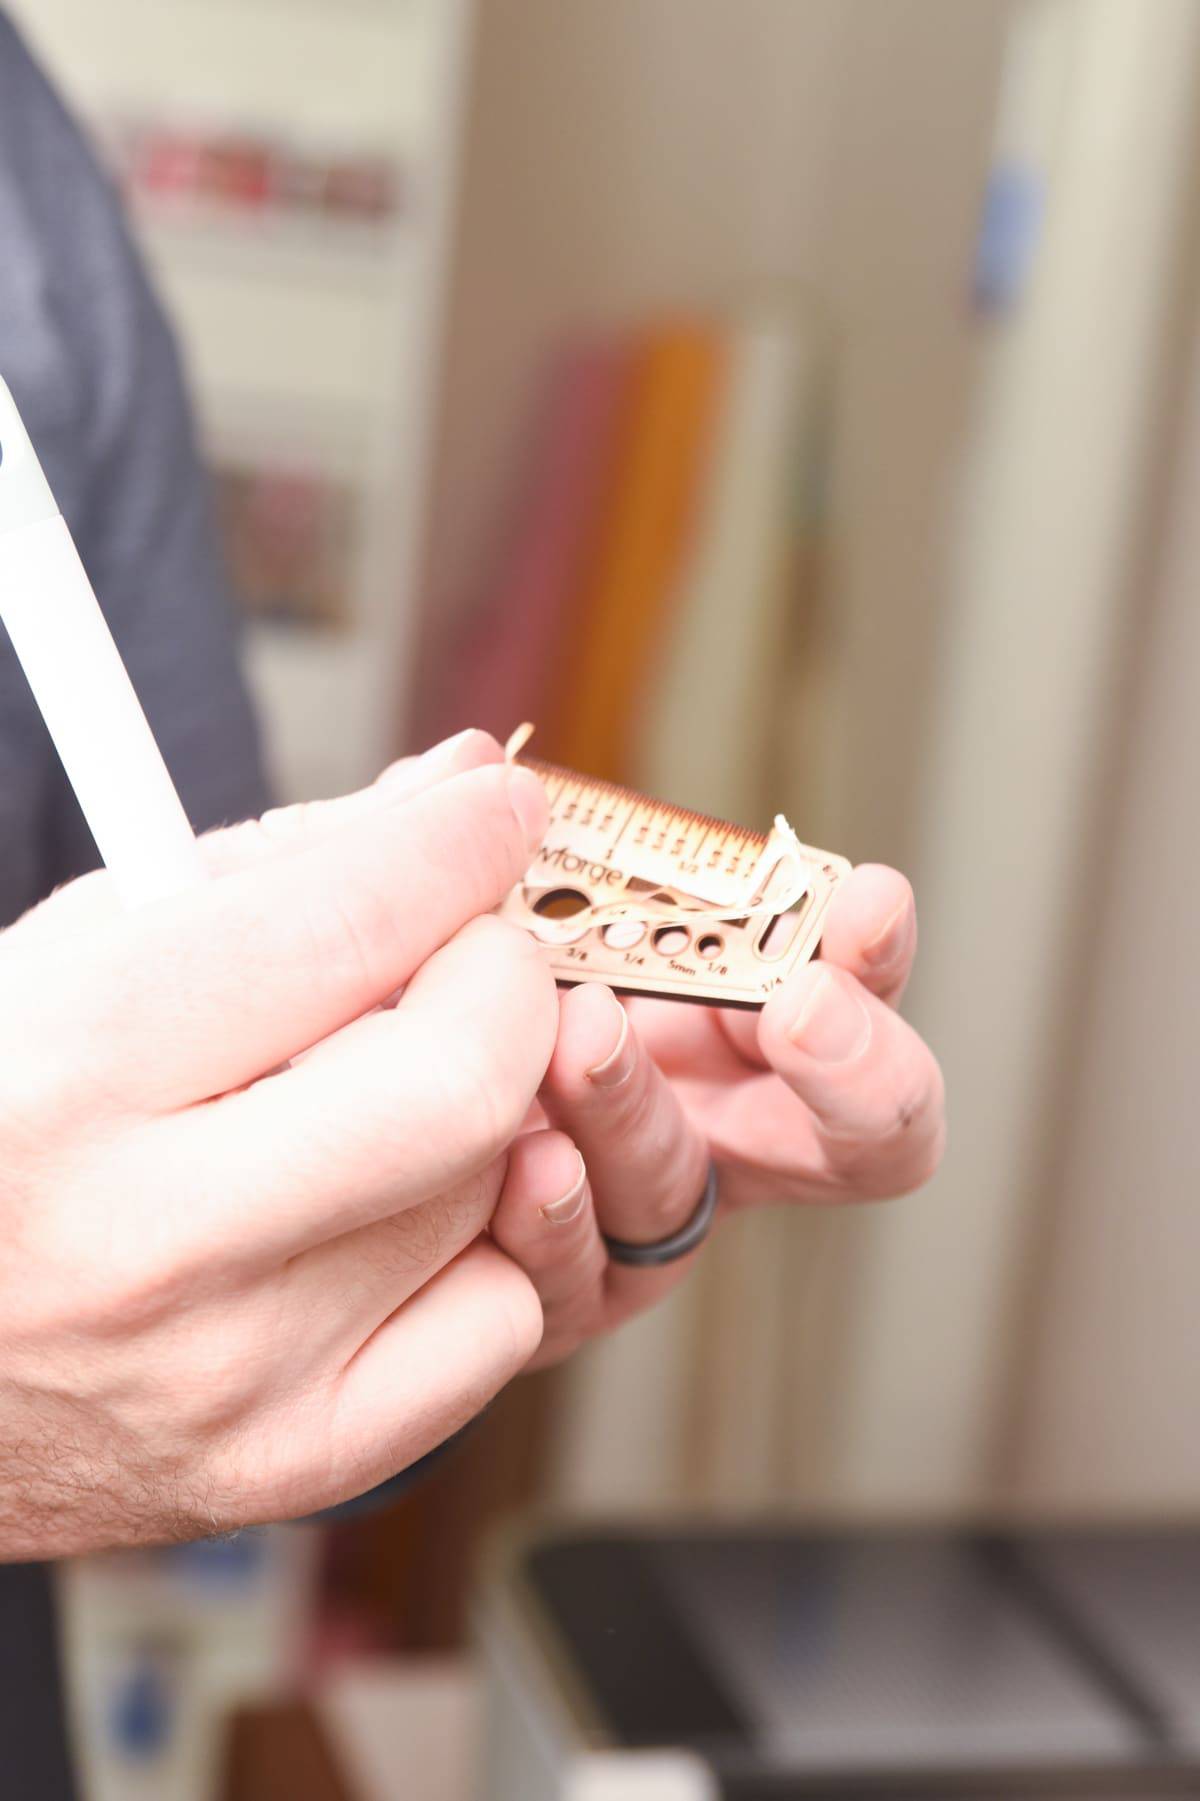
Now that you’ve got your machine setup, I recommend doing your first project as soon as you can! I was a little nervous when we went to do ours, but I think getting the first project out of the way as quickly as possible can help encourage you to feel a little more confident. In my experience, the longer you let something sit, the more intimidating it begins.
Just use one of their projects – it’s really the simplest way to get started and you know it’s been tested with Glowforge. They have a variety of projects they’ve selected for beginners – after looking at all of them, we did the “Gift of Good Measure” keychain. This is a pretty popular one!
I do think it’s good to start simple and build up from there. I find that there’s no quicker way to get frustrated than by doing a project that is too advanced too quickly.
What file types can be used?
Glowforge is compatible with various file types, including SVG, JPG, PNG, and PDF.
What materials does the Glowforge cut?
I have another post where I’ll write about LOTS of different material options. However, since this is a beginner’s post, I’ll just share the most popular.
Proofgrade versus Non-Proofgrade Materials
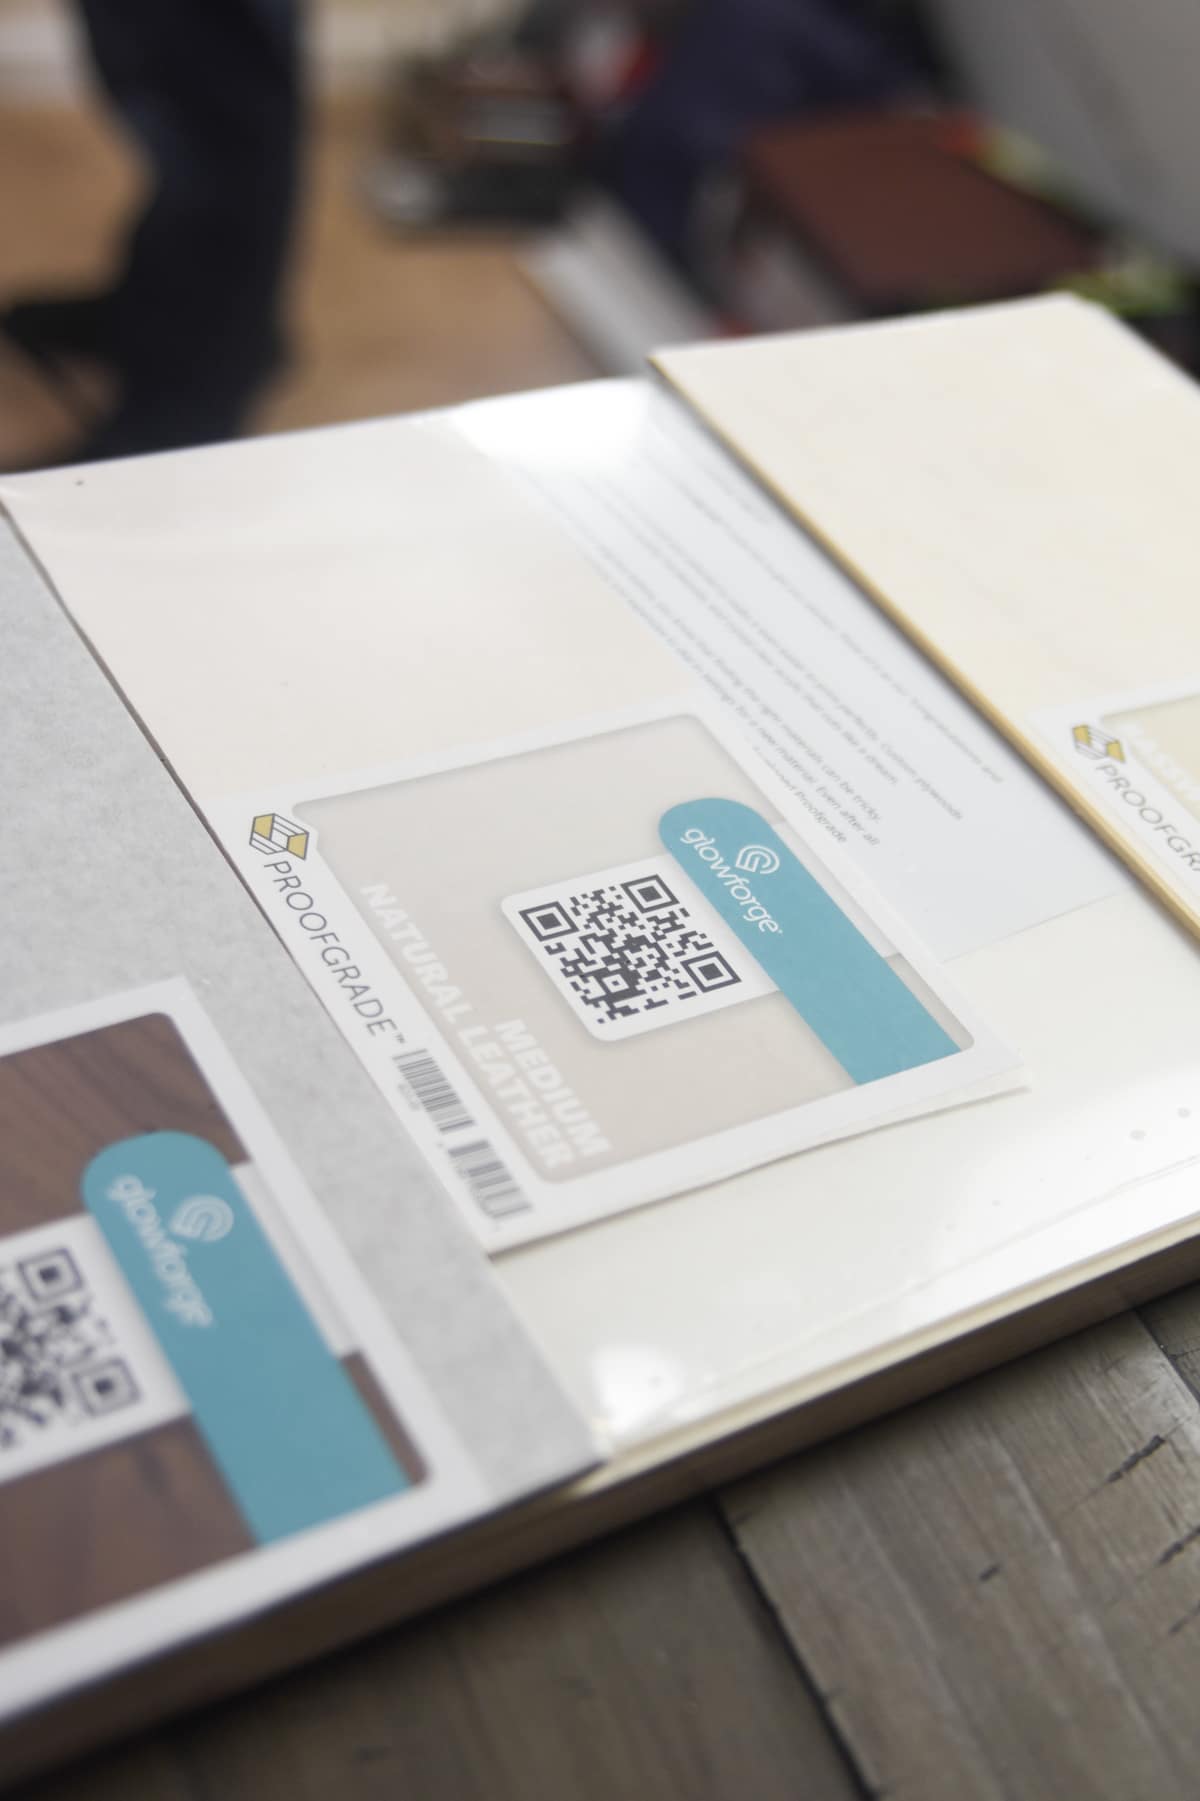
First, let’s discuss what Proofgrade is. This will be one of the terms you’ll see over and over again. Proofgrade is a trademarked term by Glowforge that is on all of the materials they sell. If you see this, you will know that they have gotten the seal of approval from Glowforge to work perfectly with the Glowforge, and they have also been specially formulated to work with it.
These materials are coated, so you don’t have to worry about masking them before doing your project, and they come with a bar code that the machine will scan and put the perfect settings in for the material.
You can explore all of the Proofgrade materials that are for sale here.
Since your machine will come with a variety of Proofgrade materials, this is definitely a good place to start. It is really nice that you don’t have to worry about testing the settings at all! Proofgrade materials are available from the Glowforge website, though some Joann’s store are starting to carry them.
This does not mean you can’t use other materials.
You can absolutely use other materials – they just aren’t guaranteed by Glowforge. So, if you have a fire that starts using a Glowforge Proofgrade material, that will be covered under the warranty. Non-Proofgrade materials are not.
There are tons of places you can get materials from – I recommend making sure you’ve read the reviews, and that it is from a reputable distributor. Keep in mind that you will need to experiment with settings.
Here is a list of materials that Glowforge says you can cut:
- Wood (a lot of people rave about baltic birch!)
- Fabric
- Leather
- Paper
- Plexiglas (acrylic)
- Delrin (acetal)
- Mylar
- Rubber
- Corian
- Food
And it can engrave all of the above, as well as:
- Glass
- Coated metal
- Marble
- Anodized aluminum
- Titanium
- Phones
- Tablets
- Laptops
OF course, if you are engraving an electronic, be extra careful! The items above are not the only items you can cut or engrave – but it is a starting point to get the juices flowing.
I’ll go into more detail on different things you can cut and engrave in another post! The thickness for cutting can be up to 1/2″, though that may require extra passes. Materials that are 1/4″ or smaller cut really well!
Glowforge Terminology
There are different terms that you’ll run into as you start to work with your Glowforge. This list isn’t all-inclusive, but it should give you a good idea to what some of the things you’ll run into are.
CO2 = This is the gas that actually emits the laser within the Glowforge.
Kerf = This is an important term to understand – it is basically material removed by the laser during the cutting process. You need to take this into account when you are creating designs. I recommend cutting out one of these kerf test guides! ‘m not the best at explaining this, but here is a fantastic YouTube video!

Masking = You will often hear a recommendation to “mask” your project – this helps to protect the surface of the material from smoke residue that gets left behind when the laser is in use. It makes your projects look much more clean and professional! Proofgrade materials already have a layer of masking on it. You can use a variety of materials, such as paper tape – just make sure it’s PVC-free.
What accessories do you need?
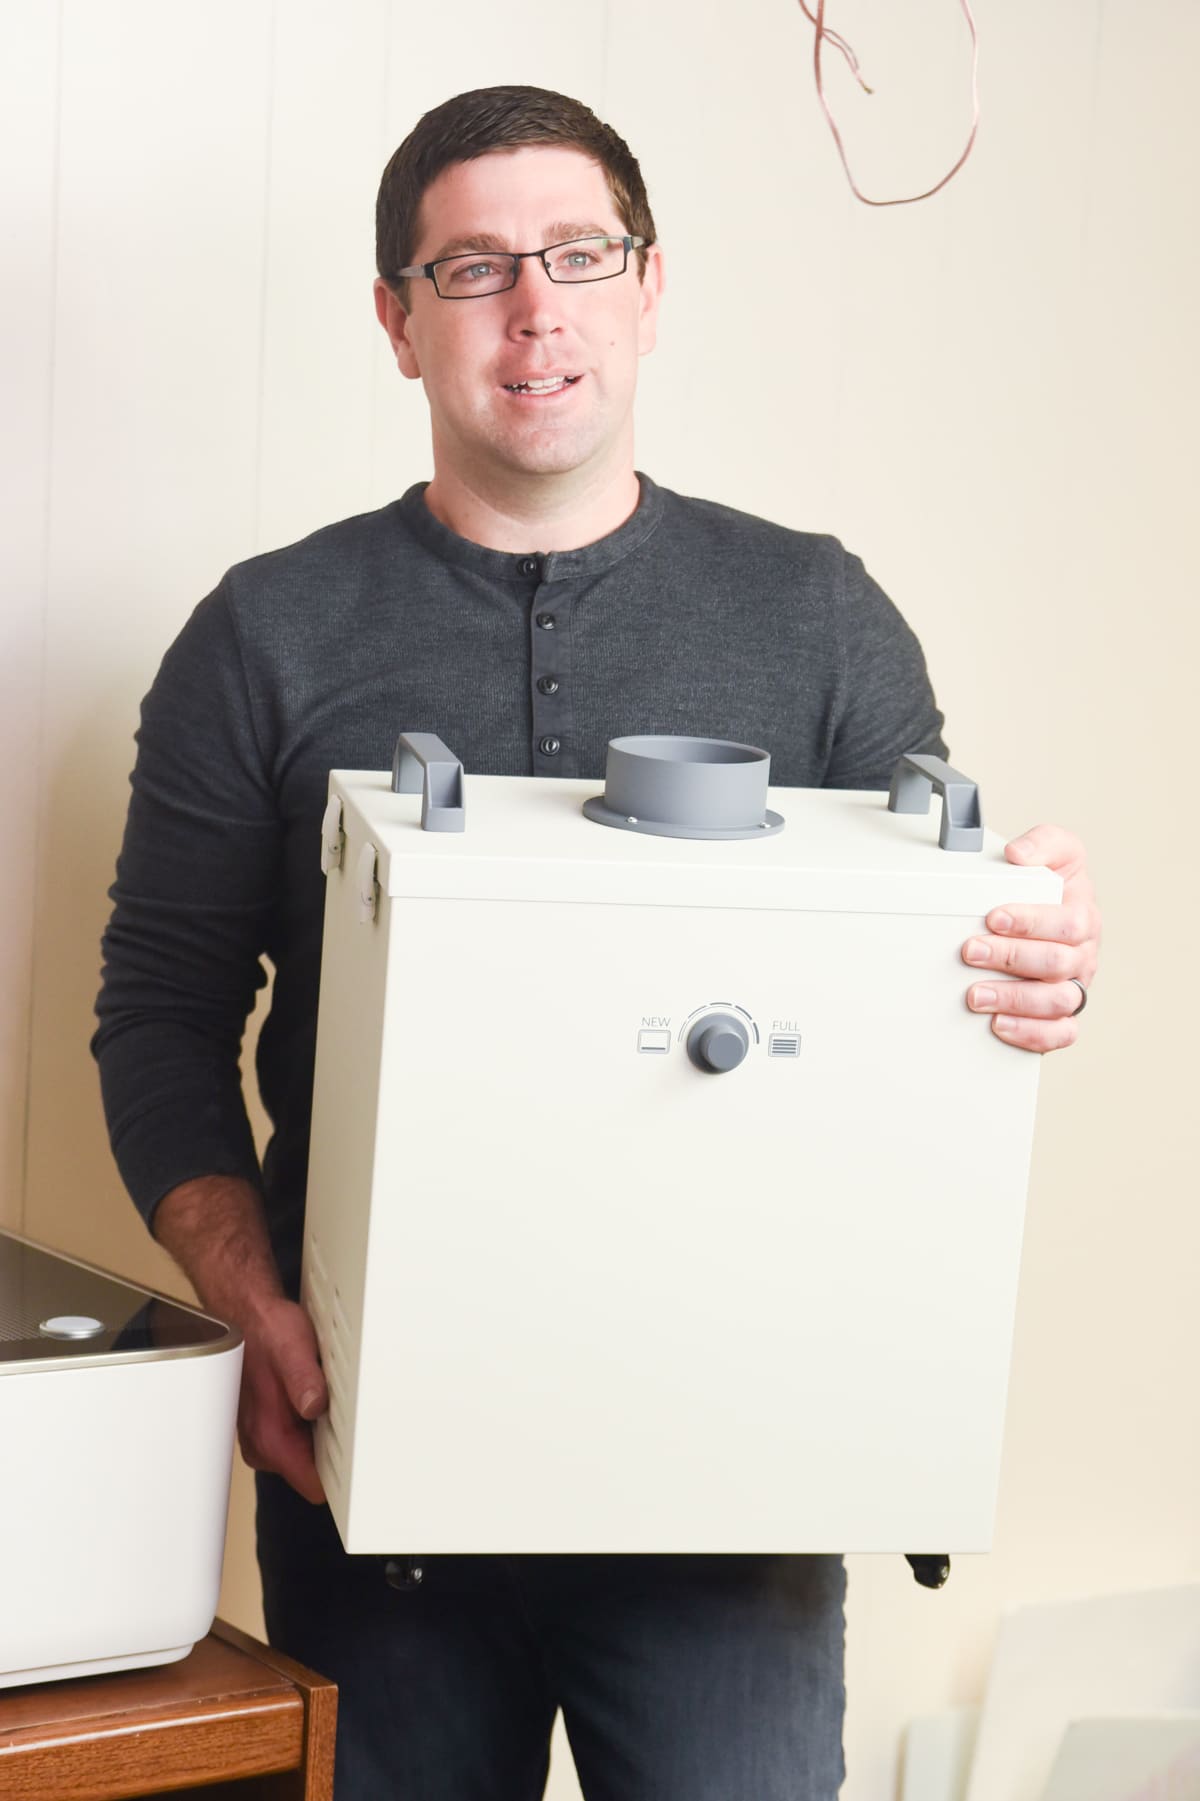
Air Purifier -Even with proper venting in place, you may have some residual smell in the air. An air purifier is a great option to help keep your work space a little bit cleaner and healthier.
Inline Fan – A lot of people use inline exhaust fans instead of venting out a window. Make sure you aren’t voiding your warranty though. This one below is highly recommended and under $30! Make sure you find instructions for setting these up correctly.
Camera – I think a camera that you can monitor from your phone or tablet is a great idea to make sure your Glowforge is working correctly if you aren’t able to be with it the entire time it’s cutting/engraving. When we first got our Glowforge, our venting wasn’t set up in the best way – it fell out of the window, and I came downstairs to a room full of smoke. It took over a day to totally clear out.
Masking Materials
If you are using a Proofgrade material, you won’t need to worry about this, as they already come with masking already done. However, if you are using a different material, you probably will want to consider using some kind of tape to help prevent scorching. Make sure you get it applied correctly though – not correctly masking is probably one of the biggest causes of fires with the Glowforge! Also, you want to make sure it’s thin enough.
What you use might vary depending on the material that you use. Make sure it is PVC-free as well. Here are a bunch of different options others have found success with:
- Blue Painter’s Tape
- Paper transfer tape
- Blue Painter’s Tape
- Ramboard tape
- Liquamask – this is a liquid but a lot of people seem to like it. Primarily seems to work well for flat projects.
- Frog Tape
- Grafix Low Tack Frisket Film
- Scotch ATG 714 Tape Gun – this is a bit of an investment, but it is great for paper and light materials.
- EasyMask
- TransferRite
Vinyl Squeegee or Print Brayer – One of these would be a great option for applying masking materials.
Weeding Tool – I was so grateful that I had about 20 weeding tools (okay, 20 is a bit excessive) from my Cricut projects! It makes it so much easier to remove masking after you are done with your project, especially in the tiny bits!
Where to buy materials
There are so many places to buy materials. The most important thing is to make sure it is from a legitimate source, that the materials will definitely work with your Glowforge, and that you are getting a good price without sacrifcing quality.
Proofgrade materials can be purchased from Glowforge.com or some select JoAnn stores. Non-proofgrade materials can be found at craft stores like Michael’s and JoAnn’s, the Dollar Tree, Etsy, and local distributors. A lot of people like working with local companies and small businesses.
In the Glowforge Facebook groups I am in, I am always seeing people selling wood, bracelets, keychains, and other blanks in bulk. You definitely want to buy in bulk if you can if you are planning to sell items. There are wholesellers all over the Internet! Here are a couple of websites to check out:
- MDW Wholesale 123
- KW Custom Creations
- Cerulean Tides
- GS2Awards
- JJ Cuts
- Will’s Laser Supply (Facebook Group)
- Smokey Hill Designs
- CM Designs
- Craft Closet
- Crafty Knights
- RC’s Blanks
There are many more, too! Not every distributor has everything, and many have products unique to them. But you can usually find some great materials at reasonable prices from small businesses.
Where to find files
You can find ready-to-make files in Facebook Groups, Etsy, and Shopify. I would start with Etsy and search “laser files” or “glowforge” files and go from there!
Tips for Beginners
I will add to this list as I learn more, but here are a few tips that I wish I had known!
Pausing and Cancelling
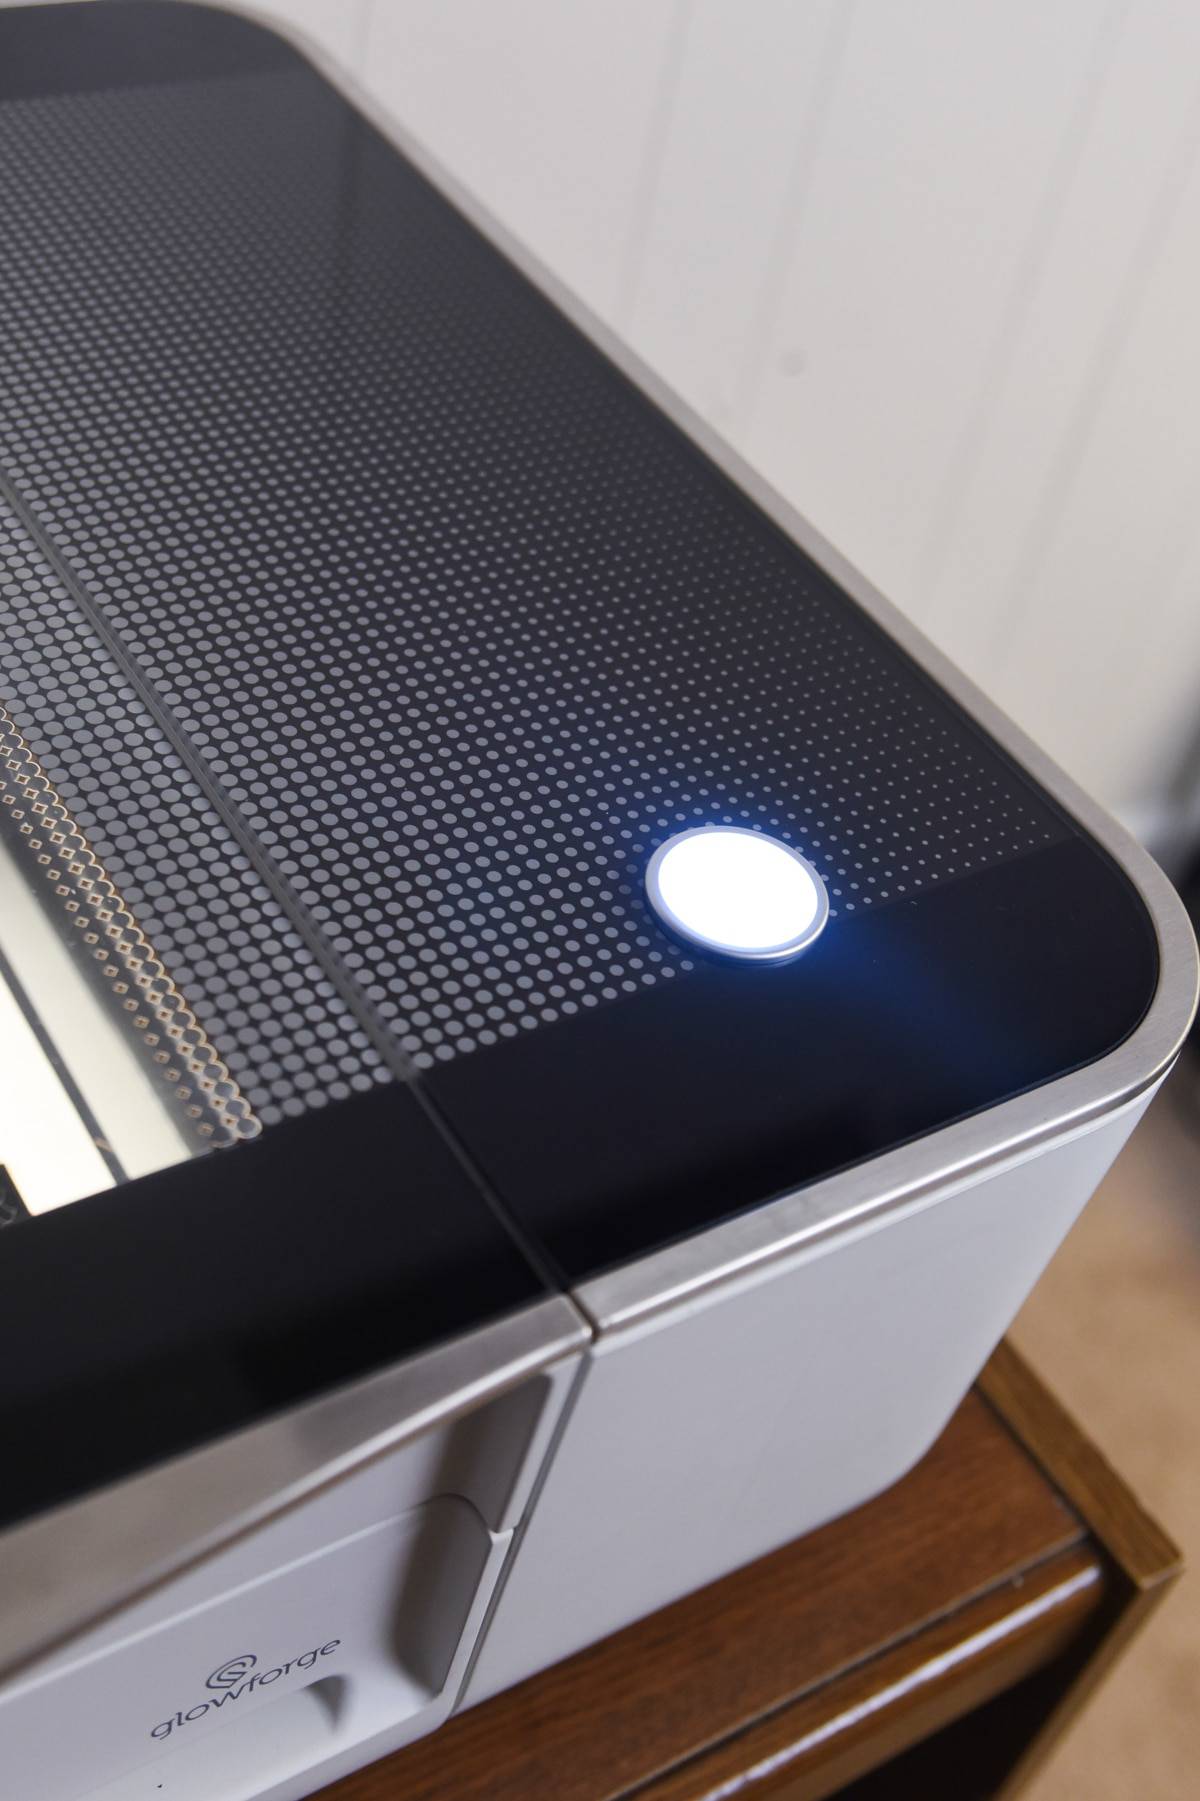
I didn’t find the pausing feature super intuitive – I had to search on Google to see if it existed. But there is a pause button – you just need to press the white button on your Glowforge to pause it. To resume, just press it again.
If you open up to the lid, this will cancel the print, as will the “cancel” button in the Glowforge app.
Glowforge Community
I love the Glowforge community! I’ve mentioned various Facebook groups (make sure you join ours – we are hoping it will start growing soon!), but I’ve really come to LOVE the Glowforge Community forums through the Glowforge website. I haven’t had a question I couldn’t get answered through there – and I’ve never even asked one. The forums are easy to search and pretty much anything I’ve wondered I have found an answer to quickly.
Testing your Material
I am someone who just likes to get things done, so testing a material just seems like a waste of time – but I promise, it isn’t. Make sure it stains the way you want it to and cuts all the way through. We just did a project that had a film on the top that we didn’t notice, and it really affected it being stained (as in, it wouldn’t stain correctly). It was a pain, and had we tested a little bit of stain on it first, we would have realized that!
Be thoughtful of image placement
With our first project, I just threw the draftboard onto the Glowforge, put my design in a random place on the screen and cut it out. I didn’t think at all about making the most use out of my large piece of draftboard. Although I was able to use it later, I had to be a little more tricky with my placement of the designs, and I definitely didn’t get as much use out of it!
Triple check your design before it cuts
A few times I have gone to make my design, and somehow, the design got moved in the Glowforge app and things weren’t where they were supposed to. Even if you are sure it’s in the right place, check again before you press the print button!
Put items that roll in a jig
Items that don’t lay flat might be trickier to cut, especially if they are prone to rolling around. I have seen jigs that people have made to keep these items in place as they are engraved. Here are a few files on Etsy to make you own (or just go on Etsy and search “jig” with whatever kind you are looking for!):
- Pencil Jig
- Apple Watch Jig
- Wood Disc Jig
- Wood Beaded Bracelet Jig
- Rolling Pin Jig
- Leather keychain jig
- Golf Tee Jig
- Flask Jig
- Wine Cork Jig
- Bow Jig
Turn on glowforge first with material and then put design in
I find it MUCH easier to turn my Glowforge on with the material I am using already in place, so I can put the design in the right place, rather than designing it first and moving things around.
How to Remove Smoke Residue
If you aren’t masking your material, you can wipe the surface with vineger to remove the smoke residue. Sanding can often be better than masking afterward to remove residue for larger projects – just make sure you don’t sand away the design, too!
Phew! If you got this far, I’m impressed! But I hope that this was helpful in getting you started with your Glowforge. Be sure to comment below if you have any other questions.

This is amazing, thank you so much for all this info. I just got mine yesterday (for Christmas), so today is setup and dive in day!!
Yay! So glad it was helpful!
Can you share the type of inline fan that is recommended? The photo is not loading.
We are so sorry the link wasn’t working! Here’s a different one for the fan.
https://www.amazon.com/VIVOSUN-Inch-Inline-Ventilation-Blower/dp/B01M7S46YZ/ref=sr_1_1_sspa?crid=2SNFF2B122O22&keywords=inline+fan&qid=1645297637&sprefix=inline+fan%2Caps%2C197&sr=8-1-spons&psc=1&spLa=ZW5jcnlwdGVkUXVhbGlmaWVyPUEyTjZVOVYwSTU2VDRUJmVuY3J5cHRlZElkPUEwMTQ4Mzg3M1FWTkE0NDA3STg3UyZlbmNyeXB0ZWRBZElkPUEwNzY5Mjk4MTdaTTdXRVNaTk4wNyZ3aWRnZXROYW1lPXNwX2F0ZiZhY3Rpb249Y2xpY2tSZWRpcmVjdCZkb05vdExvZ0NsaWNrPXRydWU=